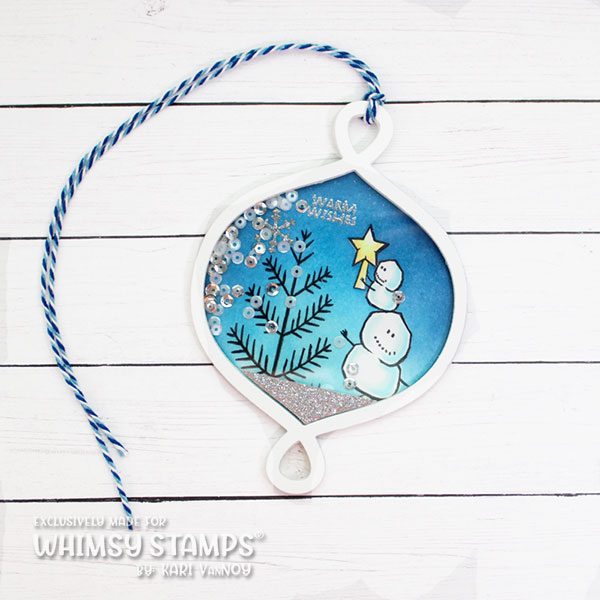
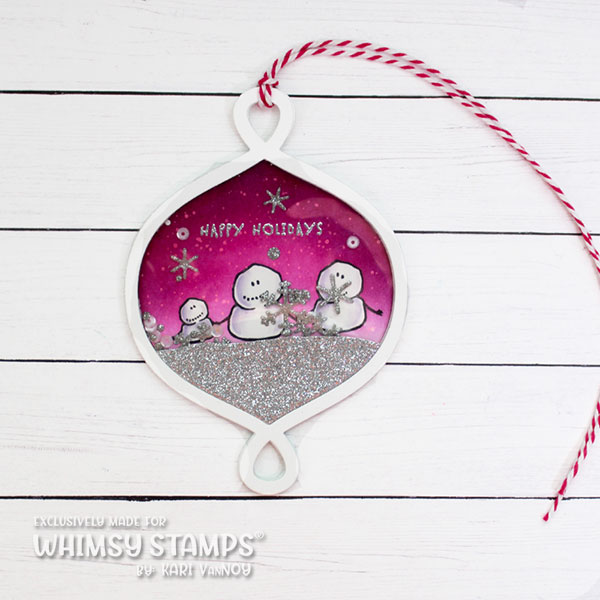
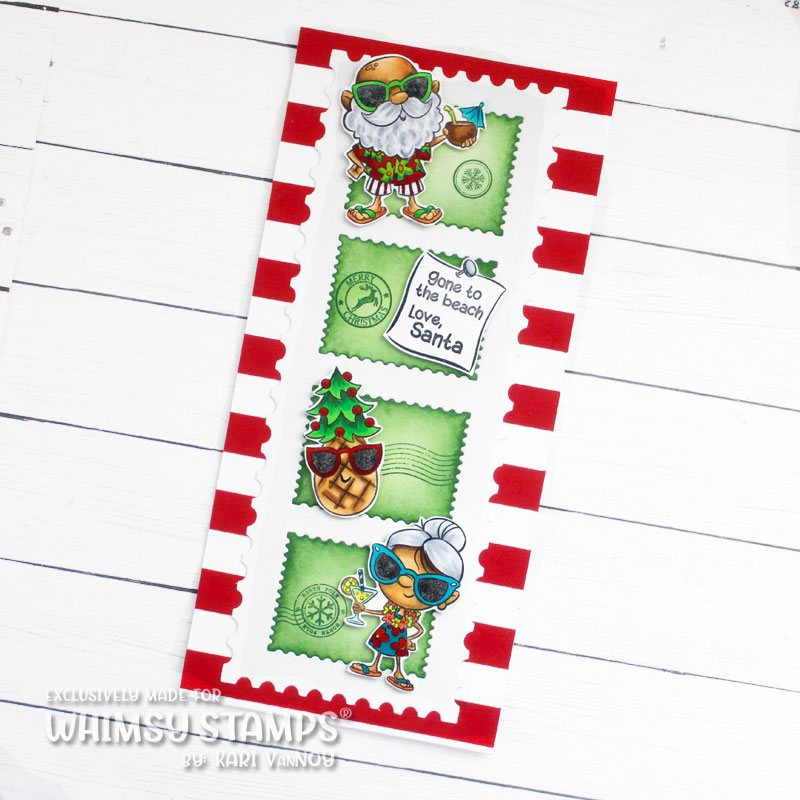
Hello! Today I have a Tropical Christmas slimline card featuring Santa and Mrs. Claus at the beach! I really loved creating this card…I pulled in a Slimline Postage die set to make it feel like a travel/postcard vibe.
Watch the video below or in HD on YouTube:
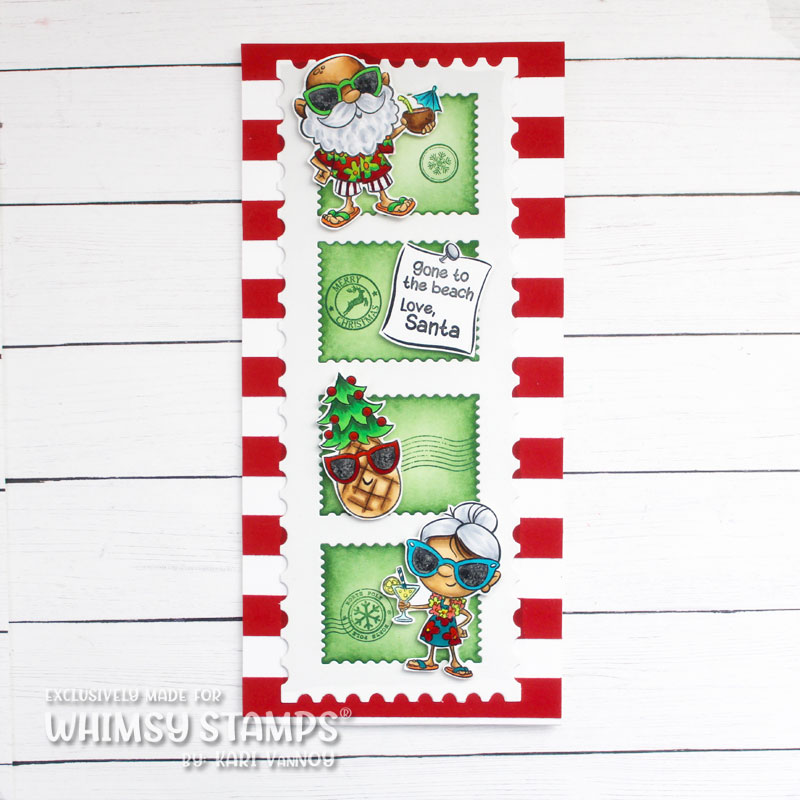
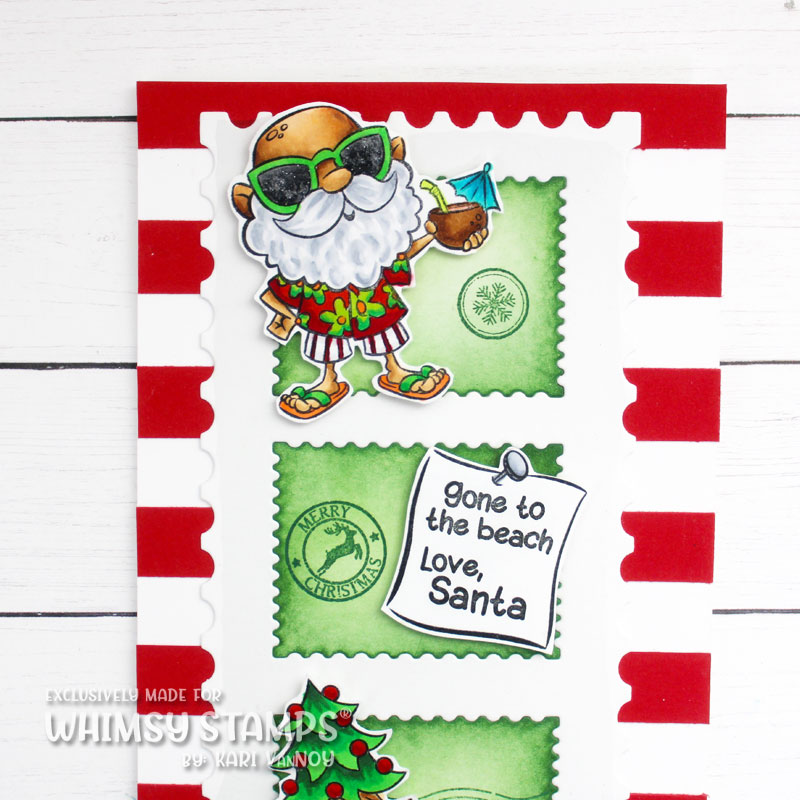
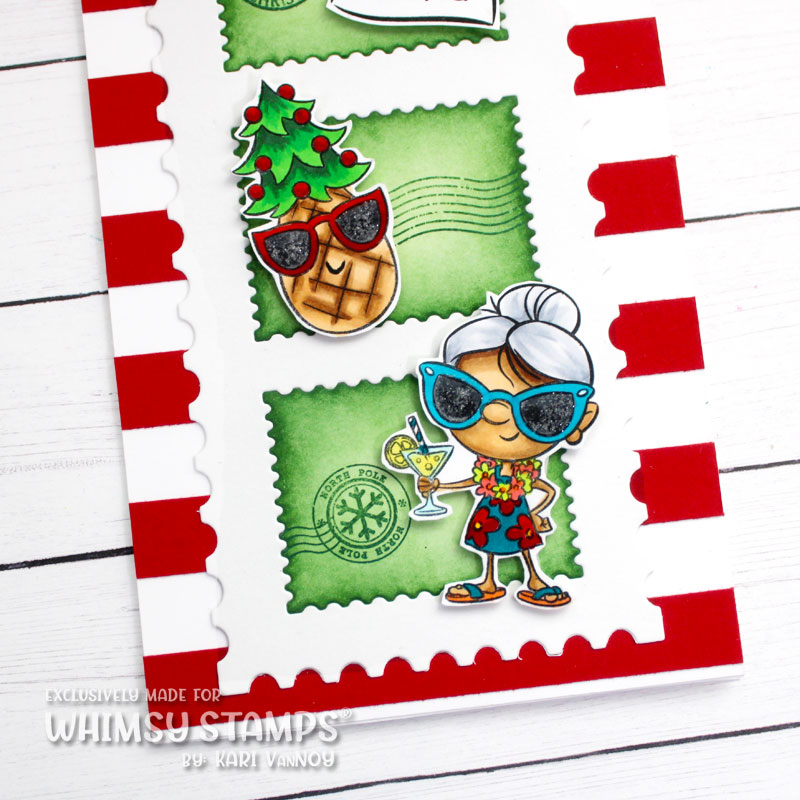
I just love these vacationing Clauses! They look so happy with drinks in hand. I gave them a bit of glittery gloss on their sunglasses…movie stars!
I hope you will watch the video to see how this card came together, and to see my cardstock-saving TIP!
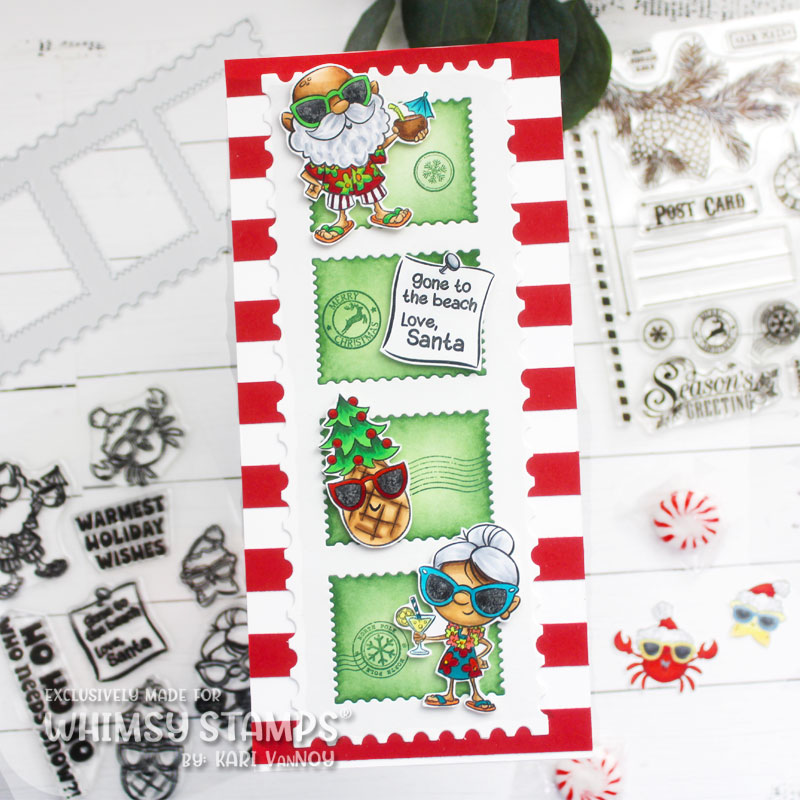
Does it snow for Christmas where you are? I think Santa & his wife really deserved this tropical vacation!
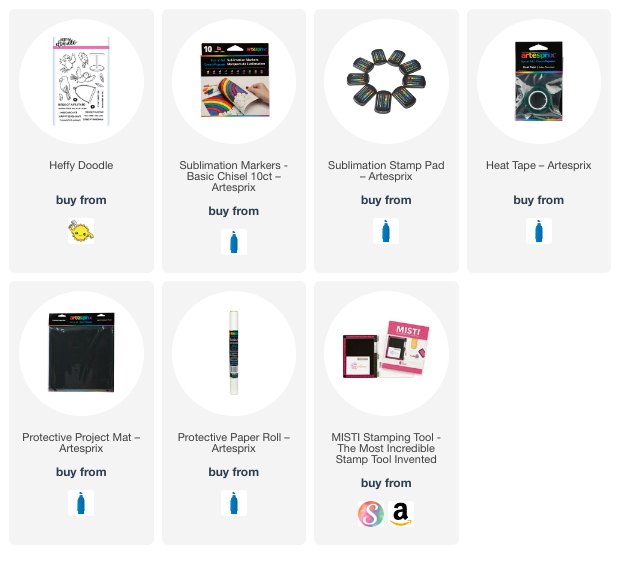
I’m often asked what supplies I use to make my cards and projects, so I’ve put together a list using affiliate links when possible. If you make a purchase with these links I may receive a small commission. These help me to keep up with blog costs and continue bringing you fun projects. Thank you so much for your support!

I hope you enjoyed this video and card today! Happy Christmas!