I have three packages of Card Candi that I haven’t had the chance to use. So when I saw the Challenge from Simon Said Stamp, I decided that now was my chance!
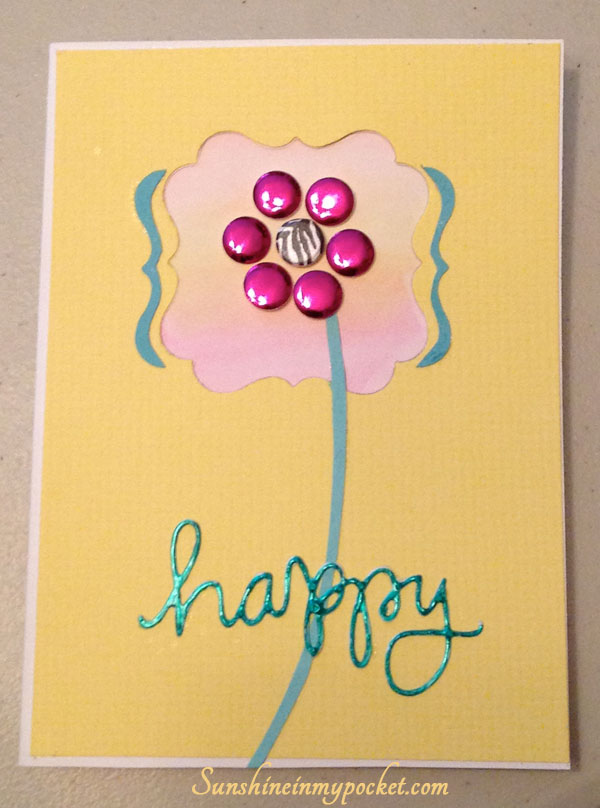
See those circle shapes: the zebra and the hot pink metallic pieces? Those are the Card Candi.
I used Liquid Pearls to “paint” the word happy and I love the depth it adds to the word. It’s hard to tell in this picture, but I also watercolored a sunset behind the cutout and the flower.
It’s a simple card, but it does feel happy, doesn’t it?
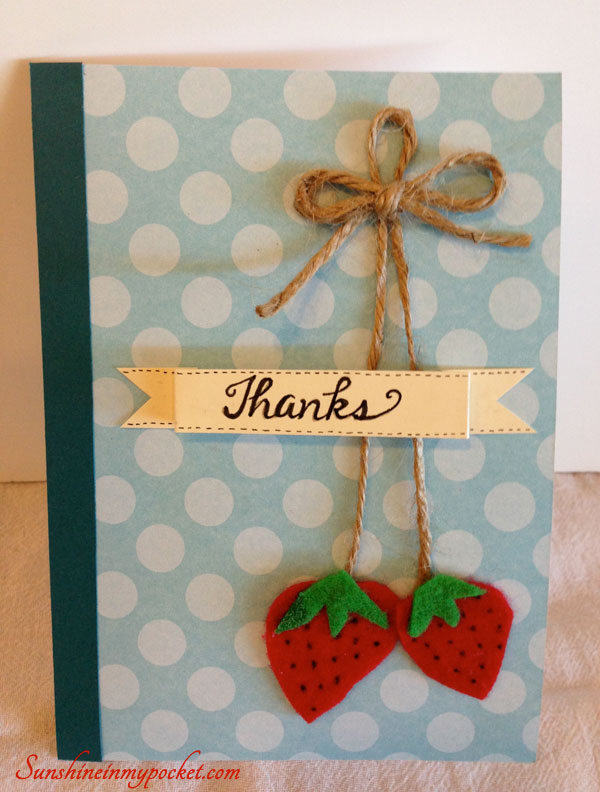
It’s the first day of summer. (Although it has felt like summer for weeks now, here in Arizona!) And to celebrate, I put together a little summer fruit berry card with a few scraps of paper, a few scraps of felt and a thanks banner.
I love strawberries in the summer, and how cute are they as the star of this card? Enjoy:
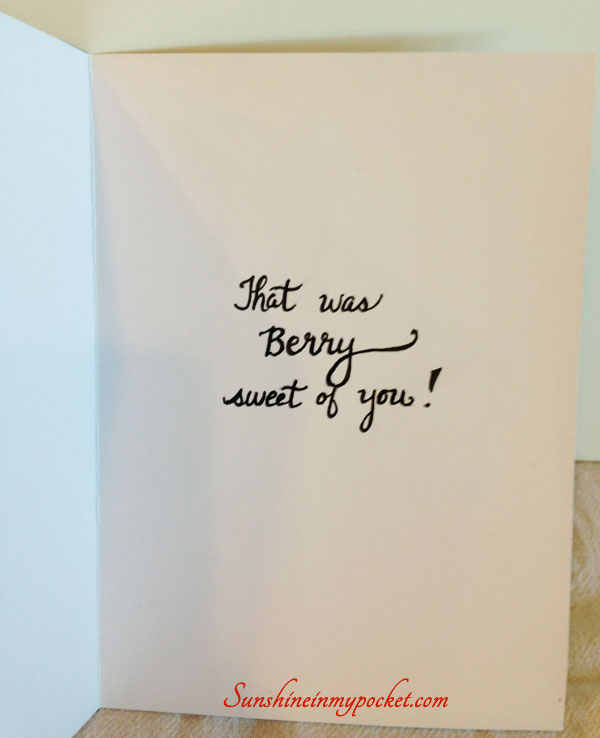
Inside:
I love felt as a medium for cards and tags. {See my orange felt slice here.}
It’s time to send a card to someone very special. (Hey, Sis, if you are reading this..don’t look! It’s on its way up to you)!
And I had a great time figuring out how to “Send Happy Thoughts” with my card.
I love this glitter paper that I used for the backing, and it just happened to match my embossing powder I used on the word “Happy” almost perfectly! I cut circles out to serve as balloons and drew on the string…”attaching” it to HAPPY. So THIS is how you transport a little bit of happy. 🙂 After I finished this card, I decided to add a little shine to the balloons with Glossy Accents.
If you know me at all, you know that I make mostly “girly” gifts, packages, tea parties, cards, etc. I LOVE all things ribbon and lace, pink and curly. So when it comes to making more “manly” things, I have challenges!
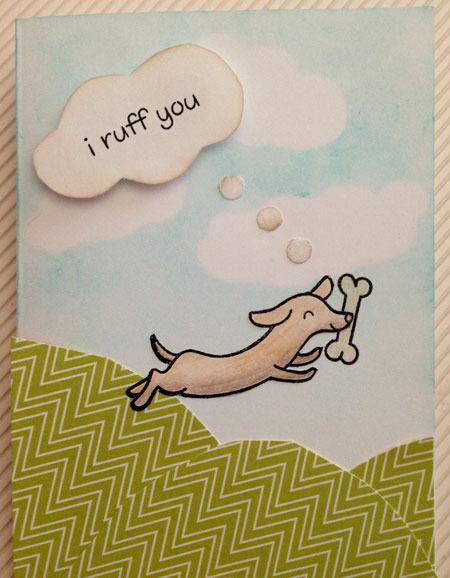
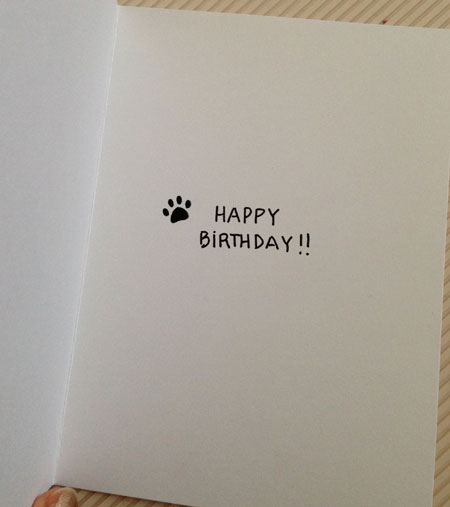
My nephew had a birthday recently (he just turned 8), and he came down for a visit. I knew this was my opportunity to make something that he would like. I know that he loves dogs and so I got the most adorable doggie stamp set from Lawn Fawn to try out! Here’s the card I made for Porter:
and here’s the inside:
I tried some “masking” by cutting out a cloud from white paper and sticking it temporarily on the card front, then I used some distress ink on a cotton ball to rub on the sky color around those clouds. When I removed the cloud masks, I was left with a beautifully calm sky with the clouds left white!
I think this card turned out adorable (and not too girly). What do you think?
So guess who’s going to be using this set to make a nice Father’s Day card?! I think my Dad will smile.
Linking up to the Simon Says Stamp Challenge.
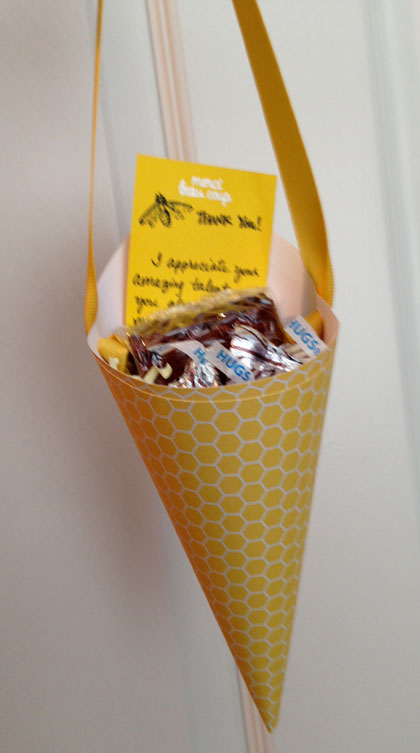
I love to make these paper cones as a container for small gifts and treats. Last Christmas, I made them in green and red and filled them with homemade caramels. For my daughter’s Sweet 16 Birthday party I made them in black and white and filled them with popcorn. And more recently I made them in a sunshine yellow color to deliver Lemon Shortbread Cookies and Hugs.
They are simple to make and you only need 12 x 12 paper (I used paper from Michaels), red sticky tape (also from Michaels), ribbon of your choice, and a hole punch. (I also sometimes fill the bottom of the cones with shredded paper)
At first when I began making these, I couldn’t get them to look right. They were a little skewed and a little off-center. But when I took a class on piping chocolate (I know, strange)…the LIGHT WENT ON!! We made a little triangle out of parchment paper to fill with chocolate and pipe onto a plate. And that’s when I figured out I could apply the same technique to these paper cones!
First, cut the 12 x 12 paper in half Diagonally. Then tape and roll up, matching up the corners. I made a quick video to explain better:
So just take a few minutes to watch the video and you’ll be whipping up perfect paper cones in no time!
The great thing about these cones is that you can HANG them from a door knob if the recipient is not home. What fun to come home to a little treat hanging on your door! (If it’s hot outside, don’t put in anything that would melt)
And if you are the recipient of a pretty paper cone, why not enjoy the contents, re-fill with a treat of your choice and pass it on to another friend? The great Paper Cone Pass-It-On Project. That’s what we’ll call it. 🙂
Here’s some ideas of what to fill your paper cone with:
Popcorn
Caramels
Cookies
Hugs & Kisses
Hershey’s Miniatures
Small wrapped candies
Miniature Lotion or Hand Sanitizer
Nail Polishes, Nail Files
Gift Cards and Treats
Movie Passes
Flowers
Notes of Appreciation or Encouragement
The list goes on…What would you put in your paper cone?
Hi I'm Kari. I'm a creator, a card maker, and a day maker! I am Lucky in love to a supportive husband, blessed to raise 3 kids (all moved away now!), and happy to be watched over by 2 dogs.
I originally started this blog to remind me to be happy amid adversity, and I hope it inspires you, too!