Archive | Paper Crafting RSS feed for this section
sunshine-then-sings-my-soul

A Look Back at Our Daily Bread Designs September Release

Hello! Today I’m excited to share more guitar projects with you. I have found that I love to design and create GUITARS with this new die from Our Daily Bread Designs! However, I couldn’t find any fire paper that was small enough to look right on these guitars. Did I let that stop me? NO! I just created my own!

I really wanted to have a nice little giveaway treat with these guitars, so I paired them with the Gable Box Die to make these for my musical nephews:

sunshine-both-gable-boxes-above sunshine-both-guitar-gable-boxes

sunshine-blue-guitar-inside-tag-You-Rock

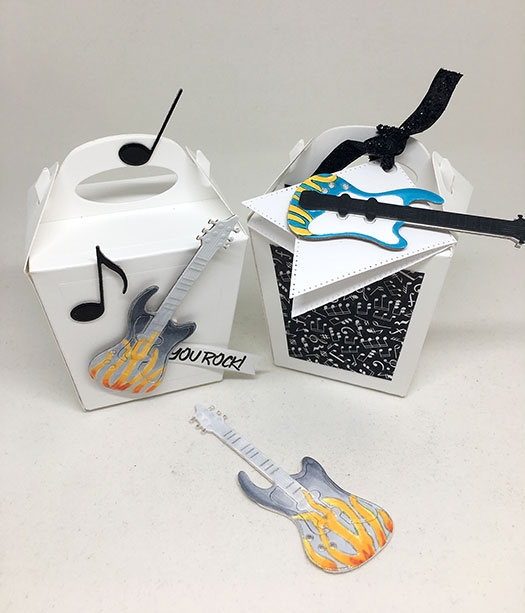
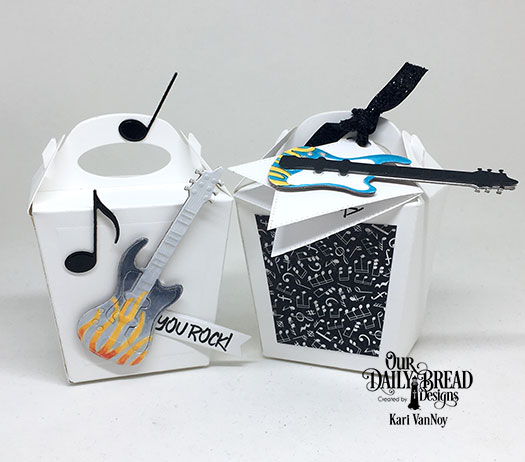
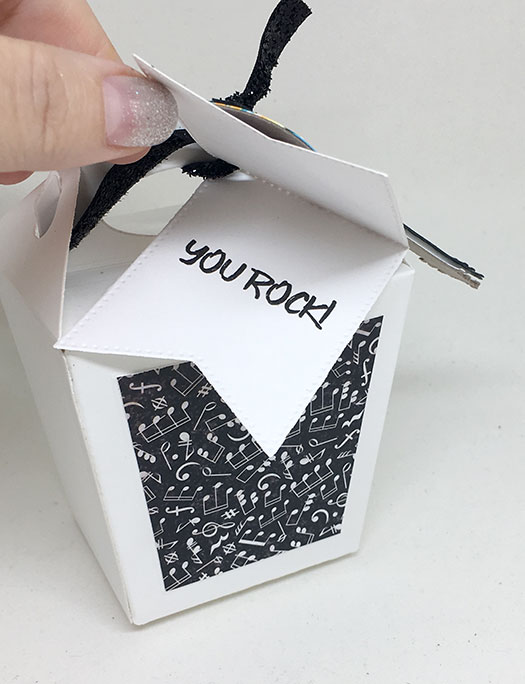
For this one I created a tag and stamped “You Rock” from this set on the inside.

sunshine-fire-guitar-gable-box-gift

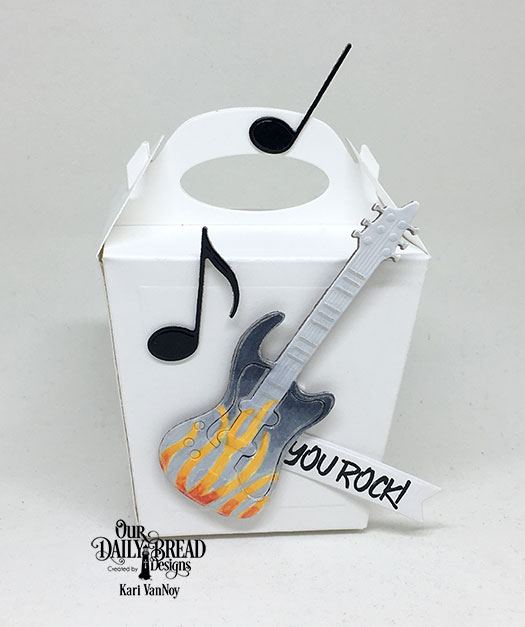
Aren’t they fun? My idea was to have a dark grey to light grey Ombre guitar on this one, but you could really use any color you like! I added some glitter pen accents on the fire and around the edge of the guitar and that makes it really pop!

I also created a VIDEO to show you how easy it is to design your own fire design on a guitar with markers, watch it below or on YouTube:


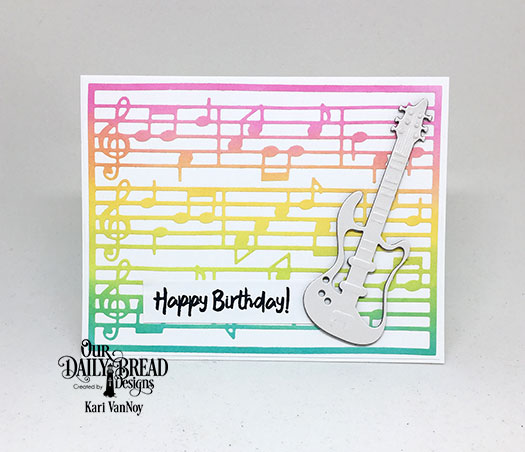
These guitars also make such cute cards. I’ve shared a few on previous blog posts, but had to share one today with fire! This one is a red guitar and the fire is just on the bottom of the guitar, then I added a shiny black guitar pick guard:

sunshine-you-rock-red-fire-guitar sunshine-you-rock-red-side-view

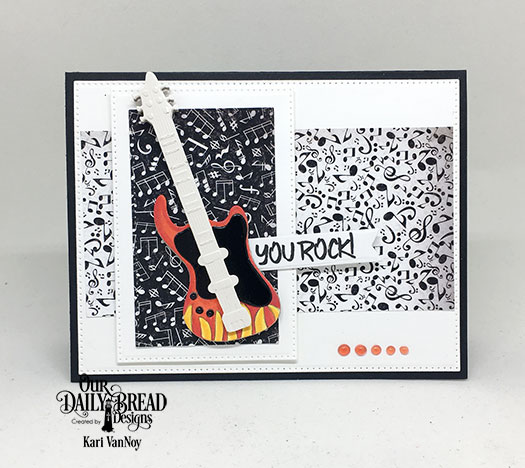
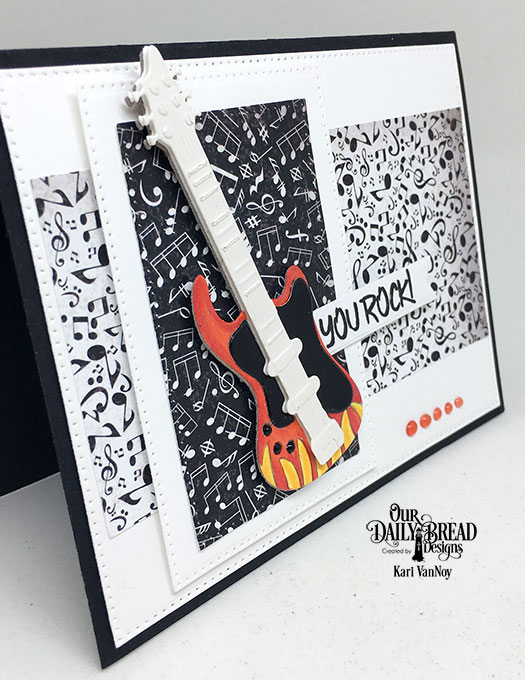
I added more dimension to this guitar by cutting out the strut center (from a different die cut guitar) and popping it up with foam tape. Then I created layers on the card using foam tape as well. That paper is some of my favorite from the new Notable Notes Paper Pad.

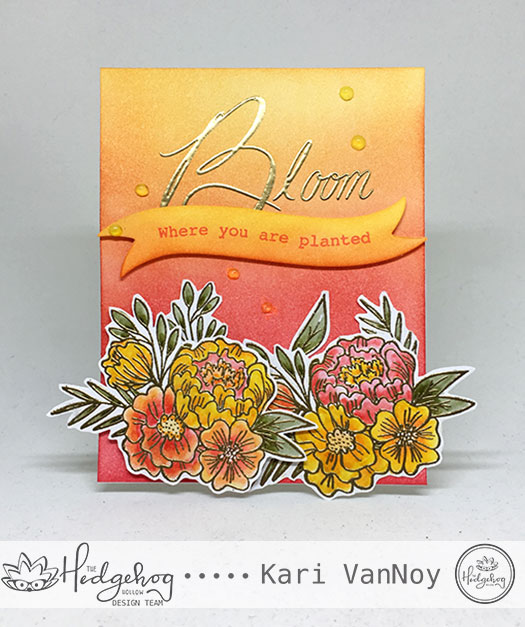
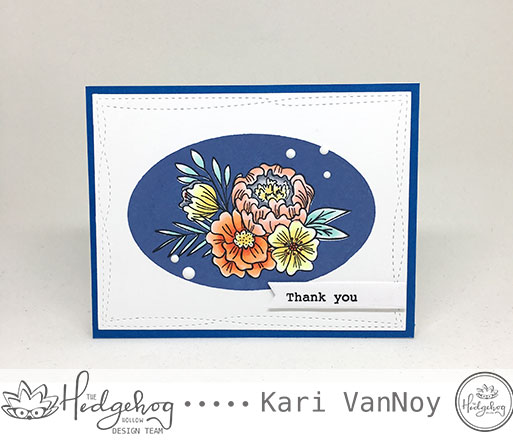
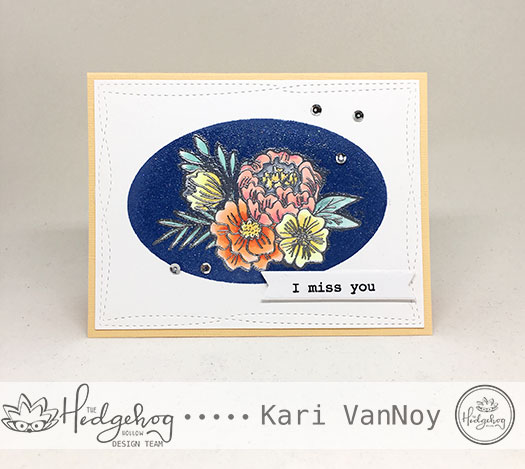
My last project features a stamp set that I also completely adore: called Marvelous Things. The instruments are made up of music notes!

sunshine-then-sings-my-soul

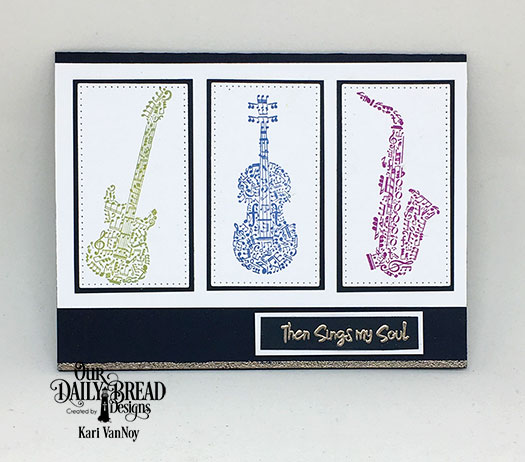
I stamped these in three different colors of Distress Oxide Inks, and used metallic embossing powder for the sentiment and for the bottom edge of the card.

I hope you enjoyed these projects today! Thanks so much for stopping by. If you give this a try, please let me know…I’d love to see your designs!

For more information about these products, visit Our Daily Bread Designs blog here.

Comments { 0 }
bloom-card

A Review of Catherine Pooler Inks

Hello! Did you know that you can do so many things with Catherine Pooler Inks? You can stamp, of course, but you can also do some ink blending and watercoloring with them!

Today I have a fun fall project with the new Catherine Pooler ink, Coral Cabana, that came in the September Hedgehog Hollow subscription box.

First, I took that ink and a few other ink colors and blended them on Bristol Smooth paper using a round ink blending tool.

ink-blending-with-inks

These inks blend beautifully on this Bristol Smooth paper!

Once I had that background blended, I stamped and gold embossed the florals from the HH Subscription box and used these inks to WATERCOLOR on them!

2-blending-and-watercolor-flowers

I also used the same Bristol Smooth paper for this. I also used some Zig Clean color markers to color up the green leaves. I wanted this to feel like a FALL card, so I picked my interpretation of fall colors for this card.

Then I cut a banner shape from my stash, ink blended on that banner, and STAMPED the sentiment using the Coral Cabana ink.

watercolor-with-zigs-photo

And Voila! A beautiful card using three methods with the very same inks! If you haven’t tried these inks, I would definitely recommend them!

I popped up the banner and one of the florals with Scotch 3M foam tape, and used my Nuvo liquid adhesive to attach the rest. To finish it off, I added Jewel Nuvo drops (these are translucent with a hint of color…which I love)!

bloom-card

I hope I inspired you give all three methods a try with your inks: stamping, watercoloring, and ink blending. Enjoy!

Thanks for stopping by. For more information about the Hedgehog Hollow subscription boxes, please click here. And while you are there, check out the EXCLUSIVE Christmas box that is available now with limited quantities!

Comments { 0 }
sunshine-twin-guitar-congrats

Musical Background Cards

Hello! Today I am going to show you how fun it is to make TWO cards from ONE background die. I’m using the musical background die today from Our Daily Bread Designs. I love this die, and I inked up a background with Distress Oxide inks and then cut out the musical background.

After I cut it, I used BOTH the positive and negative parts of the die to create two cards! It’s a great way to get a double payoff from all your hard work. Lol.

Here’s the first card, using the positive portion of the die:

sunshine-colorful-musical-background

And here’s the second card I created using the negative portion of the die:

sunshine-congrats-musical-background

That banner is made with the Alphabet Flag dies and since it also cut out the letters in black, I was able to create ANOTHER card using those letters:

sunshine-twin-guitar-congrats

I love that nothing has to go to waste! You can always use any die cuts on another card!

Thanks for stopping by today! For more inspiration using these products, visit the Our Daily Bread designs inspiration post here.

Comments { 0 }
both-cards

One card two ways…

Hello! Today I have a fun project with the new September Hedgehog Hollow box! I was inspired to create a card using the oval background stamp and then STEP IT UP a bit!

So I have two cards…the first one is the basic card using the background, then adding the floral stamp to the center of the oval.

blue-oval-background

I used the oval stamp FIRST, in Distress Oxide ink in Faded Jeans color. Then I added the floral spray to the middle of that stamp and used Memento Tuxedo Black. I Copic colored those flowers and then added the sentiment, also from this September box. To finish it off, I used Nuvo Drops in white across the card.

After I made this card, I wanted to make it again, but this time adding some EXTRA SHINE! So after I stamped the background, I added some glitter embossing powder to the top. Then I stamped the floral image in the center and colored it.

After it was colored, I put it back in my MISTI and stamped over the lines with Versamark ink and added SILVER EMBOSSING POWDER.

glitter-oval-background

I hope you can see some of that glitter in the background and the silver embossing powder around the edges.

To see the process better, watch my video here or on YouTube:


Which card do you like better? Here’s another view that shows a bit more of the sparkle:
I really do think it’s stunning in real life!

both-cards

Thanks for stopping by today! For more information about these fabulous subscription boxes, visit the Hedgehog Hollow here. **There is a special 30% off discount for the store until Friday, September 7th!! (some restrictions apply) So be sure to hop on over there quickly to get the discount.

Comments { 2 }
hugs-given-daily

Hugs Given Daily

Hello! I took some time to do some Copic coloring this weekend, and this cute koala is giving out free hugs! I used my W1, W3, W5, W7 Copics and some of my favorite yellow Copics for this cutie. Then I added him to some patterned paper in my stash to add a happy splash of even more color.

hugs-given-daily

He’s so cute, isn’t he?! I gold heat embossed that sentiment: “free hugs given daily” and used some of my favorite foam tape to add more dimension.

Hope you enjoyed this project! Thanks for stopping by!


Comments { 0 }