Archive | Paper Crafting RSS feed for this section
wolf-side-view

Watercolored Owl and Wolf

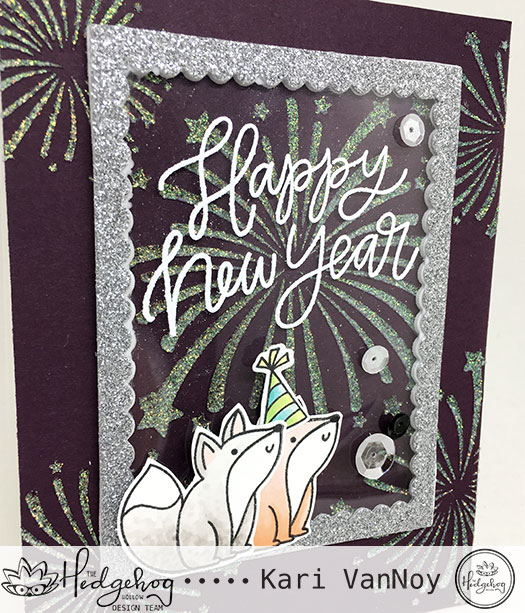
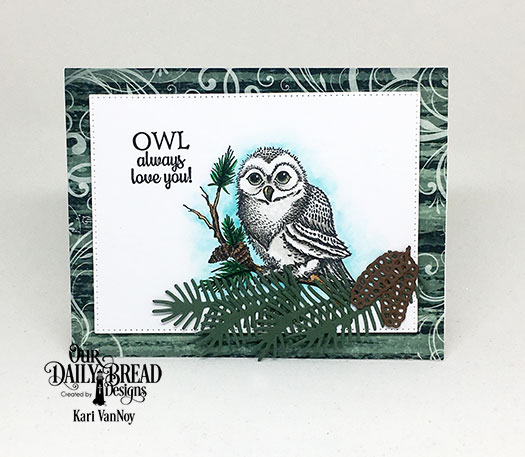
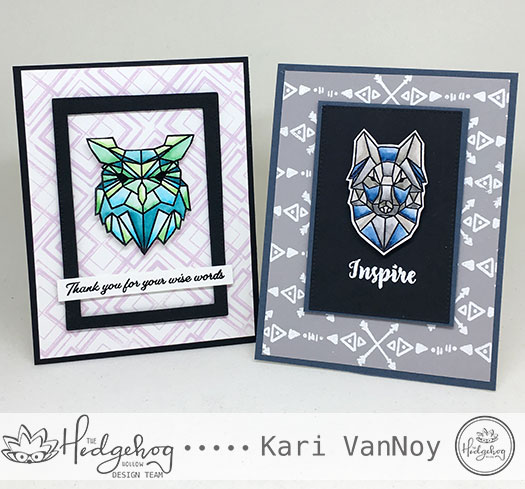
Hello everyone! I shared the new January Hedgehog Hollow kit with the geometric goodies, and today I have some cards using the OWL and WOLF to share.

owl-and-wolf-card

I watercolored these up using Zig Clean Color Real brush markers using my favorite trick! Embossing powder! Yep…it keeps the colors in the lines!

Watch my video below or on YouTube:


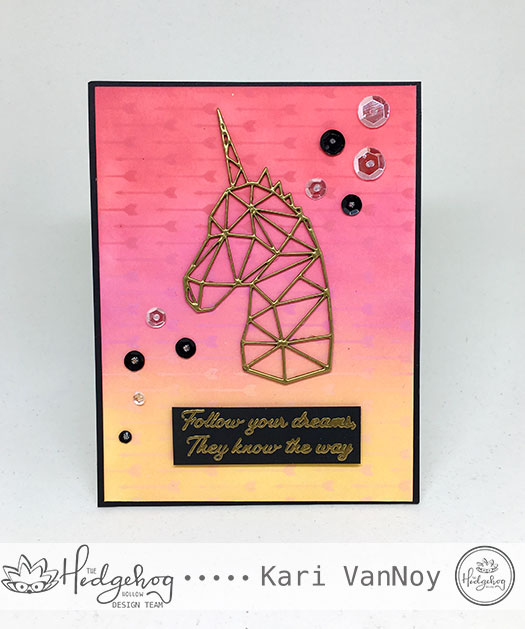
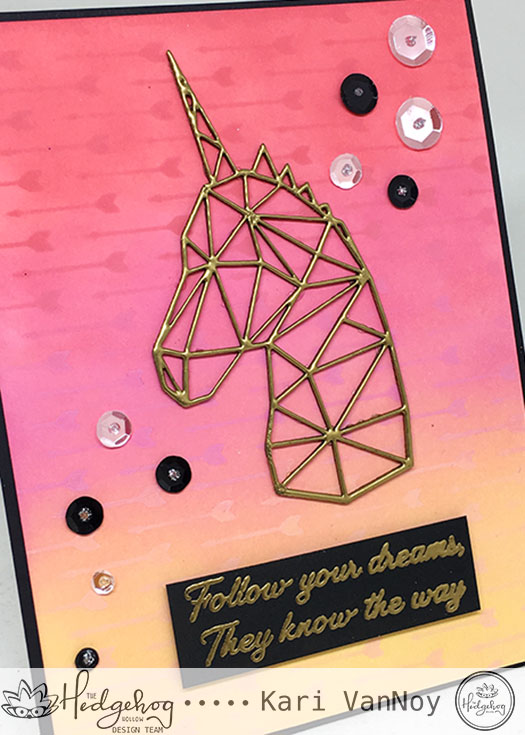
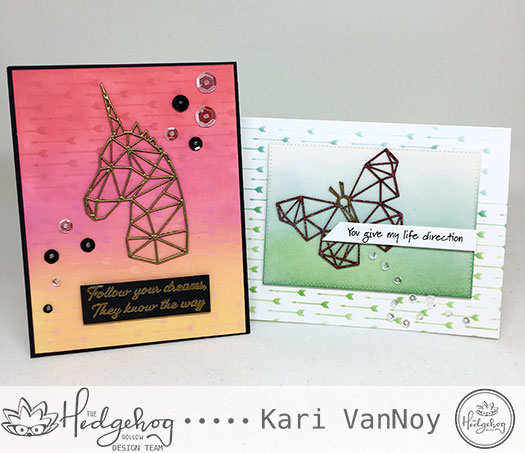
I’m loving these geometric animals. There’s also a butterfly, a lion, and a unicorn. Oh just wait to see what else I have planned for cards coming soon!

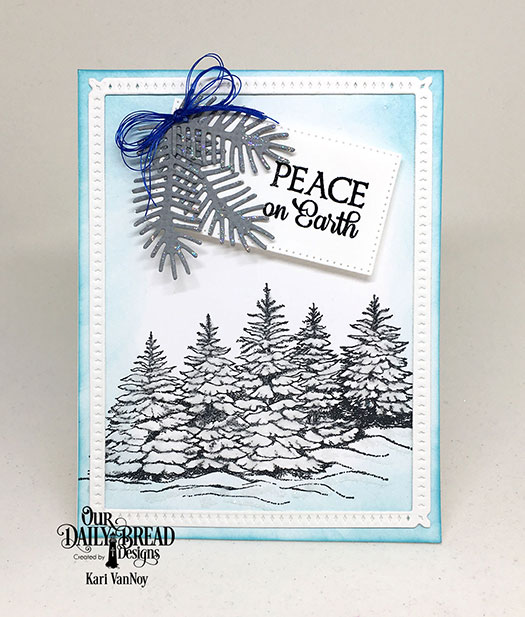
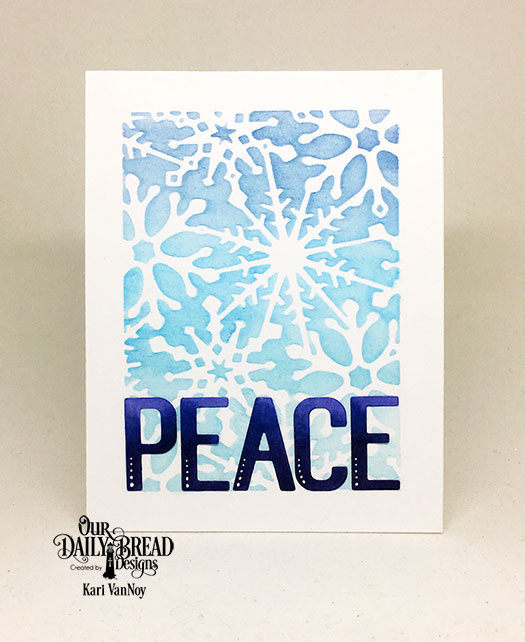
I created the backgrounds of each of these cards using the geometric designs from the same kit.

owl-with-geometric-bckgrnd

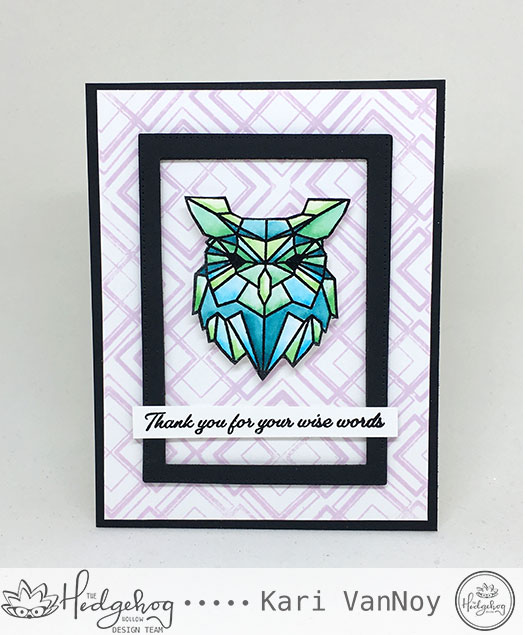
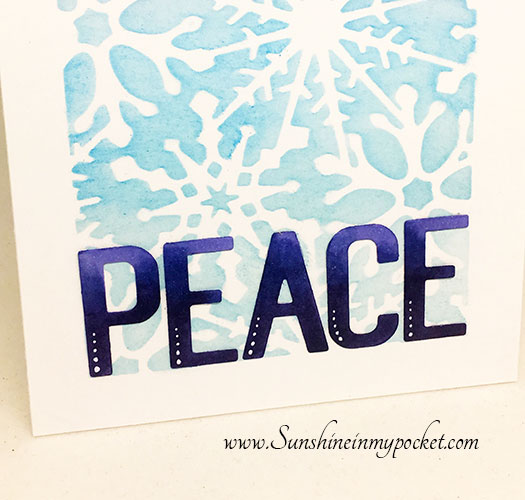
This square geometric design is probably my favorite. I just stamped it repeatedly to create that background using Distress Oxide Ink!

wolf-card

For the wolf card background, I used another geometric shape and white heat embossed it onto grey cardstock. I think it looks cool with this wolf!

wolf-side-view

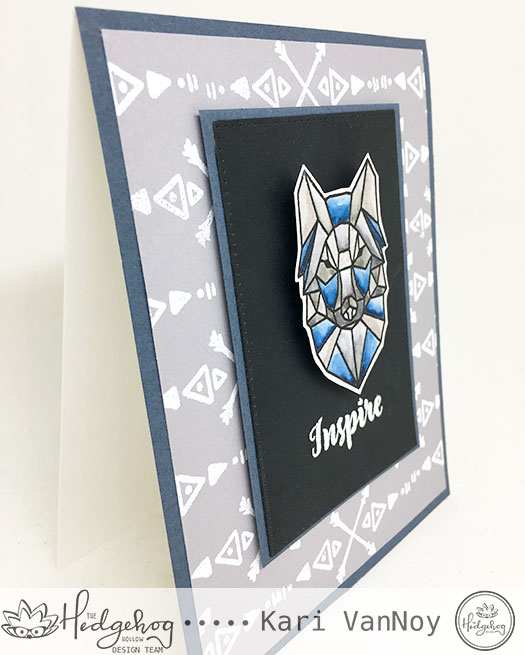
To finish off these cards, I popped the images up using double layer of foam tape. These turned out so cool, don’t you think? And they look a bit masculine…which is not easy for me to create!

Love them and I hope this inspired you to try some geometric watercoloring yourself.

Thanks for stopping by!

Comments { 0 }
unicorn-close-up

Geometric Love

Happy New Year! I took a little break between Christmas and New Years for some much needed time off! But I just got the new Hedgehog Hollow January Kit and I couldn’t wait to share! I have two videos for you today, the first one is the unveiling of the kit!!

And the second one is the first set of cards I made with this kit.

Check out the video below for the unveiling, or watch it on YouTube:

I really really LOVE this kit! The geometric shapes are a dream!

I just had to make some projects first using those chipboard pieces. Watch my video below or on YouTube for two ideas on using those chipboard cut outs:


Oh yes…I made a GOLDEN UNICORN! Perfect for the sentiment: “Follow your dreams, they know the way.”  unicorn-card unicorn-close-up

I also created a sparkly, colored butterfly and I show  you just how to do this in the video. I hope you will take a look!

both-cards-together

Thanks for visiting today! Happy New Year! I really do hope you will follow your dreams….

Comments { 0 }
foxy-faux-shaker

Happy New Year, Foxy!

Hello again! I hope you had a wonderful Christmas! Now that Christmas is over, it’s time to focus on a few more New Years cards for me…how about you?

Today I’m over on the Hedgehog Hollow blog sharing this fun Faux Shaker card! I used products from the Hedgehog Hollow December box, and added a couple foxes from the Pretty Pink Posh Woodland Critters set.

foxy-faux-shaker

I used embossable plastic for the sentiment because I wanted to see through to the beautiful iridescent fireworks!

faux-shaker-close-up

For all the details on how to make this card, head on over to my Hedgehog Hollow post here.

Thanks for stopping by! Happy New Year!

Comments { 0 }
peace-close-up

Owl Always Love you and Winter cards

Hello! Today I am sharing my last cards as a Designer for Our Daily Bread Designs. I have absolutely loved designing for ODBD, and I will certainly miss all the fun!

My first card is for my friends at ODBD, using the Winter Greetings stamp set with that beautiful owl. (I’ll always love you, ODBD friends and team! And a big thank you to Kelley for having me!)

sunshine-owl-always-love-you

I love that this set has a variety of greetings for both winter cards and other sentiments! I used the Pine branches and Pinecones dies on this card (some of my favorites).

My next card shows the beautiful snowy trees from the December release called Peaceful Wishes.

sunshine-peace-on-earth-trees-with-tag

I added some glitter to those snowy trees and used Distress ink to ink around the edges of this card. If you don’t have a tag die, never fear…you can use a rectangle die in a smaller size to make a tag! I love how it looks with some grey pine branches and a blue thread bow. The frame is from this set.

My last card is a favorite:

sunshine-peace-snowflake-sky

I cut out that PEACE word from this die, then colored it with Copic markers in a variety of violets. I added dots using a white gel pen.

peace-close-up

Then I cut out the Snowflake Sky die and used it as a stencil. To make it feel soft and dreamy, I used Clarity brushes to add the Distress ink in Salty Ocean, and Tattered Jeans. Those Clarity brushes are wonderful!

I hope you enjoyed my projects today. I hope you have a very happy Holiday season and a Merry Christmas!

Comments { 0 }
inside-of-card

Glitter Embossed New Year

Hello! Today I have a New Year card to share that’s full of glitter…but never fear! This is the kind of card that won’t get glitter all over the place. It’s a fun embossing technique and I have a video to show you just how easy it is.

front-of-card

Here’s the front of the card. Those glasses are popped up on an Action Wobble!

Here’s the inside of the card:

inside-of-card

Watch the video below or on YouTube to see just how it’s done.


I hope you enjoyed this project today. Here’s one last look at that beautiful glittery embossed background:

glitter-close-up

Merry Christmas and Happy New Year!

Comments { 0 }