Archive | Paper Crafting RSS feed for this section
both-cards-2

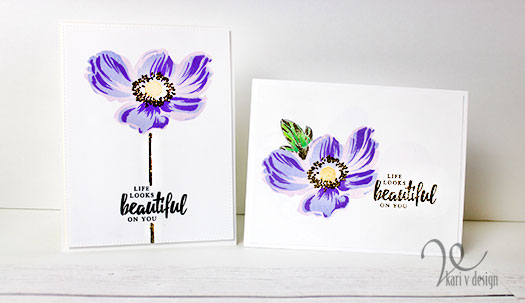
Life Looks Beautiful on You

Hello! Today I have another card share for my Altenew Educators Certification Program. This time, I was inspired by Jennifer Rzasa in the Clean & Simple Boutique Cards class.

Clean & Simple definitely does not come easy for me, but Jennifer suggested adding a little something extra like foil or embossing powder. This gives the card a bit more flair and still remains clean & simple.

Here’s my take, (it is difficult to capture the shine of the gold in photos, so please keep scrolling for more pictures):
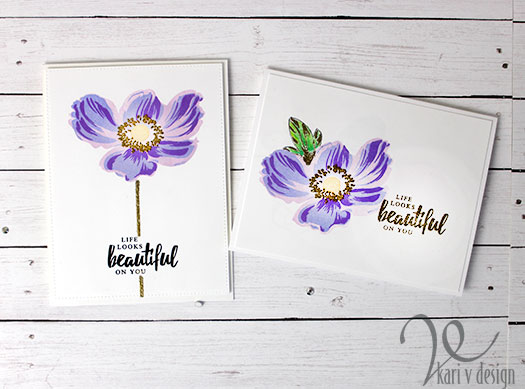
I just love the look of this stamp set (Build-A-Flower: Anemone)! I used a variety of purple inks to get this look. Since I don’t have my Altenew inks yet, I combined both Distress Ink and Distress Oxides to get this look.

The idea was to add a gold embossed stem to the Anemone, but this stamp set doesn’t have any stems, so I drew one on using a Versamarker!
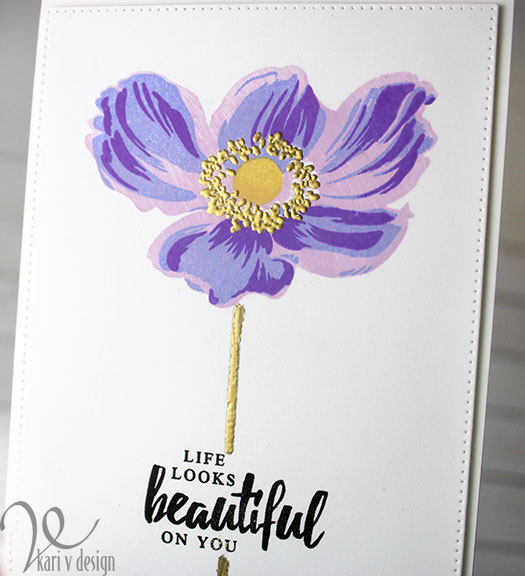
Gold embossing powder adds a pop of shine

I have a video below to show you the process, or watch on YouTube:

Just imagine all the different color combinations you can try on this flower. I love the big change in colors I got here, but for a more subtle effect you could simply use one or two colors and double, even triple stamp in that color.
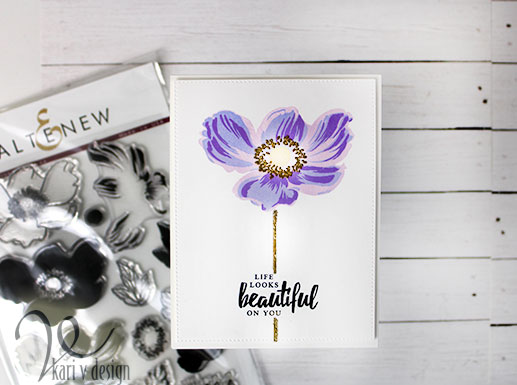
I hope you enjoyed this project today. I often get asked what products I’ve used, so I have a list below. I use affiliate links, when available, at no extra cost to you. When you purchase using these links, I may receive a small commission. This helps me to keep up with blog costs and continue to bring you projects like this! Thanks for your support.

Love this Anemone set! Thanks so much for stopping by.
Dramatic Anemone
Comments { 4 }
Day-1-wonderful-watercolor-card-1

Wonderful Watercolor

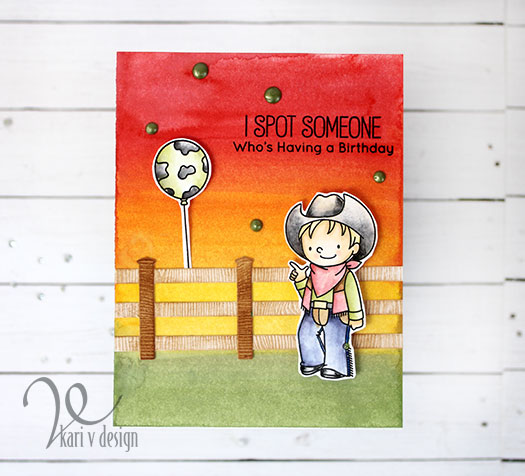
Hello! Today I’m participating in MFT Camp Create challenge! It’s Day 1 and that means watercolor cards!

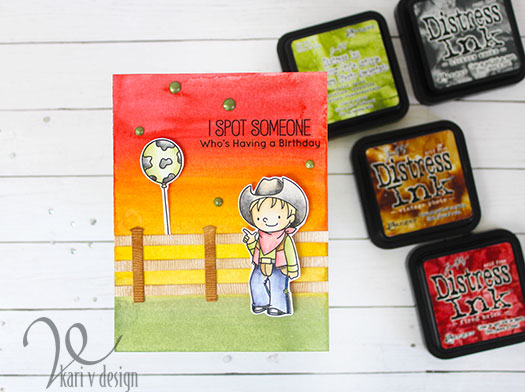
It’s been a while since I’ve watercolored with Distress Inks, so I thought I’d give it a go today on my images. For the background I used Gansai Tambi so I could get a bright, vibrant sunset!

I spot someone who’s having a birthday!

I set the background first to dry before starting in on the images. That fence is a die from My Favorite Things that I’ve had in my stash for AGES!! I love that I got to use it on my cowboy card today.

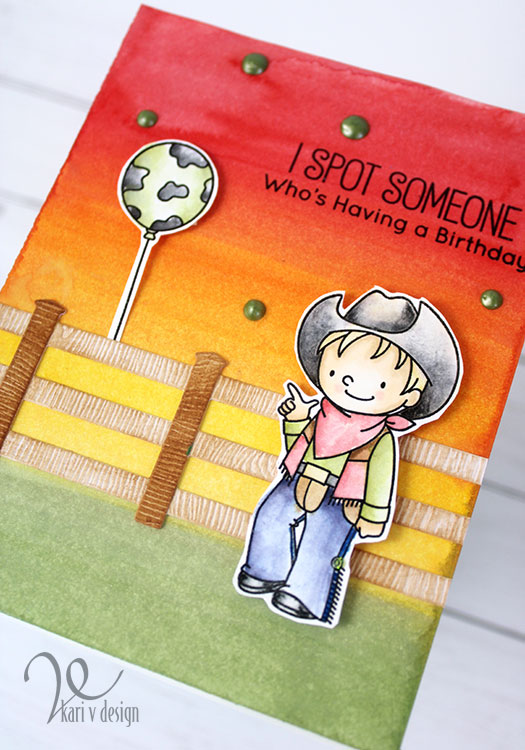
Rootin’ Tootin’ Cowboy

Isn’t he cute! I originally watercolored his hat with brown (Vintage Photo), but I felt like it washed his face out too much, so I went over it with Black Soot Distress Ink.

Here’s my badge I earned for today!

Thanks for stopping by today! And wish me luck in the challenge!

Comments { 0 }
purple-with-starfish

A Jellyfish card with Bioluminescence

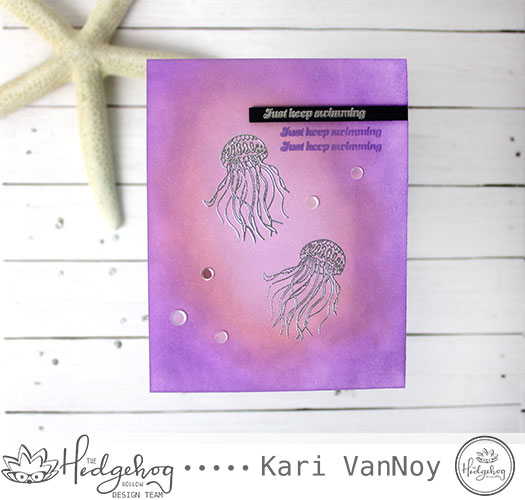
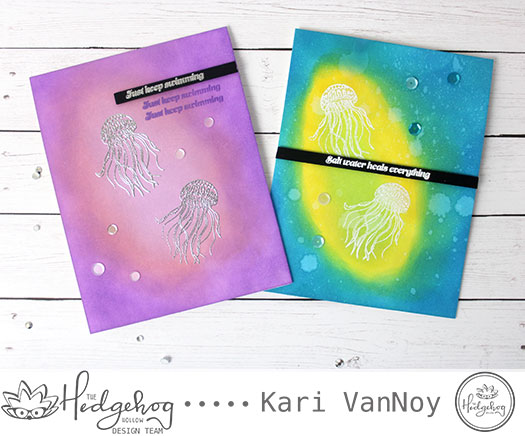
Hello! Today I have a couple cards re-creating the look of Bioluminescence using Distress Oxide inks. Did you know that over 90% of all jellyfish produce a chemical reaction that creates light? So cool! So today I thought a card showcasing that natural phenomenon would be fun.

I actually have had a REAL-LIFE encounter with a jellyfish. In fact, too close of an encounter! Yes, I was stung multiple times on the leg while I was snorkeling in Hawaii. But I was told that I was LUCKY…because it was only a “mild” one. And it only hurt for a few hours afterwards.

But that is why I enjoy jellyfish more on a CARD! Lol.

Just Keep Swimming, Just Keep Swimming…

I have a quick video showing the process of this card, including how I fixed an error on stamping the sentiment. (I always try to save a card after working so hard on it, if possible!)

Watch the video below or in HD on YouTube:

These cards actually came together pretty quickly, and I think they will be great encouragement cards. You can make them as dramatic or subtle as you want, depending on the colors you choose.

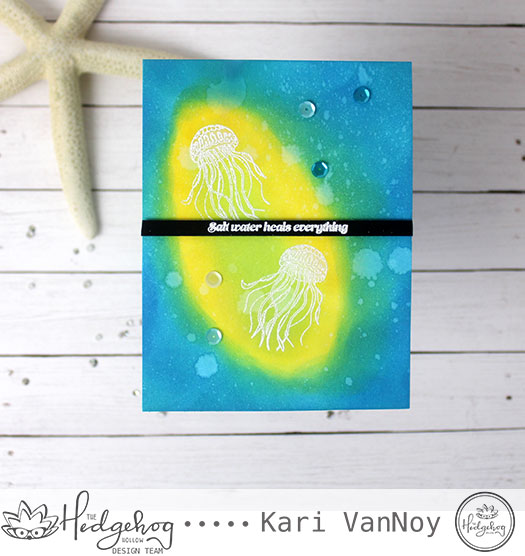
I splattered water on the blue card, but not on the purple card. I like both ways. Which one do you like better?

Salt Water heals everything (except jellyfish stings!)

Have you ever met a jellyfish in the ocean? I’d love to hear your stories!

I hope you enjoyed these cards today. Thanks for stopping by!

Comments { 0 }
copic-tiddlyinks-close-up-2

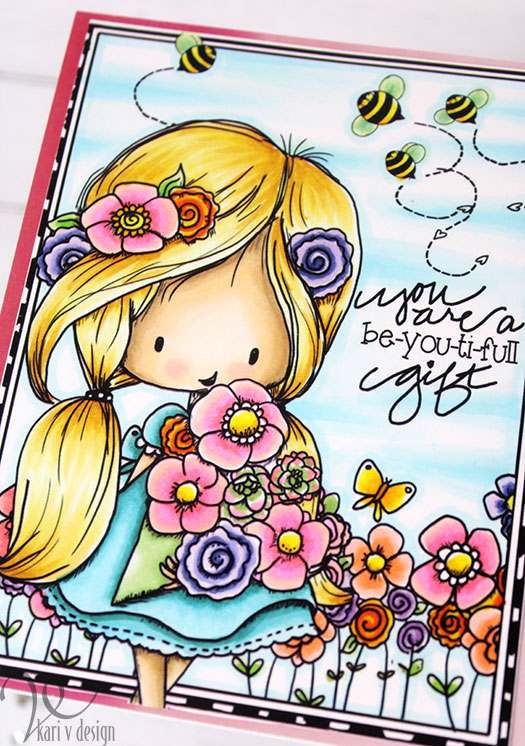
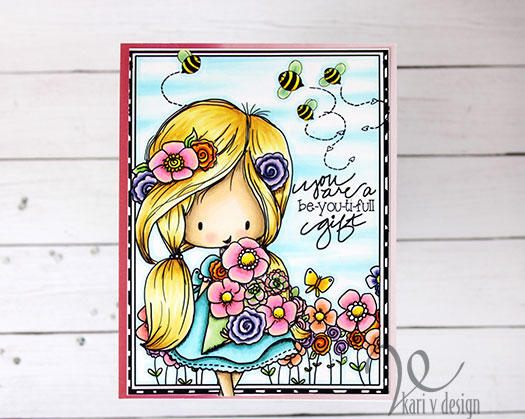
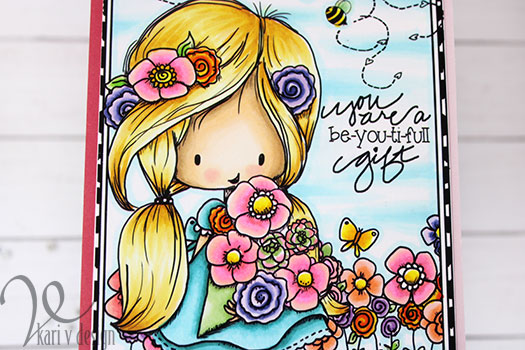
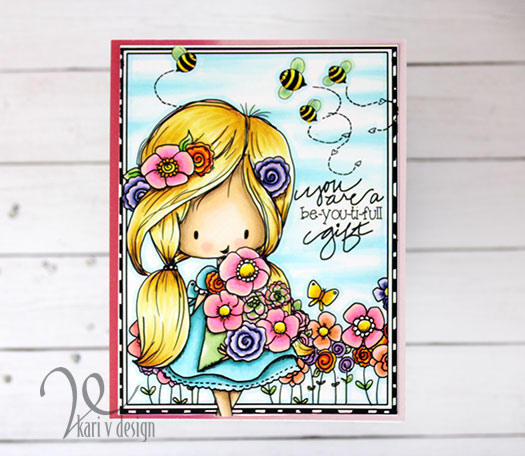
You are BeeYouTiful

Today I have a quick cardshare, with a new Blonde color combo that I love! This image is from Tiddlyinks and is currently a freebie digital stamp in their shop…go check it out here.

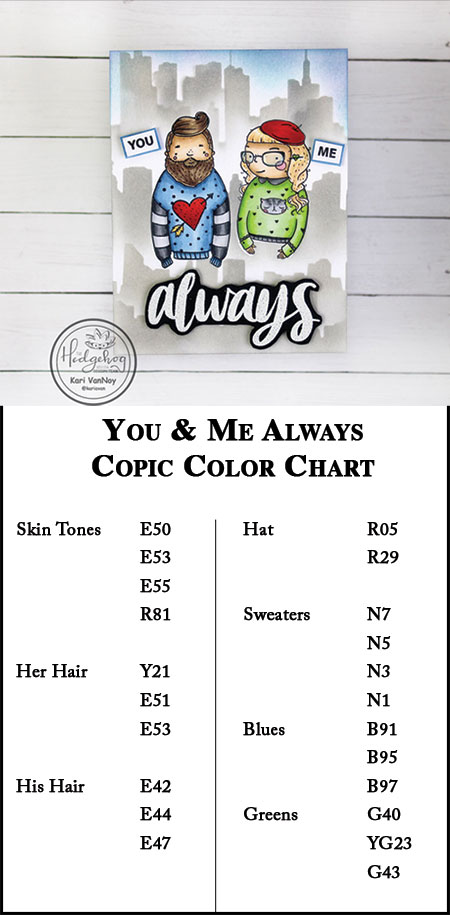
The Copic Colors I used for the hair are YR24, Y21, Y11, Y000. This is a new favorite combo. I’ve been searching for a blonde that’s not too yellow, not too brown, and this one is just perfect!

I had a great time coloring this image. What a cutie!

Thanks for stopping by!

Comments { 0 }
both-cards-with-shell

Layering Stamp Ideas

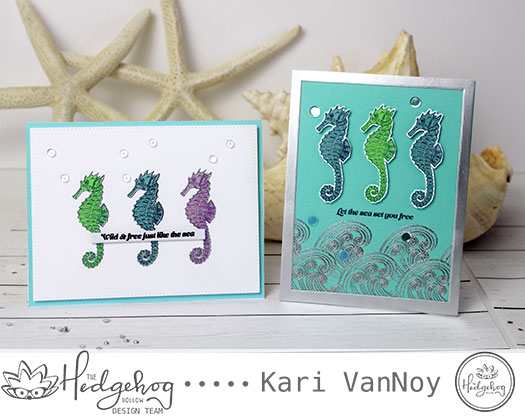
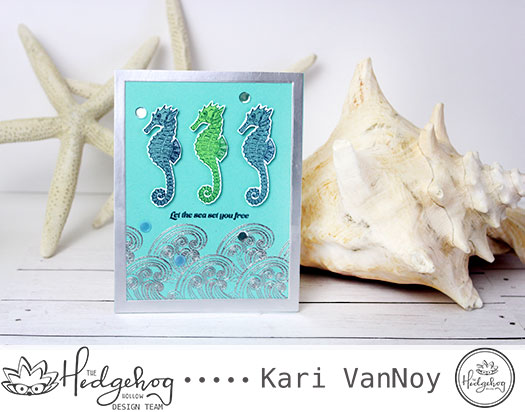
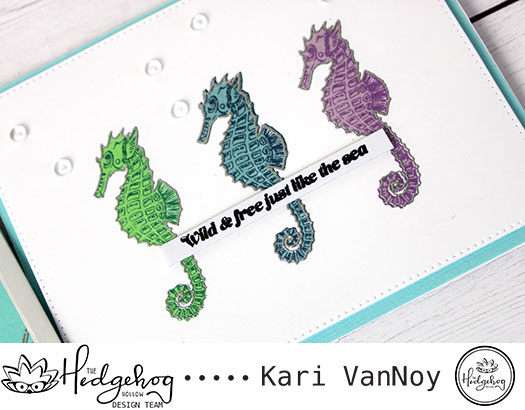
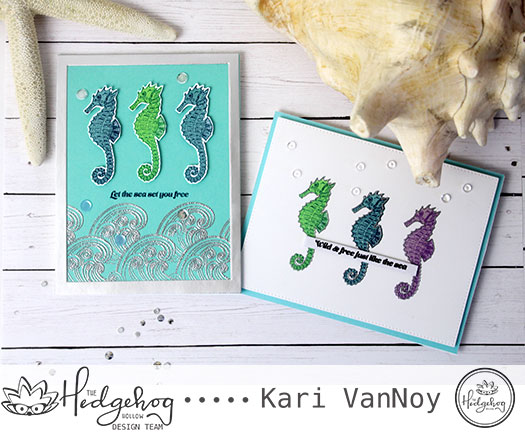
Hello! Today I have a layering stamp set of Seahorses from the Hedgehog Hollow June 2019 kit.

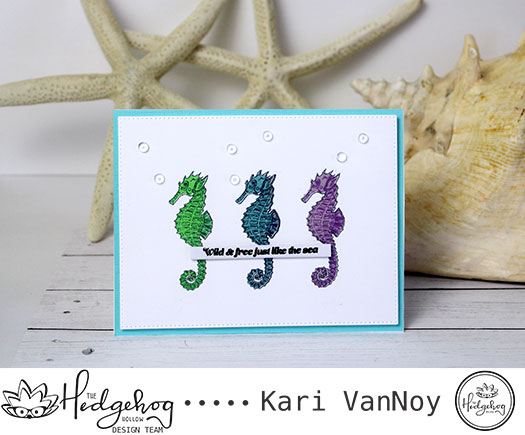
There are so many beautiful beachy images in this kit: shells, coral, bubbles, fish, etc. But those seahorses really spoke to me! So that is what I used for my very first card make with this kit.

Multi-colored seahorses

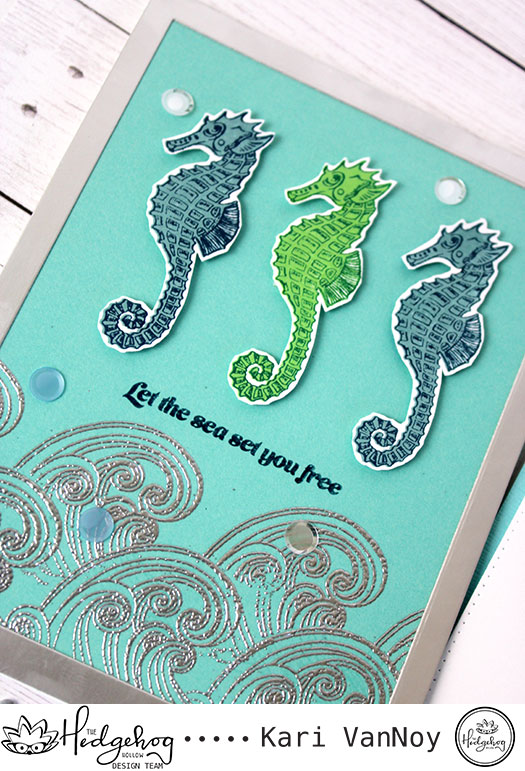
I love layering stamps for adding easy color to my cards. Just choose some different shades of ink and start with the lightest color. Then add the darker color over the top for the second layer, and so on. If you don’t have multiple shades, then stamp the ink multiple times to get a darker shade!

I have a process video for you showing you some tips on making LOTS of seahorses for your cards that is oh-so-easy.

Watch it below or on YouTube:

I love using a stamping platform with a ruler for such easy placement and stamping the many layers! So easy and quick.

Those layers!! Solid bottom layer, Detailed second layer in a darker ink

I did fussy cut out these seahorses (above), but the image is easy enough to cut out.

Silver embossed edge

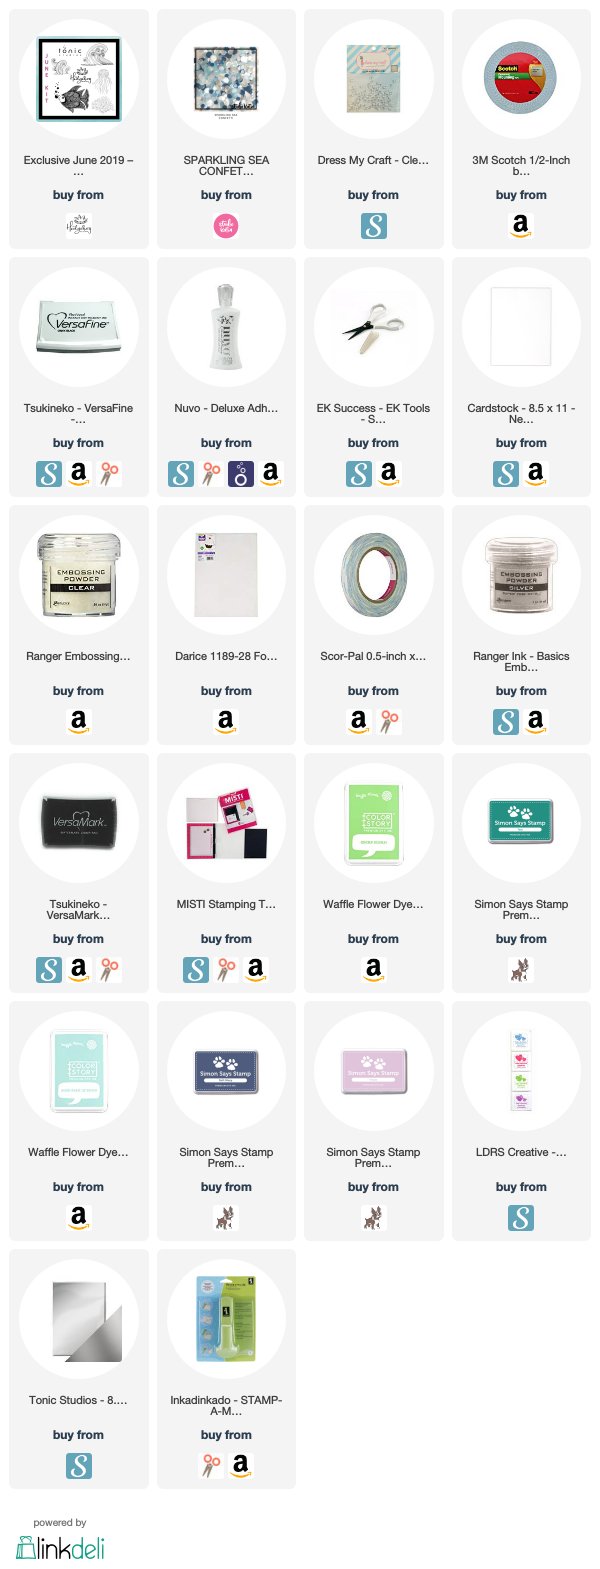
I’m often asked what products I used on my cards, so I’ve compiled a list for you using affiliate links when possible. When you purchase something using these links I may receive a small commission. These help me to keep up with blog costs and bring you more fun projects! Thank you so very much!


I hope I inspired you to try this method on any of your layering stamps! Thanks for stopping by.
Comments { 0 }