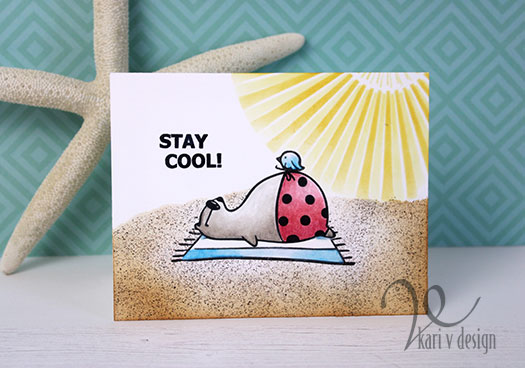
Hello! Today it was 120 degrees (Farenheit) here in Arizona, and I really wish I was at the beach! So I decided to share a simple beach card I created with a VIDEO. This is a card I created a while ago, but have never shared the video on my channel.
Wishing I was on that beach right now!
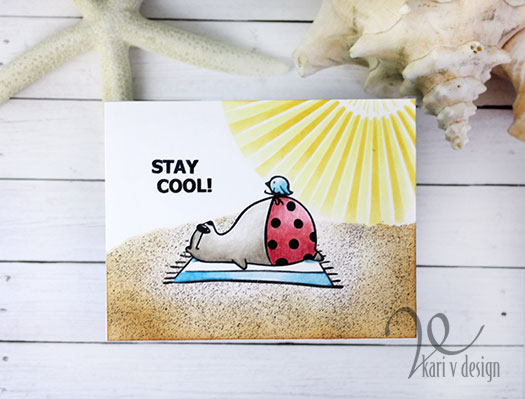
Doesn’t Big Bear look so happy on the beach?!
I hope you enjoy!
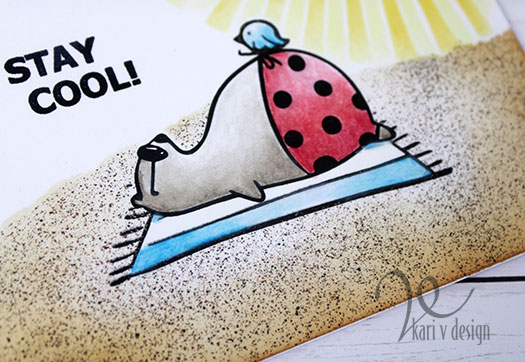
Look at that sandy beach! This technique is STILL a favorite way to create realistic sand granules for a beach scene. Check it out and let me know if you’ve tried it before?
Looks like real sand granules!
I also share a colored pencil technique to get a smooth blend. This is another favorite technique when I am using colored pencils.
I’m often asked what supplies I’ve used, so I created a list for you here, using affiliate links when possible. When you purchase using these links, I may receive a small commission. This helps me keep up with blog costs and continue to bring you fun projects like this one! Thank you so much for your support!
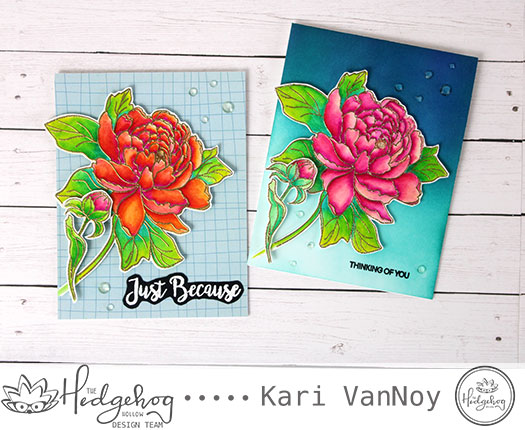
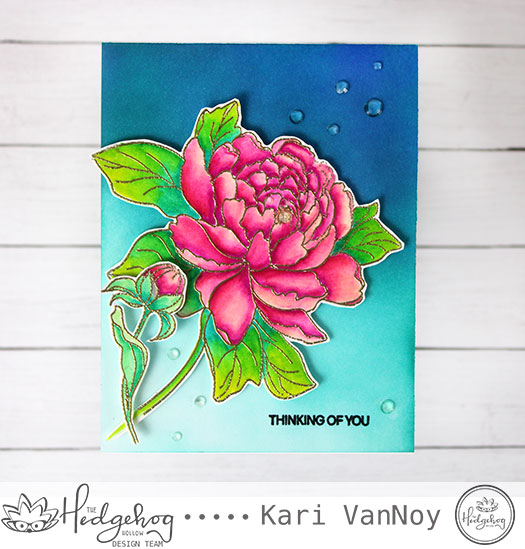
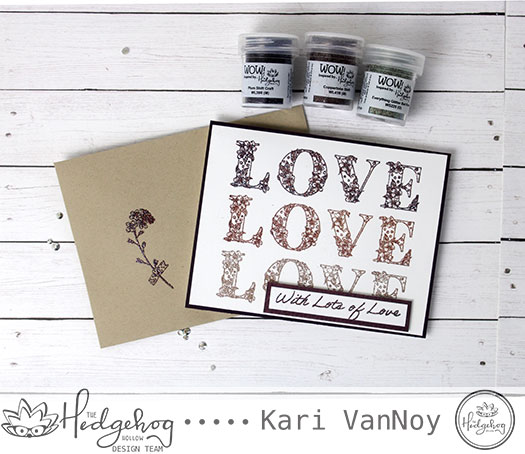
Hello! Today I’m excited to bring to you a couple cards using beautiful florals designed by Alex Syberia. These florals are exclusive to the Hedgehog Hollow August box and they are gorgeous! I have had a few requests to show how to blend with Zig Clean Color Real Brush Markers….and so I’m combining the two!
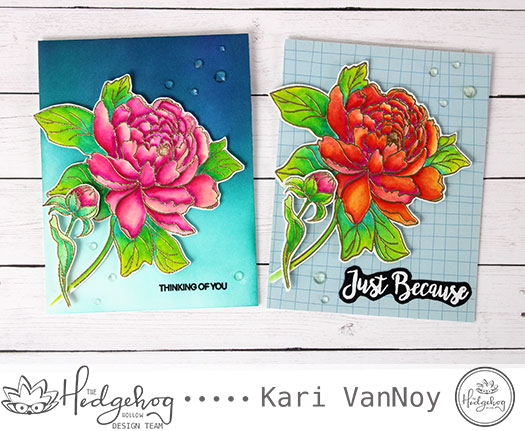
Here’s a look at my cards:
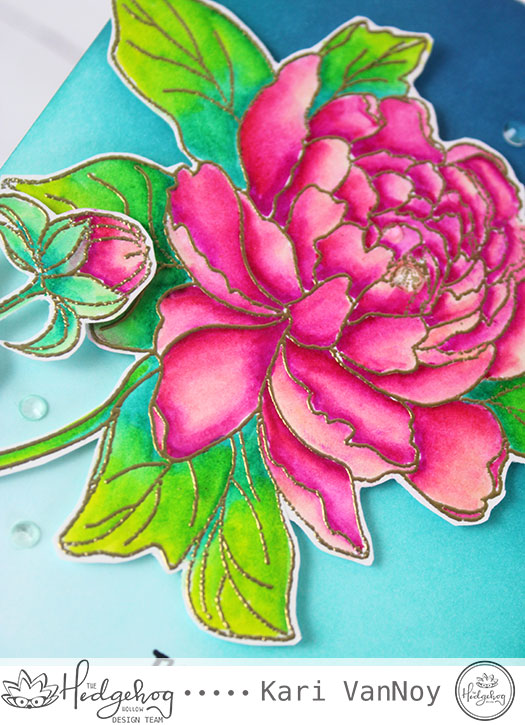
Vibrant Colors from these watercolor markers!
I have a video showing you the process and how to get such vibrant colors (hint: I don’t use water at all! Only the Zigs). Watch the video below or on YouTube:
This August box will sell out fast, so if you love beautiful florals that are so very fun to color, go check out this box soon!
Ink blended background
I gold heat embossed the images first, then colored with the Zigs. For this first card, I ink blended a background using Distress Inks and makeup brushes. I love this look. I used the Zigs on the flowers and fussy cut them out. Then I popped them up using foam tape.
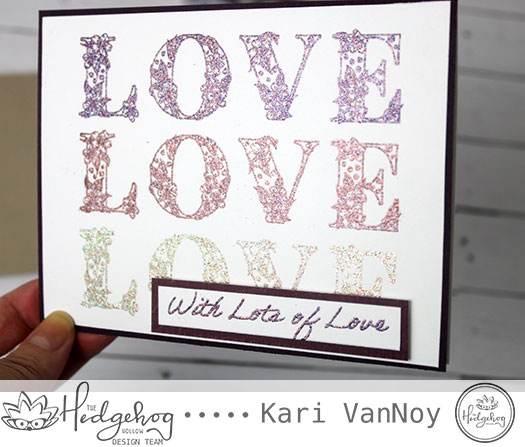
Three colors of green, Three colors of pink
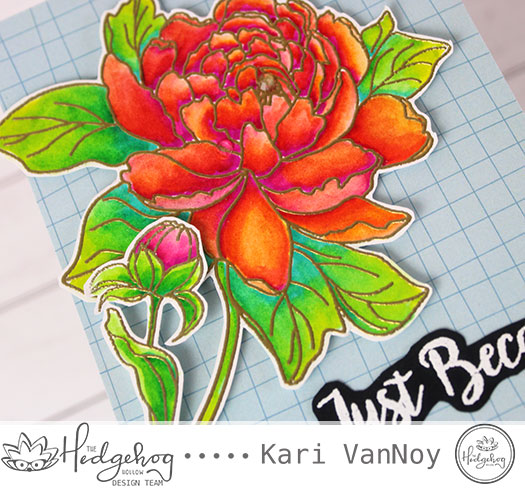
Now I know sometimes the ink blending on the background either takes too long, or maybe you don’t enjoy ink blending. This beautiful flower looks great on a patterned paper background, too!
I’m often asked about the supplies I use to make my cards, so I’ve compiled a list for you here, using affiliate links when possible. When you purchase using these links, I may receive a small commission. These help me to keep up with my blog costs and continue to bring you fun projects. Thank you so very much!
I really hope you love these cards as much as I do. Sometimes a photograph just doesn’t do a card justice, and I think that might be the case with these! I love just how much they POP in real life! Thank you for stopping by.
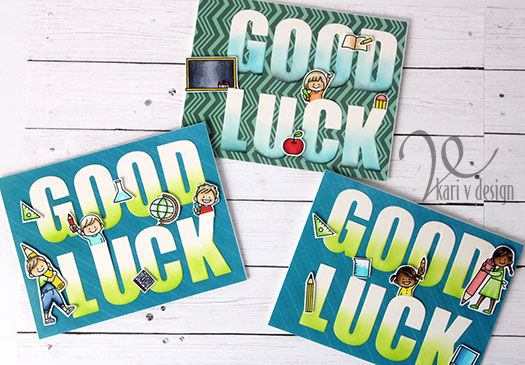
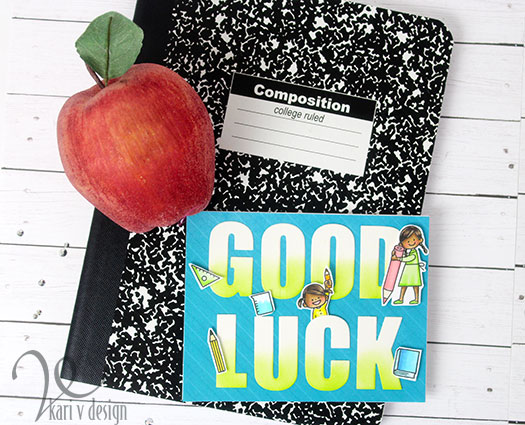
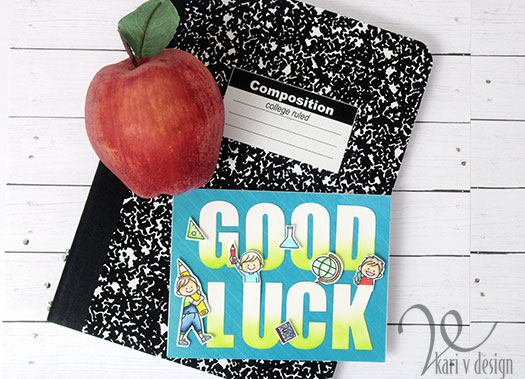
Hello! It’s Back to School week for our kiddos here and I have some quick cards to share. When I put together cards for kids, I try to remember that they are kids and really don’t care how much time or effort that goes into making a card. So that means, something quick but still cute!
Enter some stamp and die elements that are cute AND will fill the entire card.
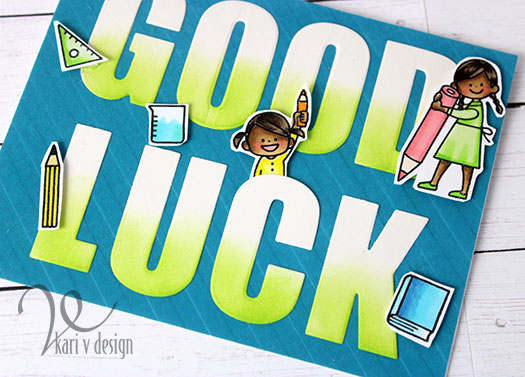
I stamped every single image from this Waffle Flower set and colored them in quickly with my Copic markers.
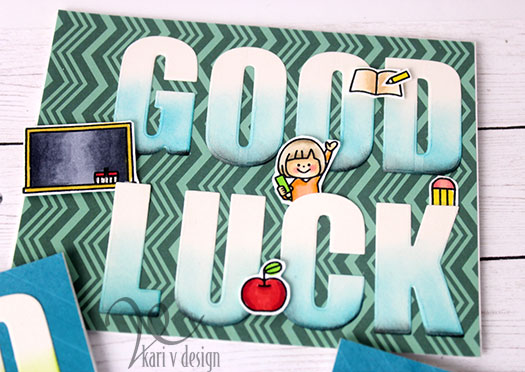
Then, I die cut the large alphabet dies to spell “Good Luck” from cream colored 110# cardstock. To add some punch, I added some ink with finger daubers on the lower part of the letters.
Back to School!
I used patterned paper for the card panel to add some extra texture, and adhered the letters on with liquid glue. Then I popped up the images with foam tape.
A fun card and easy to put together. I’m pretty sure my nephews and granddaughters will love them! But I think they will love the “smarties” candies that I’m giving them to go along with the card. Lol.
I’m often asked what supplies I’ve used, so I have a list below using affiliate links, when possible. When you purchase using these links, I may receive a small commission. This helps me to keep up with blog costs and continue to bring you fun projects. Thank you so much!
I hope you enjoyed these back to school cards today! If you have kids/grandkids going back to school, I wish them Good Luck!
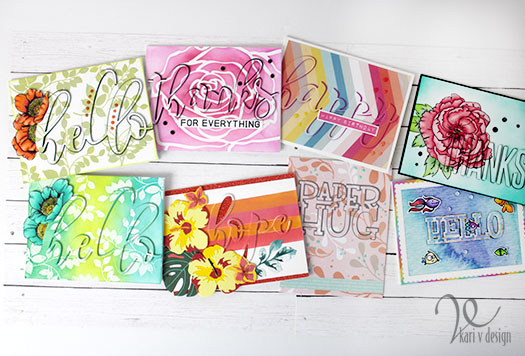
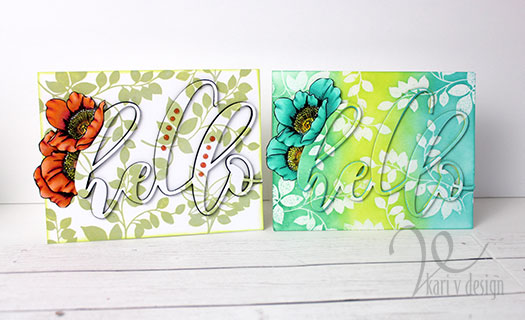
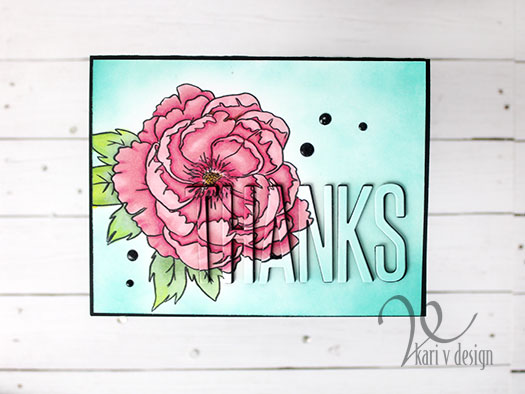
Hello! Today I have another one of my very favorite techniques to share with you called spotlight die cutting! I’m pairing it with some ink blending techniques today for some very fun and bright cards.
Here’s a look at all of my cards:
I am so excited to be a guest over on Justine Hovey’s YouTube Channel to show you just how to do this so check it out below or on YouTube!
This technique is so fun and really easy once you know some of the shortcuts. I share lots of variations and ideas in this video, so I hope you will check it out!
These ink blended cards (the blue hello card on the right and the hope card below) are inspired and a part of my Altenew AECP certification classes, Easy Ink Blending Techniques. Ink blending over embossing is definitely a favorite of mine, as shown on the blue/green card above. I first stamped the leaves with VersaMark ink, then added clear embossing powder over the top. I heat set that with my heat gun and then blended on the ink over the top. To make the leaves really pop, wipe the excess ink off the embossed images with a clean towel.
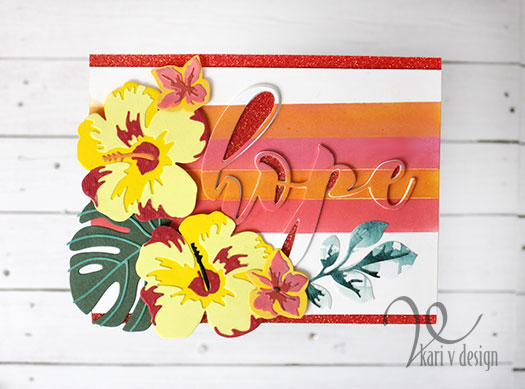
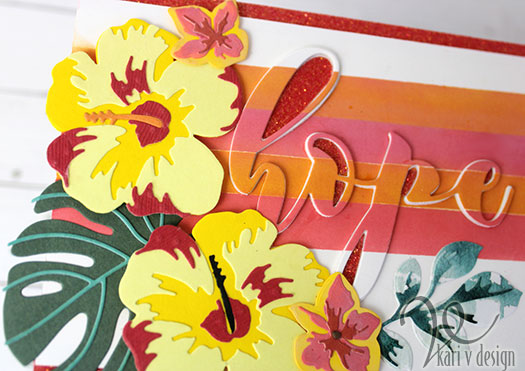
For this hope card, I masked off some stripes and ink blended with Distress Oxides and a makeup brush until I got a soft, smooth blend. Then I die cut the hope after this was all done. Those hibiscus are just gorgeous, aren’t they?! And the glitter tape adds just a bit of extra pop!
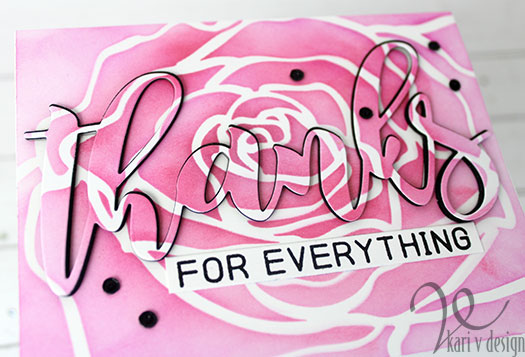
This Mega Rose stencil is a fun one for ink blending over. Here I used two different colors of Distress Ink to get the variation of color. So easy to do and it adds quite a pop!
I’m often asked what supplies I’ve used on my cards, so I’ve compiled a list for you, using affiliate links when possible at no extra cost to you. When you make a purchase through these links, I may receive a small commission. These help me to keep up with blog costs and continue to bring you fun projects like this one! Thank you so much!
A BIG THANKS for stopping by and watching my video. Which card is your favorite?
Hi I'm Kari. I'm a creator, a card maker, and a day maker! I am Lucky in love to a supportive husband, blessed to raise 3 kids (all moved away now!), and happy to be watched over by 2 dogs.
I originally started this blog to remind me to be happy amid adversity, and I hope it inspires you, too!