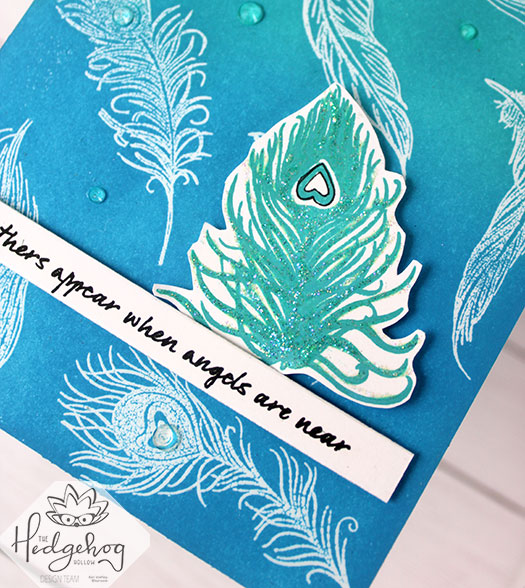
Hello! Today I am sharing the sweetest angel feathers card using the September 2019 Hedgehog Hollow kit. This kit is filled with feathers and peacocks and beautiful sentiments.
I think my favorite sentiment in the entire kit is the one that says “Feathers appear when angels are near.” Isn’t that so sweet? So today I am using that sentiment with quite a few of the feathers from the kit.
I have a quick video to show you how I made this card, watch it below or on YouTube:
I hope you got to see my NEW favorite domed ink blending tool!? It’s the best and did you notice the handle is already gray?! Perfect for all my Distress Oxides (you can, of course, use this for any of your inks!) I’ve linked it below if you want to check it out for yourself!
I’m often asked what supplies I use to make my cards and projects, so I’ve put together a list using affiliate links when possible. If you make a purchase with these links I may receive a small commission. These help me to keep up with blog costs and continue bringing you fun projects. Thank you so much for your support!
Thanks for stopping by today! See you next time with more inspiration.
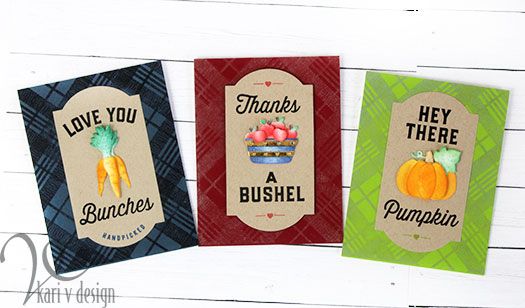
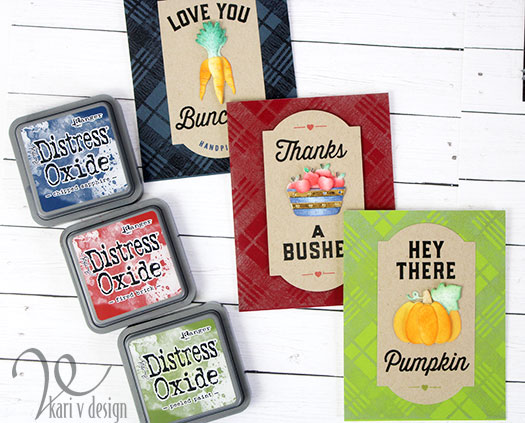
Hello! Today I have some fun Fall Harvest cards to share using some of my favorite fall colors…I am in love with plaid backgrounds (especially for fall and holidays), so I brought in some plaid with the cutest pumpkin, carrots, and apples!
Some of my favorite fall colors
These produce dies are just the cutest! And I cannot resist that apple bucket with gold foil accents!!
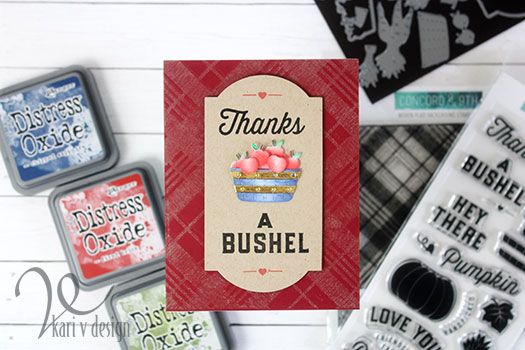
Gold foil brackets for this apple basket!
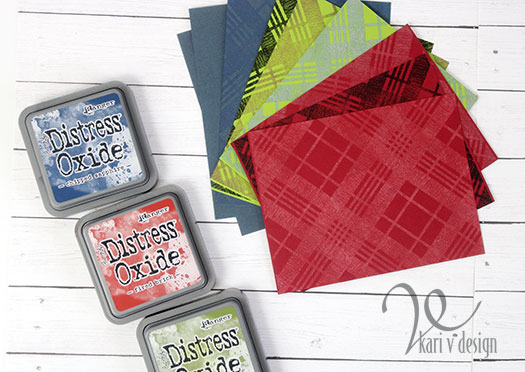
I started off by stamping the backgrounds with the plaid background stamp. I tried lots of colors on different cardstocks. My favorites were the Distress Oxides for this stamp. This looks like a white ink on the red background, but it’s actually Fired Brick Distress Oxide!! It’s lighter than the cranberry cardstock, so it looks white…what a cool look.
testing plaid background colors
I have a video showing you the entire process and just how easy it is to make these cute harvest cards! I’m a part of a Fall Video Hop with PRIZES, so take a look below, or in HD on YouTube:
I’m often asked what supplies I used, so here is a list using affiliate links when possible. If you purchase using these links I may receive a small commission at no extra cost to you. This helps me to keep up with blog costs and continue to bring you fun projects. Thank you!
Thanks for stopping by! I hope you enjoyed this fall project.
Hello! Today I’m sharing a quick FALL card on my blog and YouTube channel. It feels like fall could be just around the corner for us here in Arizona…the days are cooler (less than 100 degrees!), and clouds are covering the sky today! I love fall.
We don’t get the changing leaves and fall colors here where I live, so I have to re-create that magical look on a card. Fall cards might be some of my favorites!
Beautiful fall leaves!
I have a quick video (less than 5 minutes….what?!) to show you the process for this card with fall colors! Watch it below or on YouTube:
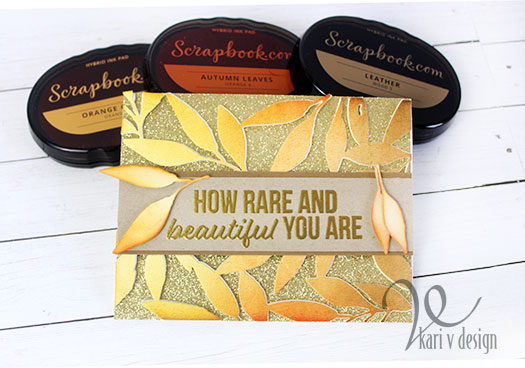
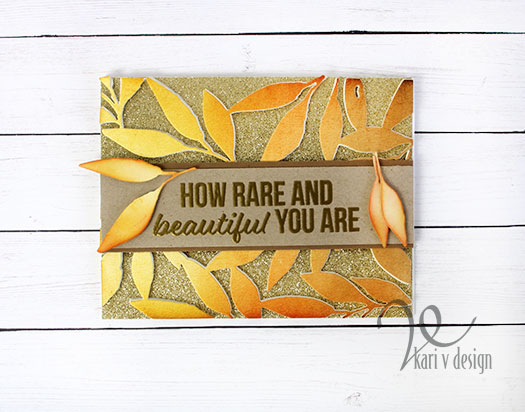
How does the time fly by so fast? It’s September and already we are looking to the holidays coming up. But for now, let’s focus on FALL. I first inked up the background with stencil brushes and these new-to-me FALL ink pads from Scrapbook.com. I love these ink pads….they are hybrid inks so they are great for stamping, inking, watercoloring! Today they worked a charm for blending those fall leaves very quickly.
I die cut the inked panel using the Leaves cover die, then added that to three more die cut layers to create a sturdy piece. Then I layered those leaves on top of gold glitter paper. Fall always makes me think of gold, glitter, magic. 🙂 I added the sentiment strip and a few extra leaves to finish the card.
I’ve compiled a list of the products I’ve used, using affiliate links when possible. I’m often asked about the products, so this will make it easy. When you purchase using these links, I may receive a small commission. These help me to keep up with blog costs and continue to bring you fun projects. I’m so grateful!
I hope you enjoyed this fall project. I’ll be back to share lots more card inspiration soon!
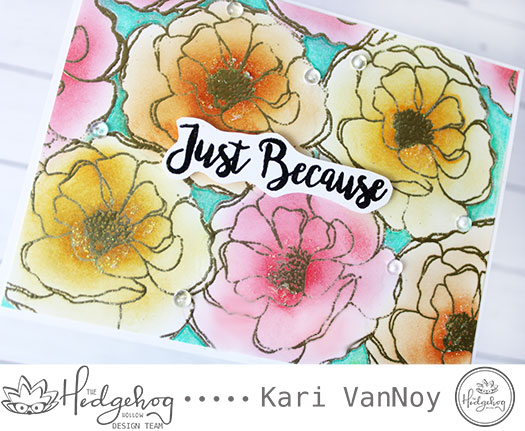
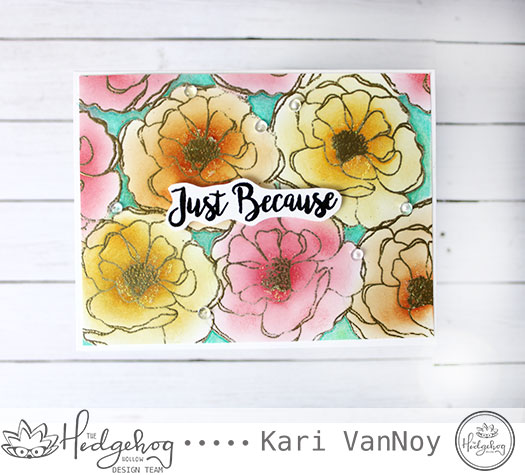
Hello! Today I have a card that is so fast, you might not believe me! I’m using a technique that I’ve used for years with great results.
Let’s be honest: as cardmakers sometimes we need a FAST card and we don’t want to create any masks. Well, if that sounds like you, you are going to love this technique!
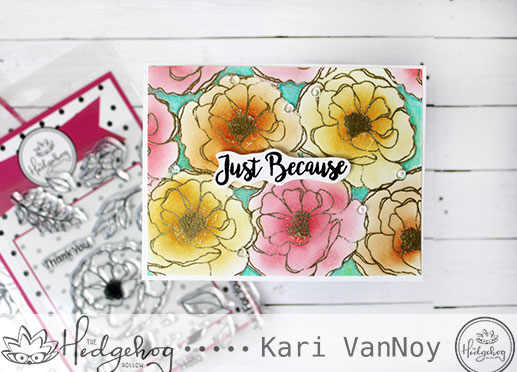
Fill a card front FAST (no masking)
I took one flower stamp and filled the card front without any masking. It’s easy and I made a quick video to show you just how it’s done. Watch it below or on YouTube:
This card took me under 20 minutes to make (and for me that is FAST!) I love that you can change this floral card up with colors and sentiments.
Just Because
Keep this technique in your arsenal for when you need a quick card. To color up these florals I used inks and a finger dauber, making them darker in the center. I used only 1 colored pencil for the background. So easy.
I’m often asked what supplies I use on my projects, so I have a list below using affiliate links when possible. When you purchase with one of these links I may receive a small commission (at no additional cost to you). This helps me keep up with blog costs and continue bringing you fun projects. Thank you!
I hope you enjoyed this fast technique today. I’ll be back with more inspiration later!
Hello! Today I am sharing my first Christmas card of the season. Also, I have a confession to make. I don’t usually make Christmas cards to mail out. I know, I know…I’m a card maker that doesn’t make my own Christmas cards! Shocking. But I found that it stresses me out too much to make multiples during the busy time of year, so I just don’t.
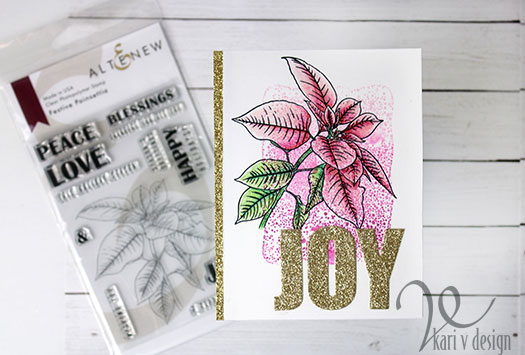
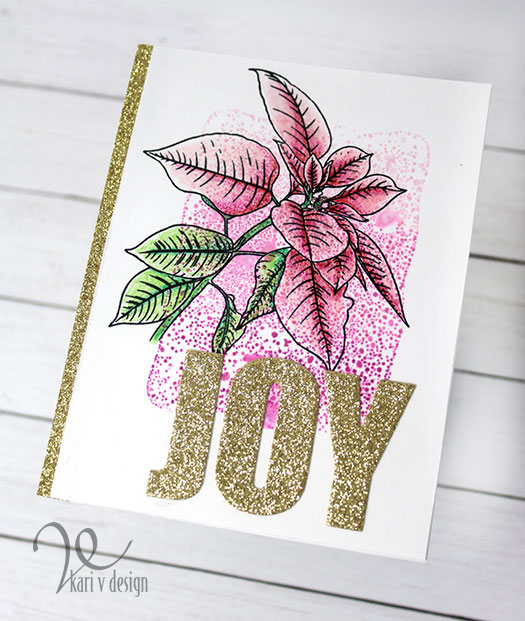
But today I made a festive poinsettia card that turned out so fun! I was inspired by the Irresistible Inking Techniques class at Altenew Academy and I just had to try it!
Polka dots in the background make me happy!
This is an inking technique I HAVE tried before, but this time I got so much better results. The trick is to ink up your acrylic block, spritz it with water using a light mist spray bottle, then stamp it onto your background.
I tried this a number of times using a variety of paper to see what different results I would get. I tested out the number of times to spray the ink before stamping. I tried different colors and time to leave the acrylic block on the paper. And this is my FAVORITE one of the bunch.
To get this cool spotted look, I used 3 different colors of Altenew ink on my block: Rose Quartz, Puffy Heart, and Purple Wine at the bottom. (This gave me a sort of Ombre look when I stamped it.) I spritzed it with TWO spritzes of water from a light mist spray bottle. (one was not enough, three was too much for my paper). Then I stamped it down onto Neenah Solar White 80# cover cardstock. This surprised me that I preferred the Neenah for this technique over a watercolor cardstock!
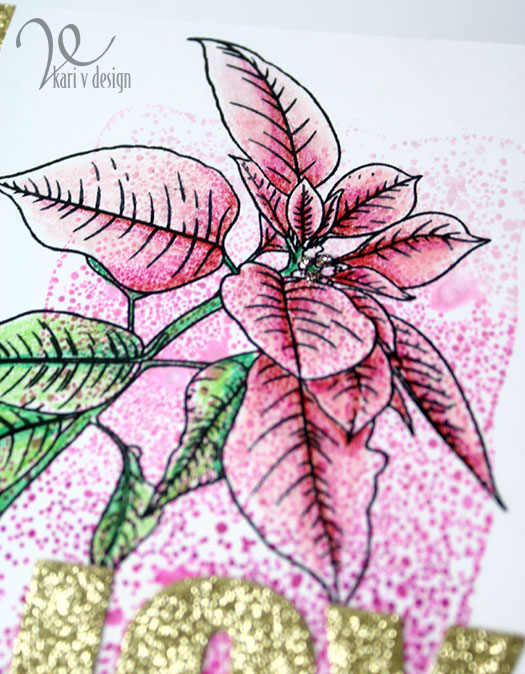
I love a speckled poinsettia
I stamped the poinsettia stamp using Versafine Onyx black ink, then I added just a touch of colored pencil. Just enough to give some color, but still see the spots. It reminds me of a speckled poinsettia….I love those!
To finish off the card, I cut it down a bit to add a strip of gold glitter cardstock on the edge. Then I added the JOY die cut out of the glitter card.
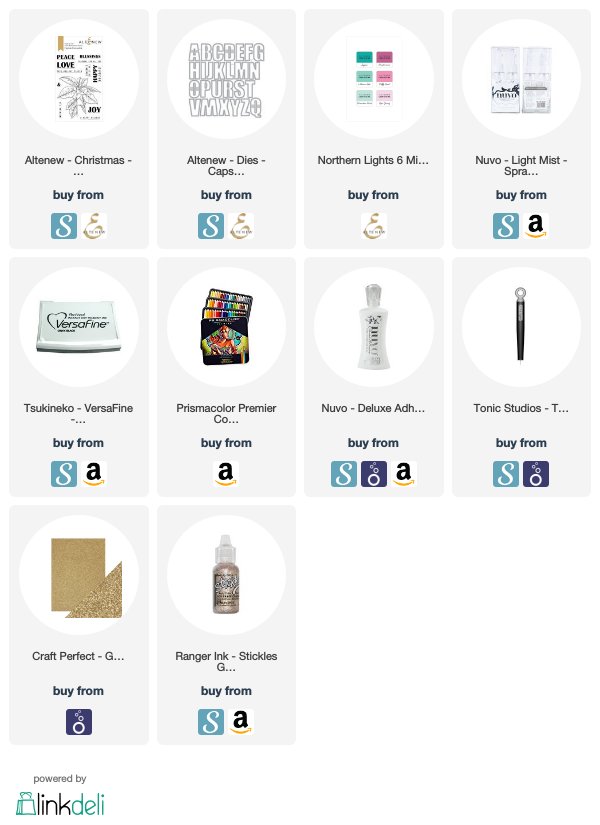
I have a list of the supplies I used below, with affiliate links when possible. When you click using these links I may receive a small commission. This helps me keep up with blog costs and continue bringing you fun projects. Thank you so much!
Oh, I forgot to mention that I also added some Mercury Glass Stickles to the center of the poinsettia to give more glittery shine to the card. When it catches the light just right, it looks so pretty.
Hi I'm Kari. I'm a creator, a card maker, and a day maker! I am Lucky in love to a supportive husband, blessed to raise 3 kids (all moved away now!), and happy to be watched over by 2 dogs.
I originally started this blog to remind me to be happy amid adversity, and I hope it inspires you, too!