Archive | Paper Crafting RSS feed for this section
Yip-Yip-shaker-4

Free Floating Shaker Card with Greetings from Mars

Hello! Today I am creating a Free Floating Shaker Card with Greetings From Mars! Watch the video below or on YouTube:

This is a fun stamp set, and I just love those little creatures. You should see how funny they look when they are “floating” around with this shaker card!

I created a foiled star background to give a nod to the “Mars” reference (like a galaxy). Don’t worry– there’s no heat involved in this foiling effort!

I hope you’ll check out the video to see the full process and how to put this card together.

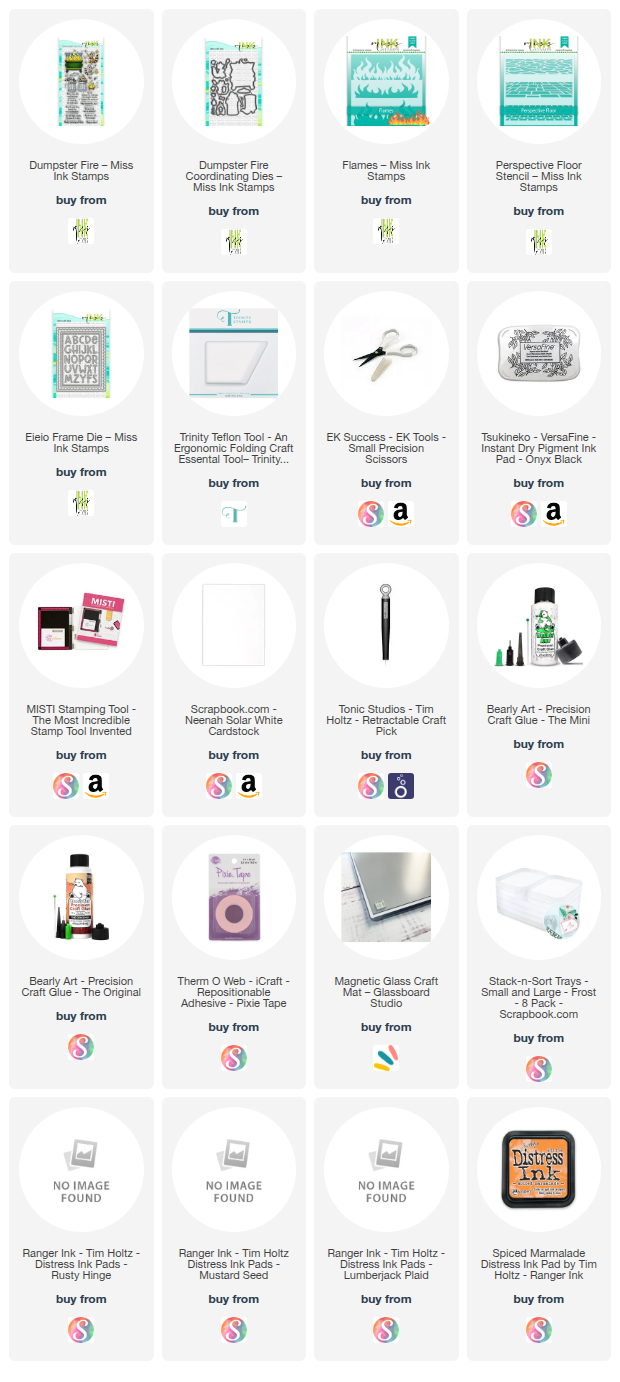
I’m often asked what supplies I use to make my cards and projects, so I’ve put together a list using affiliate links when possible. If you make a purchase with these links I may receive a small commission. These help me to keep up with blog costs and continue bringing you fun projects. Thank you so much for your support!



This could be a Christmas card for one of your weird relatives! Lol. Thanks for stopping by today! See you next time with more cards to share.

Comments { 0 }
YT-11-22-24-hot-foiled-Gift-boxes-ALL-3

Hot Foiled Gift Box

Hello! Today I have a new project and video to share…a set of Hot Foiled Gift Boxes! I am super excited to share the secret to getting this to work (because I wasn’t sure it WOULD work until I tried it!)

Watch the video here or on YouTube:

This is a project you really need to see! It is so much easier to explain it in the video, so go ahead and watch that first.

I started off with the beautiful hot foil plate called Jolly Holly from Crafty Meraki. I love this foil plate! I foiled some green onto a lighter green cardstock, some gold foil onto red cardstock AND some darker green cardstock.

Then, I put these boxes together and added a Metallic Bow from the Take A Bow Again die set. I just love how these little boxes turned out. They fit a good amount (5 or 6 easily) of Lindt Chocolates inside!

These little bejeweled boxes are so fun! I hope you can see some of the shine from the foil and the bows.

I’m often asked what supplies I use to make my cards and projects, so I’ve put together a list using affiliate links when possible. If you make a purchase with these links I may receive a small commission. These help me to keep up with blog costs and continue bringing you fun projects. Thank you so much for your support!


Thanks for stopping by, I hope you enjoyed this project! See you soon with more to share!

Comments { 0 }
sending-alotl-hugs-card-1

Ink Smooshing with Mica Sprays

Hello! Today I have a fun project using Mica Sprays for Ink Smooshing! I’ve never used this medium for ink smooshing before, but found that it adds some fun pearl shine to a background.

Watch the video below or on YouTube:

I love this set from Miss Ink Stamps…these Axolotls are so fun! I used the coordinating dies for this one, and this time I was SOOOO happy to use them…cutting these critters out would have been a bear! See how the dies cut out the inside pieces too? So perfect.

For ink smooshing I used Distress inks and then Mica Sprays. See the video for how I did this. The EIEIO Frame die set has four frame dies and I used them ALL on this card. I also used the included alphabet dies to spell the word “ALOTL.” I just love creating my own sentiments like this.

I’m often asked what supplies I use to make my cards and projects, so I’ve put together a list using affiliate links when possible. If you make a purchase with these links I may receive a small commission. These help me to keep up with blog costs and continue bringing you fun projects. Thank you so much for your support!


I hope you enjoyed this project today! Thanks for stopping by!

Comments { 0 }
YT-11-8-24-hi-hot-foil-luna-butterfly-stamped-background-card-4

My Secret Formula for Stamping a Background

Hello! Today I’m finally sharing my secret formula for stamping a background! Watch the video below or on YouTube:

I’m using some favorites from Crafty Meraki: that butterfly die set is so beautiful!! And the Hi Hot foil plate and die is my most used sentiment for sure! I usually keep a bunch of hot foiled “Hi” sentiments at-the-ready for when I need a smaller sentiment for a card.

For the butterfly, I cut the back layer of navy cardstock, the middle layer from lighter blue patterned paper and vellum (yes, twice!) and the top layer from vellum. I cut the body from silver glitter paper.

I’m often asked what supplies I use to make my cards and projects, so I’ve put together a list using affiliate links when possible. If you make a purchase with these links I may receive a small commission. These help me to keep up with blog costs and continue bringing you fun projects. Thank you so much for your support!


I hope you enjoyed this project today! See you soon with more to share!

Comments { 0 }
spooky-spider-card-1

Pop Up Halloween Card

Hello! Today I have a not-so-scary Pop Up Halloween Card and Video to share. Watch it below or in HD on YouTube:

Look at that spooky spider wearing roller skates! Ha ha…this is probably the scariest spider I have ever colored up.

I love the Spider Stencil in the background…I used a little glitter paste for that.

When you open the card, this little ghost pops up to say “BOO!” I hope you’ll watch the video to see how easy this pop-up mechanism is.

I’m often asked what supplies I use to make my cards and projects, so I’ve put together a list using affiliate links when possible. If you make a purchase with these links I may receive a small commission. These help me to keep up with blog costs and continue bringing you fun projects. Thank you so much for your support!


Hope you enjoyed this card today! Happy Halloween!

Comments { 0 }