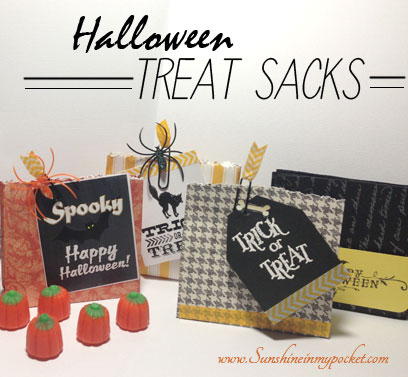
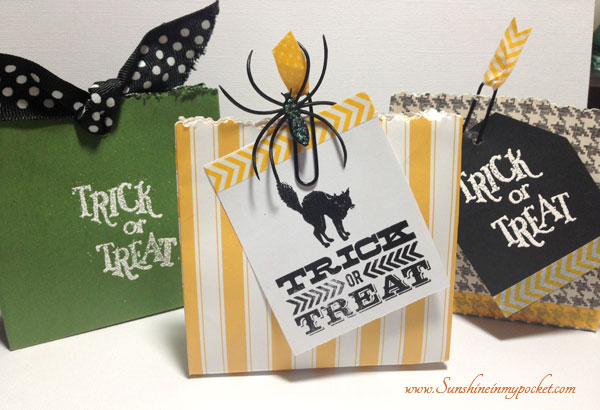
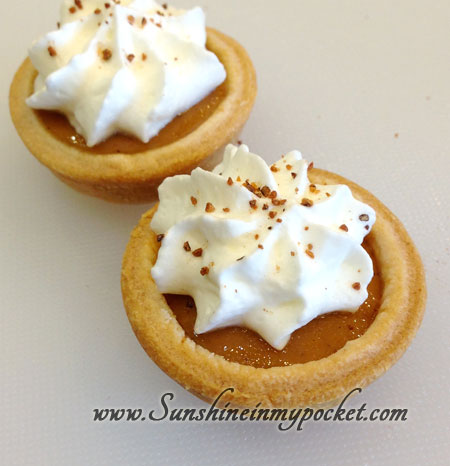
I have Halloween on my mind. I know, I know…it’s only September! First, mini pumpkin pies and now Halloween in September! But these little DIY Treat Sacks are so fun to make and share, that I HAD to show you how to make them.
These little sacks are made from 1 sheet of paper and really can be used for ANY occasion. But filling them and decorating them with Halloween is super-fun. 🙂
All you have to do is take 1 sheet of 8 1/2 x 11 paper and fold it up. It’s kinda like folding up an awesome note to pass around in jr. high, only this time it turns into the best little treat sack (and that’s better than a folded up note, right?!)
I made a video of just how to do this. Check it out:
And for those of you who like simple, I created a printable Halloween tag you can use to dress up your treat sacks! It’s a chalkboard printable with a Halloween bat…a nice little combo. My nephew always says “Spoo-oooky” at this time of year, and that’s just the word I used for this printable! (Hi, Porter!)

To download this tag, first like my page here
Then download the pdf here: halloween tag 6 up
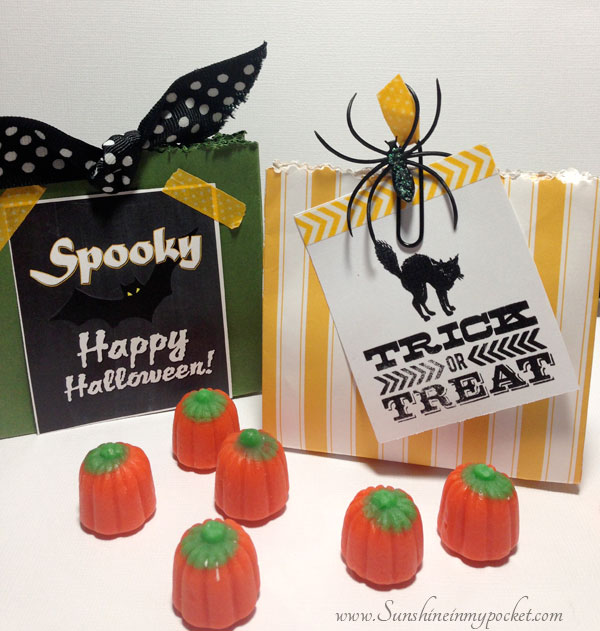
For a little added fun, take a spider ring and cut off the ring part. Attach it to a paperclip with a glue dot or hot glue, and sparkle it up with a little glitter glue on the body of the spider (see picture below). These work perfect to attach the tag to the treat sack. You can also punch a hole in the top of the sack and tie it together with ribbon.
So try your hand at making these little sacks. They would be perfect for a party favor, or to dress up a Halloween themed dinner table. I’m making some for my neighbor kids.
Happy Haunting!


![Crockpot-Chicken-Arichoke-Lasagna-backtoschoolweek-spinach-lasagna-chicken-artichokes-slowcooker_thumb[1]](http://www.sunshineinmypocket.com/wp-content/uploads/2013/08/Crockpot-Chicken-Arichoke-Lasagna-backtoschoolweek-spinach-lasagna-chicken-artichokes-slowcooker_thumb1.jpg)