Archive | Holidays RSS feed for this section
mini-souffles-with-choc-sauce

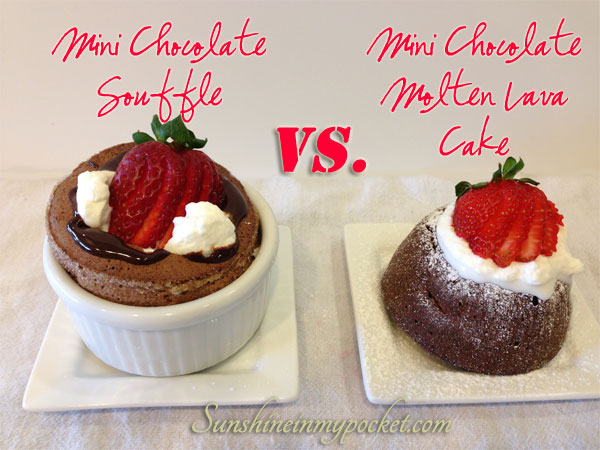
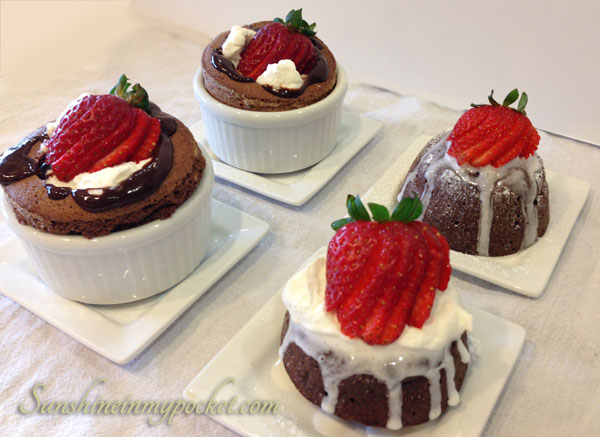
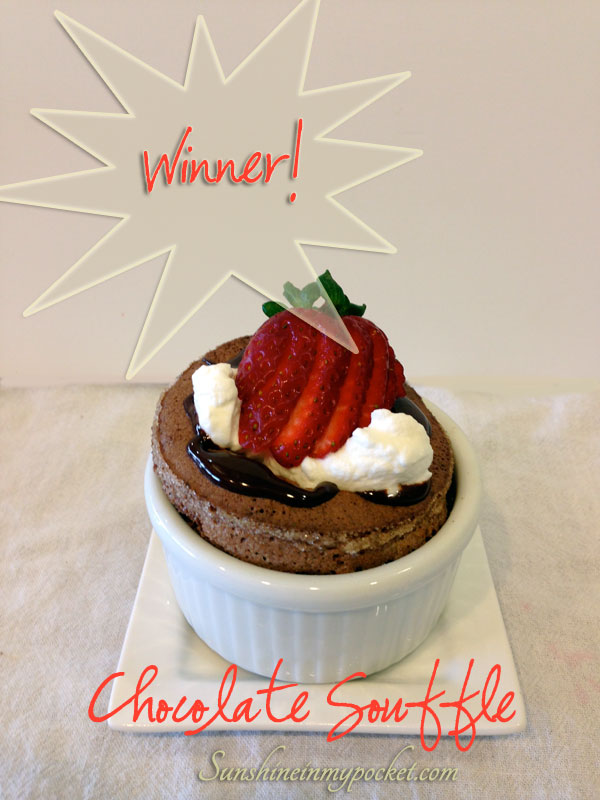
Taste Test Tuesday– Chocolate Souffle vs. Chocolate Molten Lava Cake

It’s a great day. Not only is it Taste Test Tuesday, but my Dad is here for a visit! I knew that there needed to be CHOCOLATE for him. And he agreed to be a taste test panelist. (I may have gotten my love for taste tests partially from my Dad…we have been doing taste tests at home ever since I was a kid!)

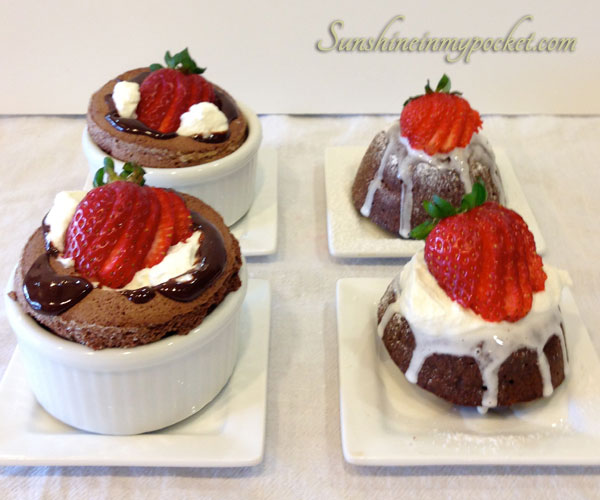
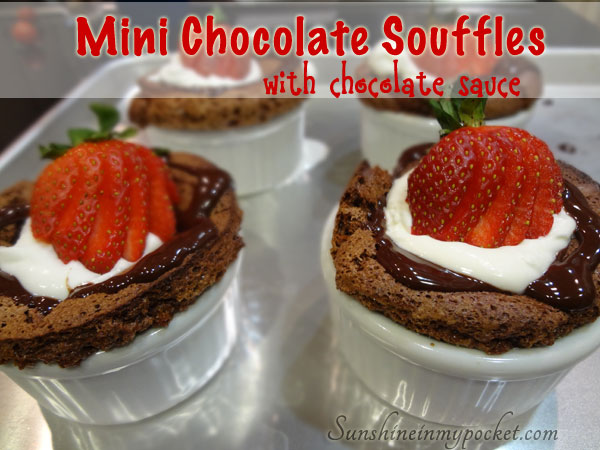
So this is a special edition of Taste Test Tuesday. The taste test results will be posted next week, but today I am sharing the recipe for “Foolproof Mini Chocolate Souffles with Sauce.” Oh. My. Goodness. These little souffles are amazing. I got this recipe a couple years ago from my co-worker, Aubrey. (Hi, Aubrey!) And I’ve made them only a few times for special occasions, but these are some of the easiest and BEST Chocolate Souffles I have ever eaten!

mini-souffles-with-choc-sauce

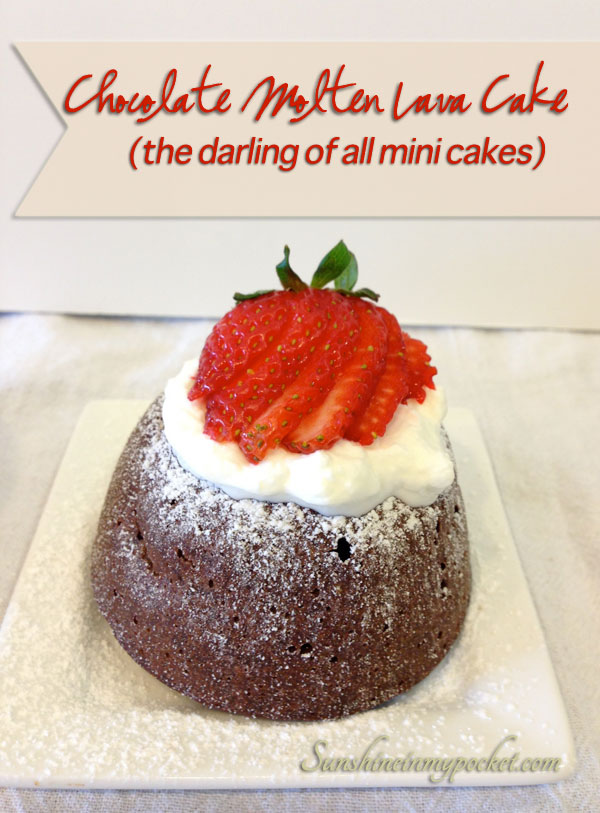
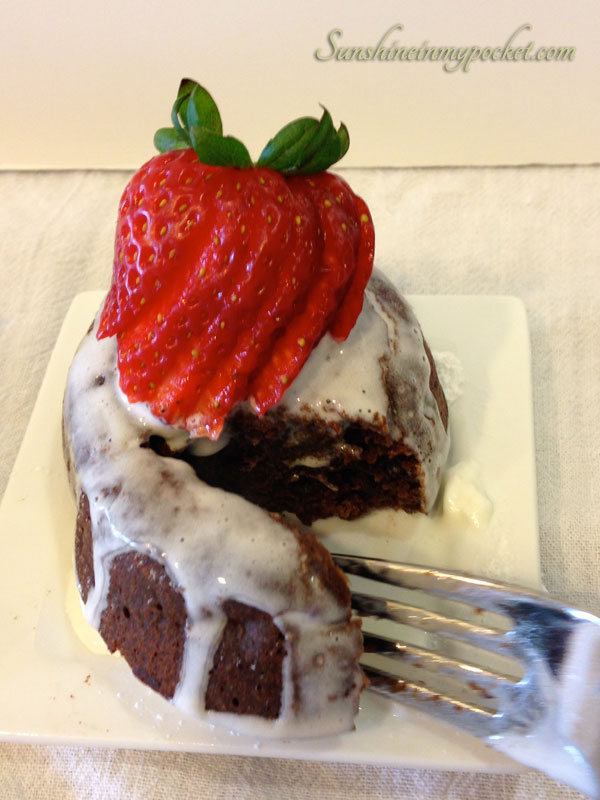
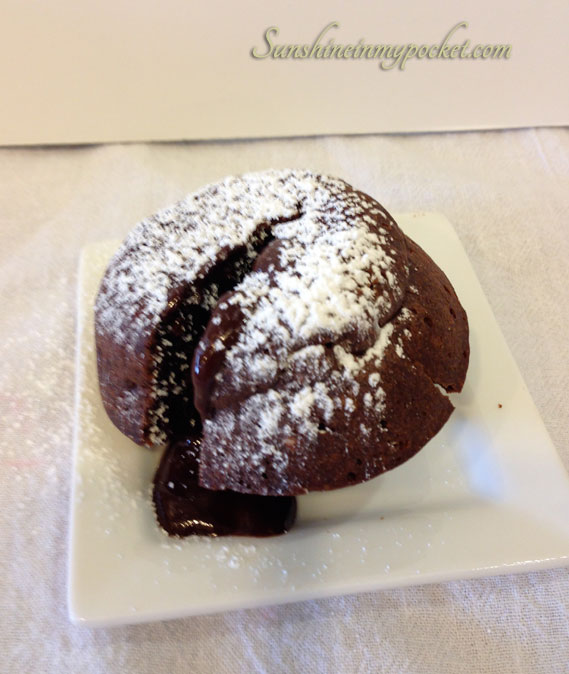
I’m going to challenge these homemade Souffles to a taste test versus  homemade Chocolate Molten Lava Cake! (I’ll share this recipe next week.) The Chocolate Molten Lava Cake is a favorite recipe of my daughter, Amber. (Hi, Amber!) They are both amazing recipes that I honestly don’t know which one will be crowned the winner!

I will have some more pictures and results for you next week. Until then, try this Chocolate Souffle Recipe. You’ll either be glad you did, or you’ll be cursing me for sharing such a tempting dessert that you crave weekly! 🙂

Foolproof Mini Chocolate Souffles with Sauce


[amd-zlrecipe-recipe:4]


Chef’s Note:

This recipe may look intimidating, but it is rather simple, with just a few ingredients. And it is Foolproof. The first time I made it (for Valentine’s Day a couple years ago), I left the vanilla out of the souffles, so I added it to the chocolate sauce instead. They still came out delicious…proof: my husband ate TWO of them!

I like to serve mine with a little whipped cream and a strawberry on top, but if you’re a chocolate purist then you can certainly leave this part out!

Tip:

To help get the soufflé dishes out of the oven easily, bake them on a cookie sheet and then simply lift the cookie sheet out of the oven.

You may have noticed that one of the choices I categorized this under was “Inspiration”…if you are in need of a little inspiration, I’m convinced that these souffles will do the trick. Chocolate can be very inspirational, right?! 😉

I can’t wait to post the results. Until then, Enjoy every bite!

Comments { 1 }
two-cards-with-onion-flower

Easy Mother’s Day Card

Mother’s Day is right around the corner! I can’t believe how fast these days are flying by. But I was inspired to create a Mother’s Day card by something my grandmother always tells me. She is in a nursing home after having a stroke and heart attack. She is such an inspiration to me because even in the middle of her recovery at the hospital, she told me a joke!

Each Friday I take her lunch. As I leave each time I tell her that I love her and she replies, “I love you more.” <3

So this card is designed around that sentiment. I hope you enjoy!

a-simple-mother's-day-card

The flowers are made from tissue paper cut out with a small 7/8″ scallop punch. The “stems” are made from baker’s twine. I made a short video how-to for you.

And now, as promised, here is the sentiment I made.

5-13-Love-you-more-1-up

You can download it free here, but please first like my page (in the right hand sidebar)

Then download it here:

5-13 Love you more  sentiment free download.

Have a lovely time celebrating mothers, grandmothers, and amazing women this weekend!

two-cards-with-onion-flower

Linking up to the challenge: http://www.simonsaysstampschallenge.blogspot.com/

Comments { 2 }
fiesta-tag-printable-small-withlogo-FLAT

Cinco de Mayo free printable

Tomorrow is Cinco de Mayo, which for us means homemade Mexican Food! I have been out of town so I haven’t had much time to prepare or plan this year. But that is not going to stop me from still having a delicious menu and bright colors to decorate with!

If you are prepping last minute like me and need some colorful printables, I have one for you (actual size 2″):

fiesta-tag-printable-small-withlogo-FLAT

All you have to do is download, print and cut.

Use this on your table (I’m using it on my plates to add a little flair!), as a fun sign for food (think guacamole) or as a cupcake topper. My favorite idea is to tape 2 of these back to back on a long shish-kabob skewer and put it in a vase with flowers. I’d love to see this in a bouquet of sunflowers!

Our menu plan is: Carne Asada tacos with all the fixings, homemade garden salsa, chili con carne, and corn chips. For dessert: Fruit Salsa and cinnamon pita chips. I found some beautiful mangoes, apples, pears, blackberries and kiwi for our fruit salsa. Ole!

And because my husband insisted we may also be having TAPIOCA PUDDING! (Does that even qualify as an approved dessert on Cindo de Mayo?!) Either way, it is delicious!

Here are the free printables for you: (be sure to like my page first here:

Then download the printables with the link below this picture:

fiesta-tags-full-page

fiesta tags full page (personal use only. I’d love for you to share these, but point back to my site for credit. Please do not alter, sell, or claim as your own. Thanks!)

I’d love to hear about your plans for Cinco de Mayo.

Comments { 0 }
earth-i-love-u

Dose of Sunshine Monday — Earth Day Free Printable (Do not print)

It’s Earth Day! And to celebrate, I thought I’d make you a free printable! But for Heaven’s sake, don’t print it. Because that would take paper, which is made from trees…and that might completely negate my good will toward Earth on this very special day.

So, maybe it’s not a printable. It’s just a little sign I created for you to enjoy on this day! 🙂

earth-i-love-u

And to further celebrate and pay homage to this day, here are some ideas:

1) Use real plates (not paper plates)…my son Nate would love this one! He is much in favor of NOT using paper plates

2) Plant something. A tree, a flower, a garden item.

3) Recycle.

4) Take some pictures of nature. Really appreciate it. (And share, share, share!)

Enjoy this beautiful Monday and enjoy our wonderful and amazing Earth! It’s a great place to live. 😉

Comments { 0 }
warped-and-curling-milk

April Fools Day — Don’t Cry Over Spilled Milk

Well believe me, I cried* plenty over this one. And because of my anguish, I wanted to share my findings with YOU so you don’t have to experience the same trials. (Ok, trial might be too strong a word….let’s replace that with FRUSTRATION.)

Spilled Milk, the Making of:

I found this fantastic blog post about DIY spilled milk for April Fool’s Day. As you might know, I’m having some very serious people over on April Fools and I must make them laugh. 🙂

So, in my haste to get these beauties made, I gathered all my supplies from WalMart: Plastic Glasses (2 for 88 cents!), Glue (at only 33 cents per bottle!), and a little white acrylic paint. I was a little more than excited because this was going to be the cheapest most inexpensive craft ever!

glue-glasses-paint-supplies

I started out by making the milk “residue” inside the glass. Take 1 part glue, 1 part white paint, and 5 parts water. Stir it all up and pour it carefully into a glass. Swish it around a bit, then pour it back out of the glass. Set the glass on it’s side and allow it to dry.

milk-in-glass-diluted

So far so good!

After it dried, I made the “milk spill” by mixing equal parts of paint and glue. Stir well. Pour a splotch of the mixture onto waxed paper and put the glass into the splotch, as pictured below.

milk-splotch-and-milk-with-glass

Easy enough, right. Allow this to dry. I let the first batch dry for 2 days. (I only made 2 glasses the first round, but my intention was to make 12 glasses of spilled milk to use at each place setting for the dinner party).  When I went to check on the dried, spilled milk, I found this:

cracking-and-peeling-paint-milk

It didn’t look like spilled milk at all. It looked like dried paint…and when I peeled off the waxed paper, they actually started to tear at each cracked area. It looked TERRIBLE!

Good thing I started early, I thought. So I made another batch. This time, I had to use all the rest of the glasses (10) because I only had 2 days until the party.

I mixed much less paint this time. Just enough to tint the glue a nice milky white color. Then I let them dry. I checked on them periodically and they seemed like they were doing much better. However, they were taking MUCH longer to dry.

I turned the ceiling fans on to help them along.

When they were finally dry enough to peel from the waxed paper, here’s what I got:

warped-and-curling-milk

The “milk” was warped and curling by the minute! That didn’t look very realistic! I was sad and a little frantic. These were to be a main part of my April Fools Jokes. I didn’t have time to make more.

So I did what any self-respecting crafter would do. I IMPROVISED!

I took that warped and curling milk and I glued it down with glue dots to some white cardstock. Then I cut around the cardstock. And by gosh, it worked! I ended up only prepping 5 glasses of milk this way, but I think the table turned out great! I used them as a sort of centerpiece:

milk-on-table


table-setting

And, even with all the issues, I think in the end they looked realistic enough. I even had someone who saw the “spilled milk” and wanted to CLEAN IT UP! Yes, it’s reactions like that to make it all worth while! 🙂

So my advice to you if you are making these beauties, is take enough time to find the ratio that works! And if you do find that magic ratio, please let me know so I can share!

I hope this posting helped you in some small way! Happy Joking!

Comments { 0 }