Archive | Holidays RSS feed for this section
!his-card-packaging

Gift Card Set (for HIM)

Hello! I have a fun post today filled with masculine cards and a handmade box for gifting. This is perfect for this time of year or anytime you want a sweet handmade gift! I also have a more feminine gift card set…find it here.

This is a part of my Altenew Level 1 FINAL project! I chose to highlight three techniques that I learned throughout all the Level 1 courses:
1) Ink Blending
2) Adding Sparkle & Shine
3) Stencil Techniques
I use one, two or all three techniques in different ways on each card. Here’s a look at all six cards:
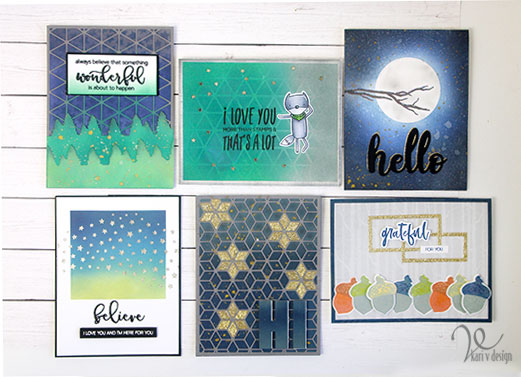
Here’s a look at all 6 cards!

I began choosing a color theme of Dark Blue, Green, and Gray and I started by ink blending some backgrounds and gathering some papers to support my theme. I have a video of all the cards, watch it here or on YouTube:

For my first card, I used the Altenew Layered Snowflakes Cover Die A cut with gray cardstock. I chose a dark blue and gray ink blended background I created and inlaid some of the snowflake stars with gold glitter paper (for the shine factor)! One of the tips in the ink blending course was to use a die cut sentiment in the same ink blended on the background. So I added the “HI” cut from the alpha dies in the same ink blended colors. I popped it up with white fun foam to set it apart.
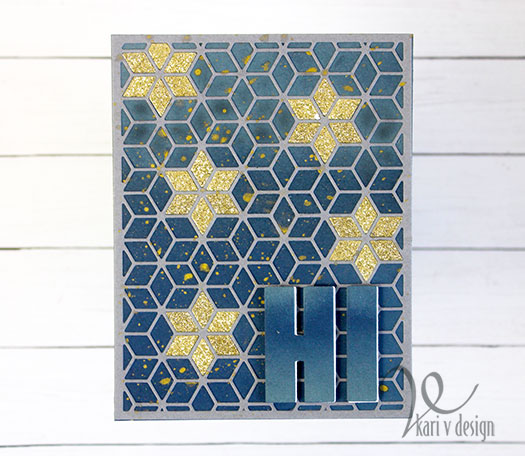
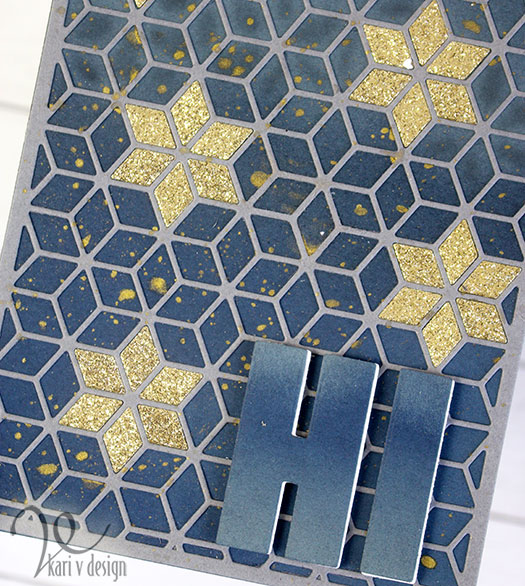
The gold watercolor ink splattered on the background creates another element of shine.

For my second card, I started by taping off a square onto my card that I could ink blend an evening dusk scene. Then I stamped the sentiment “believe” with black ink and clear heat embossed over it. (I did this so the black ink wouldn’t smear.) Then I used the new star stencil to add some Glacier Paste in the color Quicksilver.
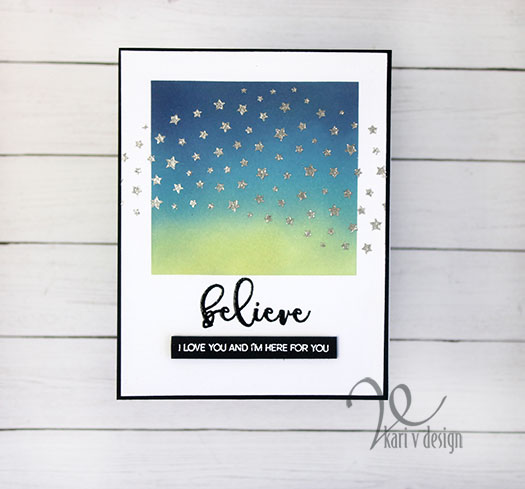
That Glacier Paste dries flat and shiny and really looks like foil! I added a sub-sentiment that I heat embossed in white on a black paper strip. I cut the panel down just a little to mat it all onto black paper and then onto the card base.

For the third card, I used a little trick taught by Carissa Wiley to create a frame using stacked die cut shapes. For this one, I cut glitter paper out of stacked rectangles to create a frame.
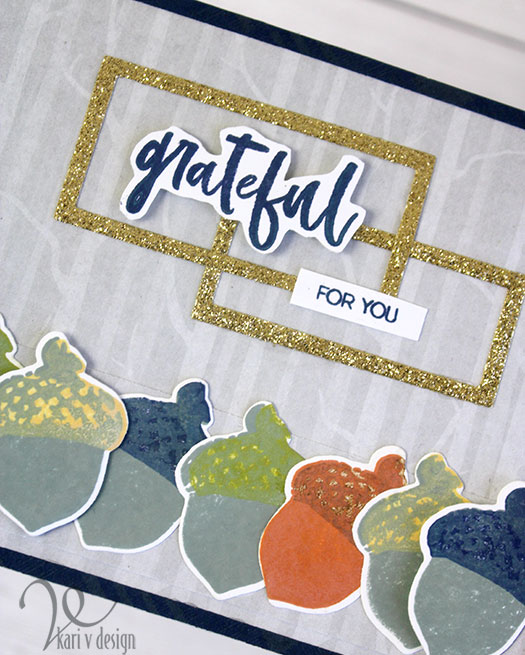
I stamped all the acorns using my color theme and stacked them onto some Altenew gray paper with birch trees. I fussy cut the grateful sentiment and popped it up with foam tape. I used a navy blue frame to finish it all off.

For the Fourth card, I used a die cut as a stencil…this is a great way to stretch your cover dies! This time I used the Snowflake Stars Cover die B as a stencil on this green inked background.
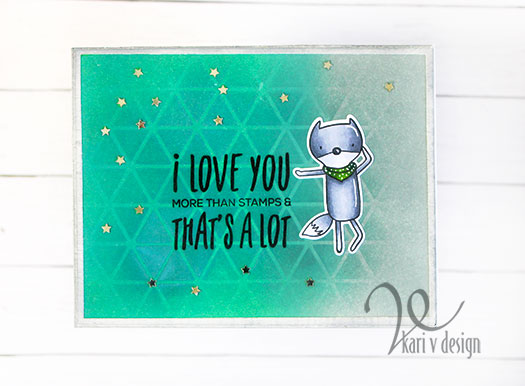
I added a sentiment, and a Copic colored Gray Fox. For the sparkle on this card, I sprinkled on some silver star sequins. This sentiment makes me smile!

This next card is like a moonlight stroll! I masked off the branch (from the Winter Cardinal set) and a circle die before inking on some dark blue inks and black ink with makeup brushes. I continued to add light layers, building up the color each time.
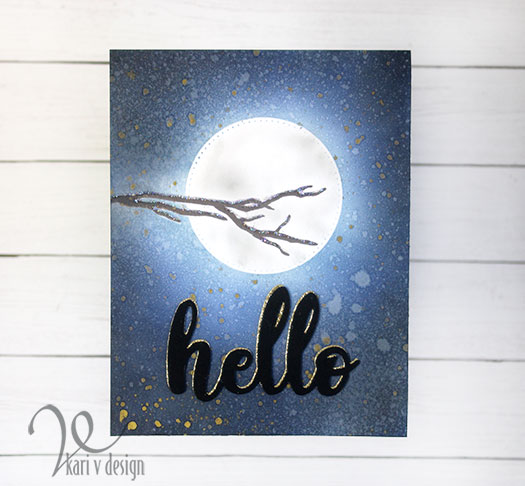
The moon has a glow around it!

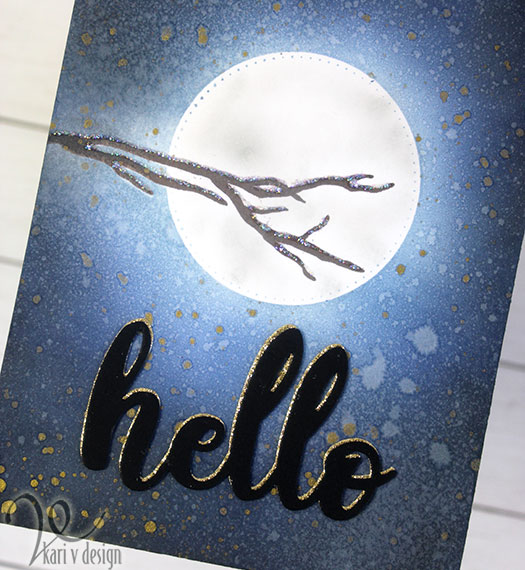
Before I removed the masks, I added some splashes of water and gold watercolor. Once the masks were removed, I inked on some Weathered Wood Distress Oxide ink onto that moon to create the shadows. For extra shine, I used Stardust Stickles to add some ice to the branch…it sparkles in the moonlight!

The die cut Hello is cut in black and layered onto a gold die cut hello.
And finally…the last card features some die cut & layered evergreen trees, inked in green and splattered with metallic paint (both gold watercolor paint and Altenew metallic spray).
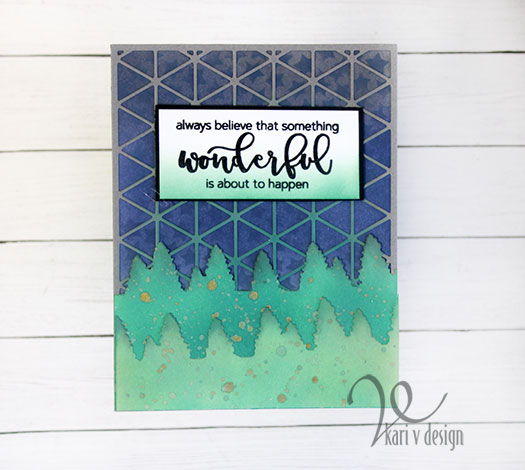
I used the cover plate die that I used earlier as a stencil! If you look closely, you might see the stars inked subtly on the background. I finished it off with a favorite sentiment of mine!

I have gathered together a list of all the supplies I used.

I’m often asked what supplies I use to make my cards and projects, so I’ve put together a list using affiliate links when possible. If you make a purchase with these links I may receive a small commission. These help me to keep up with blog costs and continue bringing you fun projects. Thank you so much for your support!

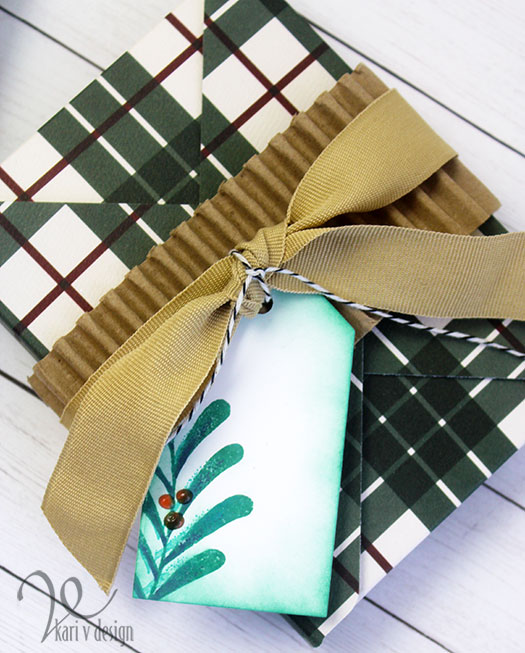
I hope you enjoyed this gift set of cards. I packaged it all up in this handmade card box:
I created the tag using the Majestic Mistletoe stamp set. The corregated cardboard is recycled from packaging (that I’ve been saving because I loved it!) and the ribbon is also recycled from packaging…it was tied around a blanket. All I had to do was iron that ribbon and it looks good as new!

If you are interesting in making a gift card box, the instructions for the card box is in the beginning of my video for the feminine card set here.

Thanks so much for stopping by today!
Comments { 2 }
sweater-weather-with-stamps-and-ink-tool

Sweater Weather

Hello! Well, it was almost sweater weather here in Arizona, and then….it warmed right up again! Lol. But I was inspired to make a few cards when I was still wearing a sweater! So I’m going to share them with you today.

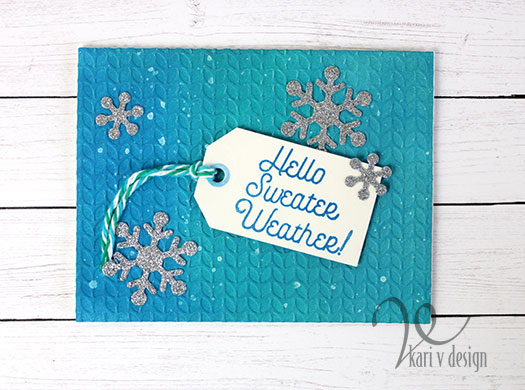
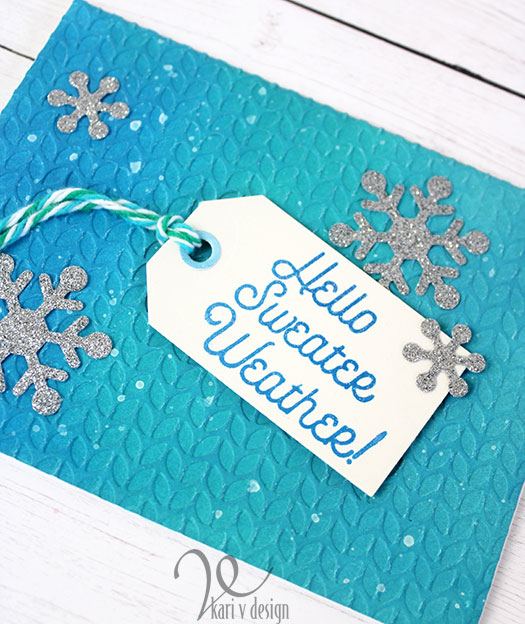
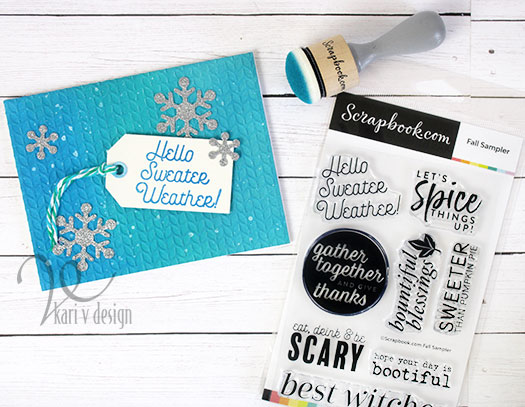
This first one features a sweater embossing folder that I love! I first inked up the background with my favorite domed ink blending tools. After it was dry, I ran it through the embossing folder and then splattered on some white paint for a bit of a snowflake effect.

Glitter embossing on the sentiment

I love a silver glitter snowflake, so I added some of those, too! I stamped the sentiment onto the tag, added some yarn and that’s the card. Does it look cold to you…as in cold weather?

I also used some glitter embossing powder on the sentiment (you can never have too much glitter, right?!) I have a video on this card, watch it below or on YouTube:

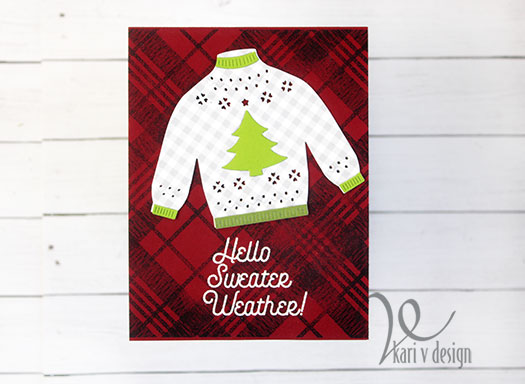
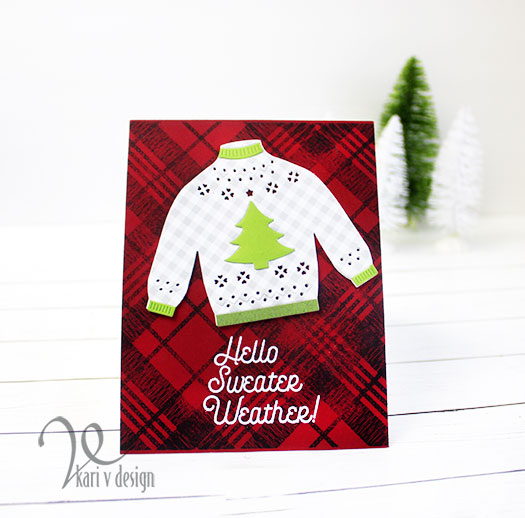
I couldn’t resist making another card with this fun sentiment. And, after all I had this cute sweater die that was begging to be on a card!

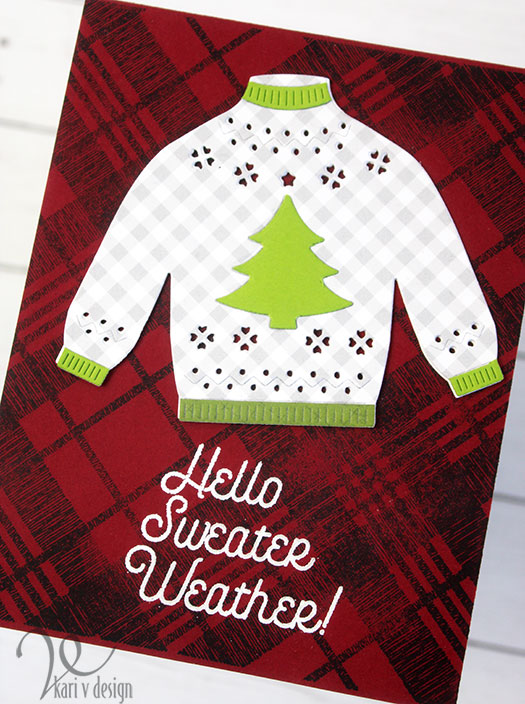
I had some plaid backgrounds I inked up earlier, and this cute sweater I put together earlier, too! So all I had to do was add the white embossed sentiment and this card was so quick!

I stacked 3 die cut sweaters on top of each other to get this raised sweater look. I think some Nuvo drops would be fun on that Christmas tree!

I’m often asked what supplies I use to make my cards and projects, so I’ve put together a list using affiliate links when possible. If you make a purchase with these links I may receive a small commission. These help me to keep up with blog costs and continue bringing you fun projects. Thank you so much for your support!

I love this Fall Sampler set!

I hope you enjoyed this project. If you have been following me for a while, you might have noticed that I’ve used this Fall Sampler set on many other projects (I’m really getting some good use out of it!!) I love a set that gives so much inspiration! Check out my other posts with this set here and here!

Thanks for stopping by!

Comments { 0 }
snowflake-cover-die-close-up

Snowflake Cover Dies

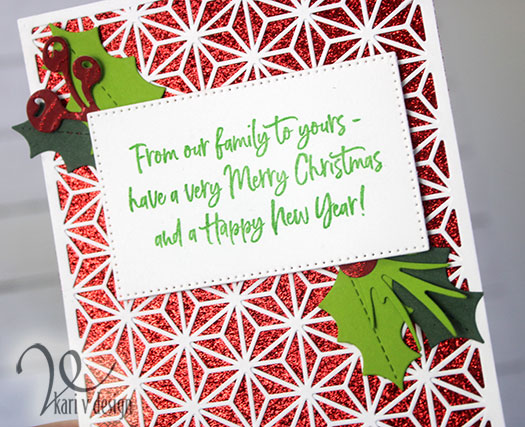
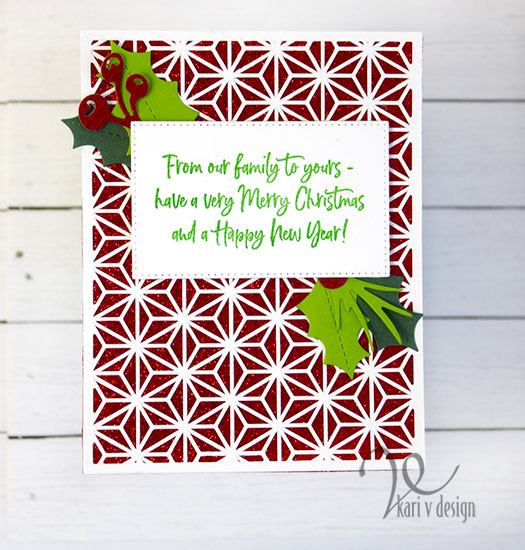
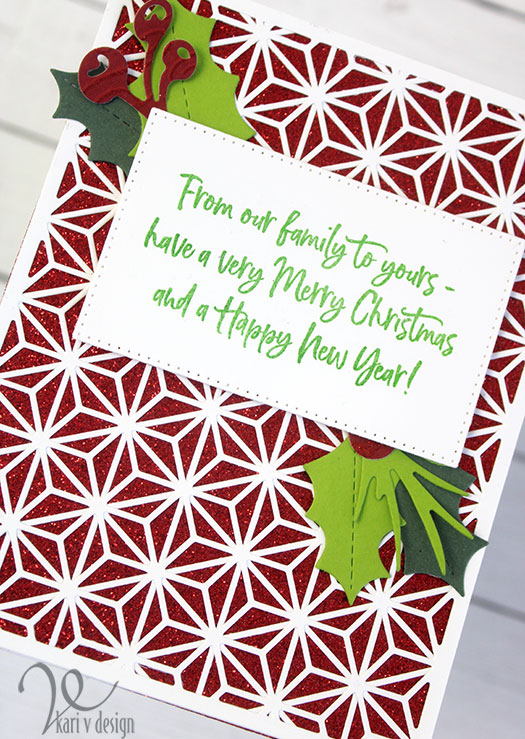
Hello there! Today I am showcasing the new Altenew Snowflake Cover Dies. I love these dies on their own, but when you layer them together: WOW! These make it easy to make a professional looking card!

This sentiment is a new holiday set from Scrapbook.com and I love all the fonts and sentiments for this time of year.

I layered up those cover dies (there are two of them and they make this beautiful snowflake design when layered!) and then adhered them to red glitter card. I added the sentiment that I stamped in Grass Skirt green ink and then attached some holly bundles.

I have a VERY quick video to show you how these cover dies work and how fast this card comes together. Watch it below or on YouTube:

These are some new favorites and I will have more ideas and examples for you coming up soon!

I’m often asked what supplies I use to make my cards and projects, so I’ve put together a list using affiliate links when possible. If you make a purchase with these links I may receive a small commission. These help me to keep up with blog costs and continue bringing you fun projects. Thank you so much for your support!

I hope you enjoyed this project today! Thanks for stopping by.
Comments { 0 }
christmas-perfect-reason-crooked

Christmas is the Perfect Reason

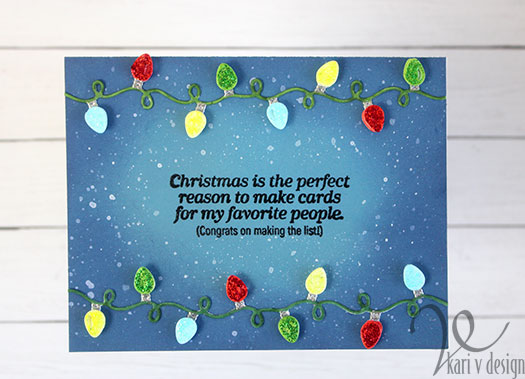
Hello! Christmas is the perfect reason to send cards! Yes! And today I have a fun project with a sentiment that says just that.

This sentiment is fun to remind those people in your life that they are HANDMADE CARD worthy!! Lol. I know you know what I’m talking about…if you make handmade cards that is. Only the best people get a handmade card!

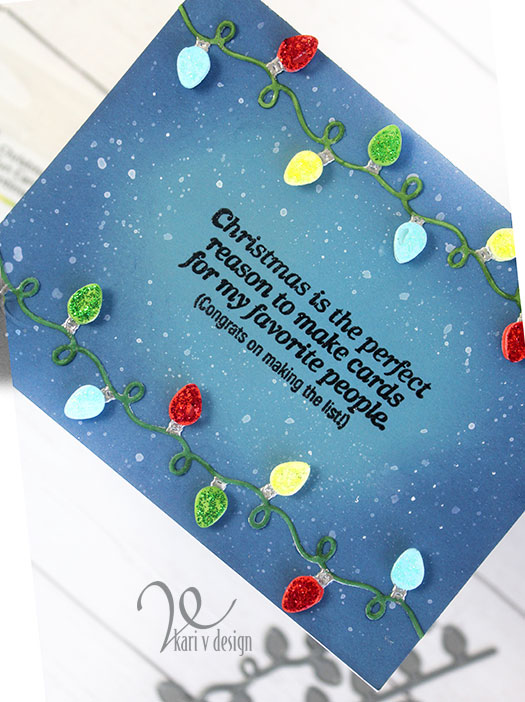
For this card I did some ink blending with my new favorite domed ink blending tools. Then I splattered on some white Gansai Tambi paint. Those cute little Christmas lights were colored using Copic markers. I added silver embossing powder to the part that screws into the strand, and some glitter glue to all the lightbulbs for a bit of sparkle. You know I love my sparkle!

I popped up each individual light onto the strand using foam tape.

This is a simple enough card to make, but I don’t think it would be good for mass production with all those little lights. Maybe if you left them flat and didn’t pop them up it would be much faster.

I’m often asked what supplies I use to make my cards and projects, so I’ve put together a list using affiliate links when possible. If you make a purchase with these links I may receive a small commission. These help me to keep up with blog costs and continue bringing you fun projects. Thank you so much for your support!

Thanks for stopping by!
Comments { 0 }
both-santa-cards

You Know You’re Getting Old…When Santa Looks Attractive

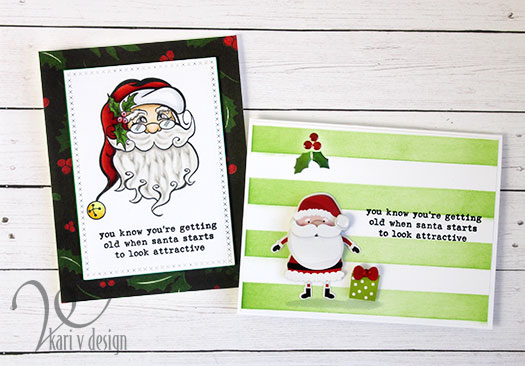
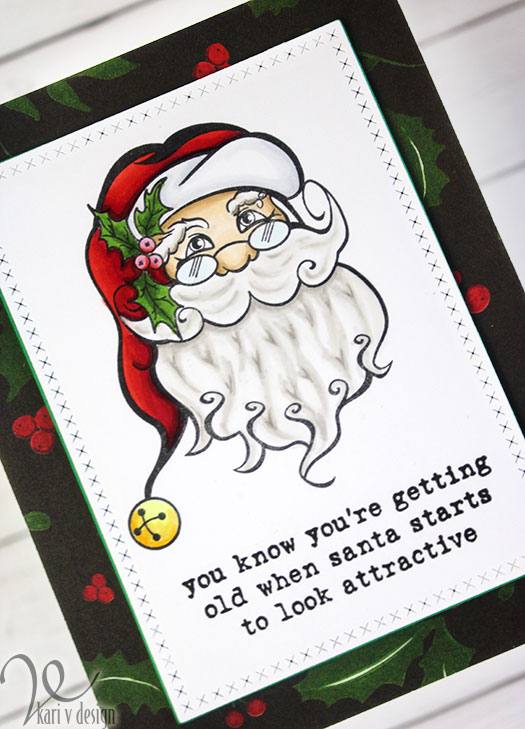
Hello! Today I could not stop giggling while making this card. This sentiment is so, so funny…and I couldn’t wait to show you a couple of card options for it.
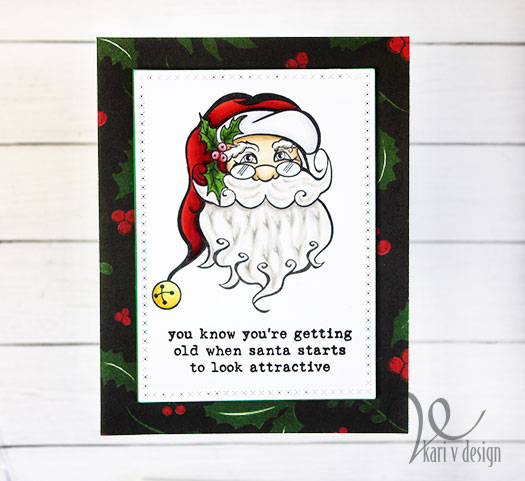
First, I have colored up Santa with Copics and added the sentiment below him. Then I die cut the panel with the Cross-Stitched Stackables and adhered it to fun foam. I added the entire panel to some Echo Park holly paper (that I love!)

The best sentiment!

Isn’t he cute? Would you even go as far to say that Santa is looking attractive?! Lol.

I’ve got a quick video tutorial, watch it below or on YouTube:

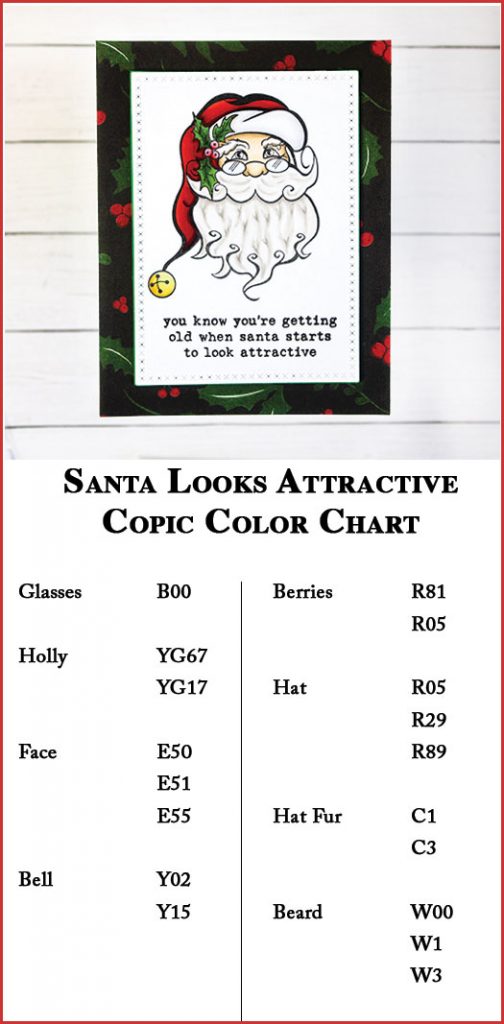
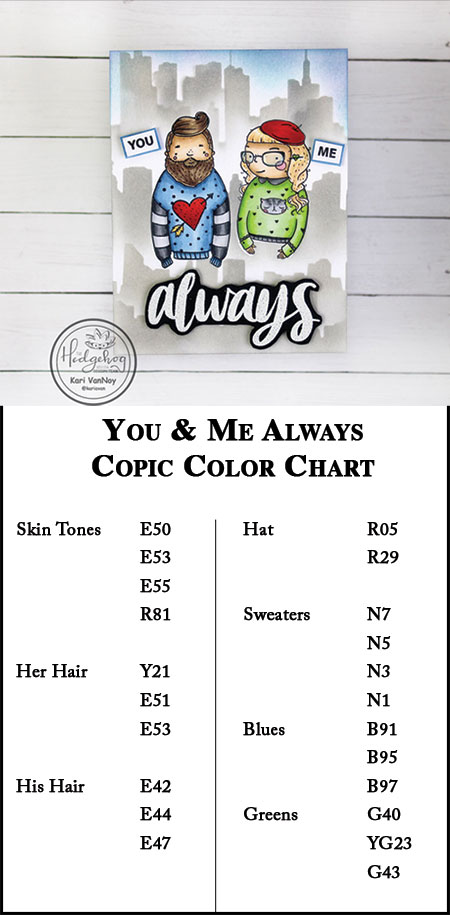
If you are a Copic Colorer, I have the Copic Color Chart for you here. Roll your cursor over the image below to PIN IT for later.

If you are NOT a Copic Colorer, I have one more card idea to share below! Keep on scrolling.

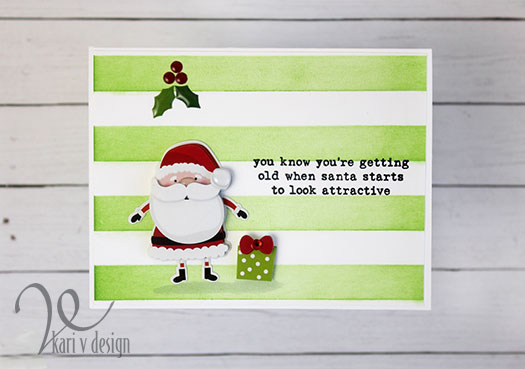
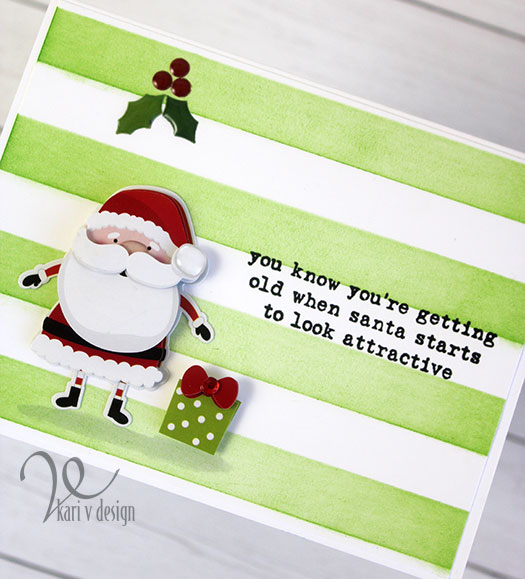
Now, if you want to use this sentiment on a quick card (with no Copic Coloring) I’ve got you covered! Try using a stencil to make some green lines, then use these Bella-Pops to make a fast and cute card.

I’m often asked what supplies I use to make my cards and projects, so I’ve put together a list using affiliate links when possible. If you make a purchase with these links I may receive a small commission. These help me to keep up with blog costs and continue bringing you fun projects. Thank you so much for your support!

I hope this post made you smile. Thanks for stopping by. I’m really looking forward to the holidays this year and sending out a few of these cards to my *older* friends. Lol.

Comments { 0 }