Archive | Holidays RSS feed for this section
three-gc-holders-and-inks-and-stamp

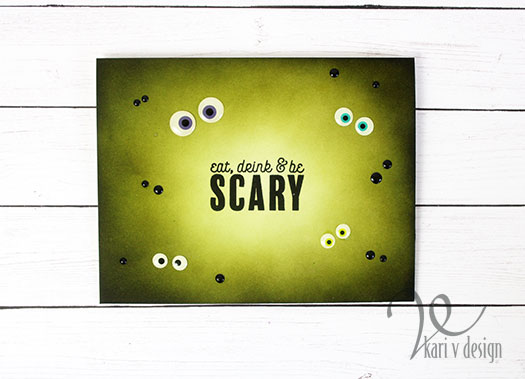
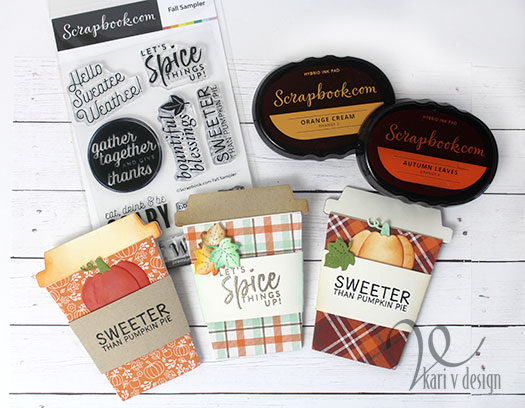
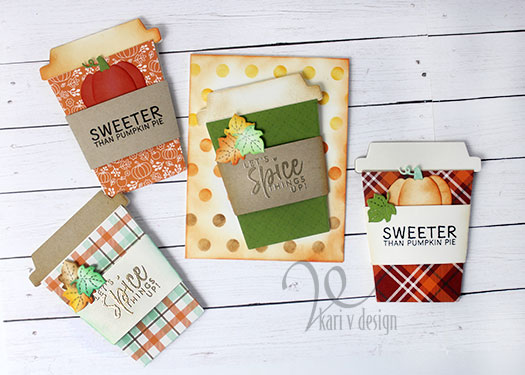
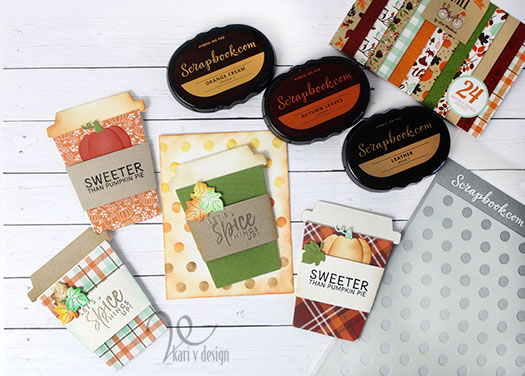
Sweeter than Pumpkin Spice

Hi there! It’s getting to be that time of year when it’s time for warm drinks and sweater weather! Ok, ok…maybe not here in Arizona, but it IS cooling off a little and that makes me want to make fall projects!

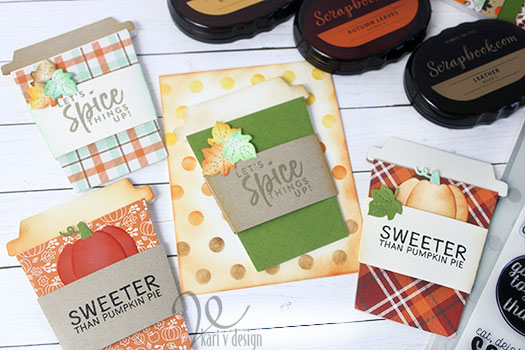
Today I have a fall gift card holder that’s sure to make you smile (I hope)!

Let’s Spice things up

Pumpkin spice! Confession time…I’ve never had a pumpkin spice latte (I don’t drink coffee), but I DO love pumpkin season! These fall papers make this project come together so fast!

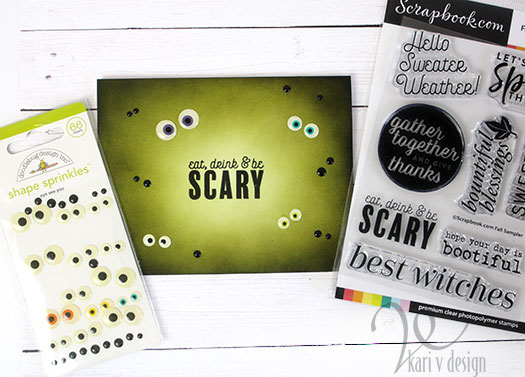
This stamp set is a Fall Sampler from Scrapbook.com and it is SO versatile. I will have more projects coming up soon using this same set!

I created a short video to show you the process and tips you can take to TAKE THESE UP A NOTCH and make them super sweet. Watch the video below or on YouTube:

These sentiments really make me smile and I hope they make you smile, too. I turned one of these gift card holders into a card, but you can STILL slide off the stamped cozy and open the gc holder to add a note, a gift card, or some money!

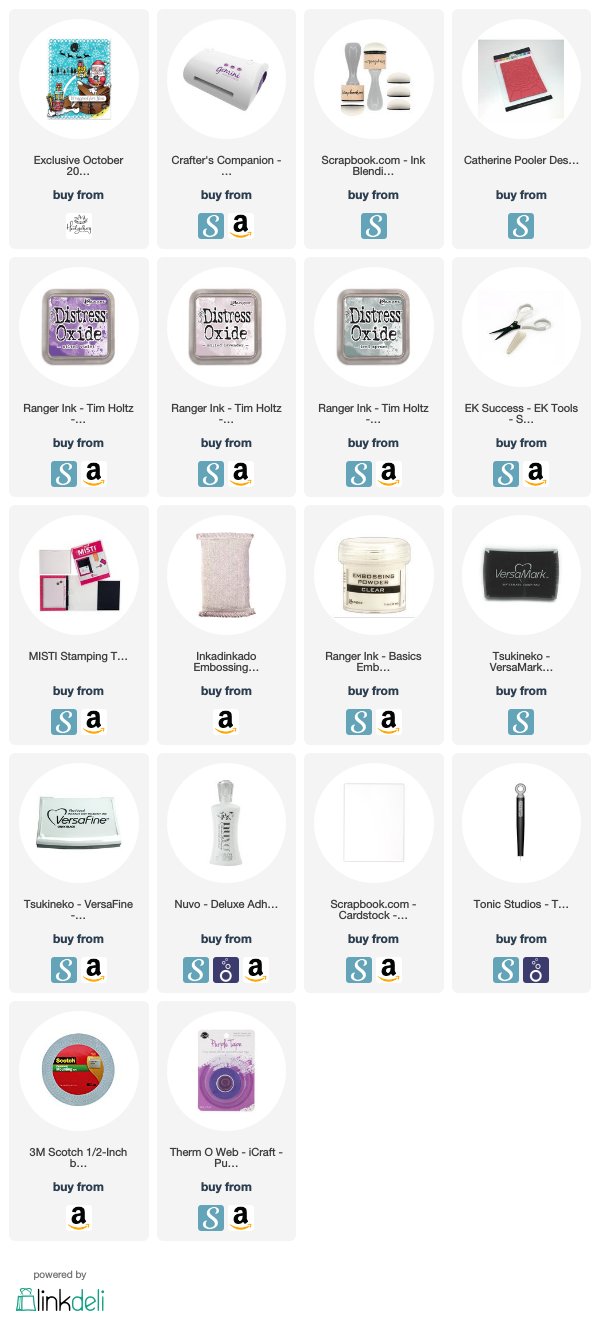
I’m often asked what supplies I use to make my cards and projects, so I’ve put together a list using affiliate links when possible. If you make a purchase with these links I may receive a small commission. These help me to keep up with blog costs and continue bringing you fun projects. Thank you so much for your support!
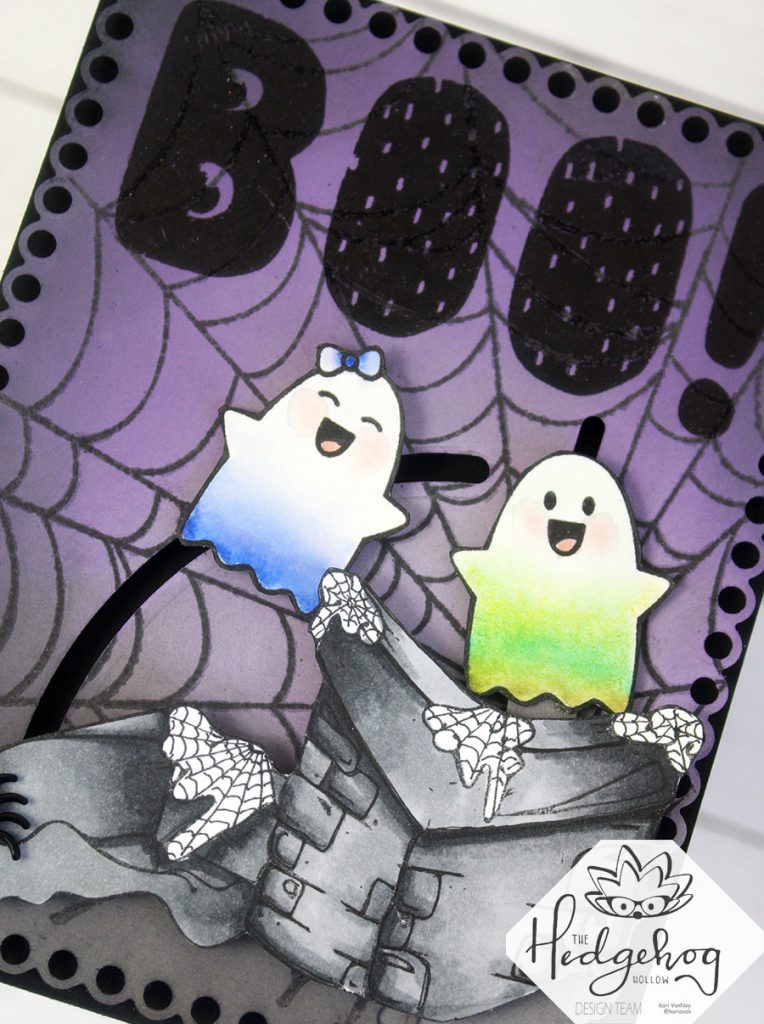
I really enjoyed making these, and I have to admit that this coffee gift card holder die is one of my favorites! It’s great for fall, winter and special occasions. Thanks so much for stopping by!

Sweeter than Pumpkin Pie

Are you excited for pumpkin season?

Comments { 0 }
poinsettia-card-2

First Holiday card of the Season!

Hello! Today I am sharing my first Christmas card of the season. Also, I have a confession to make. I don’t usually make Christmas cards to mail out. I know, I know…I’m a card maker that doesn’t make my own Christmas cards! Shocking. But I found that it stresses me out too much to make multiples during the busy time of year, so I just don’t.

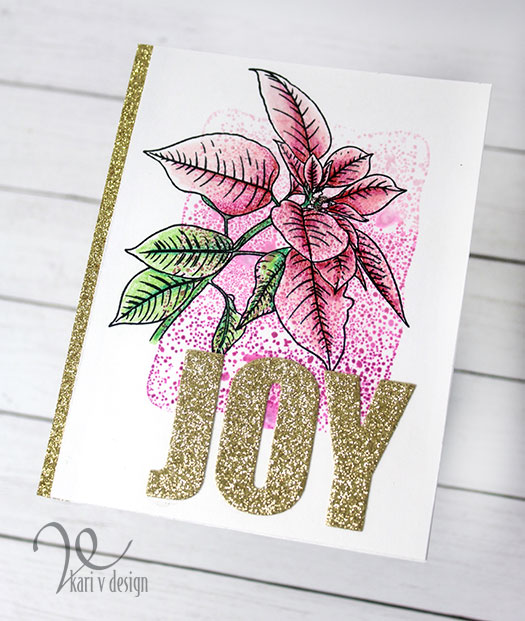
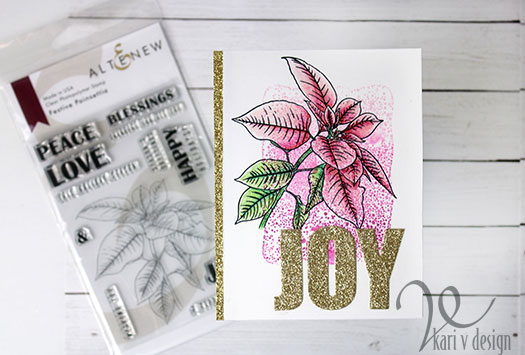
But today I made a festive poinsettia card that turned out so fun! I was inspired by the Irresistible Inking Techniques class at Altenew Academy and I just had to try it!

Polka dots in the background make me happy!

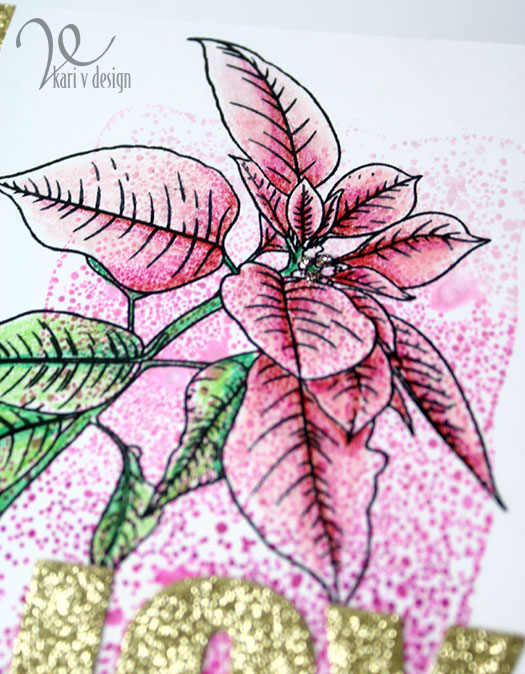
This is an inking technique I HAVE tried before, but this time I got so much better results. The trick is to ink up your acrylic block, spritz it with water using a light mist spray bottle, then stamp it onto your background.

I tried this a number of times using a variety of paper to see what different results I would get. I tested out the number of times to spray the ink before stamping. I tried different colors and time to leave the acrylic block on the paper. And this is my FAVORITE one of the bunch.

To get this cool spotted look, I used 3 different colors of Altenew ink on my block: Rose Quartz, Puffy Heart, and Purple Wine at the bottom. (This gave me a sort of Ombre look when I stamped it.) I spritzed it with TWO spritzes of water from a light mist spray bottle. (one was not enough, three was too much for my paper). Then I stamped it down onto Neenah Solar White 80# cover cardstock. This surprised me that I preferred the Neenah for this technique over a watercolor cardstock!

I love a speckled poinsettia

I stamped the poinsettia stamp using Versafine Onyx black ink, then I added just a touch of colored pencil. Just enough to give some color, but still see the spots. It reminds me of a speckled poinsettia….I love those!

To finish off the card, I cut it down a bit to add a strip of gold glitter cardstock on the edge. Then I added the JOY die cut out of the glitter card.

I have a list of the supplies I used below, with affiliate links when possible. When you click using these links I may receive a small commission. This helps me keep up with blog costs and continue bringing you fun projects. Thank you so much!

Oh, I forgot to mention that I also added some Mercury Glass Stickles to the center of the poinsettia to give more glittery shine to the card. When it catches the light just right, it looks so pretty.

Thanks for stopping by!
Comments { 1 }
colin-card-2

Back to School Good Luck

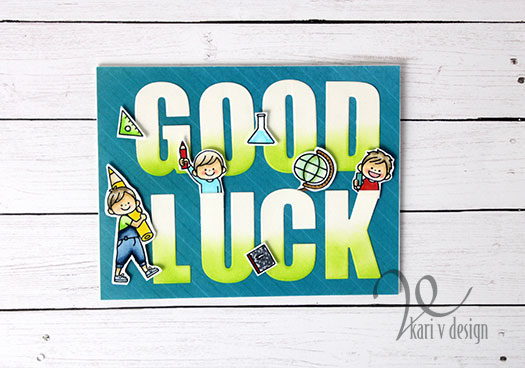
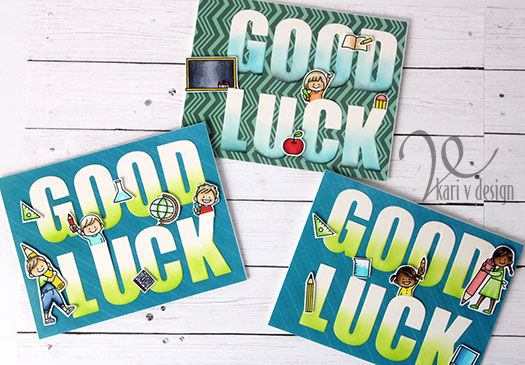
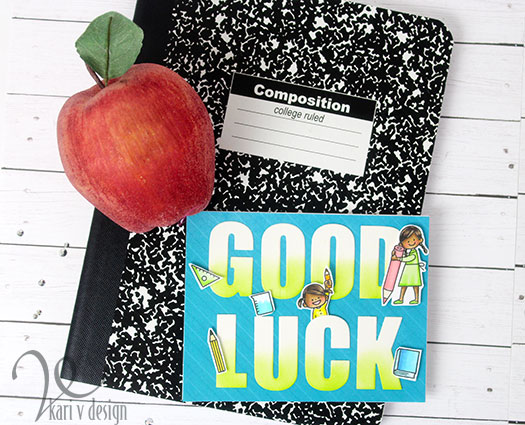
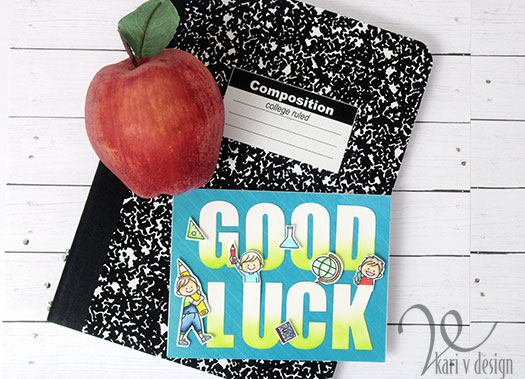
Hello! It’s Back to School week for our kiddos here and I have some quick cards to share. When I put together cards for kids, I try to remember that they are kids and really don’t care how much time or effort that goes into making a card. So that means, something quick but still cute!

Enter some stamp and die elements that are cute AND will fill the entire card.

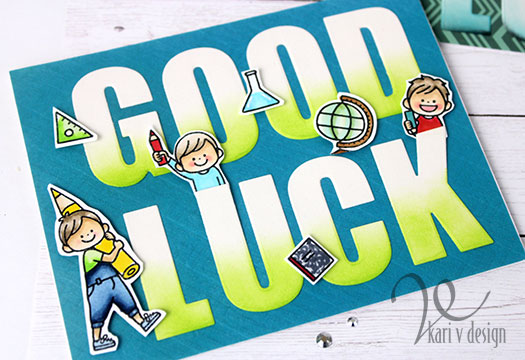
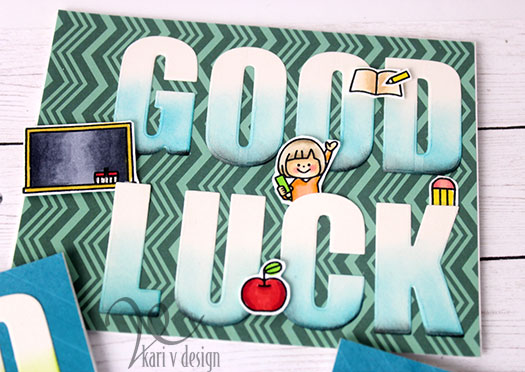
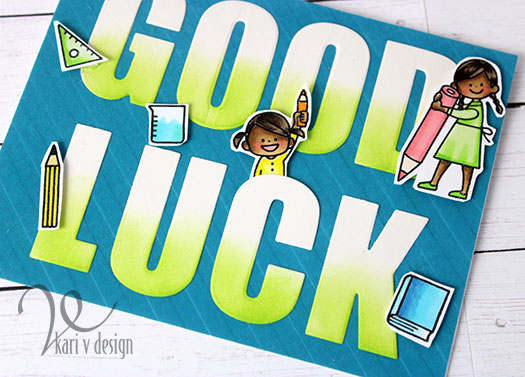
I stamped every single image from this Waffle Flower set and colored them in quickly with my Copic markers.

Then, I die cut the large alphabet dies to spell “Good Luck” from cream colored 110# cardstock. To add some punch, I added some ink with finger daubers on the lower part of the letters.

Back to School!

I used patterned paper for the card panel to add some extra texture, and adhered the letters on with liquid glue. Then I popped up the images with foam tape.

A fun card and easy to put together. I’m pretty sure my nephews and granddaughters will love them! But I think they will love the “smarties” candies that I’m giving them to go along with the card. Lol.

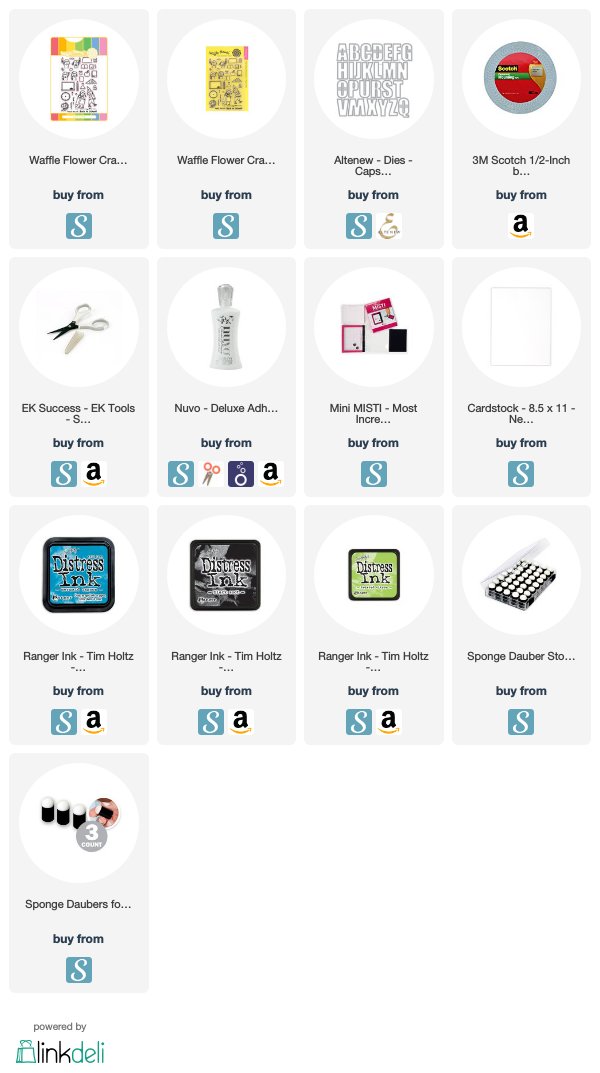
I’m often asked what supplies I’ve used, so I have a list below using affiliate links, when possible. When you purchase using these links, I may receive a small commission. This helps me to keep up with blog costs and continue to bring you fun projects. Thank you so much!

I hope you enjoyed these back to school cards today! If you have kids/grandkids going back to school, I wish them Good Luck!

Comments { 0 }
happy-birthday-owl

Happy 4th of July!

Just popping by to wish you a happy 4th of July! Here’s a cute image from Jessica Lynn Originals that I really enjoyed coloring for this day:

This is a digital image that I printed on Neenah solar white and colored up with Copics. I added some distress inks around the edges for the night sky and some star sequins. Hope you enjoyed!

Comments { 0 }
dad-card-with-supplies-in-bkgnd

A Card for Dad

Hello! Today I have a fun card using a floral set to make a masculine card. Yep, you heard that right. You can use florals on your cards for men, too!

Dad, You’re in a league of your own

I used the Flowers from the May 2019 Hedgehog Hollow Kit (sold out) and paired it with a sentiment and a Dad die from the June 2018 Hedgehog Hollow Kit. This kit was a favorite of mine, packed with dies and stamps for masculine cards…including a “jeans pocket” stamp & die. There are currently only THREE left (at the time of writing this post). Check it out here.

I used the Dad die cut to cut some chipboard and then I heat embossed it three times with Nuvo Copper Blush embossing powder. This is a beautiful coppery metallic color!

I chose a paper from my stash that had both teal and copper and looked a little bit like watercolor. You could also achieve this look yourself with a watercolor wash, but sometimes patterned paper is such an easy way to go!

Then I heat embossed the floral stripe on the bottom of the card using a softer embossing powder in Ranger metallic.

I finished it off with some Nuvo Jewel drops. Such a great card and I think it still looks masculine. Anyway, my Dad DOES like flowers! Lol.

Thanks for stopping by!
Comments { 0 }