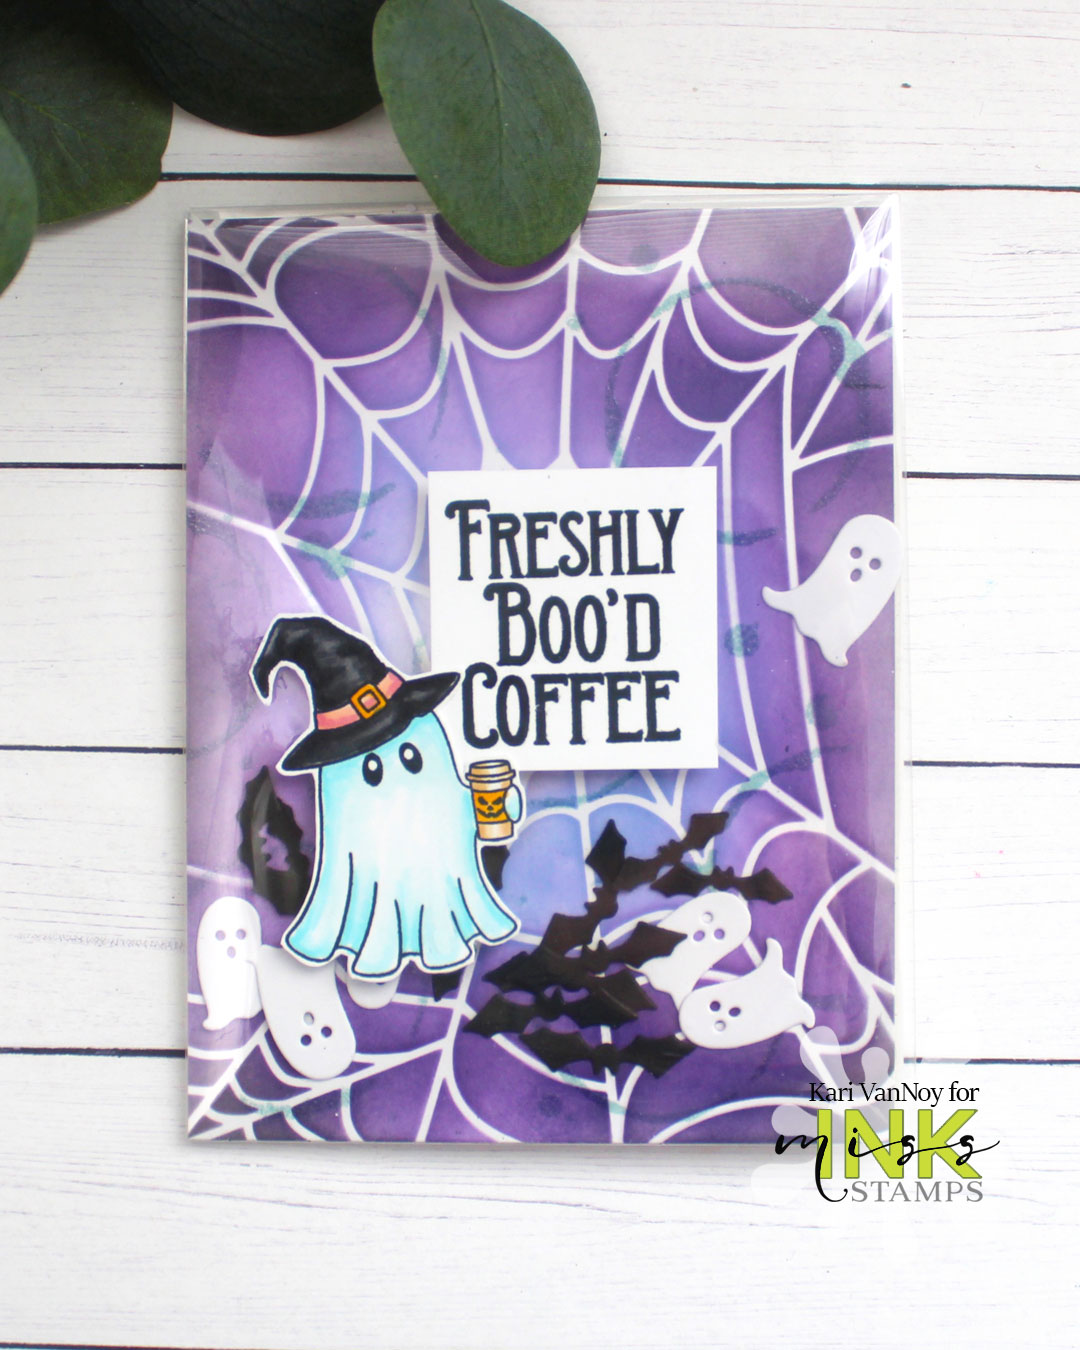
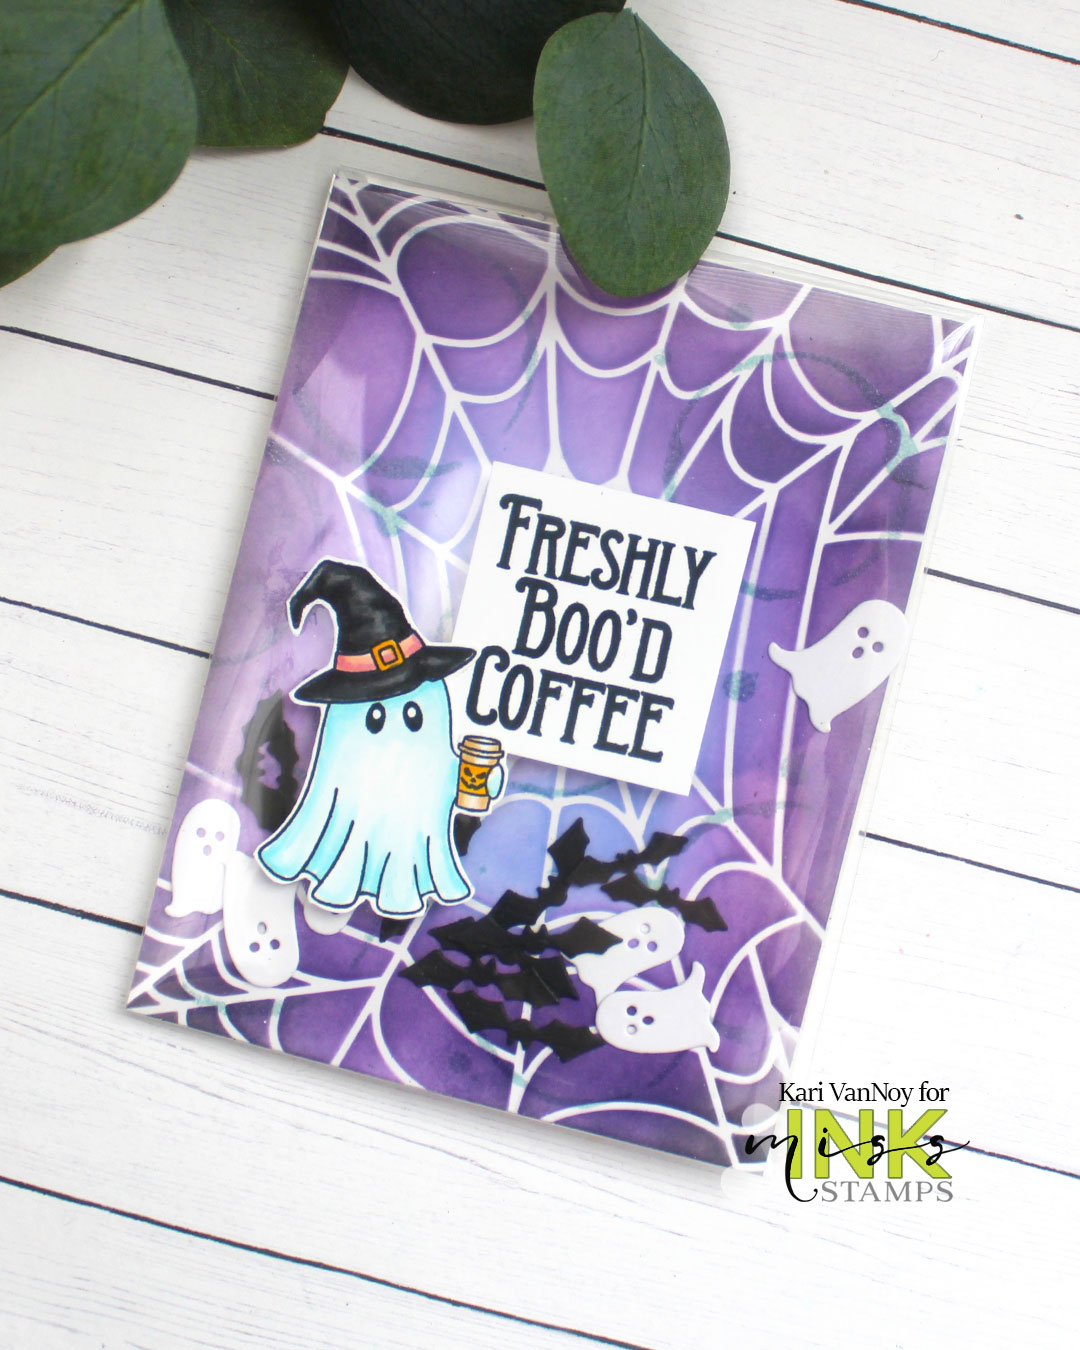
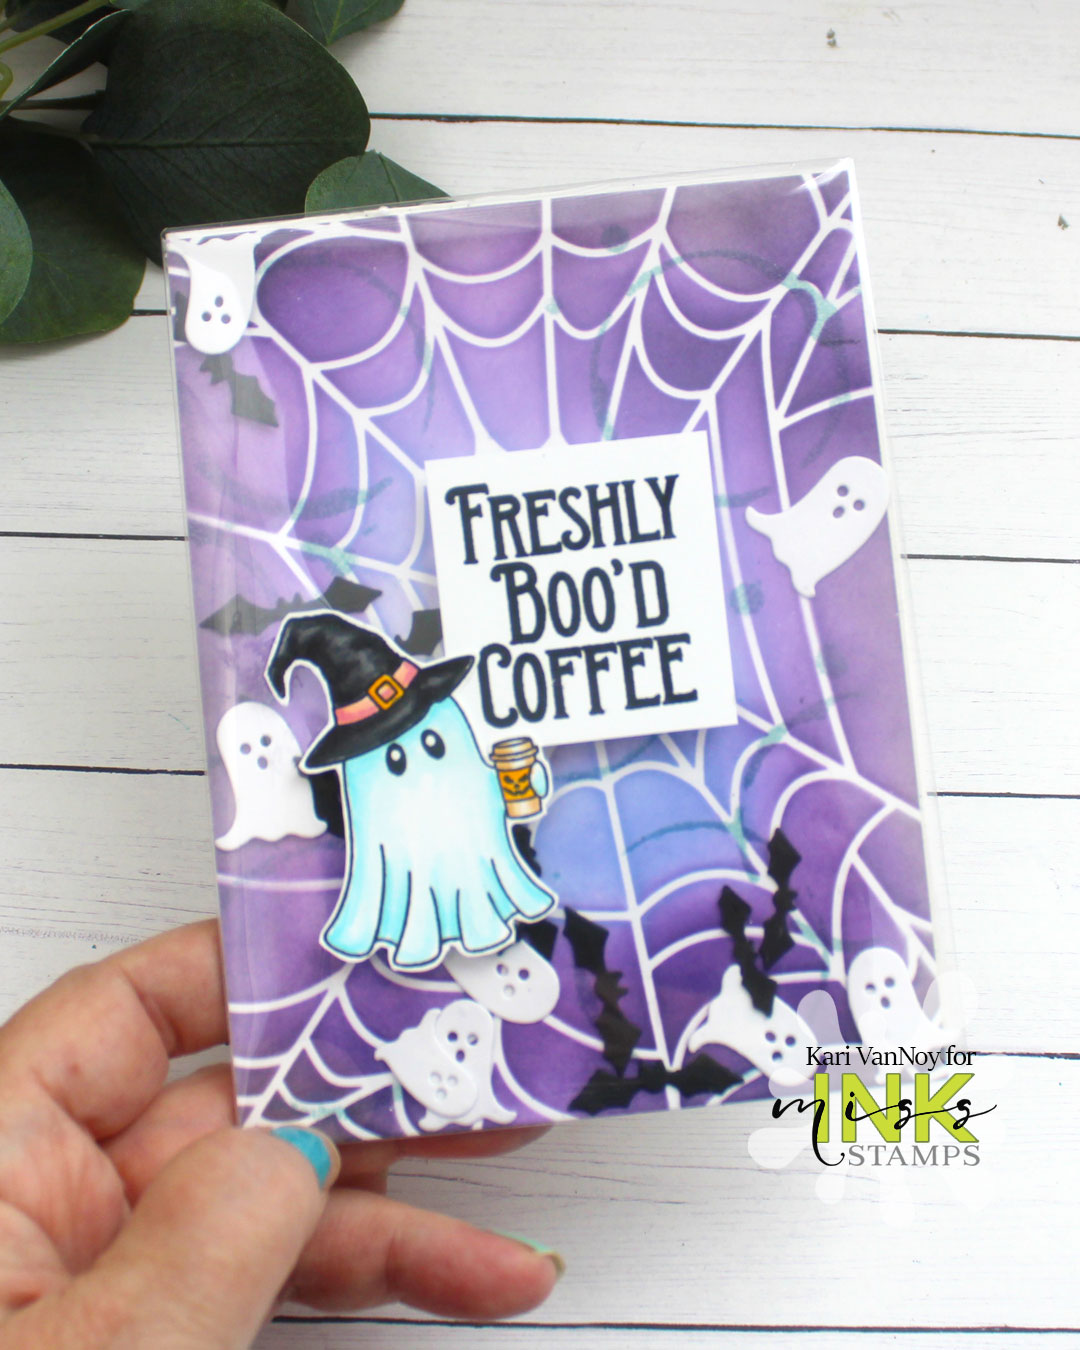
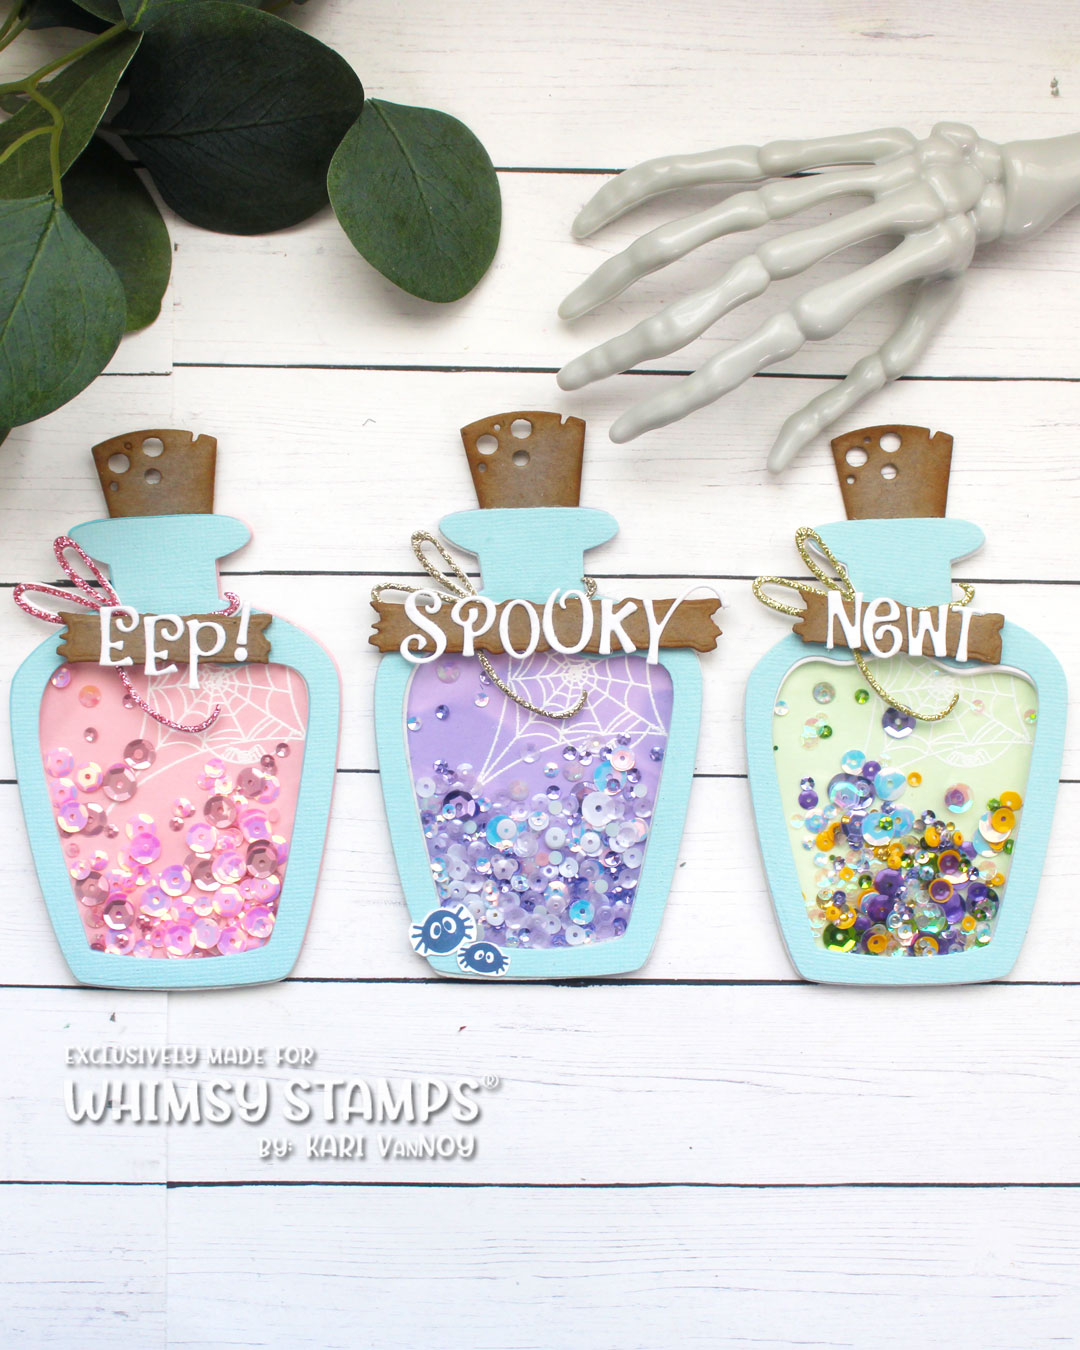
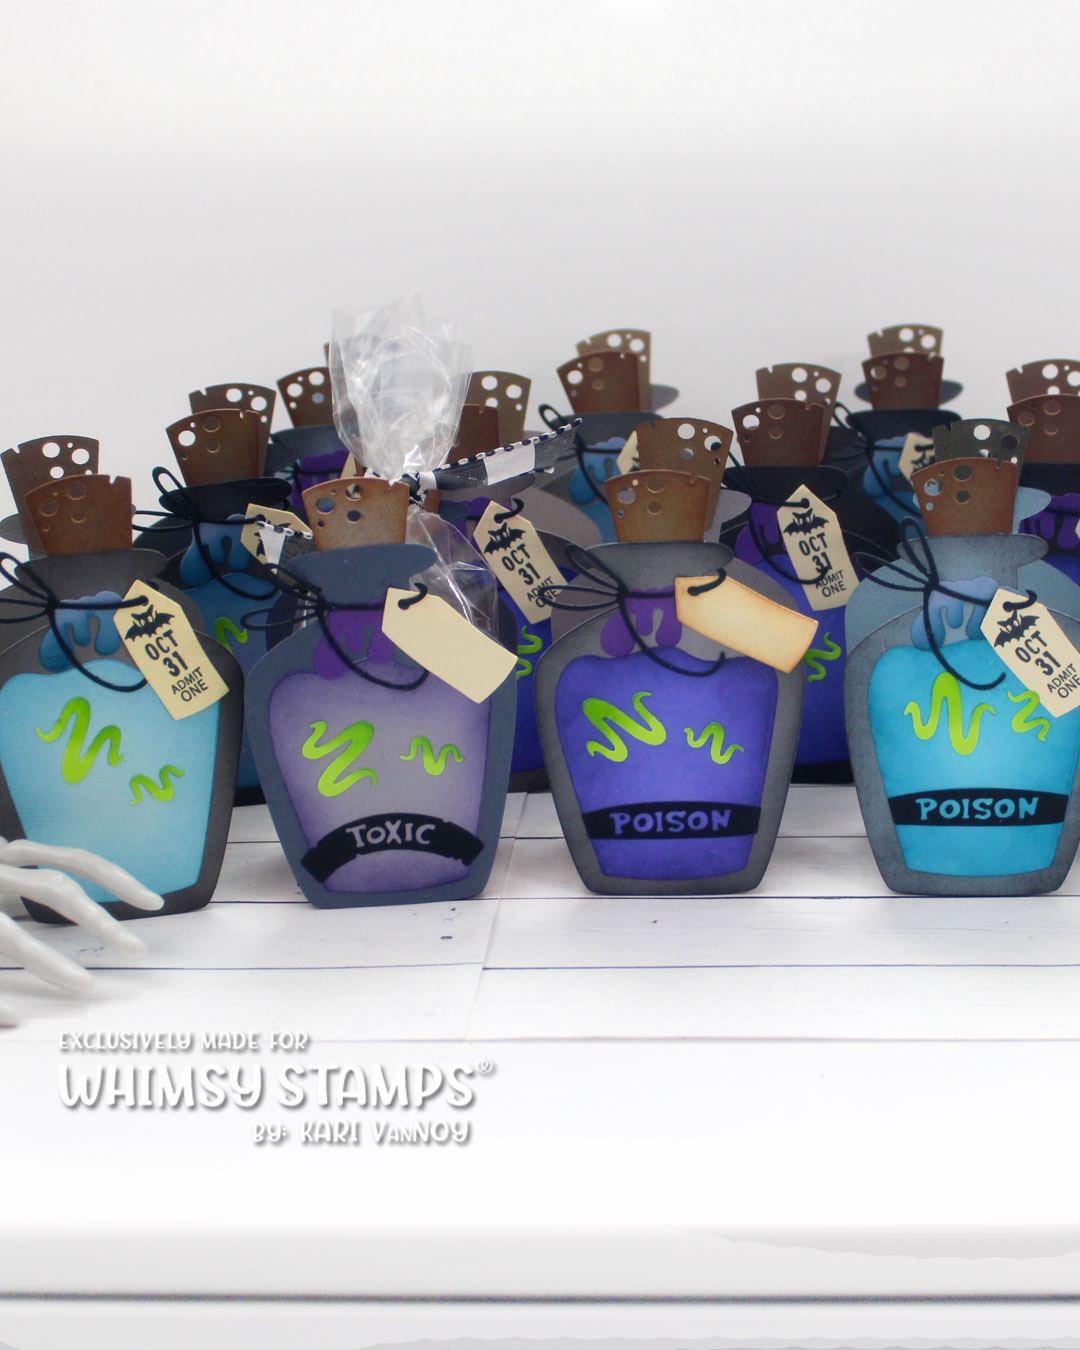
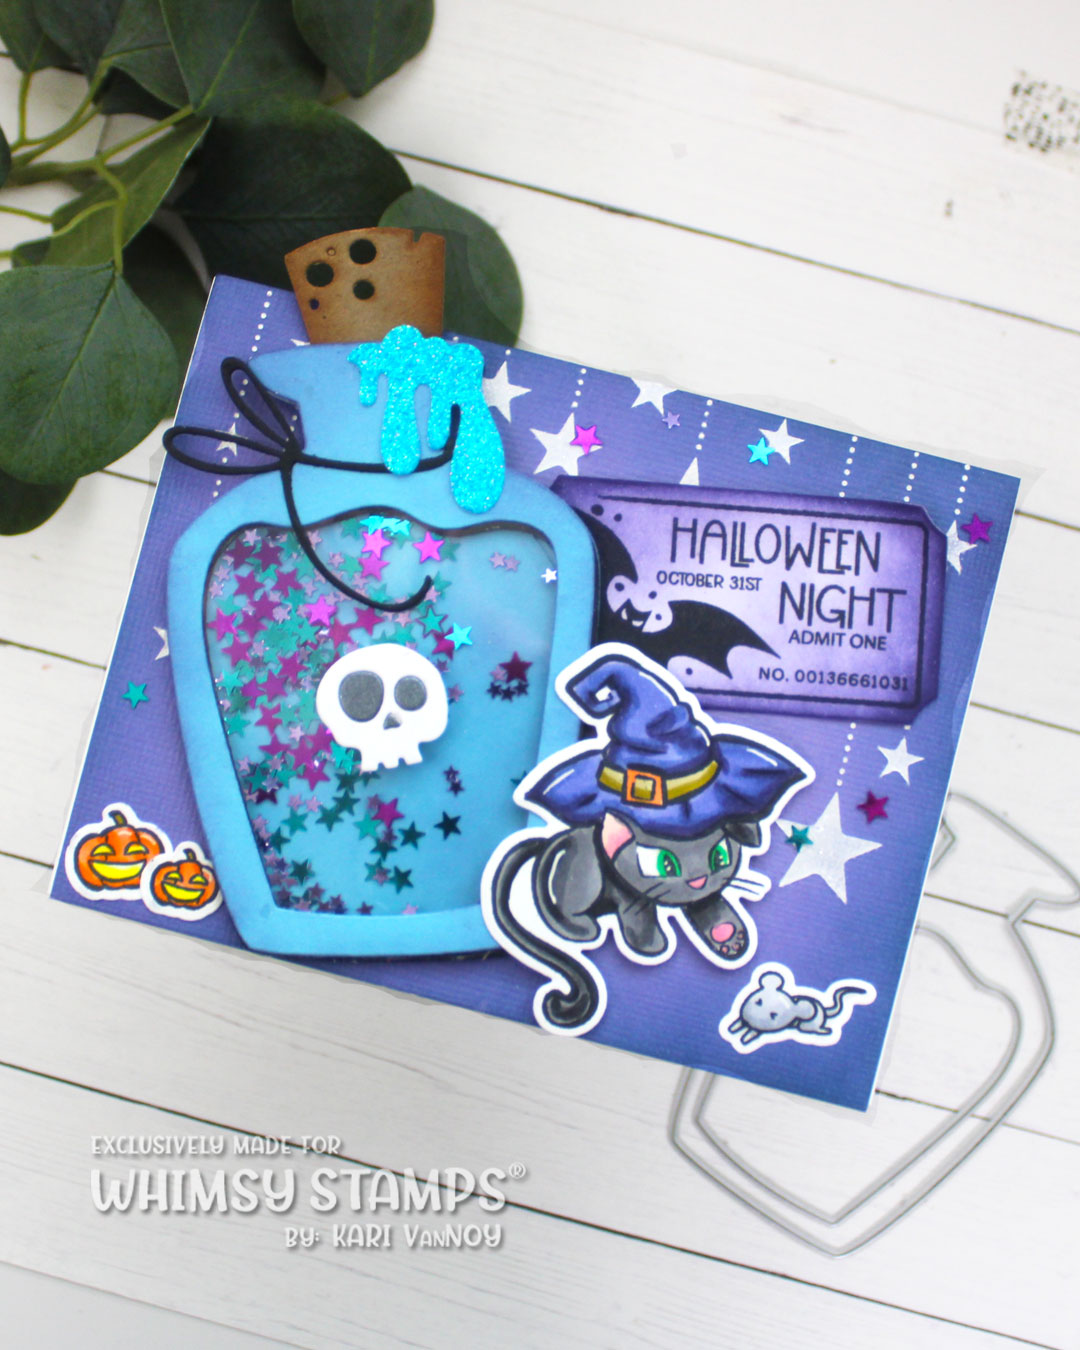
Hello! Today I’m excited to share with you my Potion Bottles Part 2, with even MORE potion bottles cards. They’re not just for Halloween! So join me in my video below and see all my samples and we’ll make a shaker card as well:
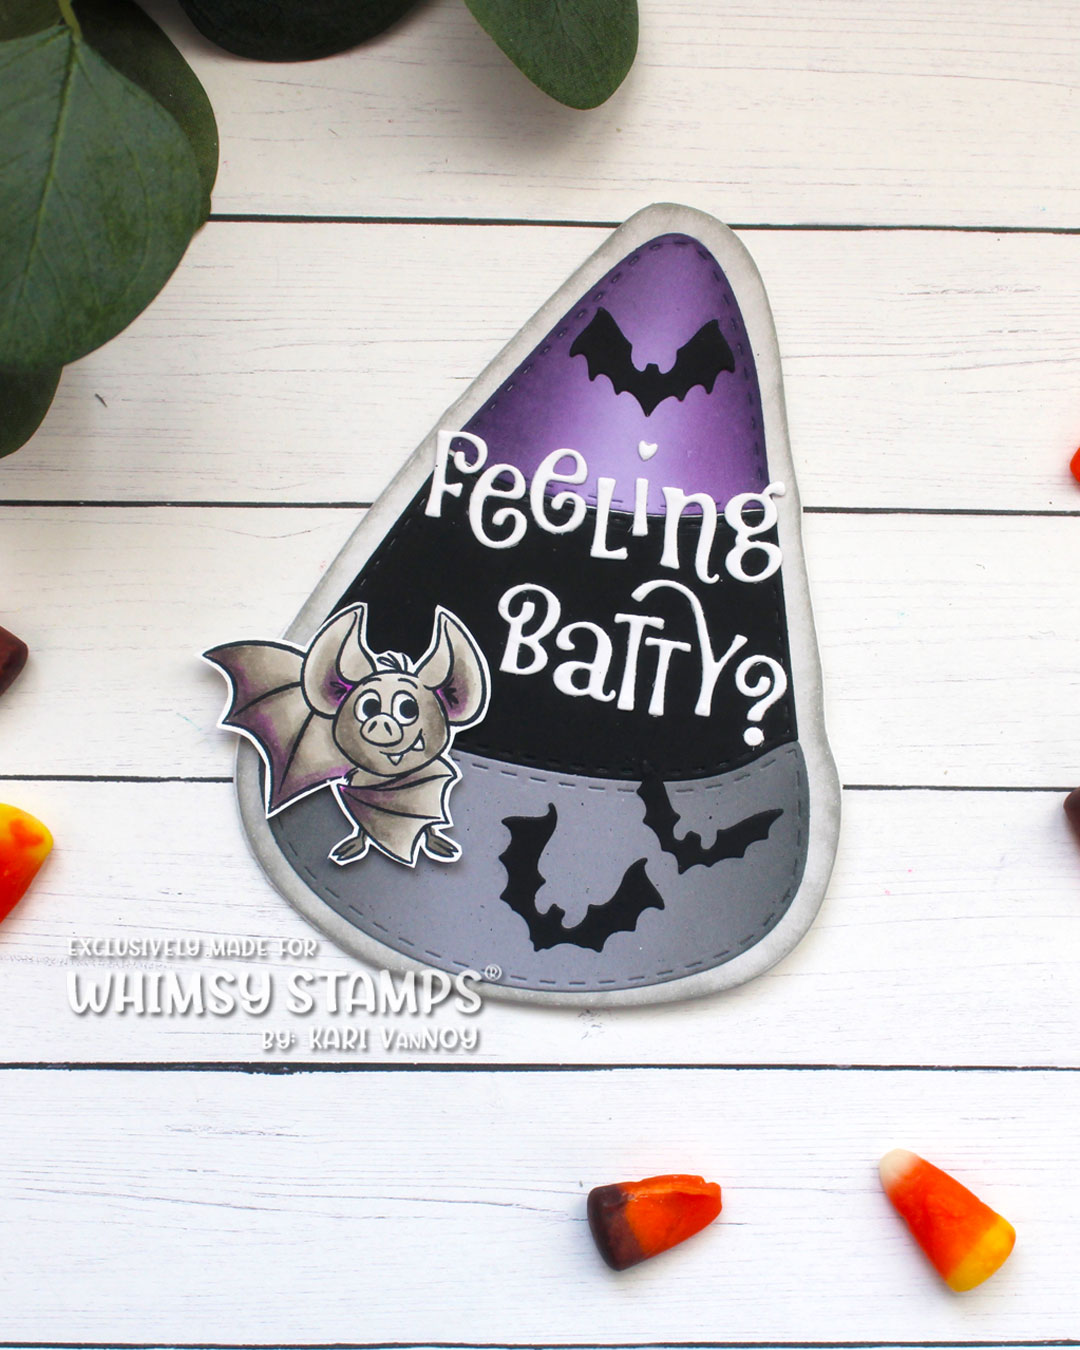
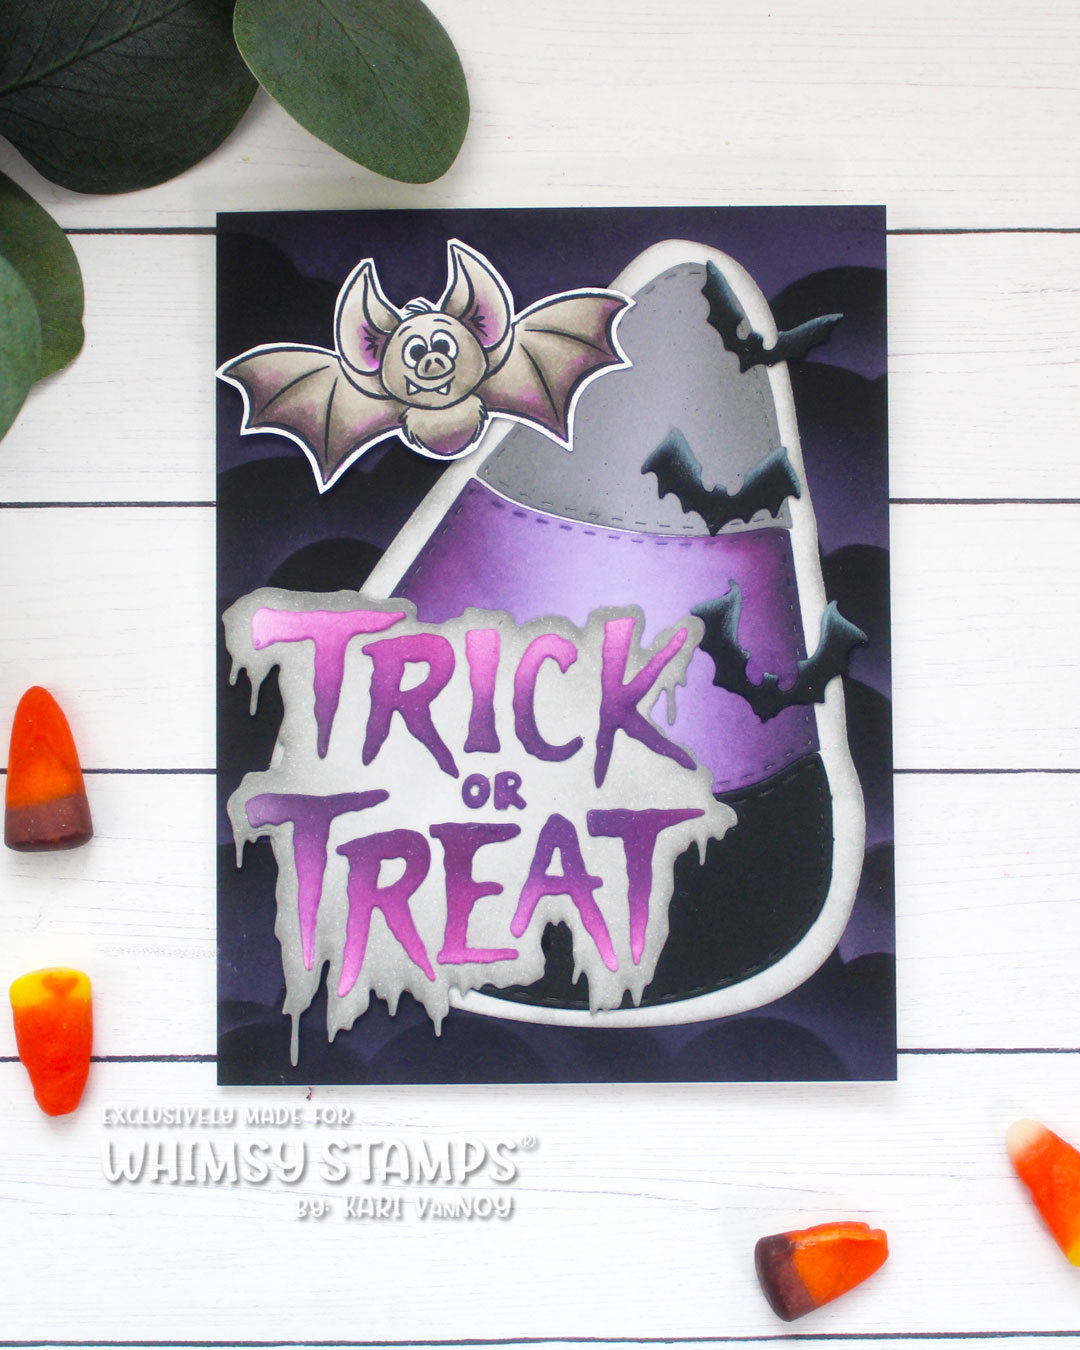
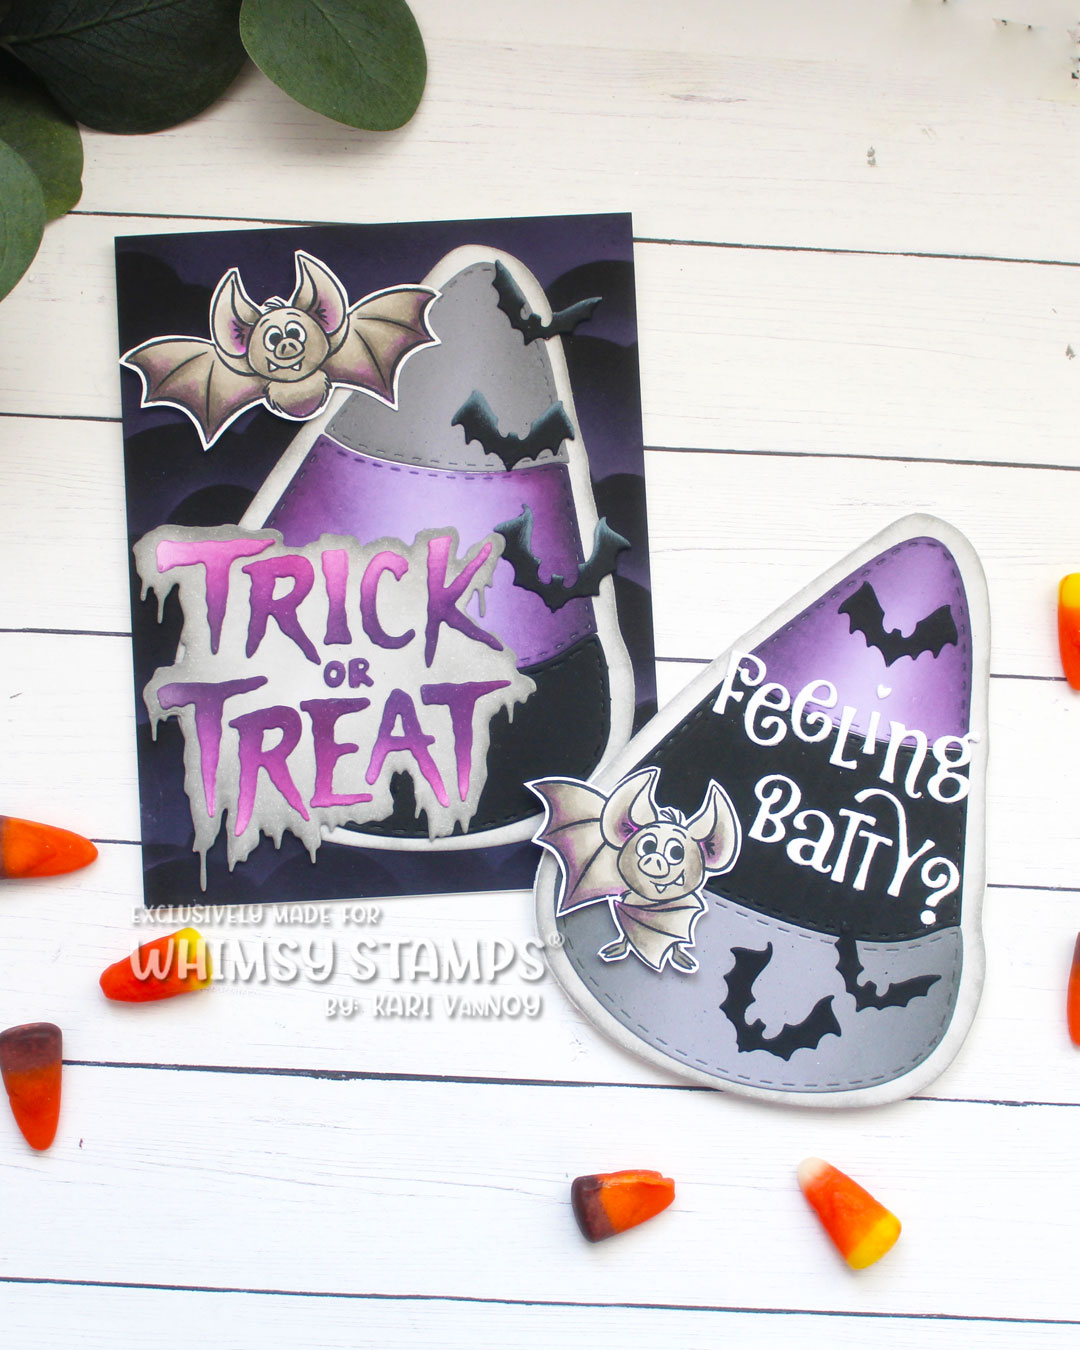
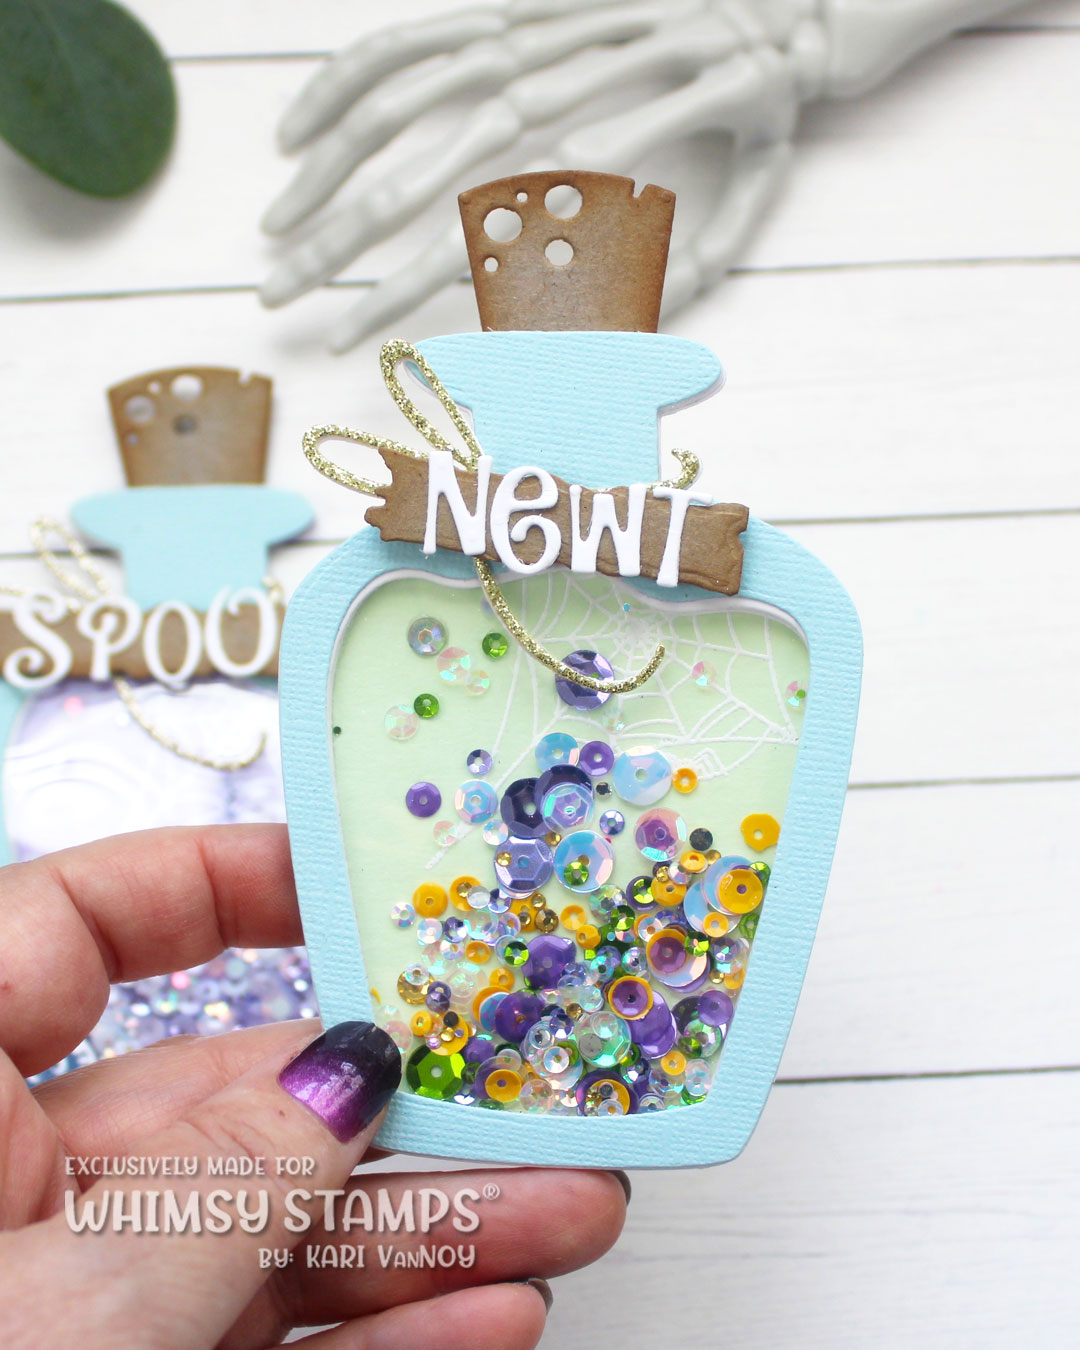
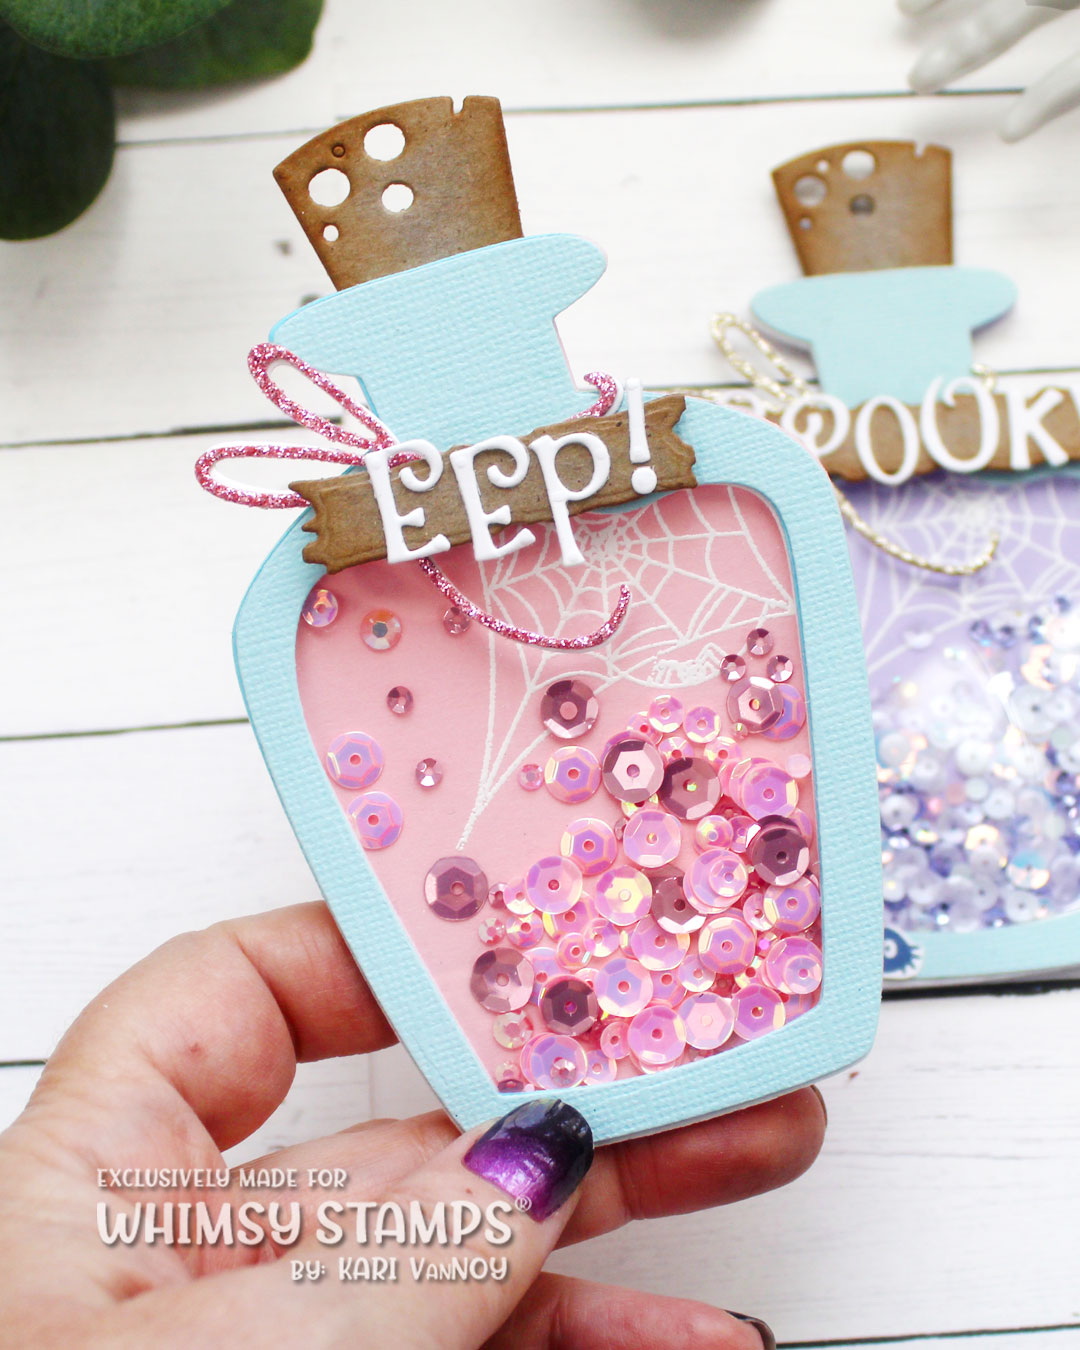
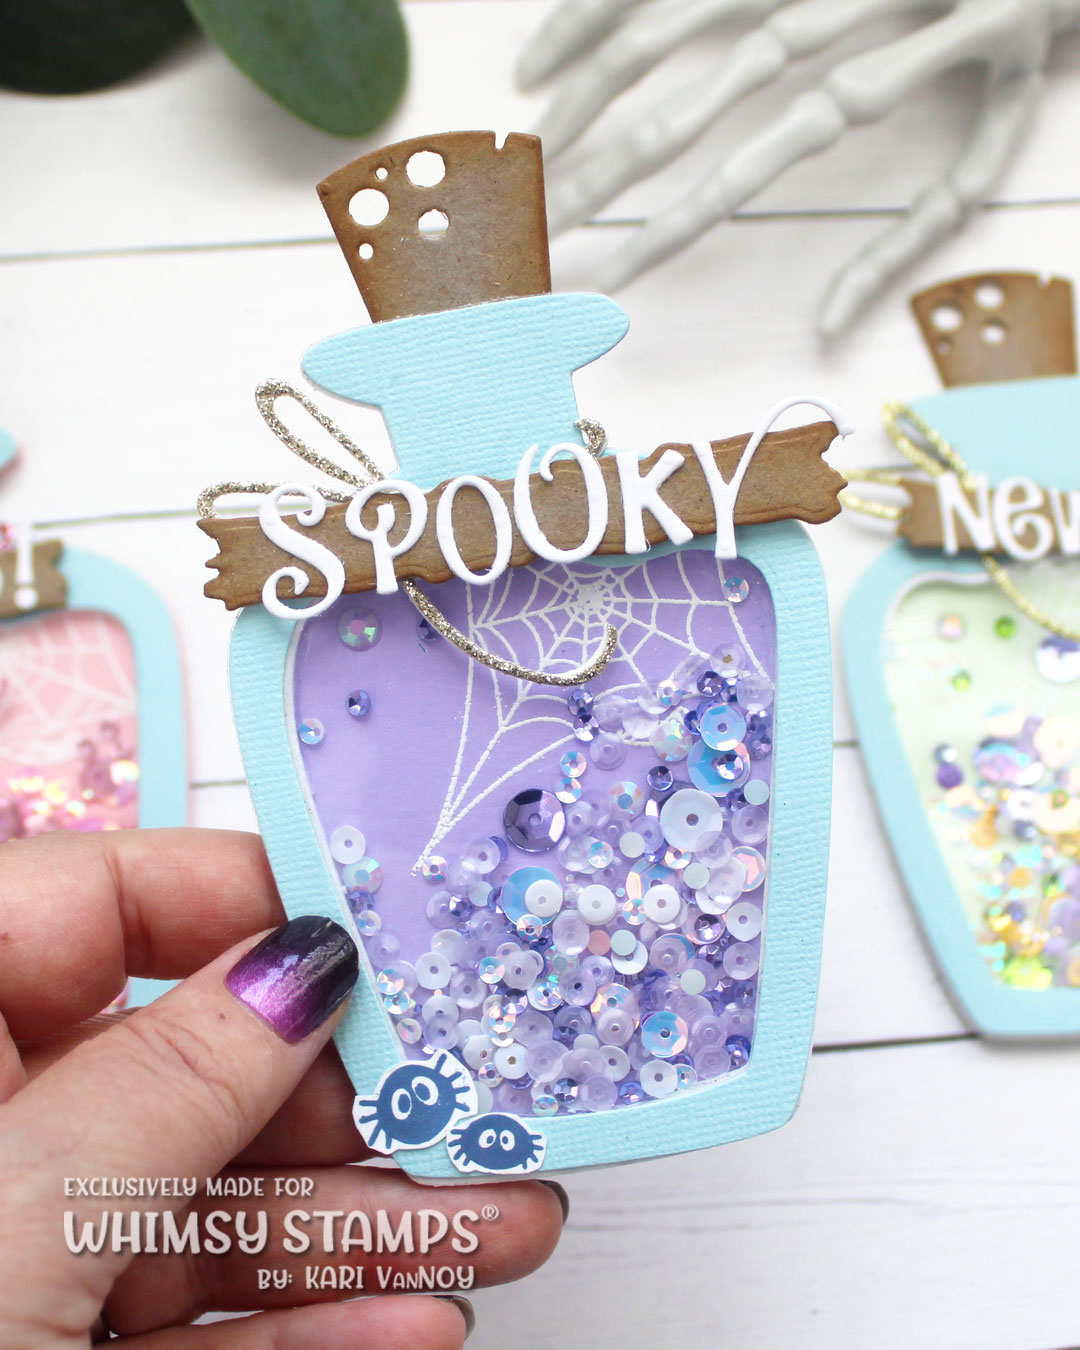
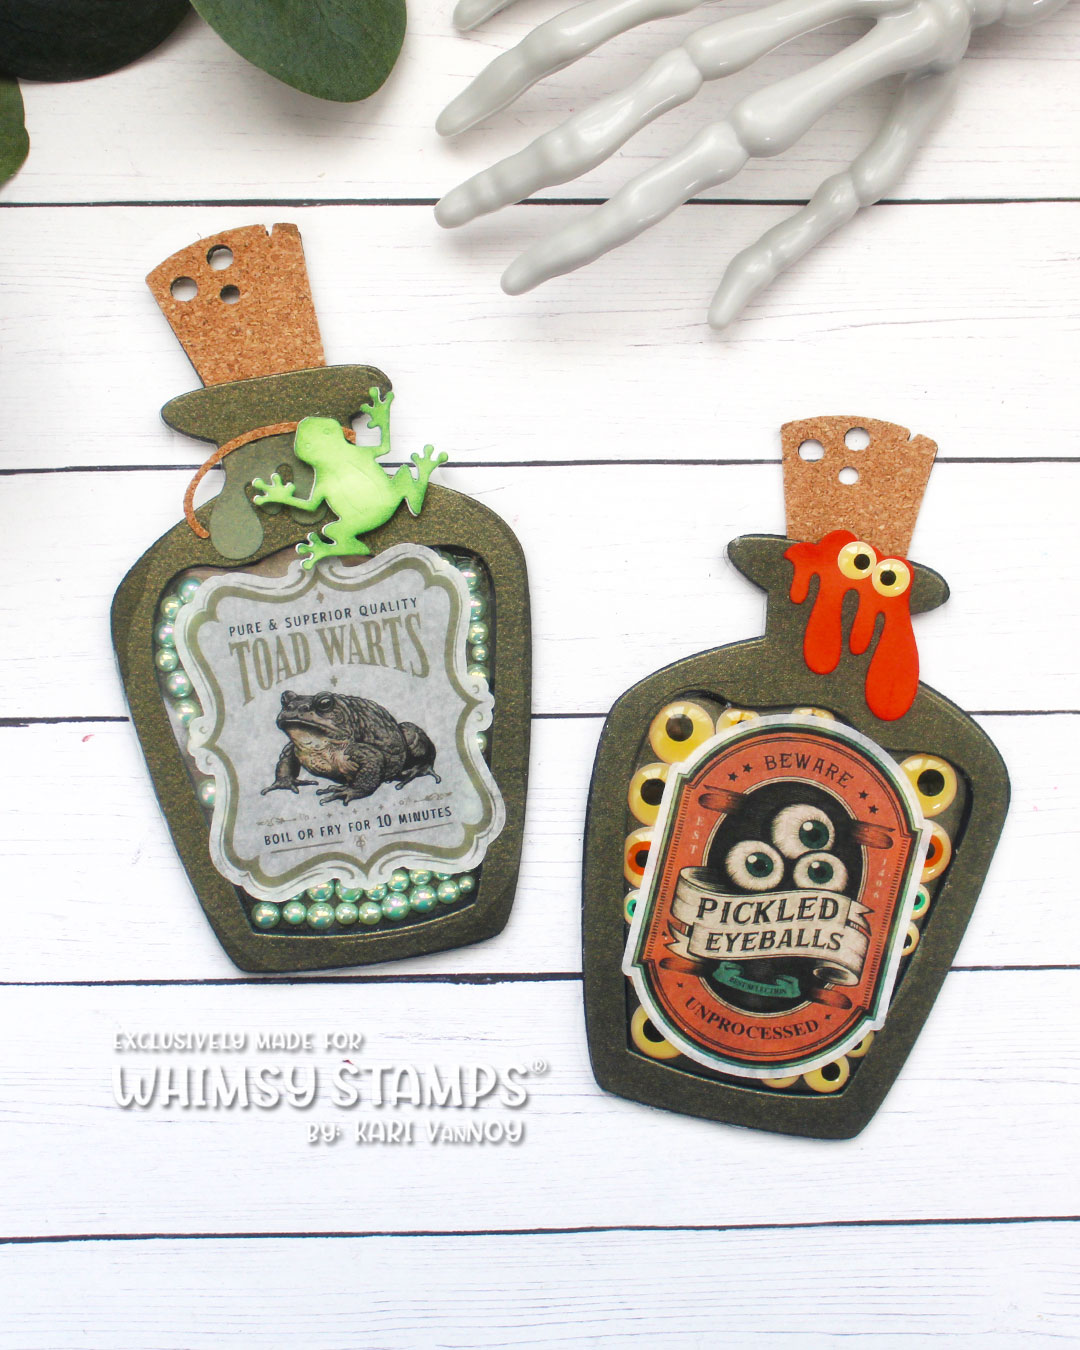
I just could not stop creating with this potion bottles die set! I kept coming up with more and more ideas (and by the way, I STILL have some cards to make with this one)!
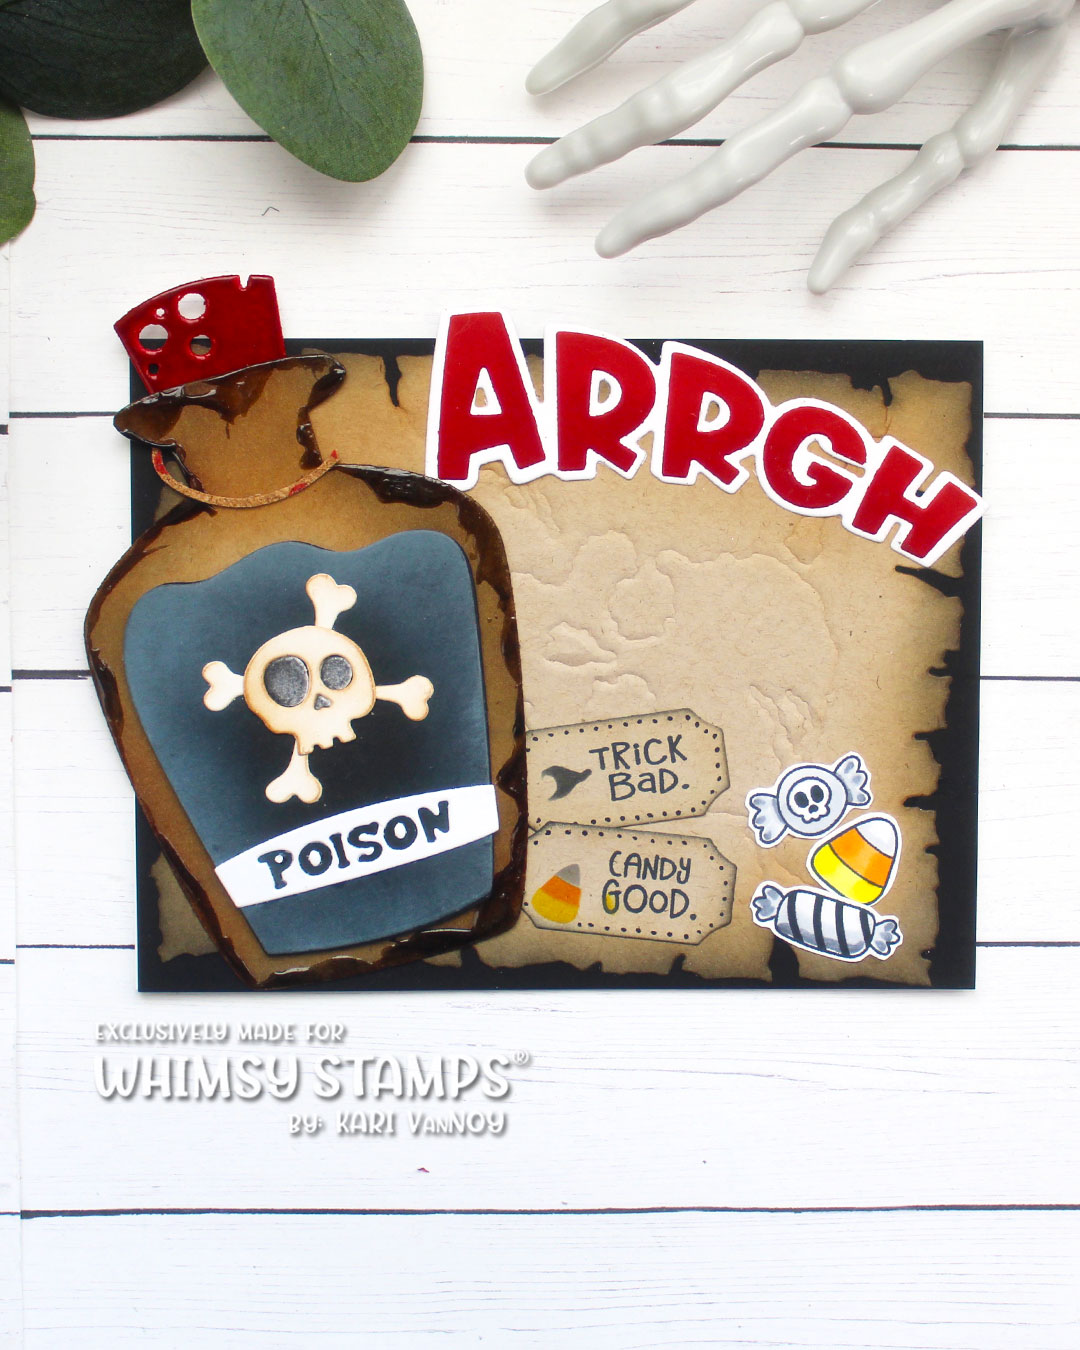
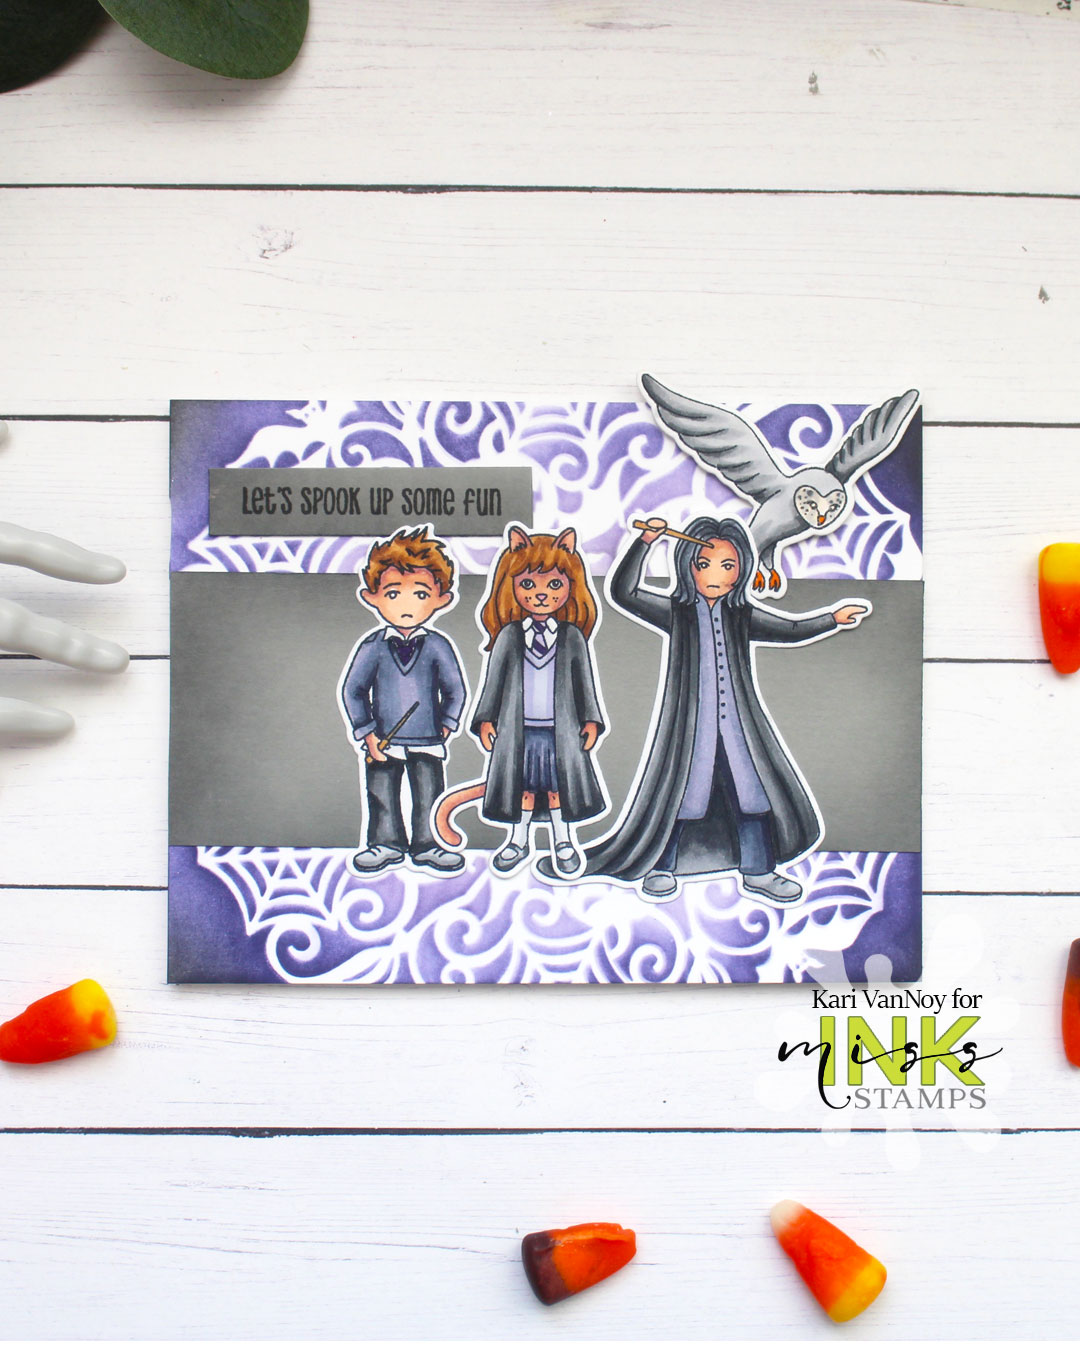
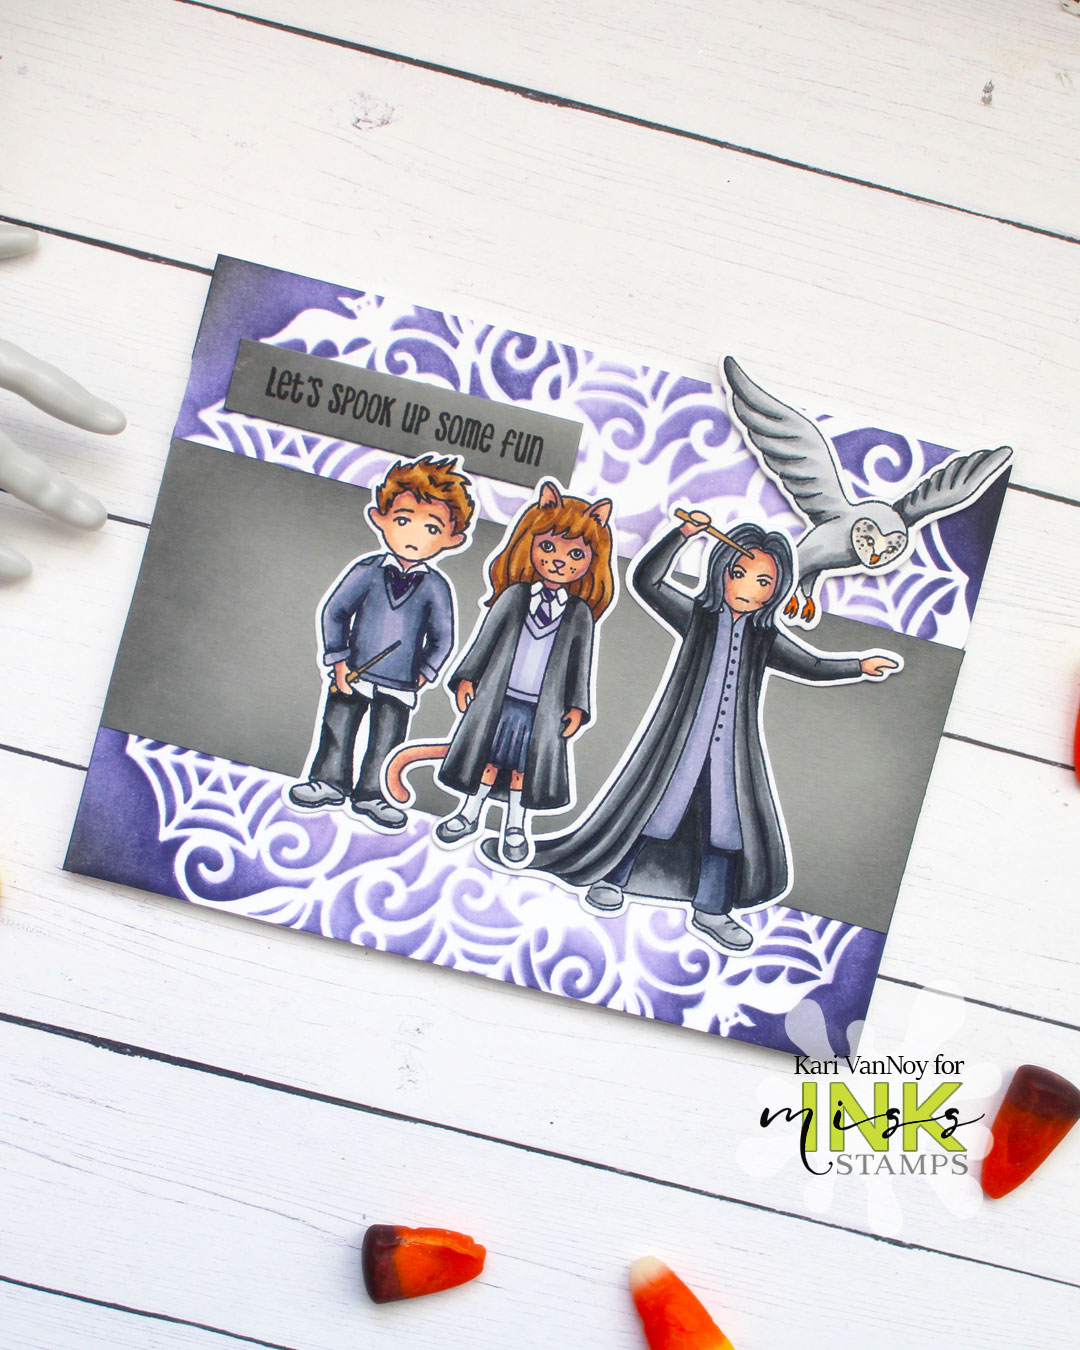
I created many more Halloween cards, and even some that are NOT Halloween. I hope you’ll stop by and check out the video.
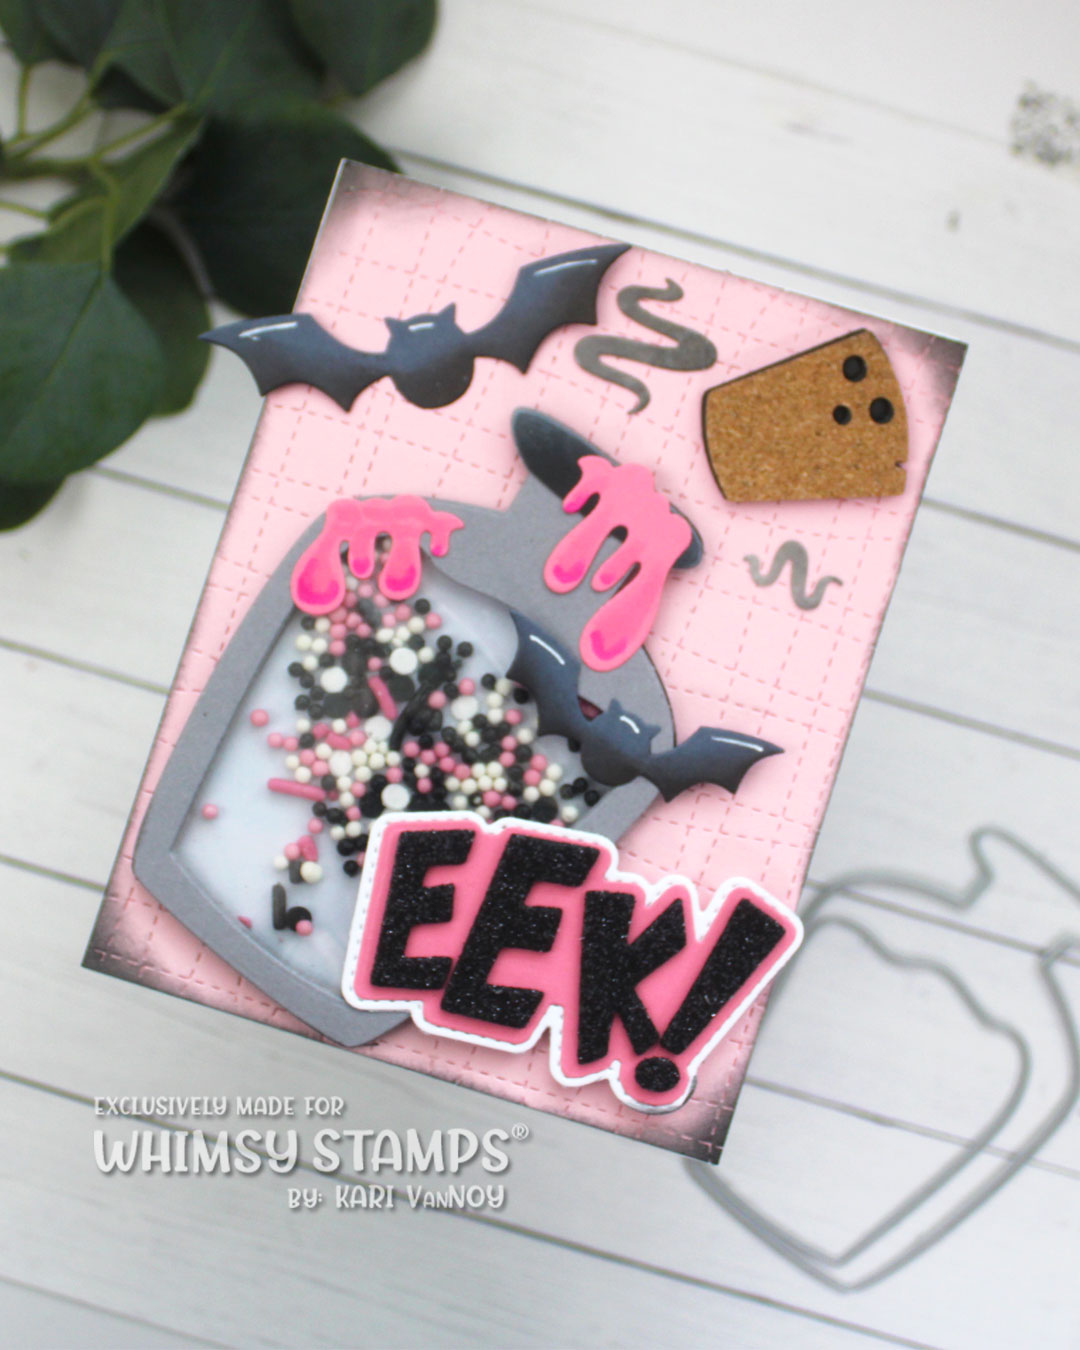
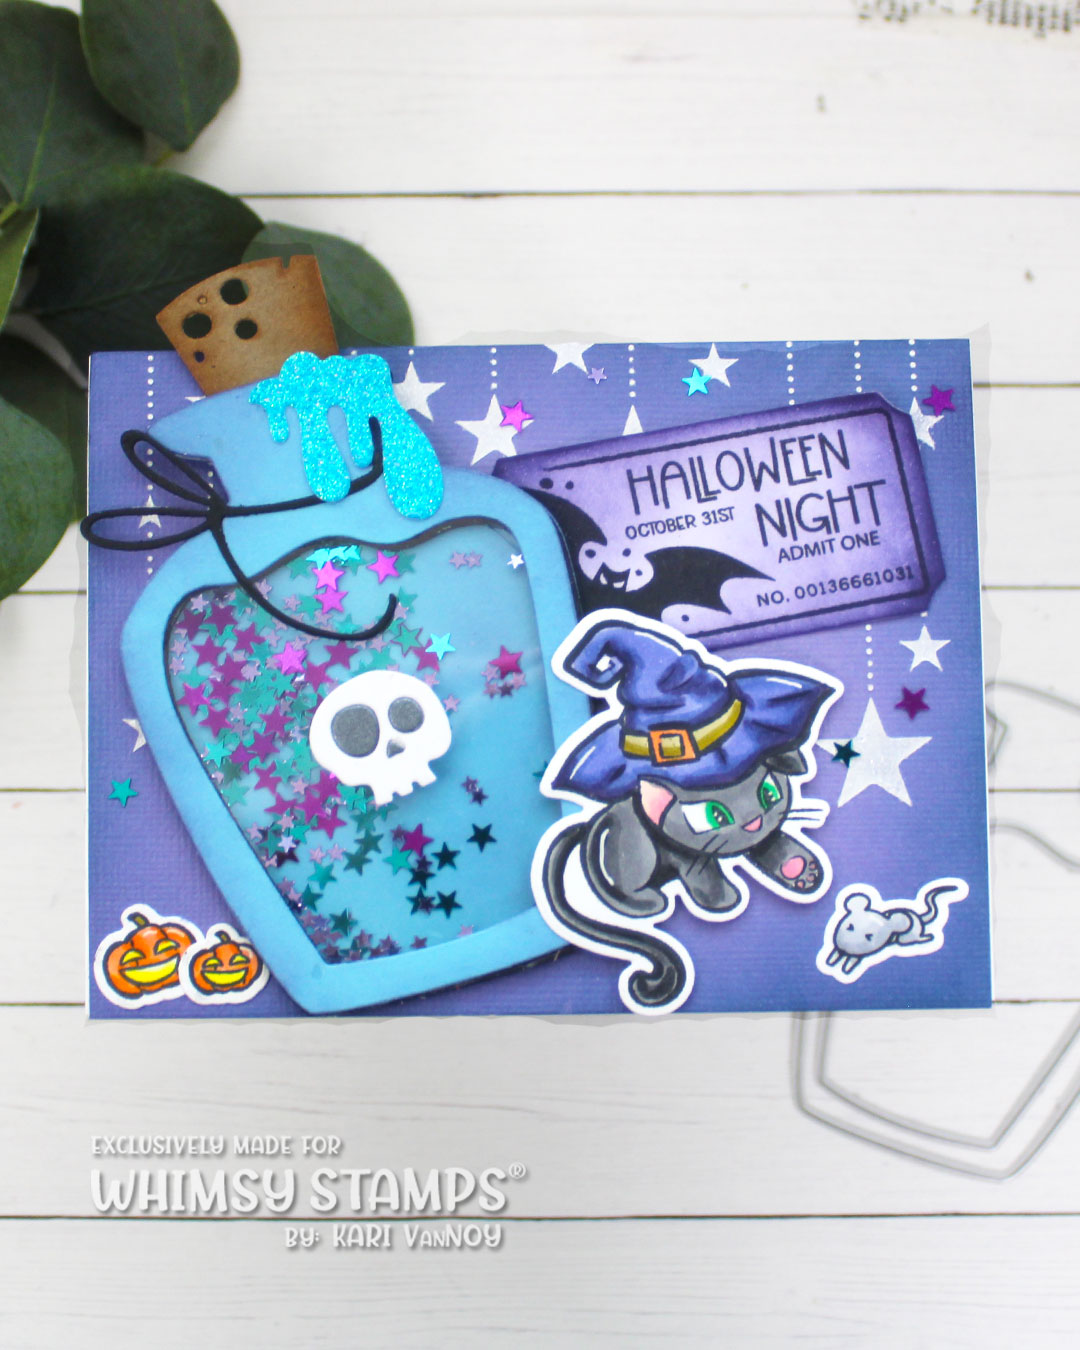
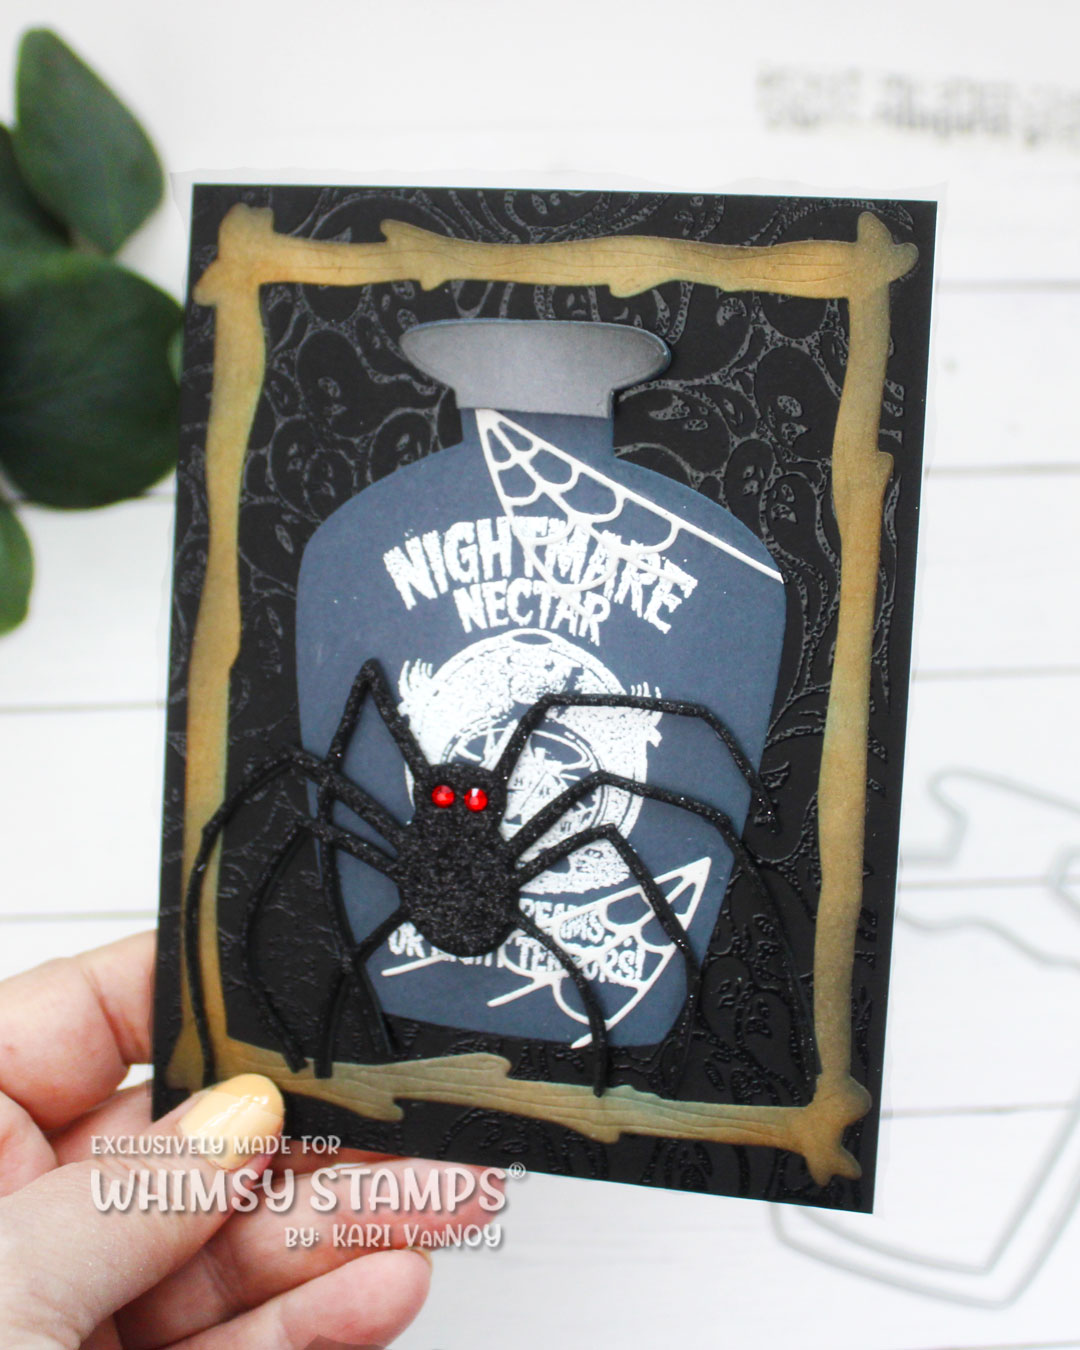
I even made some mini shaped cards (which I share in the video, but forgot to take a photo!)
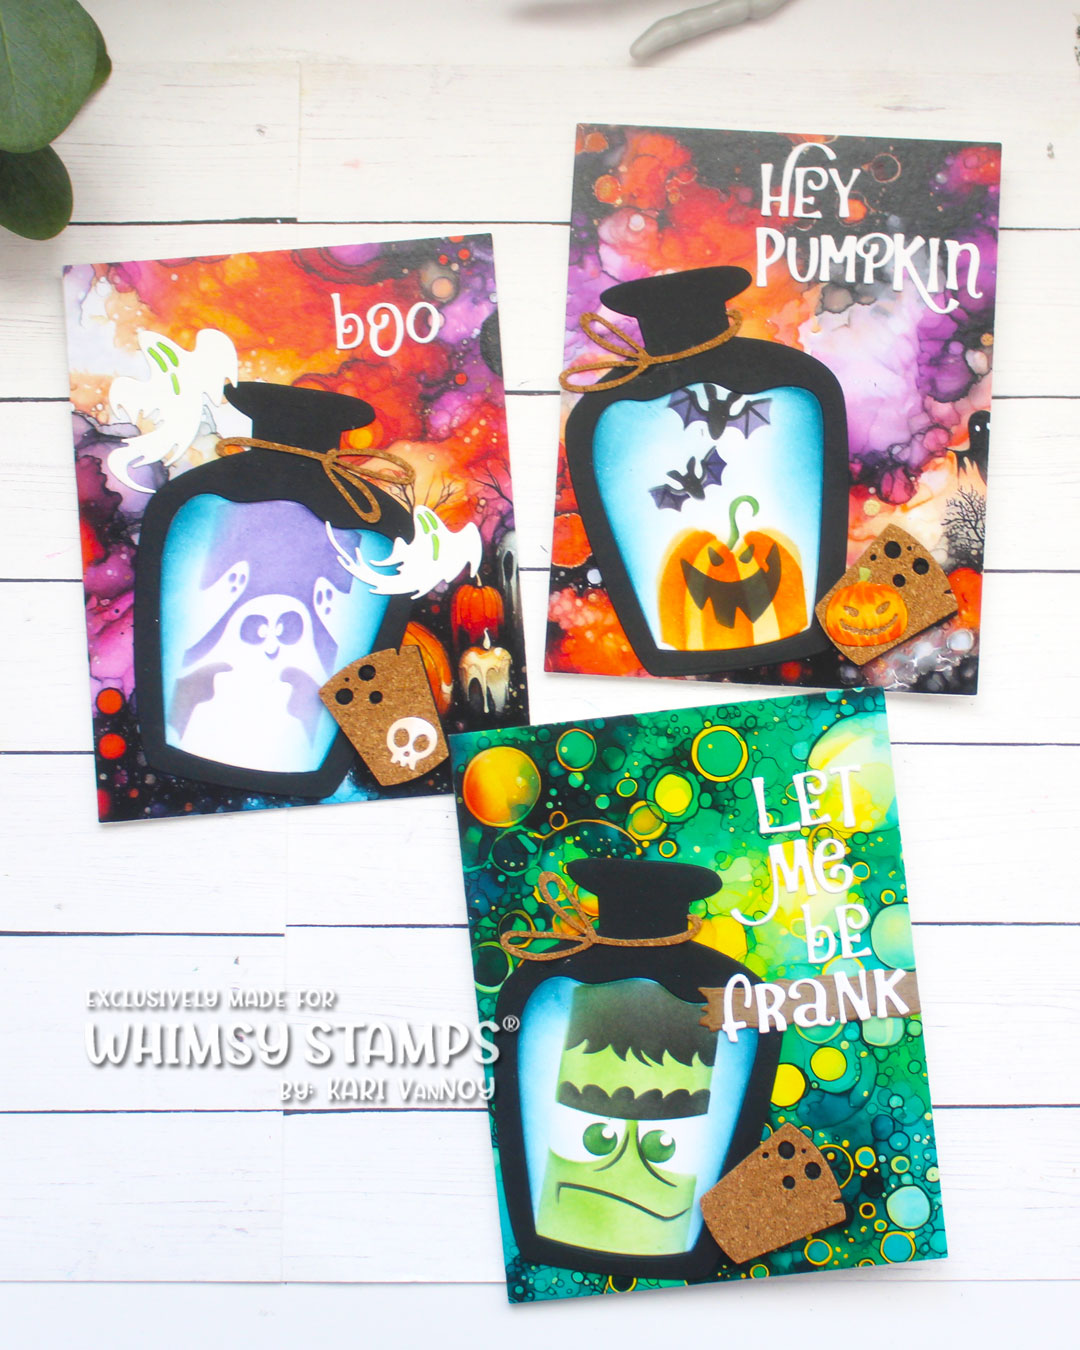
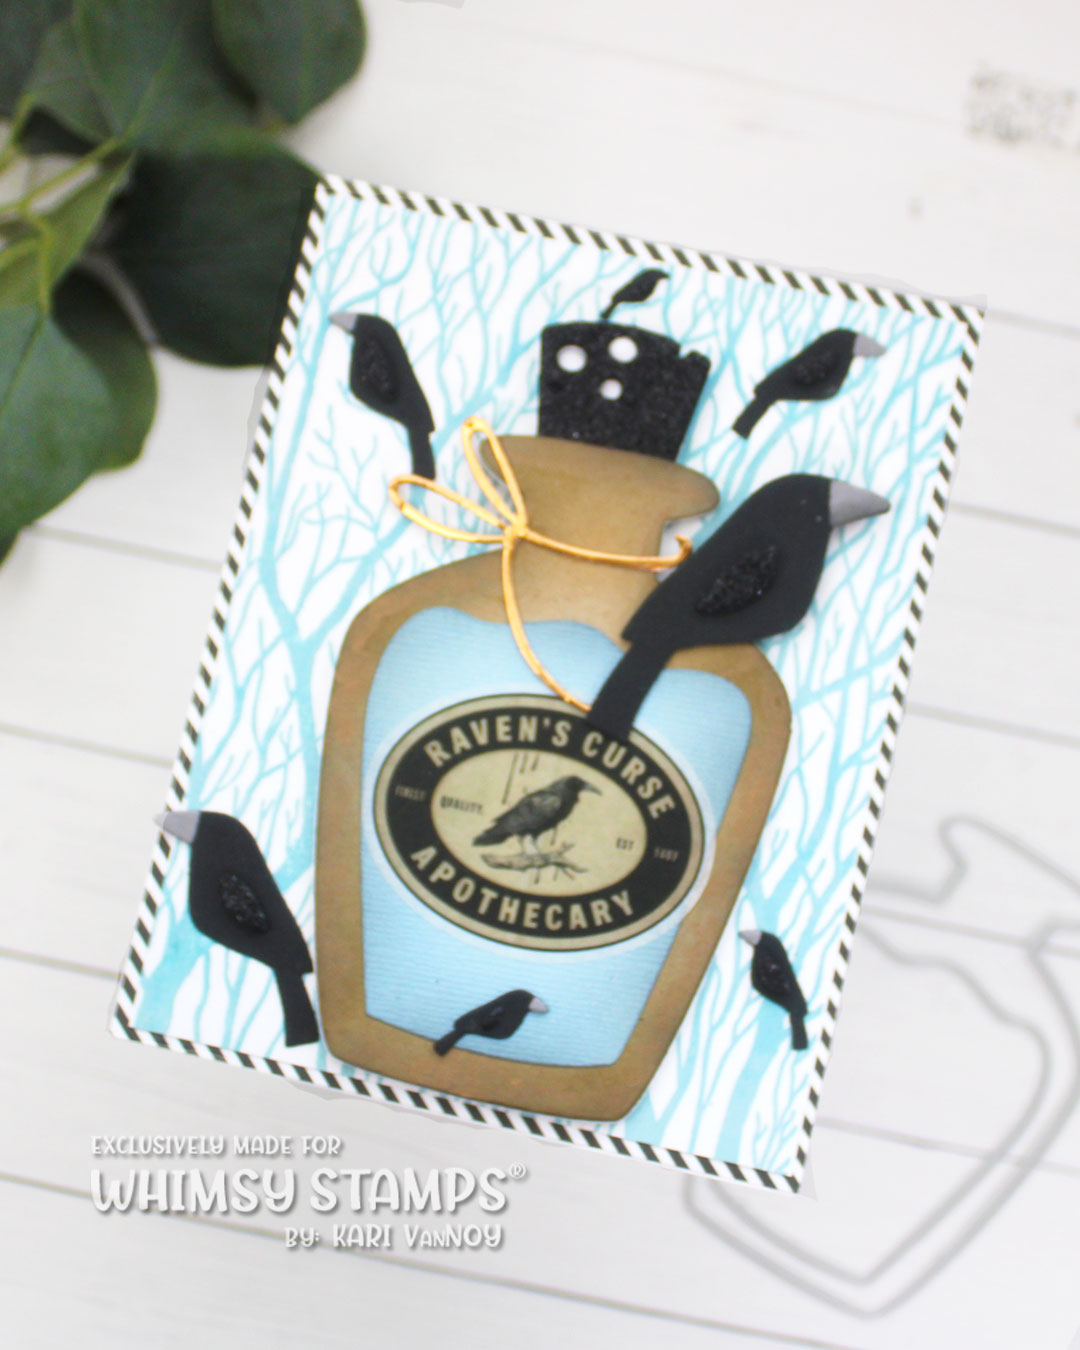
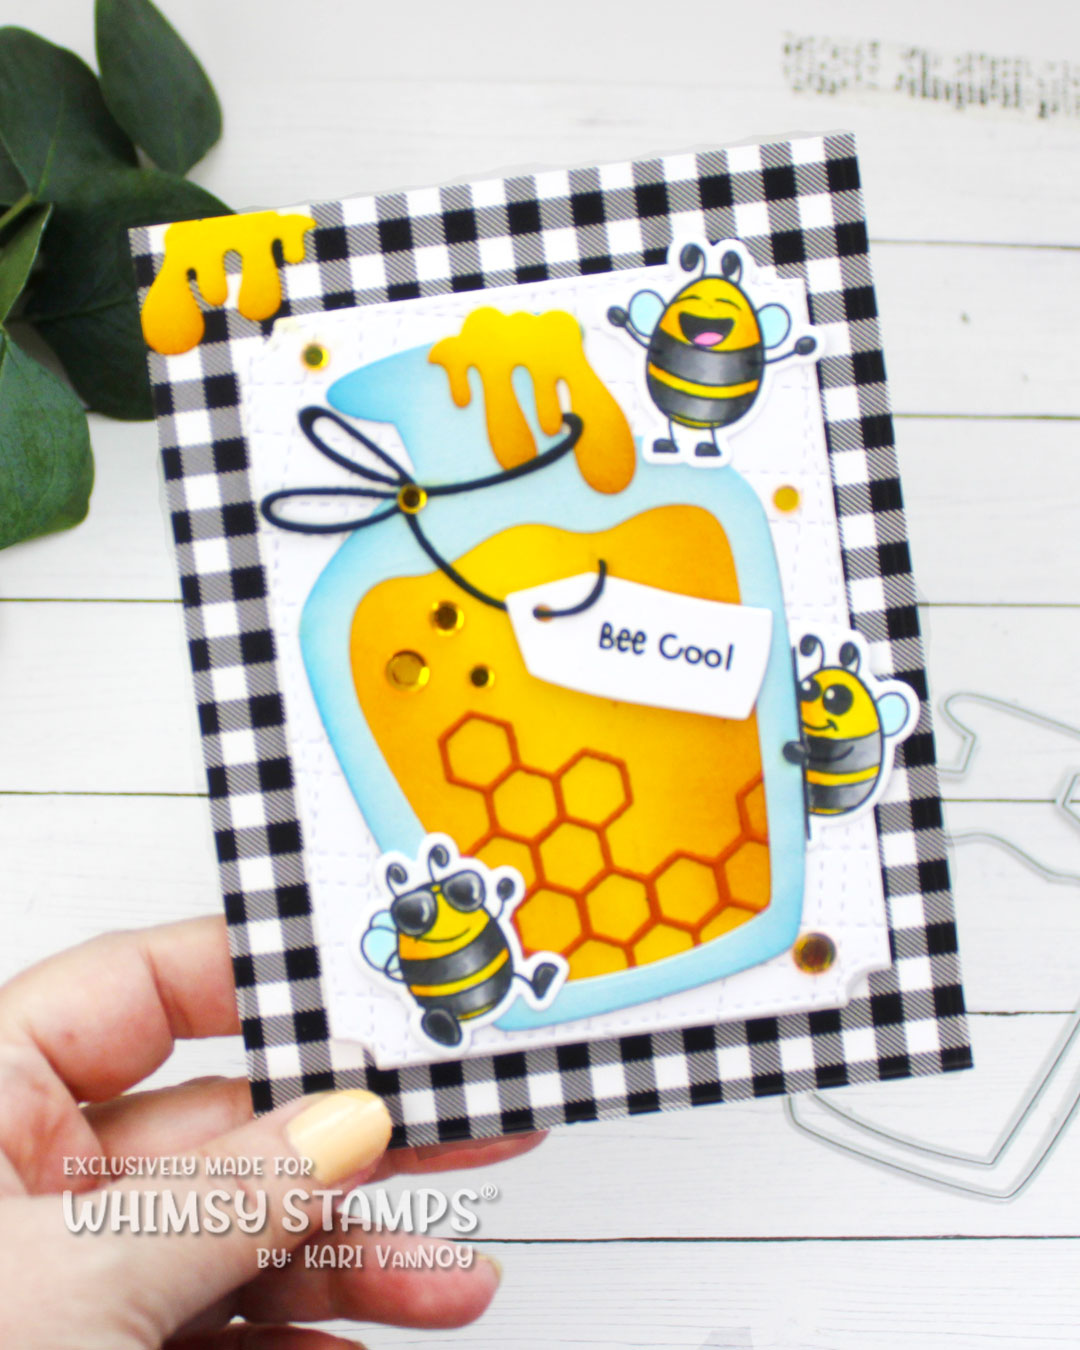
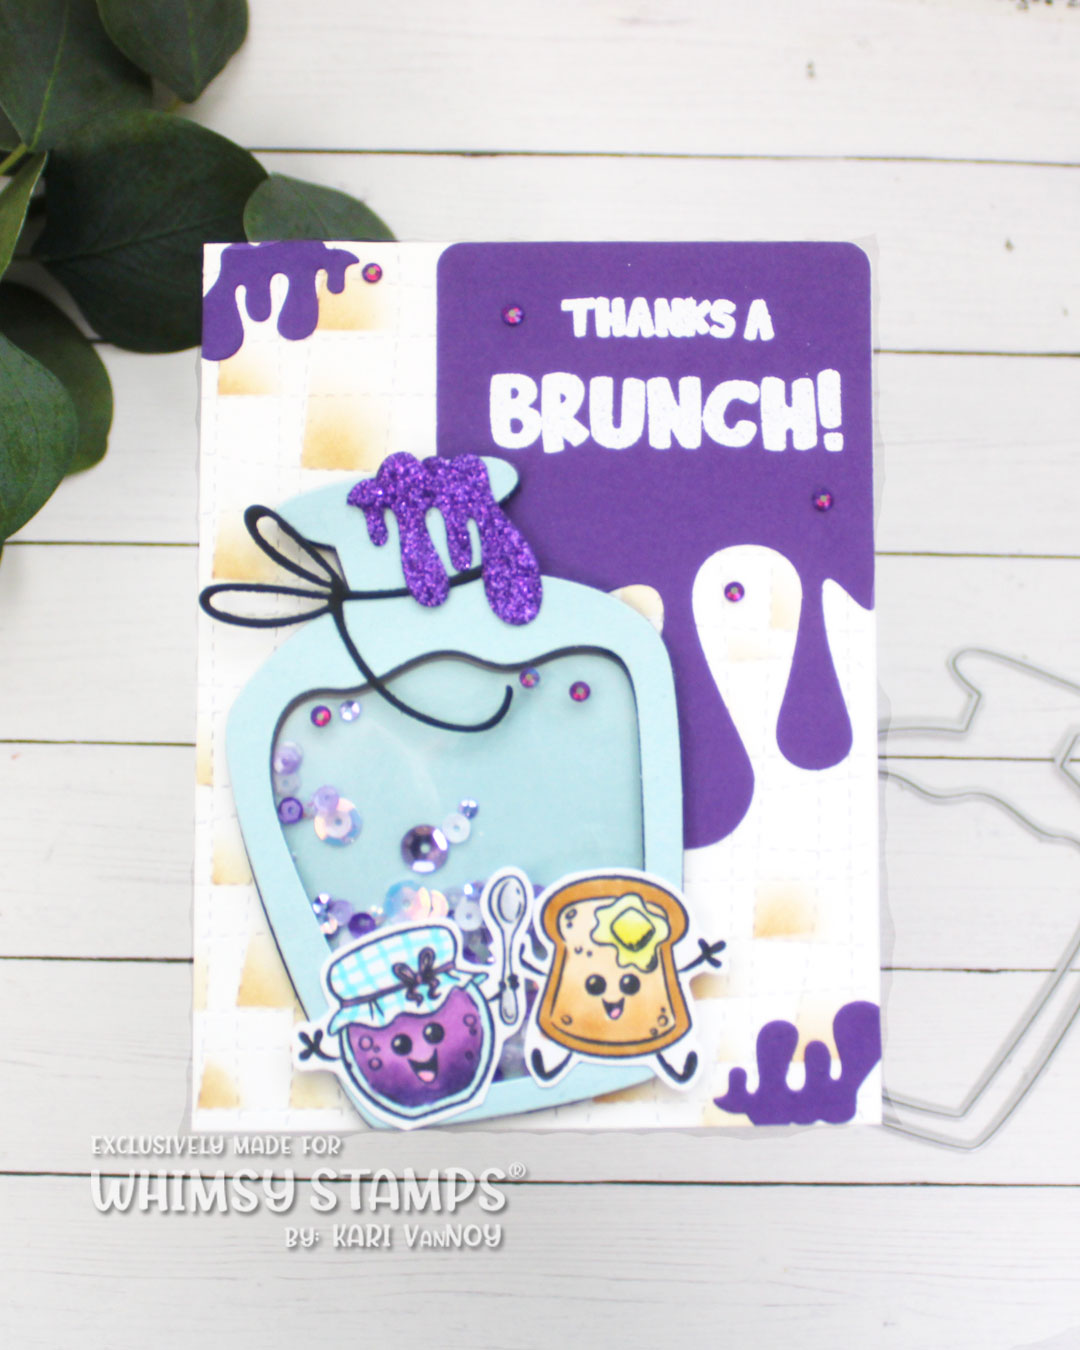
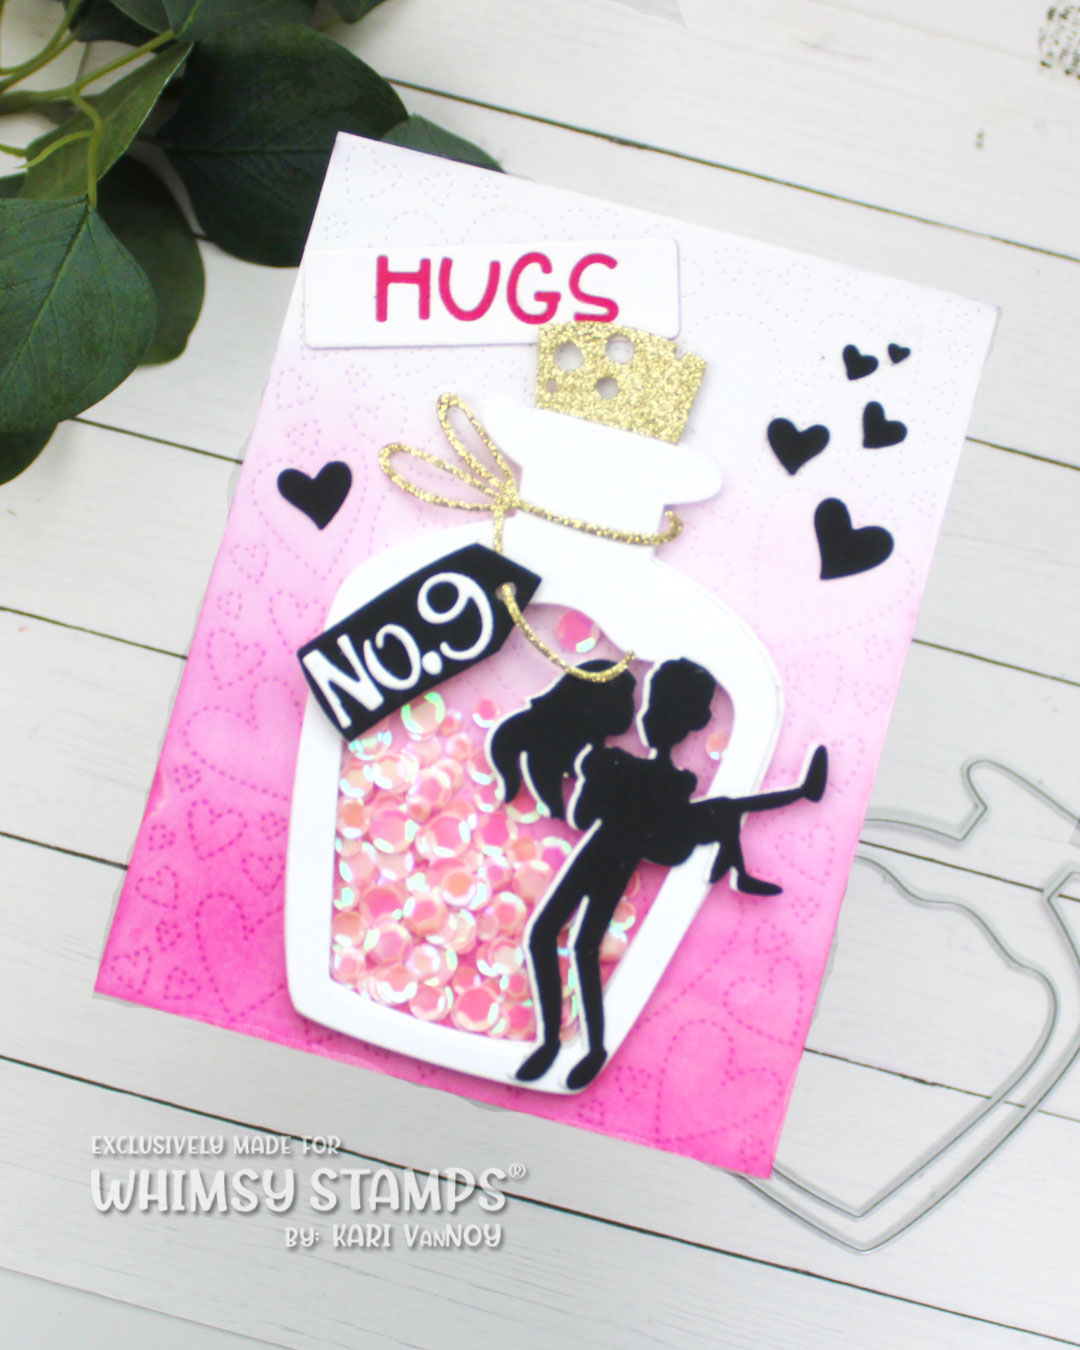
Then, I thought that this bottle could be used for more than Halloween. Here’s some of the cards I came up with:
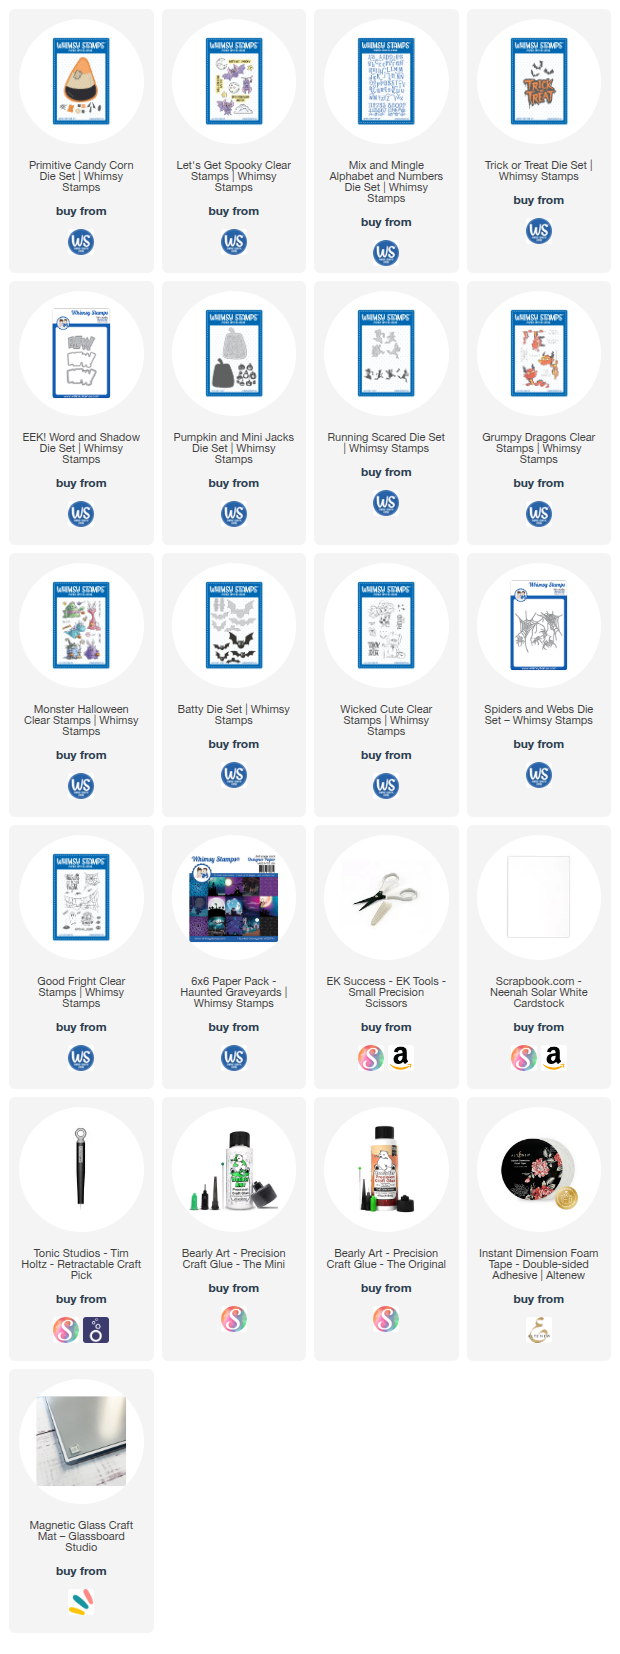
I’m often asked what supplies I use to make my cards and projects, so I’ve put together a list using affiliate links when possible. If you make a purchase with these links I may receive a small commission. These help me to keep up with blog costs and continue bringing you fun projects. Thank you so much for your support!
I hope you enjoyed these projects today! Thanks for stopping by!
Kari