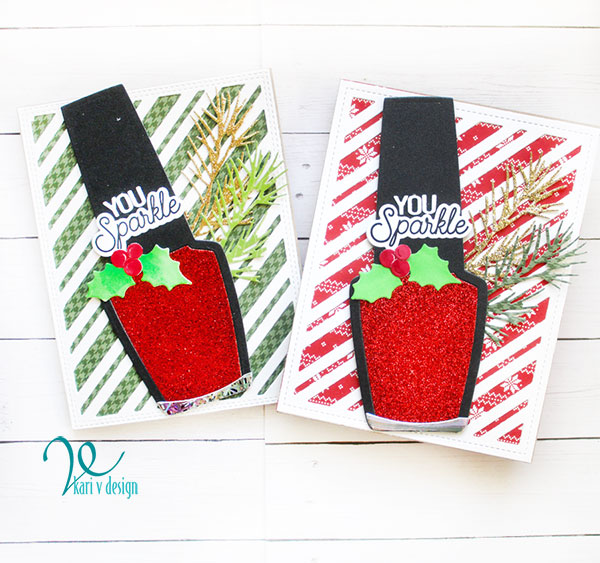
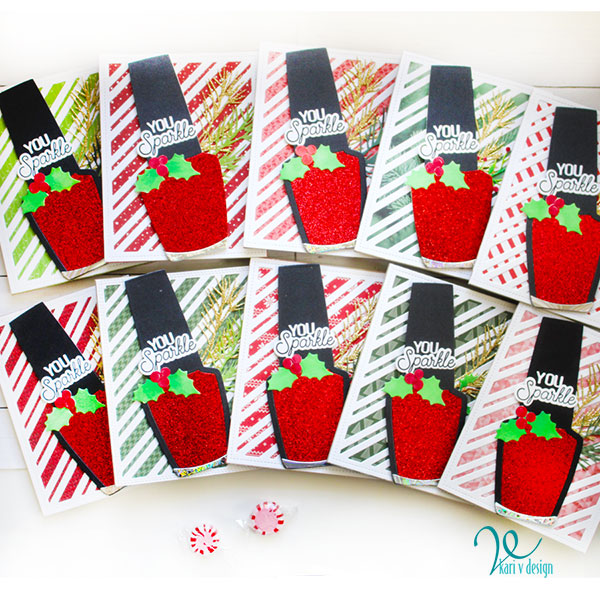
Hello! I have a fun Nail Polish project to share with you. I’m making some cute folders to hold nail stickers for my family and I thought I’d share it with you.
I think a video is the perfect place to explain all the details…watch it here or in HD on YouTube:
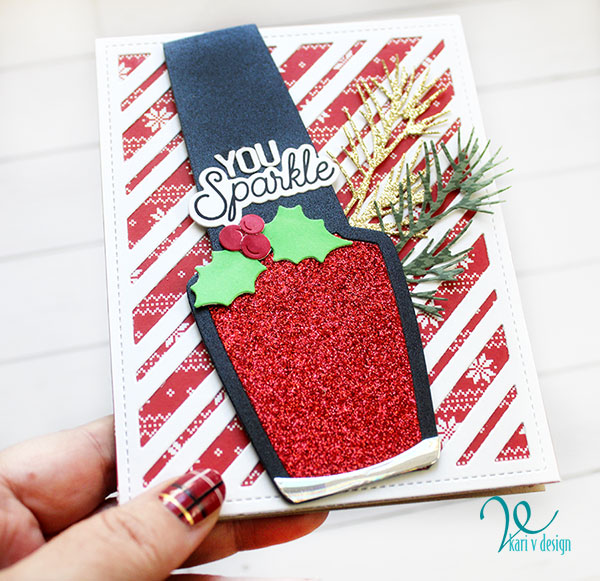
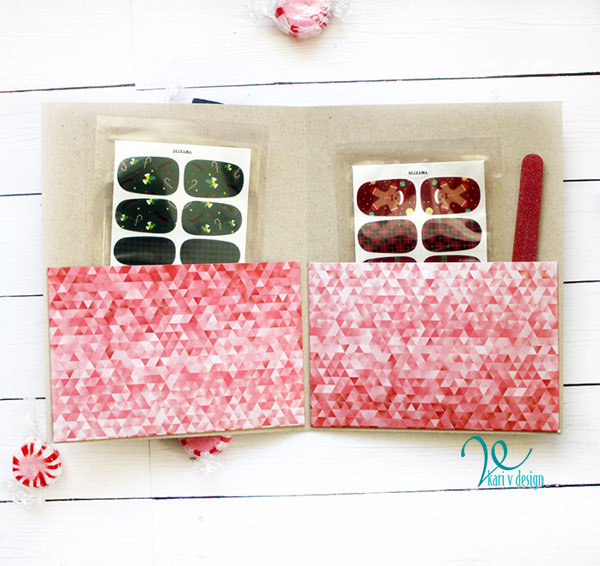
These nail polish bottles are glittery!! When you open up the card, it reveals a little folder holding some nail stickers.
These were fun to make…and I included a little nail file too. Those are super handy when you are putting on nail strips!
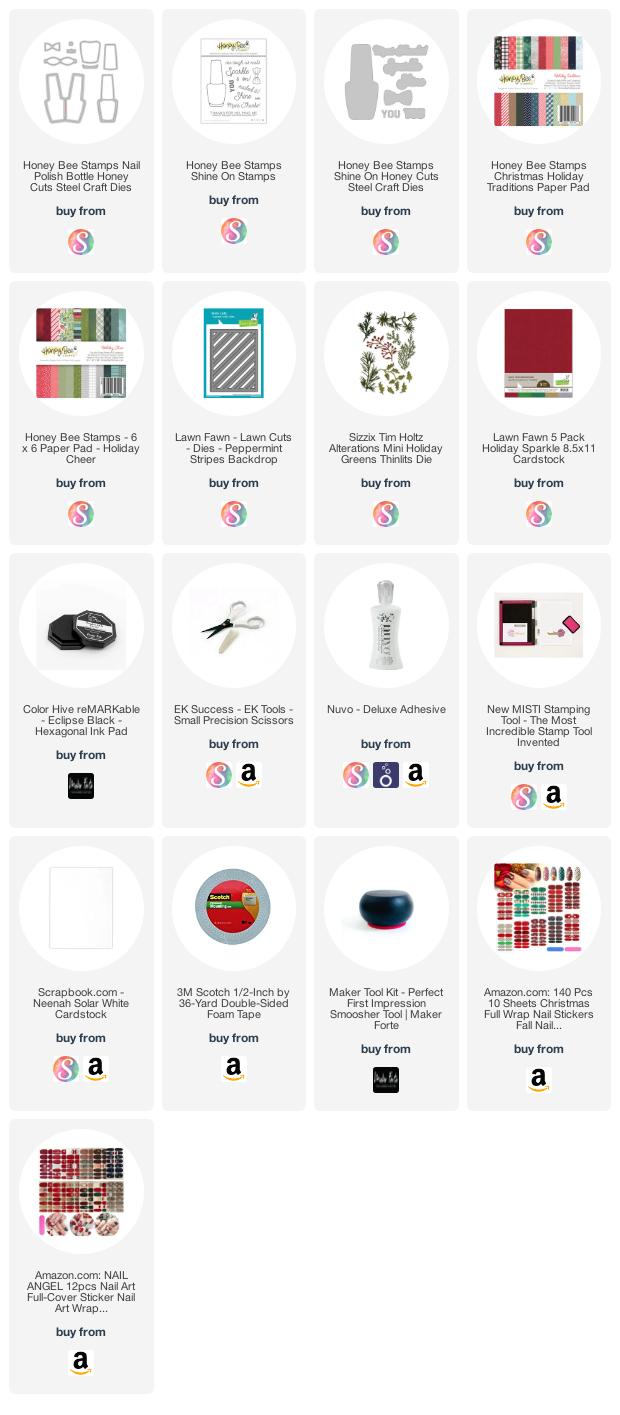
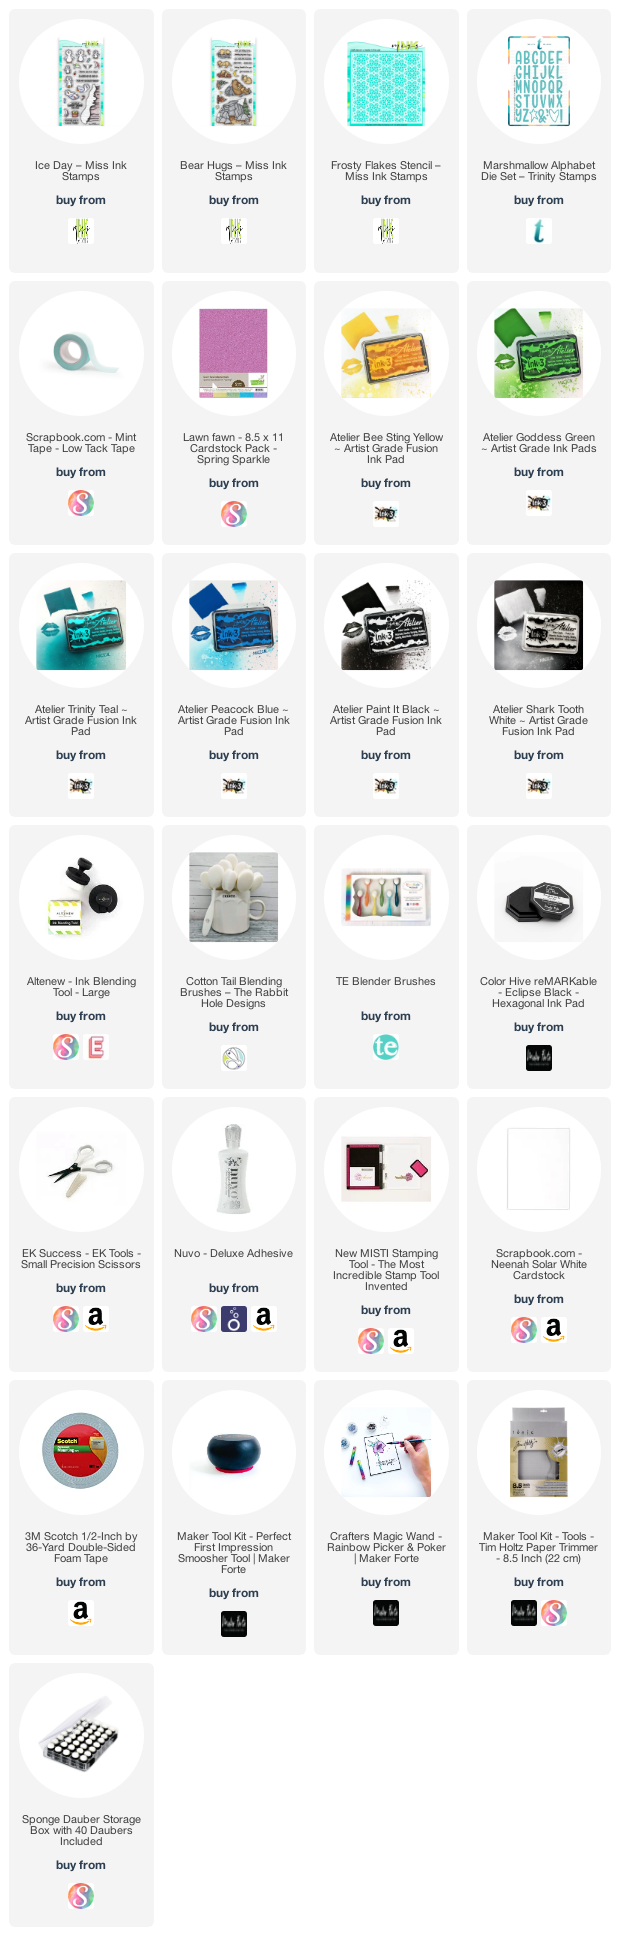
I’m often asked what supplies I use to make my cards and projects, so I’ve put together a list using affiliate links when possible. If you make a purchase with these links I may receive a small commission. These help me to keep up with blog costs and continue bringing you fun projects. Thank you so much for your support!
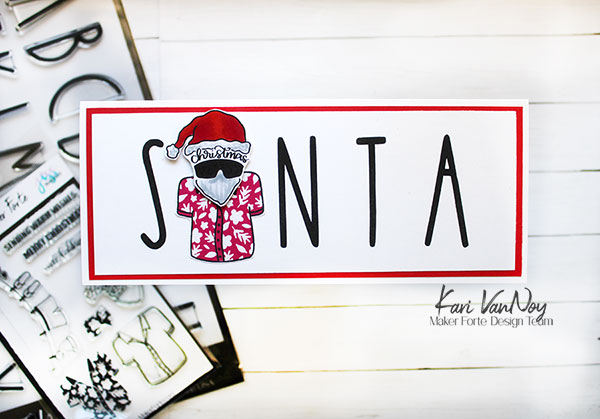
Hello! Today I’m excited to share 4 more ideas on using Alphabet stamp sets. I have found the BIGGEST alpha stamp set I have ever seen…and my projects today are all using this set.
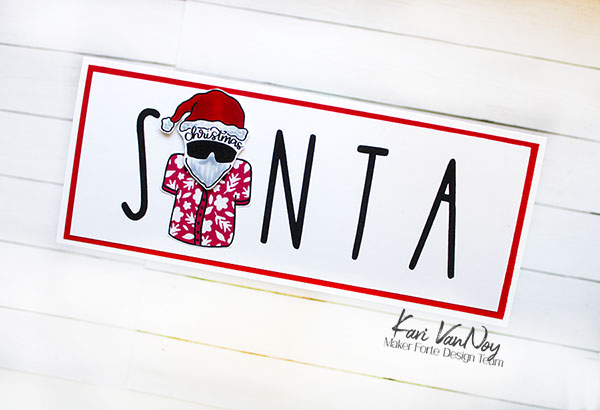
Of course, the first and most obvious use of Alphabet stamps is to spell out a word or a name. But have you ever replaced one of the letters with an image?! This is fun and adds some whimsy to the page.
Also, try stacking your letters for a different look!
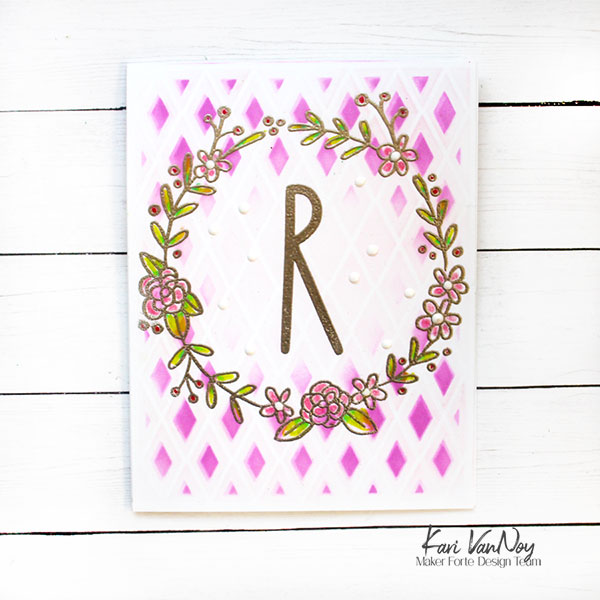
2. Monograms and Initial Cards
The letters on this set are so large and that makes them PERFECT for a monogram or Initial Card! These are great for cards AND tags.
Today I made a very non-Christmas initial card for my Daughter-in-Law. Her birthday is this week and often gets mixed up with Christmas. So this is just for her to show that we are celebrating HER on her birthday.
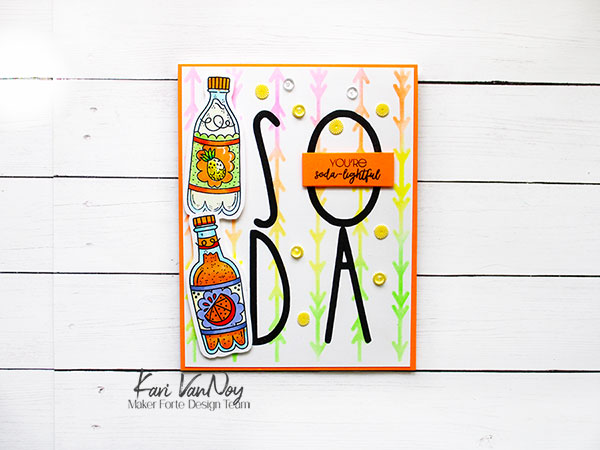
3. As a Background
Letters make a fun background and these large letters really add a pop! Here I repeatedly stamped the word JOY in green ink and then black heat embossed the deer over the top using THIS stamp set.
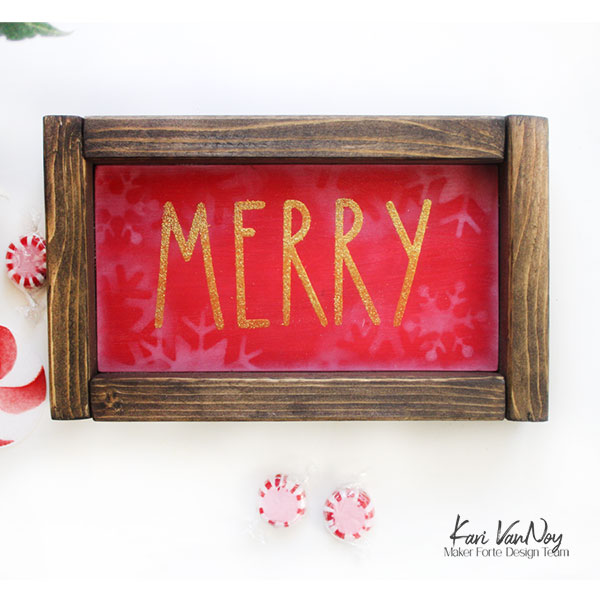
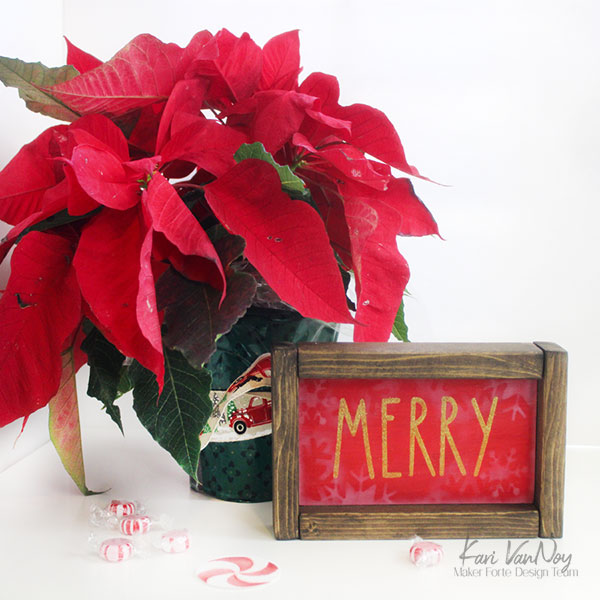
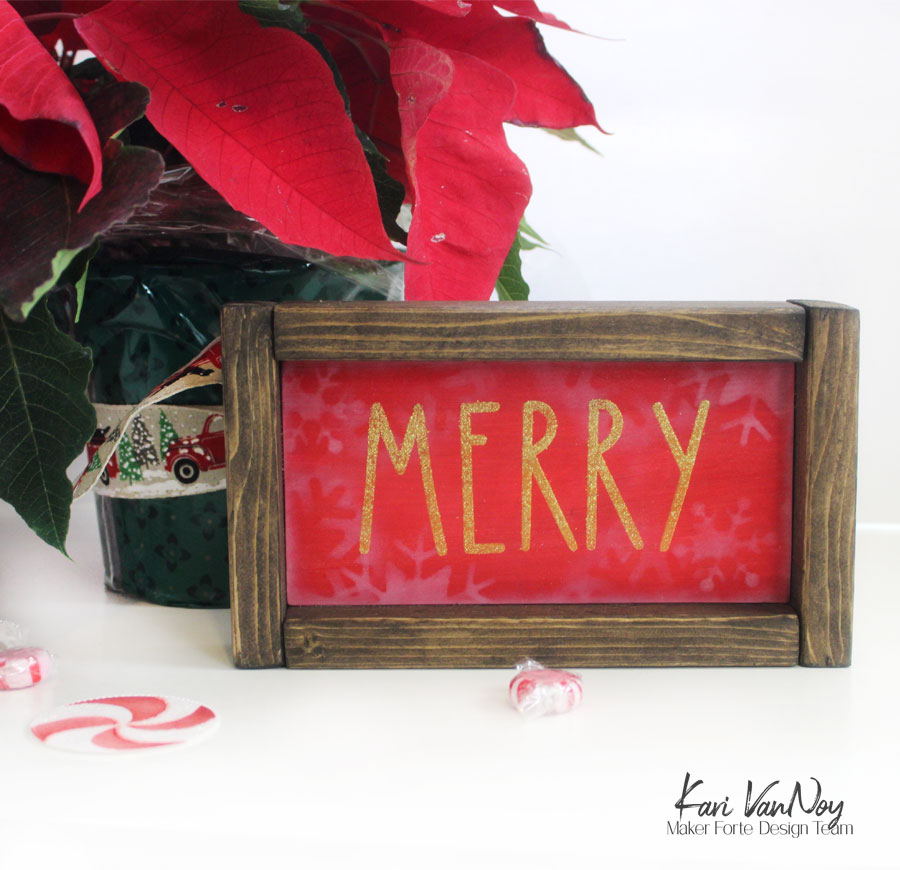
4. Home Decor
Another really positive aspect of such a large stamp set, is that you can make home decor pieces and signs. Here I made a Merry little sign by heat embossing in gold over a red painted wood block. I added an easy rustic frame and Voila!
I’m often asked what supplies I use to make my cards and projects, so I’ve put together a list using affiliate links when possible. If you make a purchase with these links I may receive a small commission. These help me to keep up with blog costs and continue bringing you fun projects. Thank you so much for your support!
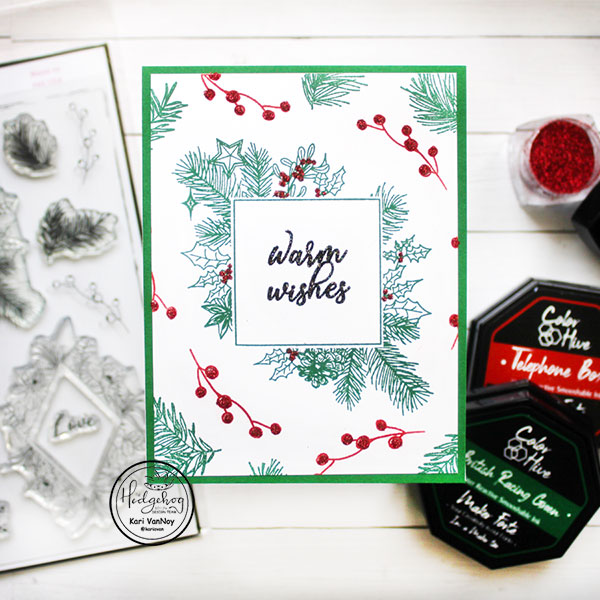
Hello! Today I have a one-layer card to share…which is rare for me! But this Hedgehog Hollow December Kit has really inspired me to create a “patterned paper” background!
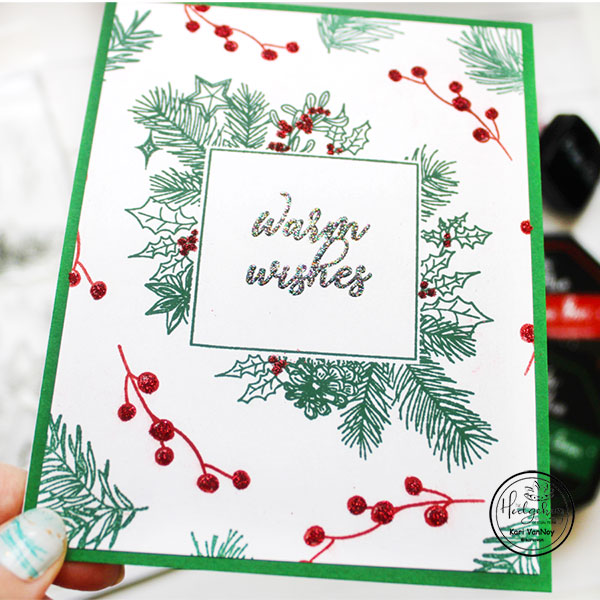
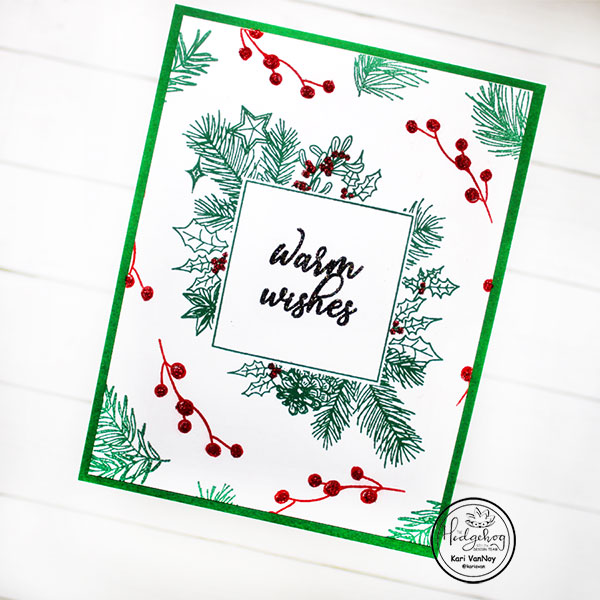
It’s a simple card, but I do love how it turned out! I took the square frame stamp and stamped it in British Racing Green ink (a favorite)! Then I stamped the berries in Telephone Box ink.
I heat embossed the sentiment in the middle with my NEW FAVORITE embossing powder (Rainbow Sparkler), which has some fun glittery sparkles in it.
For extra sparkle, I added some glue to the berries and sprinkled it with red glitter. I allowed that to completely dry before attaching the whole panel to some green cardstock.
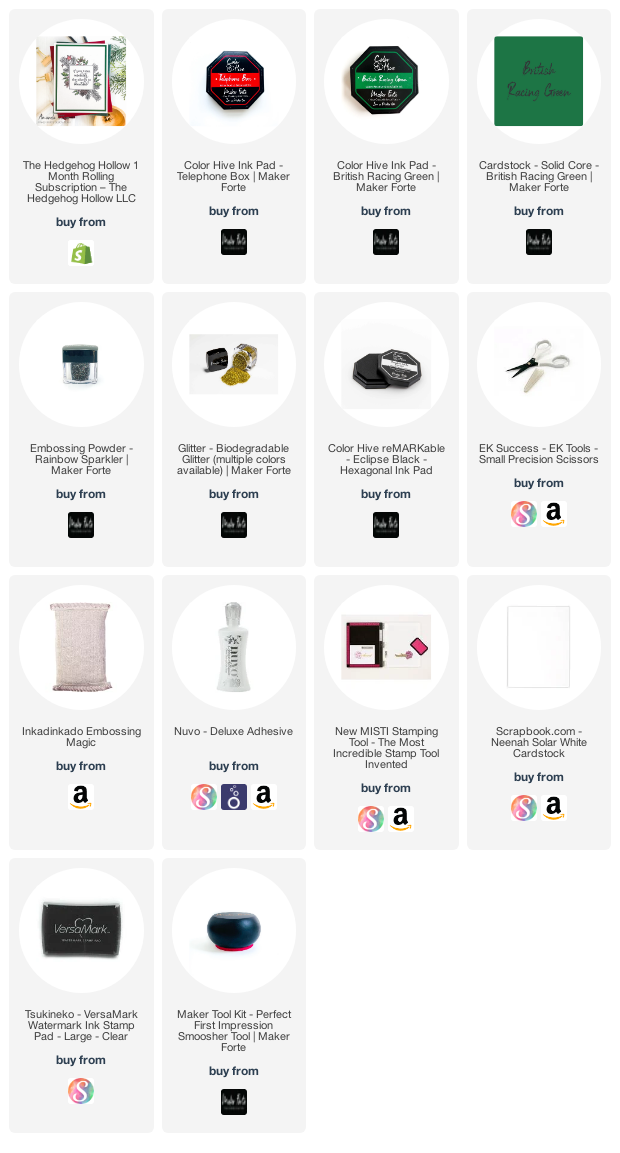
I’m often asked what supplies I use to make my cards and projects, so I’ve put together a list using affiliate links when possible. If you make a purchase with these links I may receive a small commission. These help me to keep up with blog costs and continue bringing you fun projects. Thank you so much for your support!
I hope you enjoyed this project today! Happy Holidays!
These sweet penguins have fun accessories you can use including: Santa hats, candy canes, fish, and reindeer antlers! It’s fun to mix and match.
I colored them up with Copics, and added some highlights with a white gel pen and stardust stickles.
This is a collaboration with Miss Ink Stamps and Ink on 3…join us over on Instagram for the hop and enter to win by hopping along and leaving comments on each stop!
I’m often asked what supplies I use to make my cards and projects, so I’ve put together a list using affiliate links when possible. If you make a purchase with these links I may receive a small commission. These help me to keep up with blog costs and continue bringing you fun projects. Thank you so much for your support!
I hope you enjoyed this project today! Thanks for stopping by!
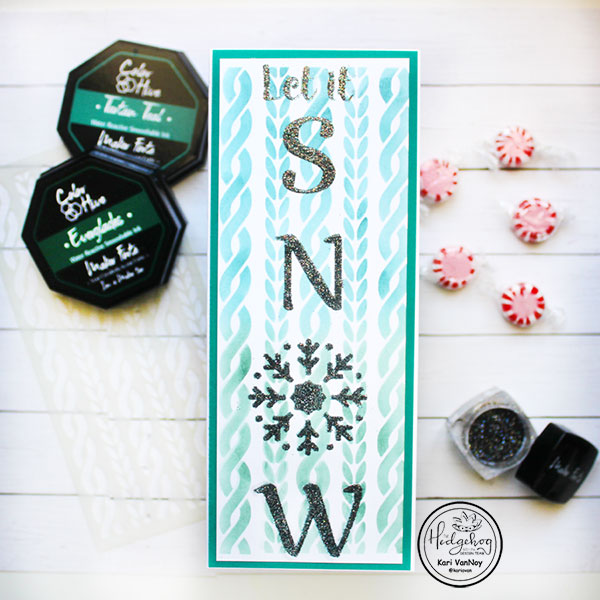
Hello! Today I have 2 slimline cards to share using the Hedgehog Hollow November Kit. This kit has a lot of slimline options so I couldn’t just stop at 1 card!
Card 1
My first card is made using the slimline cardstock in the kit. I inked on a cable knit slimline stencil (all supplies linked below) using 2 colors of ink: Tartan Teal & Everglades.
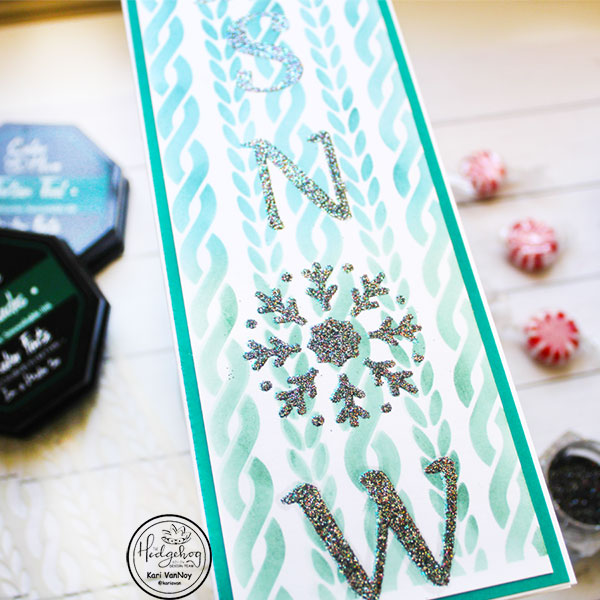
Then I placed the “Let it Snow” stencil from the kit over the top of my inked panel. I smooshed some clear sticky ink through the stencil, removed the stencil, and sprinkled on some Rainbow Sparkler embossing powder. After I heat set it, the glitter sparkle really stands out!
I matted the entire panel on my favorite color of cardstock: Welsh Dragon! Then I adhered it all onto a slimline card base.
Look at that sparkle!
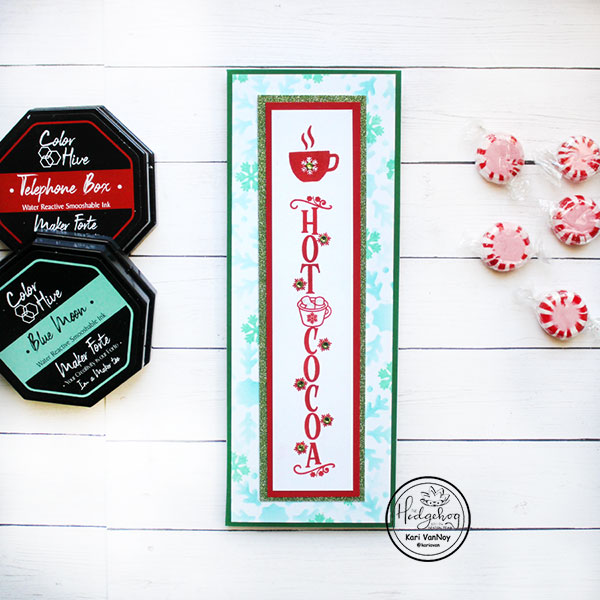
Card 2
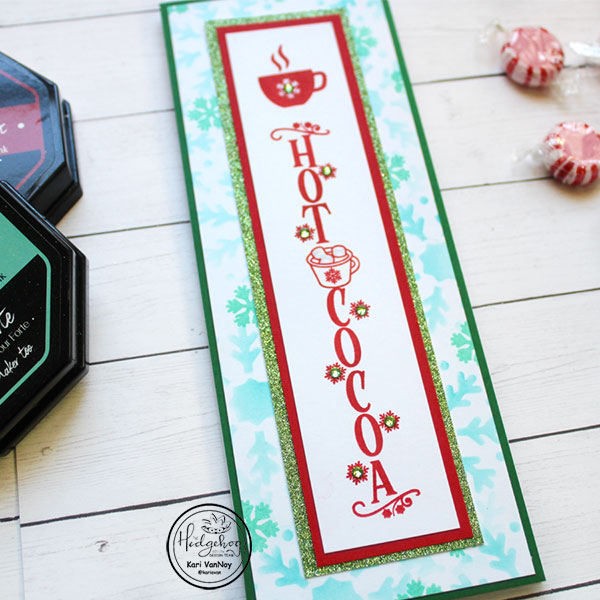
For my second card, I wanted some touches of red! So I stamped the vertical sentiment “Hot Cocoa” and the cocoa cup just over the top of that with Telephone Box ink.
I cut down this panel and added it to some red cardstock, and then green glitter cardstock.
For the back panel, I used the snowflake only from the “Let it Snow” stencil and inked on some Blue Raspberry ink. Then I stamped a small snowflake stamp from the kit in some Blue Moon ink.
I added that to some British Racing Green cardstock and put everything together!
Some light green gems finished it all off.
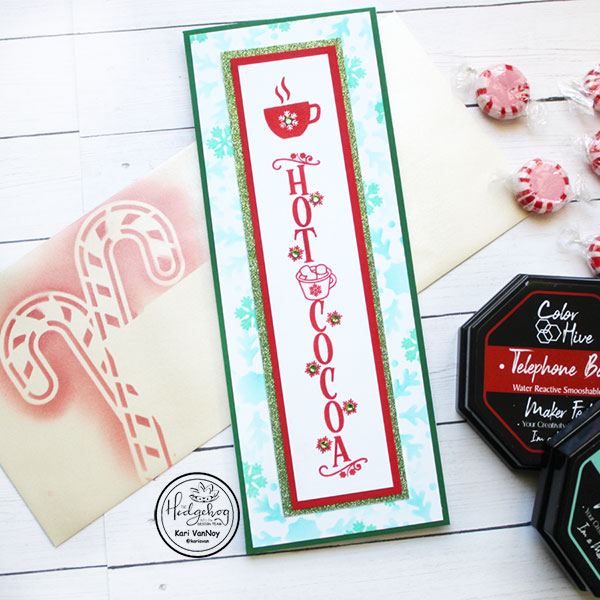
But I didn’t stop there! I used the corner Peppermint Sticks stencil on a slimline envelope using Telephone Box ink.
I will write the recipient’s name and address just below and to the right of the stenciled design.
I’m often asked what supplies I use to make my cards and projects, so I’ve put together a list using affiliate links when possible. If you make a purchase with these links I may receive a small commission. These help me to keep up with blog costs and continue bringing you fun projects. Thank you so much for your support!
I hope you enjoyed these projects today! I’ll be back soon with more cards to share.
Hi I'm Kari. I'm a creator, a card maker, and a day maker! I am Lucky in love to a supportive husband, blessed to raise 3 kids (all moved away now!), and happy to be watched over by 2 dogs.
I originally started this blog to remind me to be happy amid adversity, and I hope it inspires you, too!