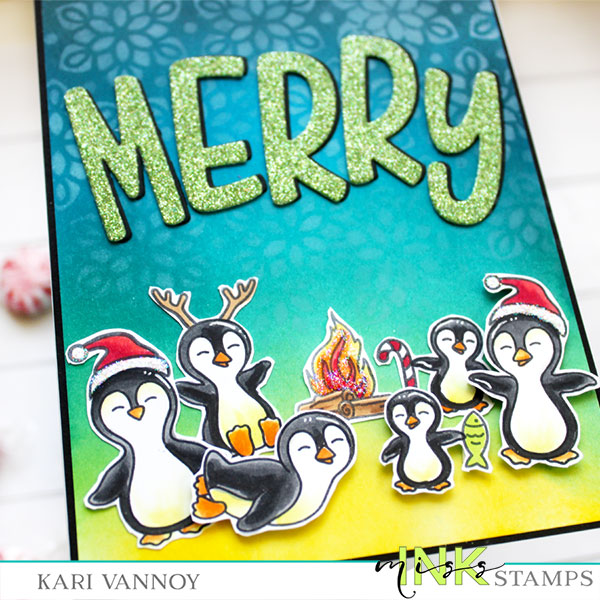
These sweet penguins have fun accessories you can use including: Santa hats, candy canes, fish, and reindeer antlers! It’s fun to mix and match.
I colored them up with Copics, and added some highlights with a white gel pen and stardust stickles.
This is a collaboration with Miss Ink Stamps and Ink on 3…join us over on Instagram for the hop and enter to win by hopping along and leaving comments on each stop!
I’m often asked what supplies I use to make my cards and projects, so I’ve put together a list using affiliate links when possible. If you make a purchase with these links I may receive a small commission. These help me to keep up with blog costs and continue bringing you fun projects. Thank you so much for your support!
I hope you enjoyed this project today! Thanks for stopping by!
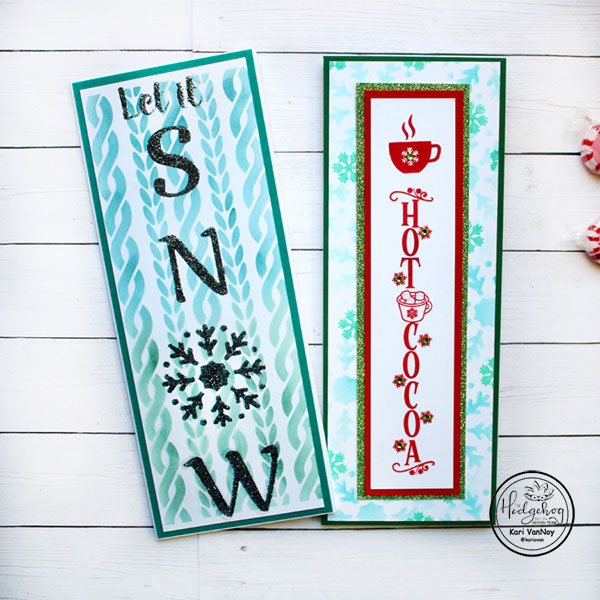
Hello! Today I have 2 slimline cards to share using the Hedgehog Hollow November Kit. This kit has a lot of slimline options so I couldn’t just stop at 1 card!
Card 1
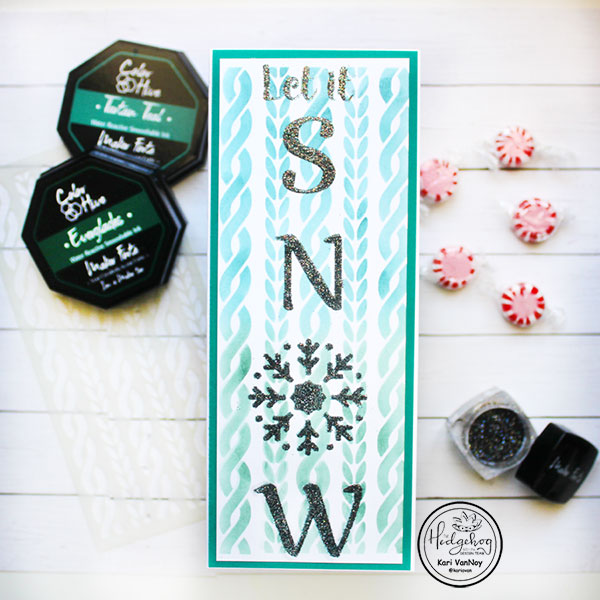
My first card is made using the slimline cardstock in the kit. I inked on a cable knit slimline stencil (all supplies linked below) using 2 colors of ink: Tartan Teal & Everglades.
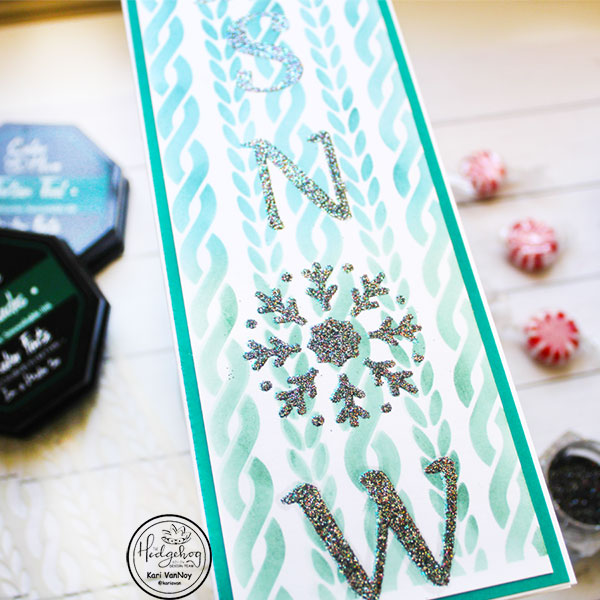
Then I placed the “Let it Snow” stencil from the kit over the top of my inked panel. I smooshed some clear sticky ink through the stencil, removed the stencil, and sprinkled on some Rainbow Sparkler embossing powder. After I heat set it, the glitter sparkle really stands out!
I matted the entire panel on my favorite color of cardstock: Welsh Dragon! Then I adhered it all onto a slimline card base.
Card 2
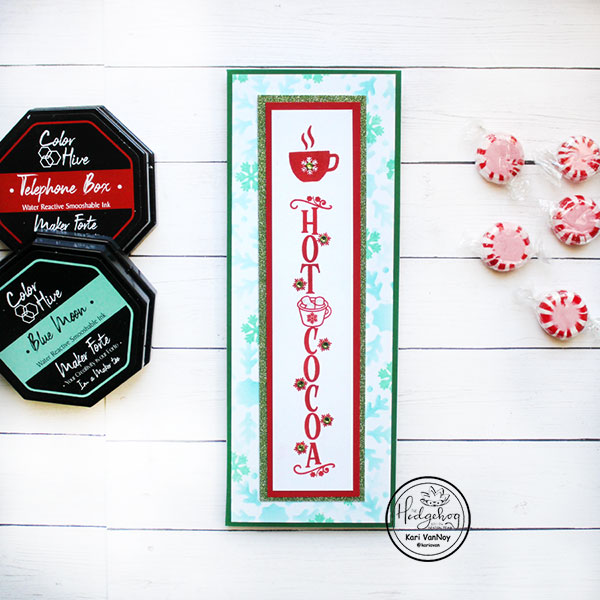
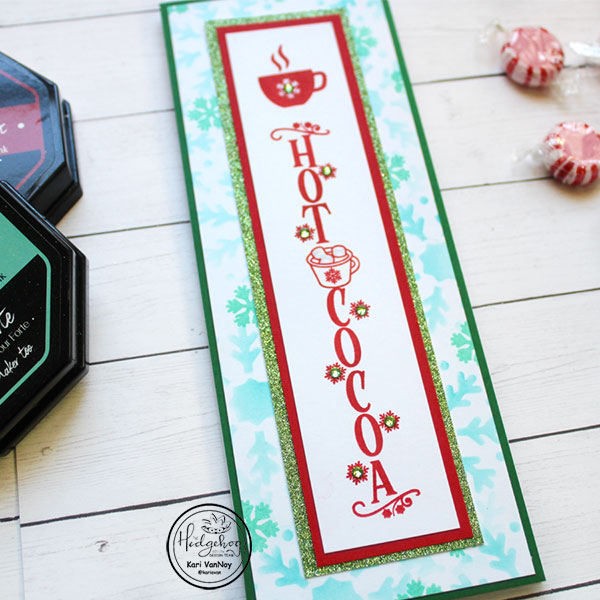
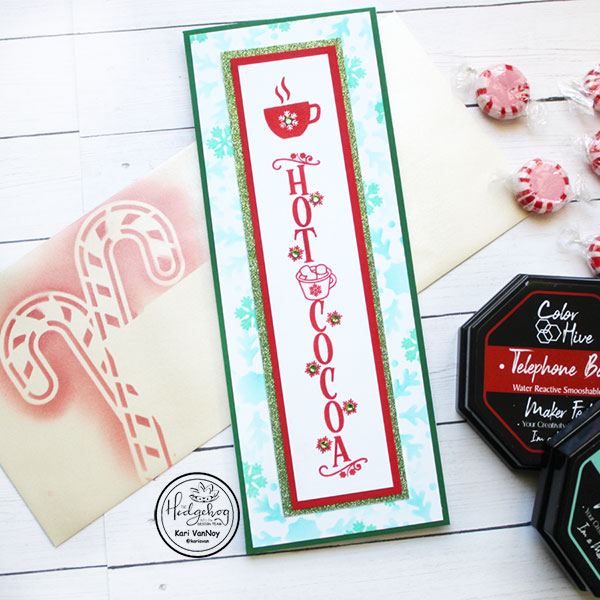
For my second card, I wanted some touches of red! So I stamped the vertical sentiment “Hot Cocoa” and the cocoa cup just over the top of that with Telephone Box ink.
I cut down this panel and added it to some red cardstock, and then green glitter cardstock.
For the back panel, I used the snowflake only from the “Let it Snow” stencil and inked on some Blue Raspberry ink. Then I stamped a small snowflake stamp from the kit in some Blue Moon ink.
I added that to some British Racing Green cardstock and put everything together!
Some light green gems finished it all off.
But I didn’t stop there! I used the corner Peppermint Sticks stencil on a slimline envelope using Telephone Box ink.
I will write the recipient’s name and address just below and to the right of the stenciled design.
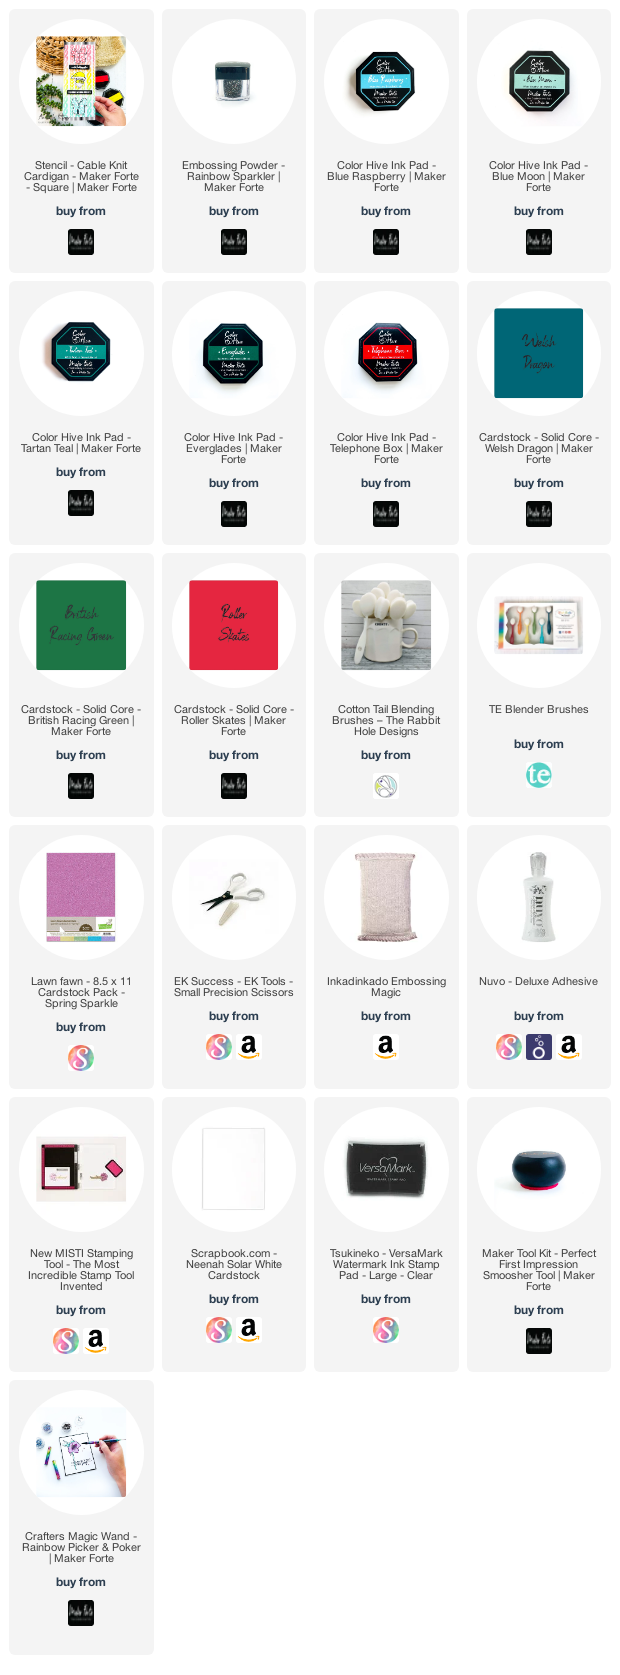
I’m often asked what supplies I use to make my cards and projects, so I’ve put together a list using affiliate links when possible. If you make a purchase with these links I may receive a small commission. These help me to keep up with blog costs and continue bringing you fun projects. Thank you so much for your support!
I hope you enjoyed these projects today! I’ll be back soon with more cards to share.
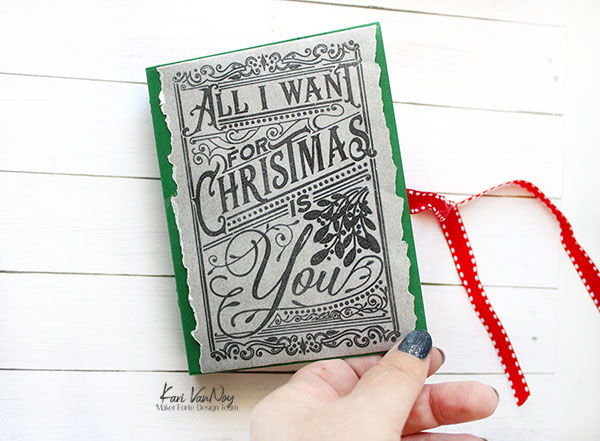
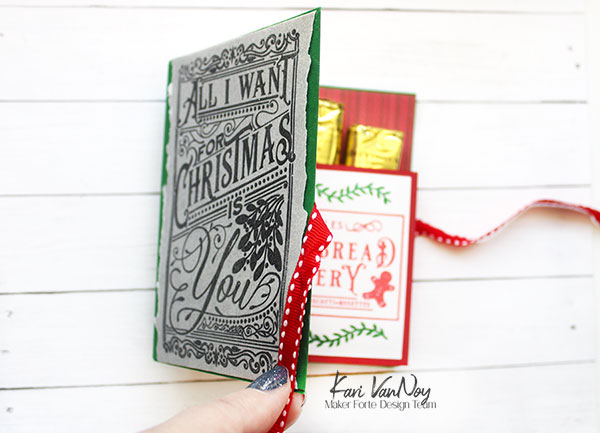
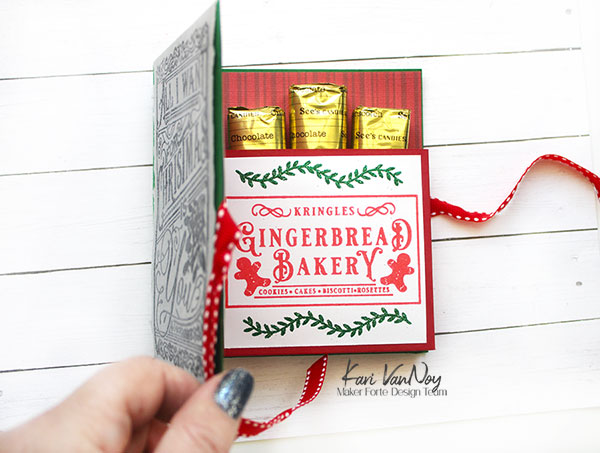
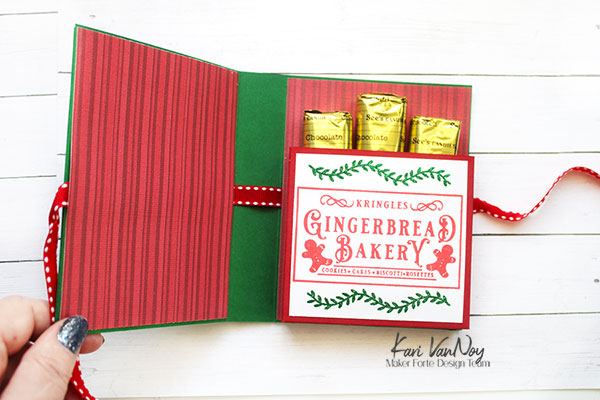
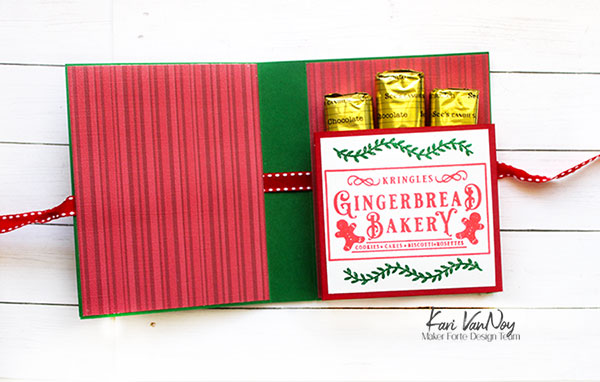
Hello! I am excited to share this project with you today….we are making Candy Books from cardstock! Remember those lifesaver books that made an appearance this time of year? Well, that’s kinda the idea with this project.
I have a video with ALL the details of how to make this, watch it here or in HD on YouTube:
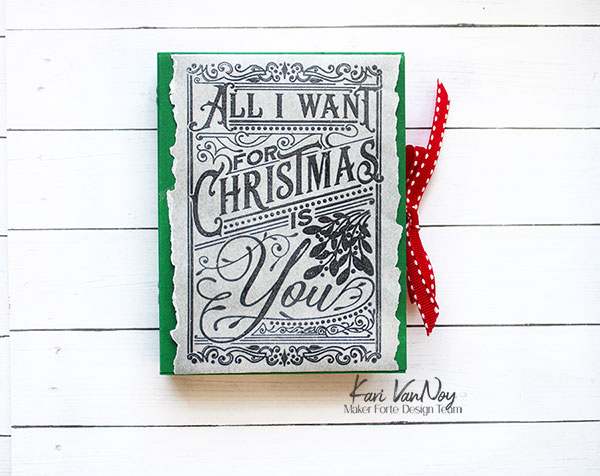
For the front cover I created a book jacket with silver vellum (I love this stuff!). I heat embossed the stamp from “All I Want for Christmas” on the vellum and I really love how it turned out.
For the inside, I stamped in red and green using the Tough Nut to Crack stamp set.
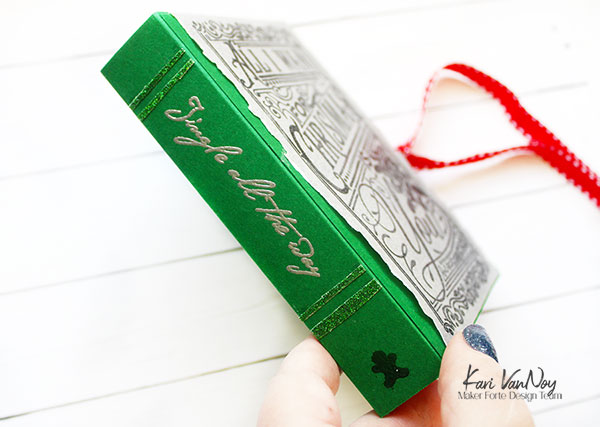
On the spine, I added some details with stamps and glitter tape. I love the font of the scripty “Jingle all the way.”
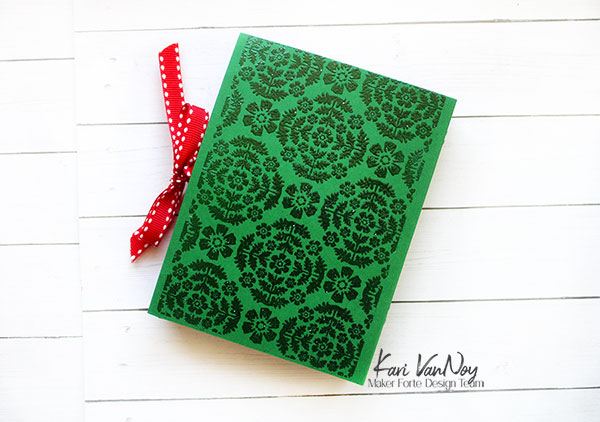
For the back of the book, I wanted some interesting texture, so I used the Damask stamp to clear heat emboss a design.
I have a few other ideas for the book front cover, too. You could easily change out this book jacket cover for a stenciled front cover. Here’s my favorites from the newest Maker Forte release:
I hope you enjoyed these projects today…these are definitely favorites of mine!
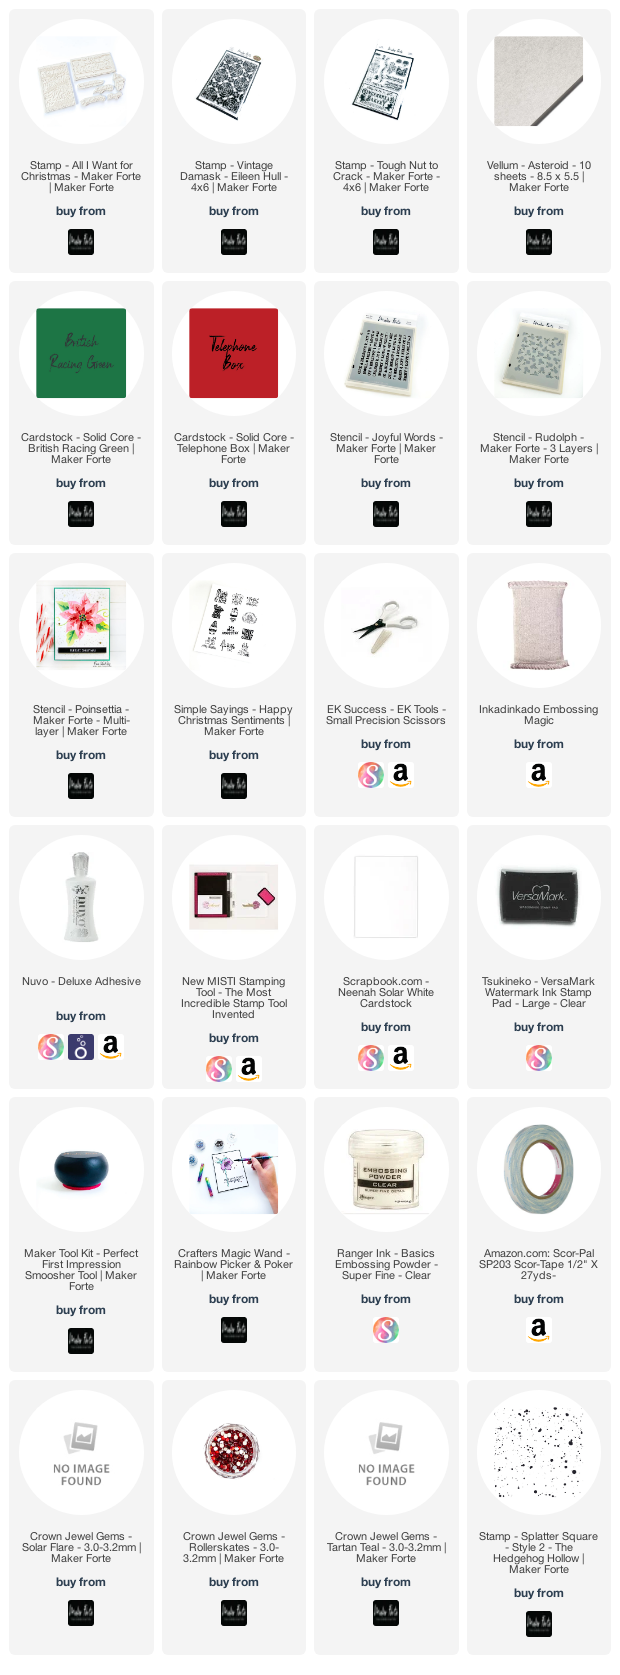
I’m often asked what supplies I use to make my cards and projects, so I’ve put together a list using affiliate links when possible. If you make a purchase with these links I may receive a small commission. These help me to keep up with blog costs and continue bringing you fun projects. Thank you so much for your support!
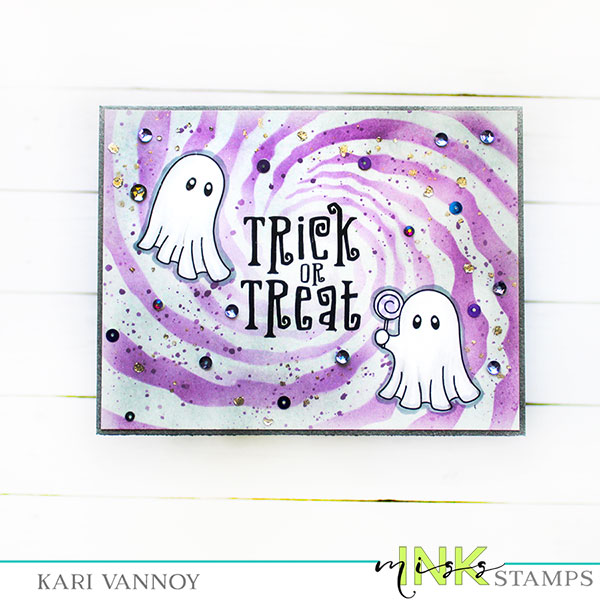
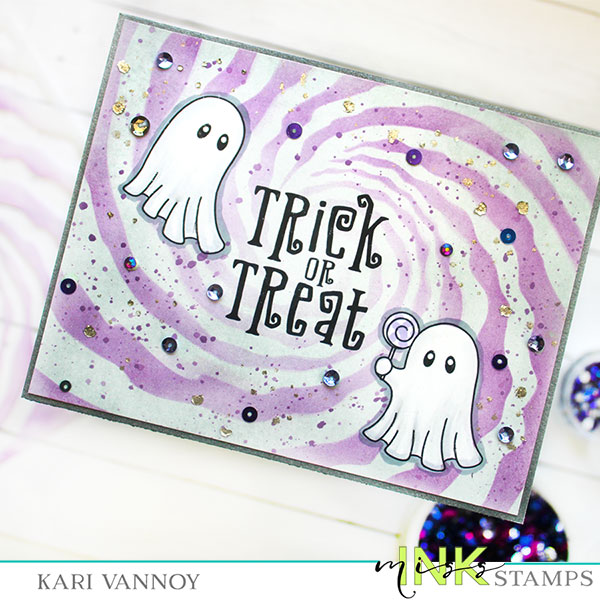
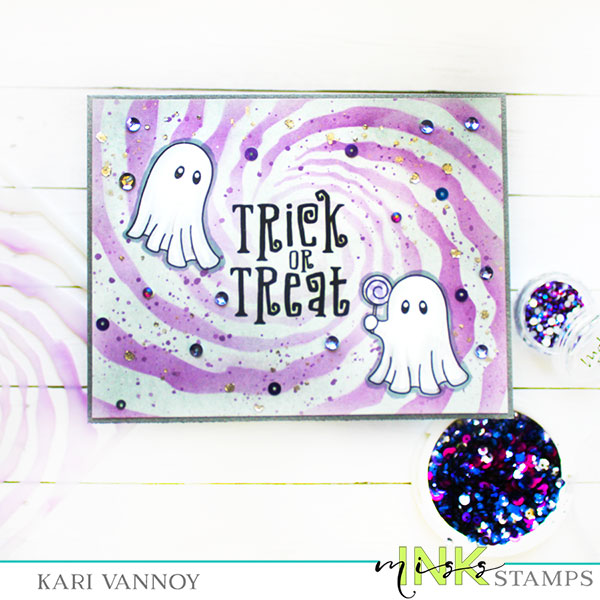
Hello! Just popping by to share a Halloween card that I love! These little ghosts are new from Miss Ink Stamps and they are the cutest trick or treaters.
I created a video to show you how to easily put a card like this together, watch it below or in HD on YouTube:
I just adore these products I’m sharing today. If you’ve been following me, you might notice this stencil is a favorite…I used it before on THIS Alice in Wonderland Card.
I used a light grey and purple ink this time on this stencil, I think those colors are great for Halloween!
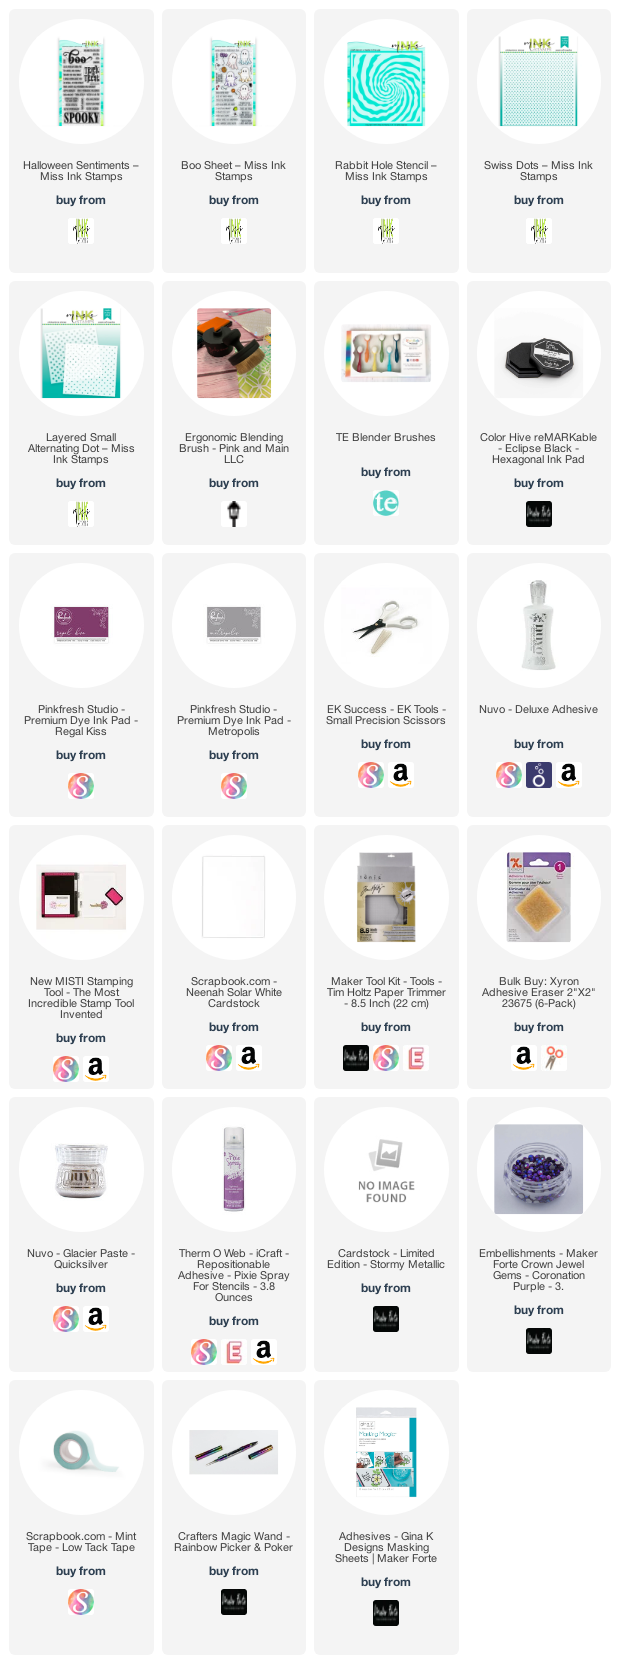
I’m often asked what supplies I use to make my cards and projects, so I’ve put together a list using affiliate links when possible. If you make a purchase with these links I may receive a small commission. These help me to keep up with blog costs and continue bringing you fun projects. Thank you so much for your support!
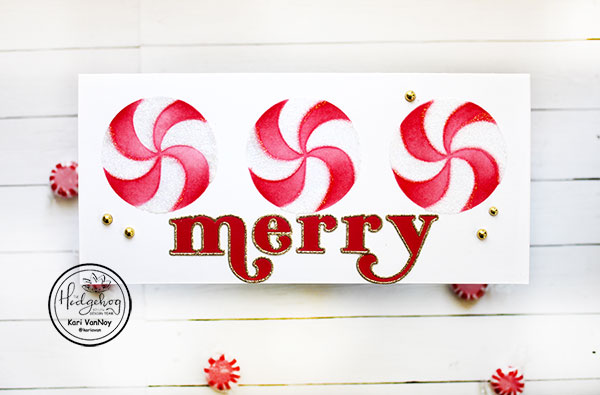
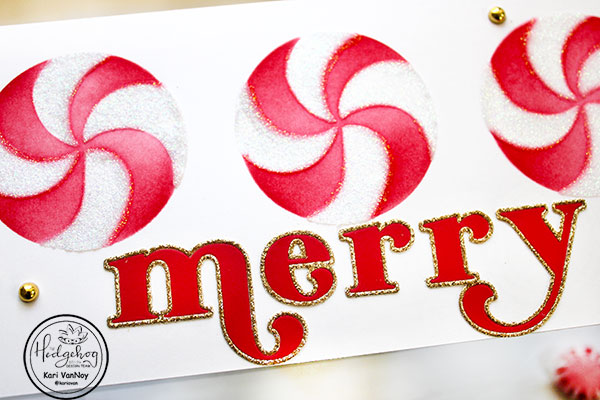
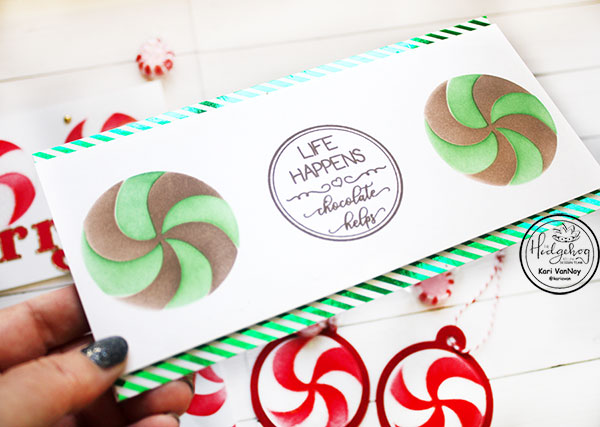
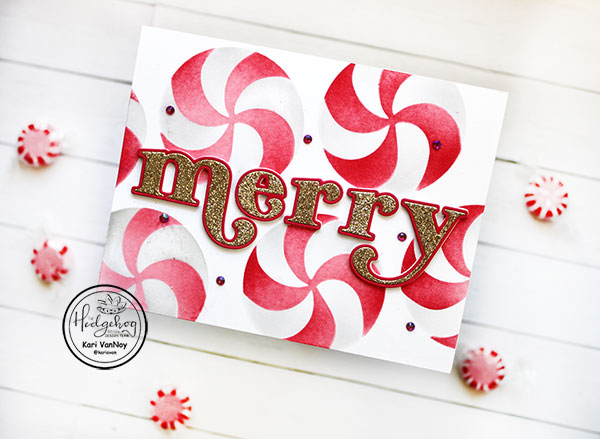
Hello! Today I have some holiday projects featuring Starlight Mints! I love this slimline stencil from the Hedgehog Hollow September Kit, and I couldn’t stop making with it. So today I have 3 cards and 2 gift tags for you!
To read more about these projects, visit the Hedgehog Hollow blog HERE.
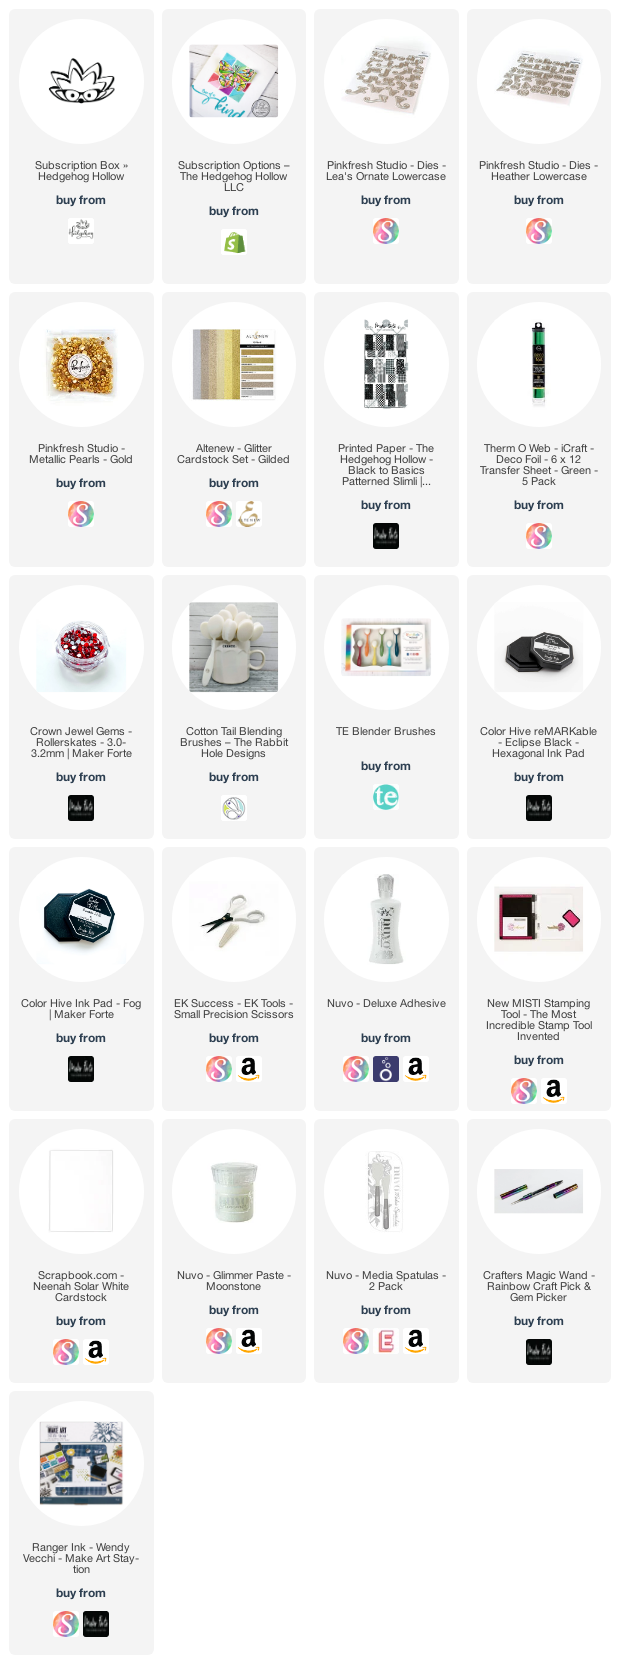
I’m often asked what supplies I use to make my cards and projects, so I’ve put together a list using affiliate links when possible. If you make a purchase with these links I may receive a small commission. These help me to keep up with blog costs and continue bringing you fun projects. Thank you so much for your support!
I hope you loved these projects today! I’ll be back with more cards soon!
Hi I'm Kari. I'm a creator, a card maker, and a day maker! I am Lucky in love to a supportive husband, blessed to raise 3 kids (all moved away now!), and happy to be watched over by 2 dogs.
I originally started this blog to remind me to be happy amid adversity, and I hope it inspires you, too!