Hello! Today I have a new video and two cards to share with the Happiest Skeletons! I’m also sharing the absolute easiest way to mask and ink on a card.
Watch the video below or in HD on YouTube:
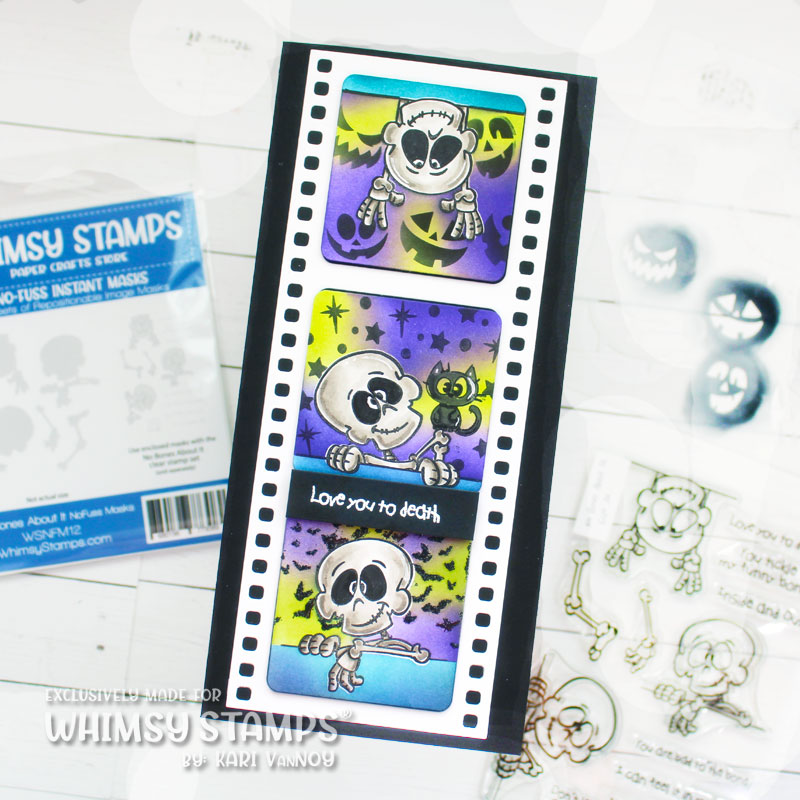
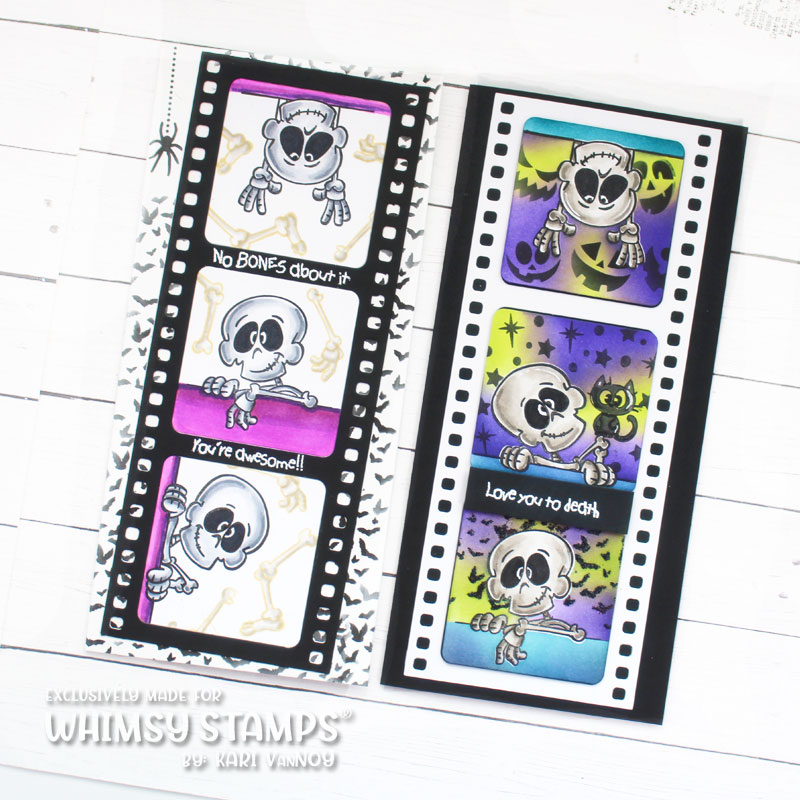
I’m excited to share that Whimsy now has No Fuss Masks (for many of their stamp sets)…and one that they are introducing TODAY is this one to match this new stamp set!
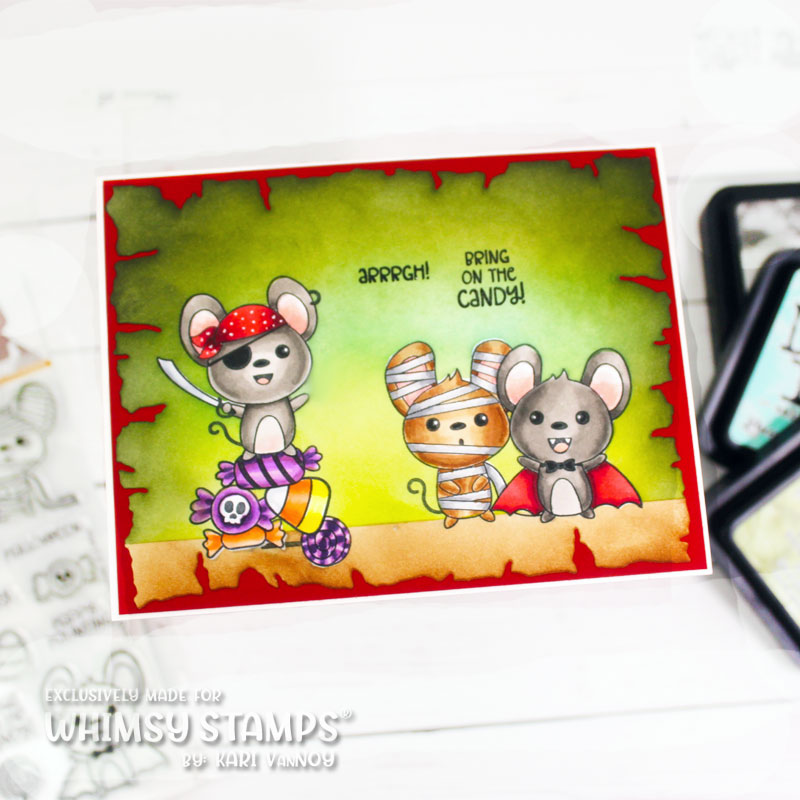
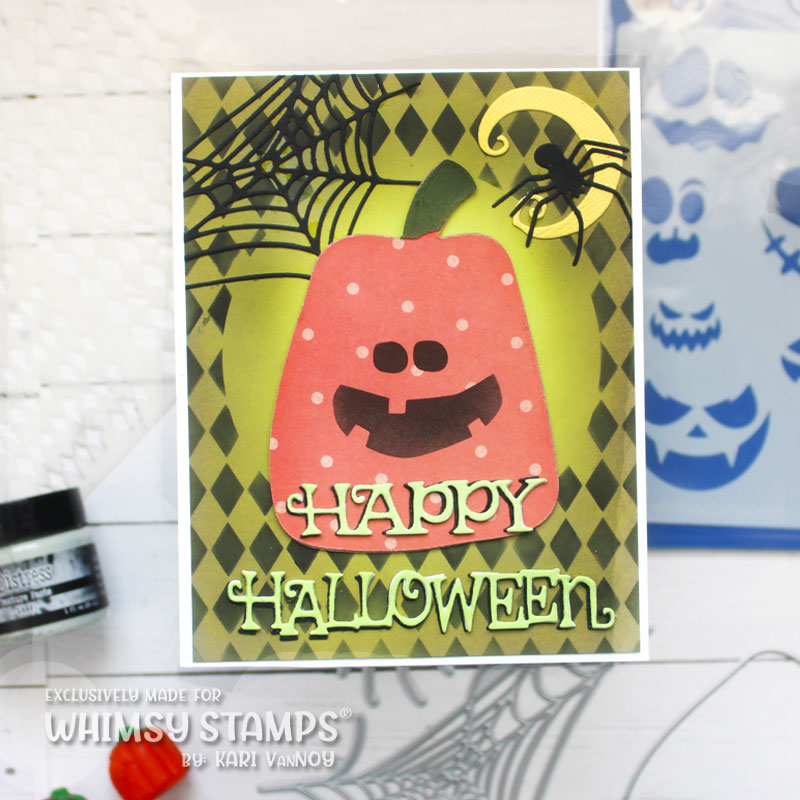
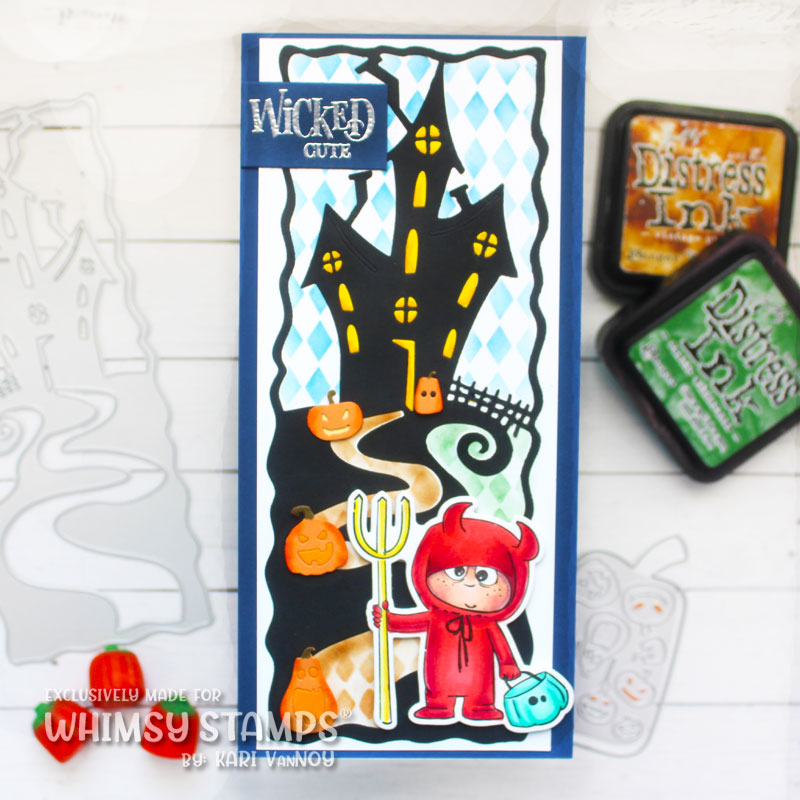
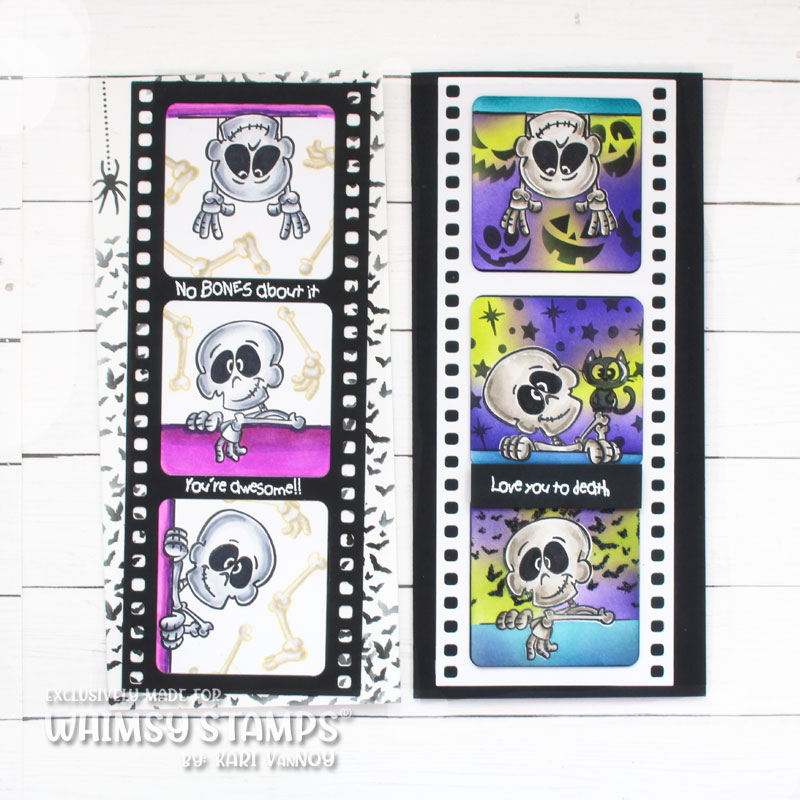
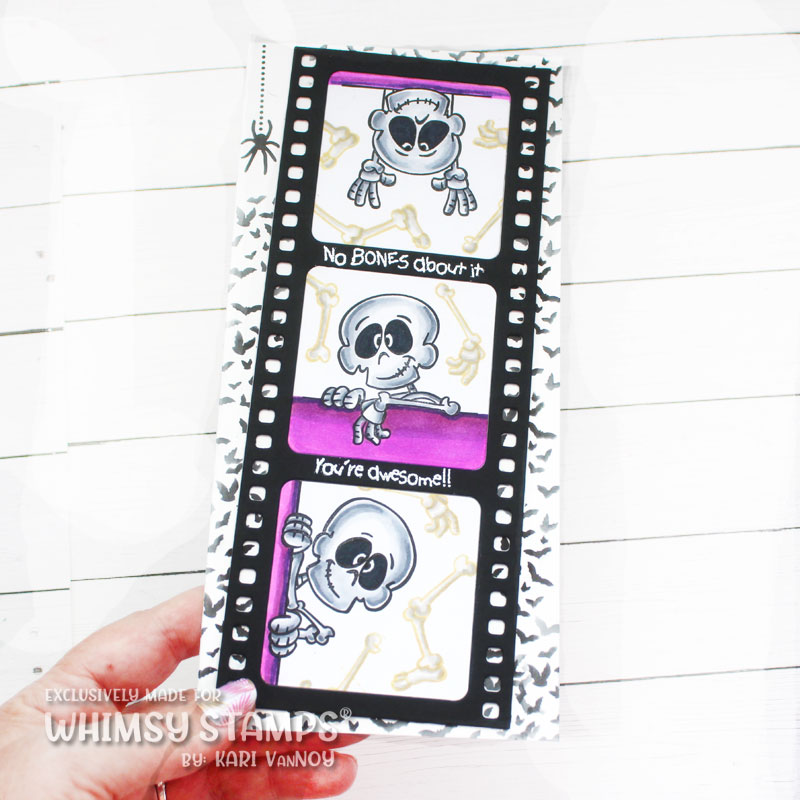
For this first card, I stamped the images and then stamped the EXTRA hand and foot stamps on the background. I colored everything up with Copics (cool greys for the main characters, and warm greys for the extra limbs)!
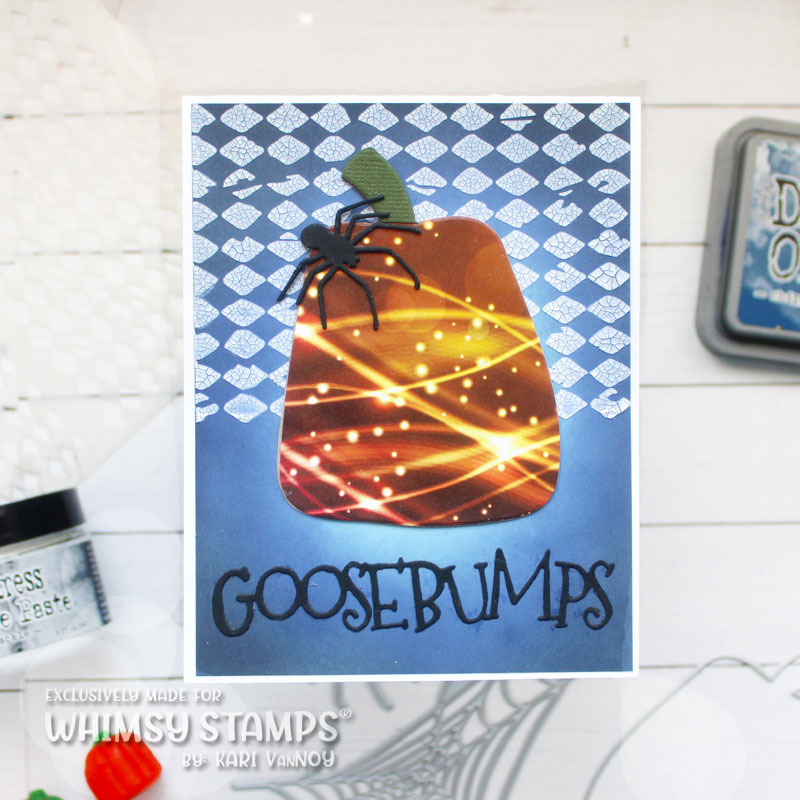
I love this slimline Filmstrip Die…I do think it is perfect for this card. I stenciled on that spider and the bats in the background with black ink.
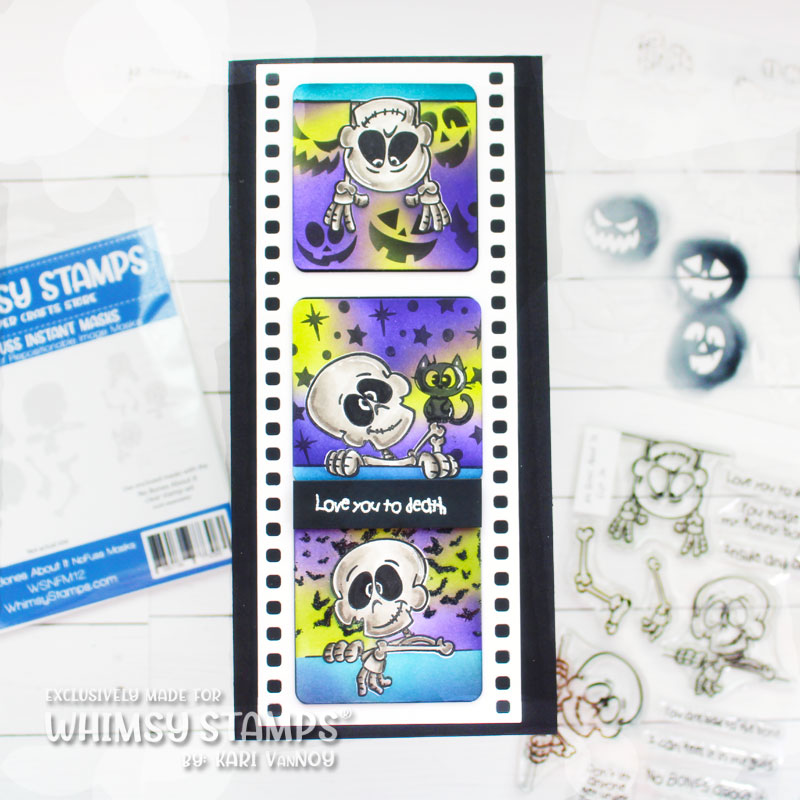
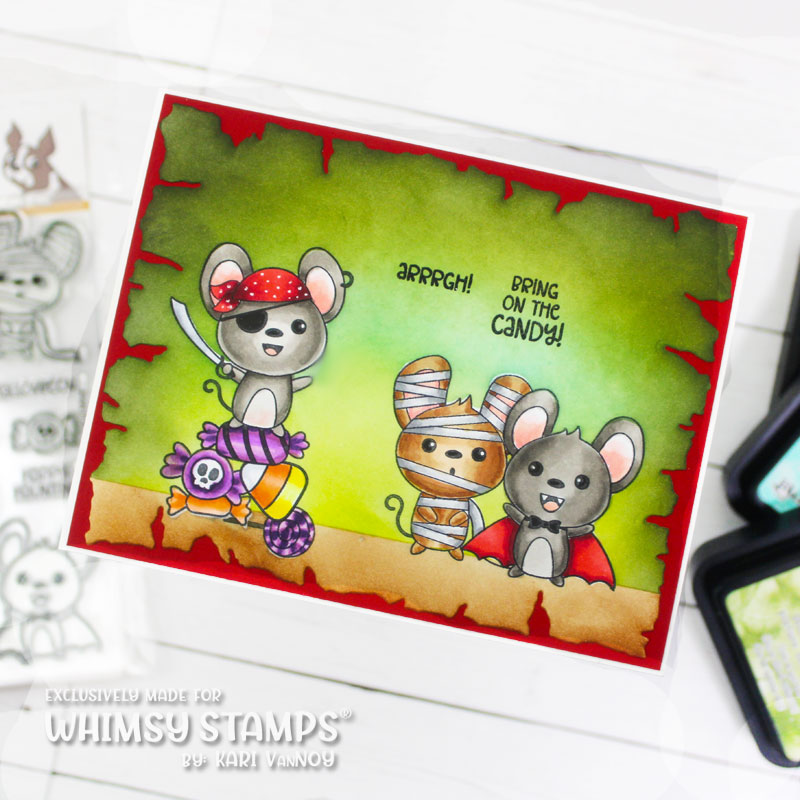
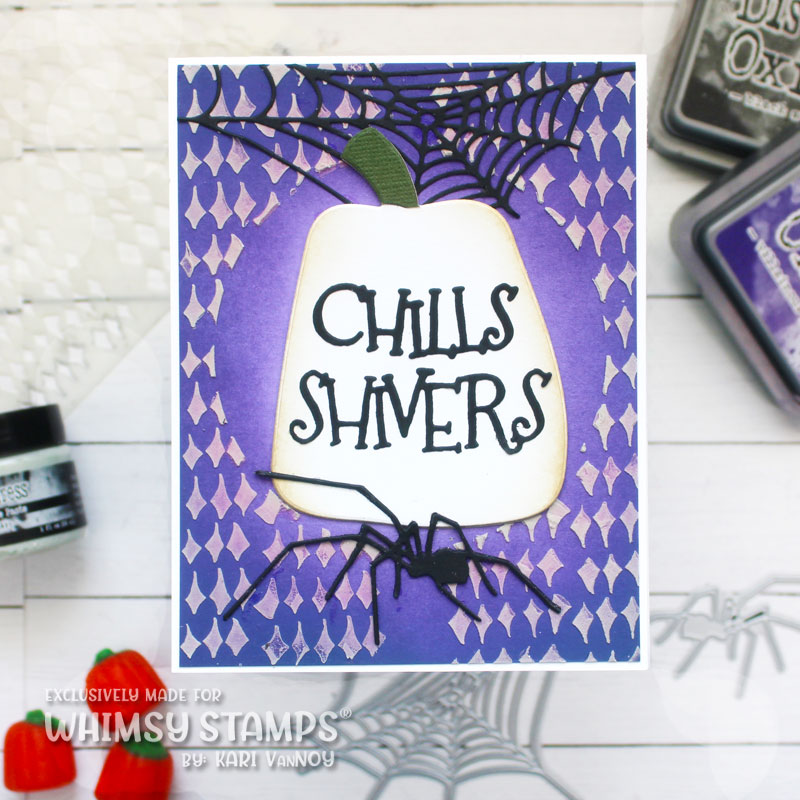
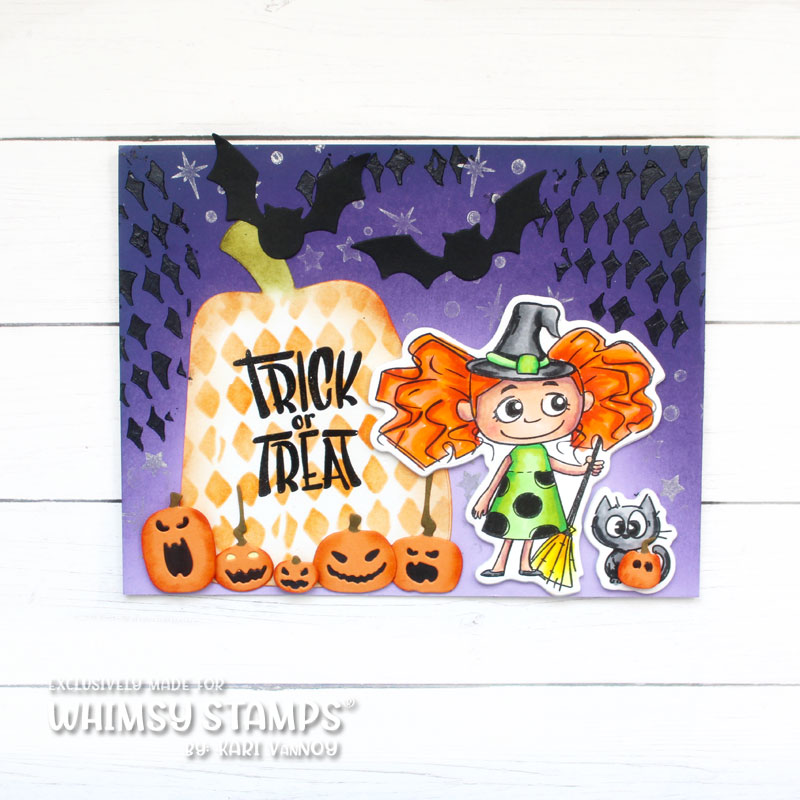
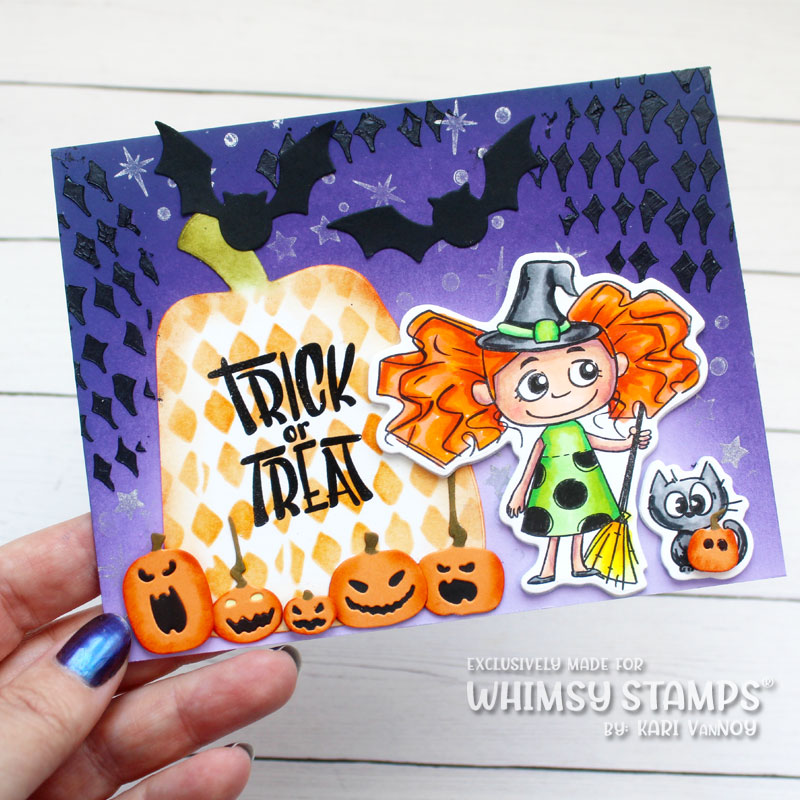
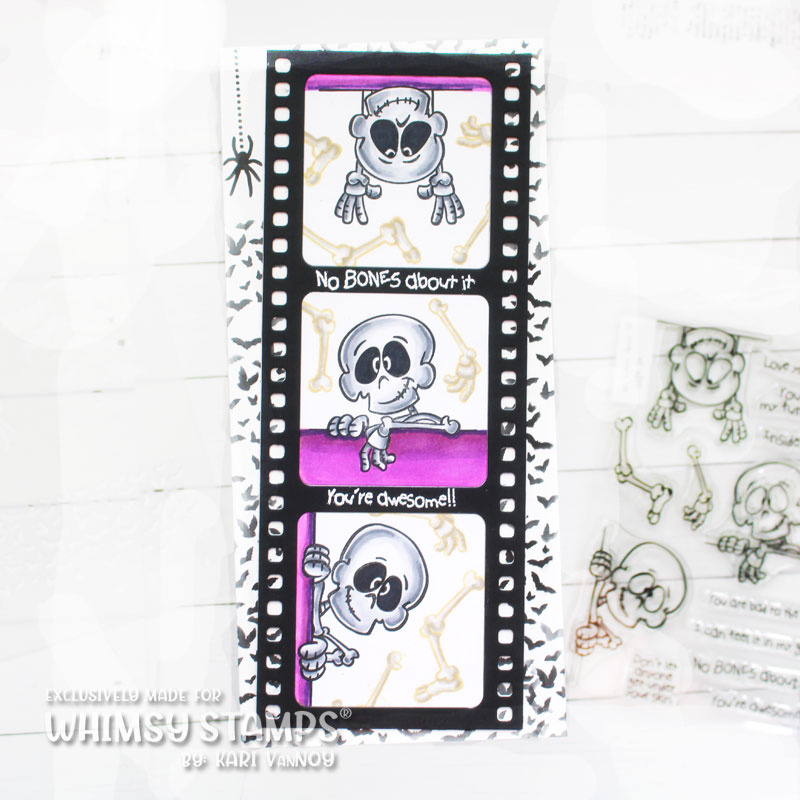
For this second card, I used those No Fuss Masks (which I LOVE!!!) and masked off the skeletons so I could ink on the backgrounds and add some stenciling and stamping, without getting ink on those main characters. It’s an amazing new product!
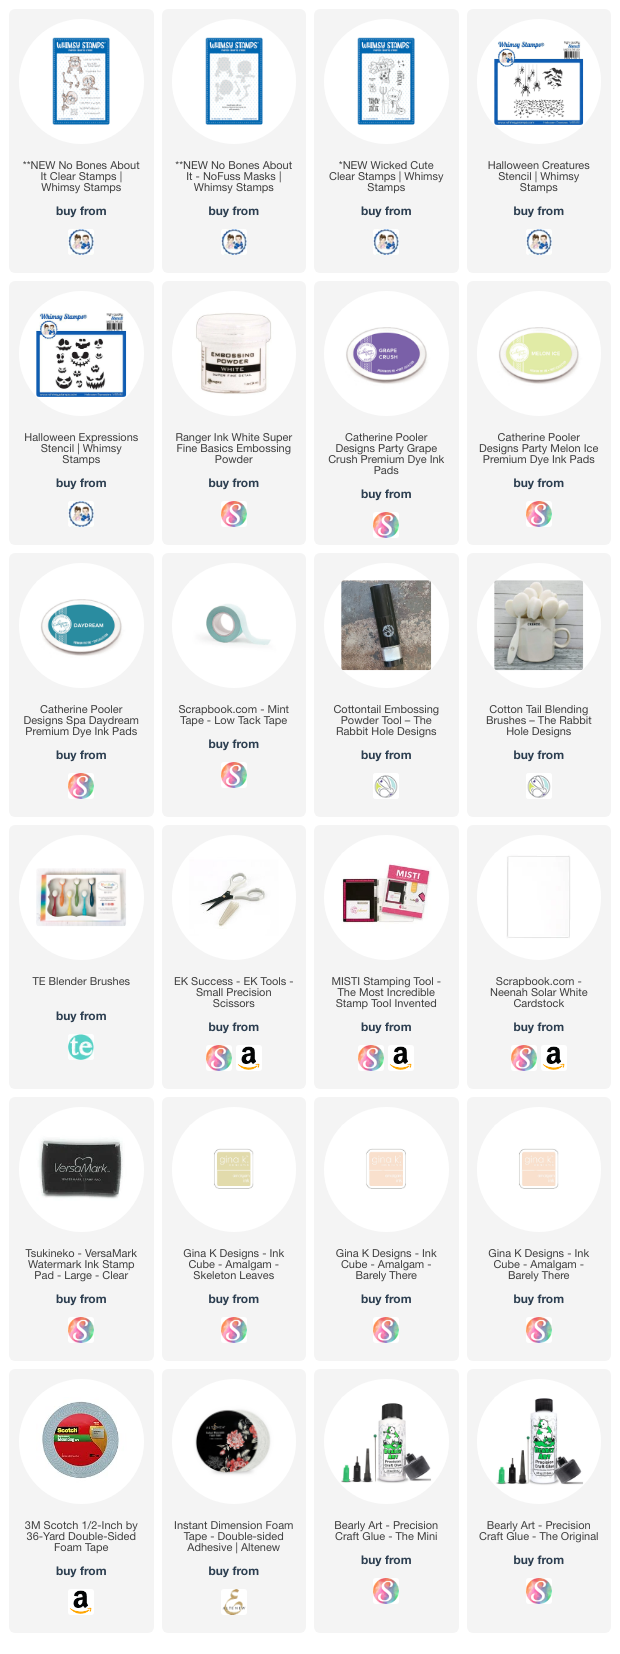
I’m often asked what supplies I use to make my cards and projects, so I’ve put together a list using affiliate links when possible. If you make a purchase with these links I may receive a small commission. These help me to keep up with blog costs and continue bringing you fun projects. Thank you so much for your support!
I hope you enjoyed these projects today! I’ve been loving the Halloween Card Series, and I hope you have too! See you soon with more cards.