Archive | Christmas RSS feed for this section
SUNSHINE-both-cards

2 Slimline Cards with The Hedgehog Hollow

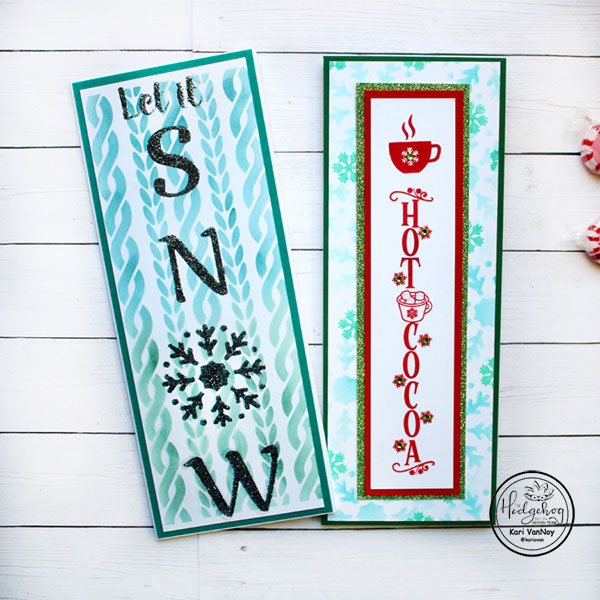
Hello! Today I have 2 slimline cards to share using the Hedgehog Hollow November Kit. This kit has a lot of slimline options so I couldn’t just stop at 1 card!

Card 1

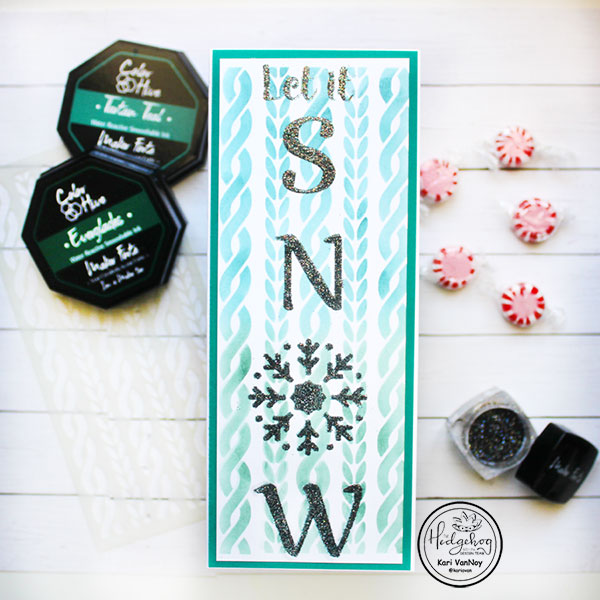
My first card is made using the slimline cardstock in the kit. I inked on a cable knit slimline stencil (all supplies linked below) using 2 colors of ink: Tartan Teal & Everglades.

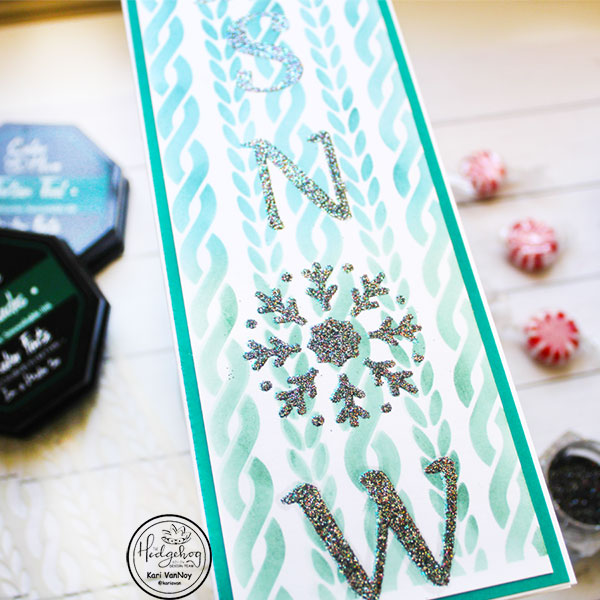
Then I placed the “Let it Snow” stencil from the kit over the top of my inked panel. I smooshed some clear sticky ink through the stencil, removed the stencil, and sprinkled on some Rainbow Sparkler embossing powder. After I heat set it, the glitter sparkle really stands out!

I matted the entire panel on my favorite color of cardstock: Welsh Dragon! Then I adhered it all onto a slimline card base.

Look at that sparkle!

Card 2

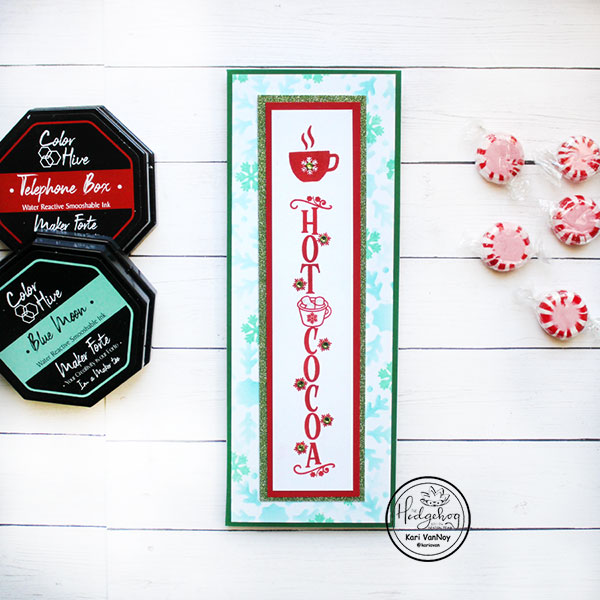
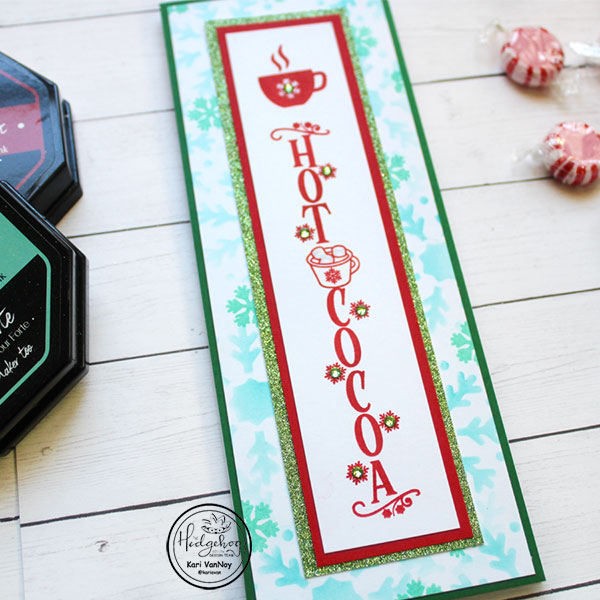
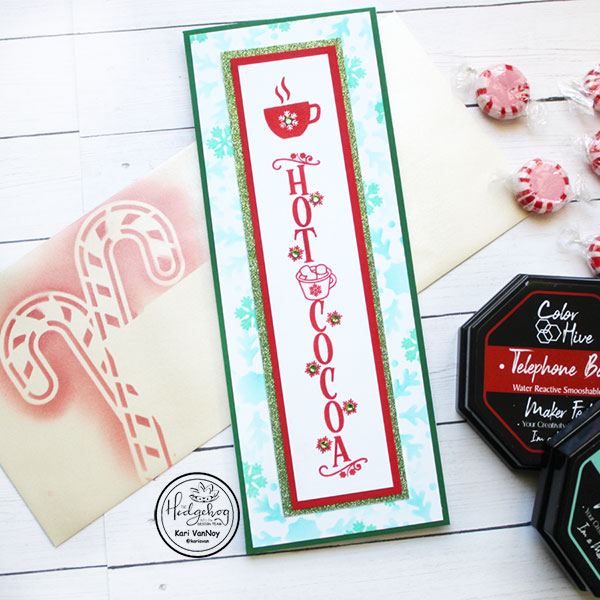
For my second card, I wanted some touches of red! So I stamped the vertical sentiment “Hot Cocoa” and the cocoa cup just over the top of that with Telephone Box ink.

I cut down this panel and added it to some red cardstock, and then green glitter cardstock.

For the back panel, I used the snowflake only from the “Let it Snow” stencil and inked on some Blue Raspberry ink. Then I stamped a small snowflake stamp from the kit in some Blue Moon ink.

I added that to some British Racing Green cardstock and put everything together!

Some light green gems finished it all off.

But I didn’t stop there! I used the corner Peppermint Sticks stencil on a slimline envelope using Telephone Box ink.

I will write the recipient’s name and address just below and to the right of the stenciled design.

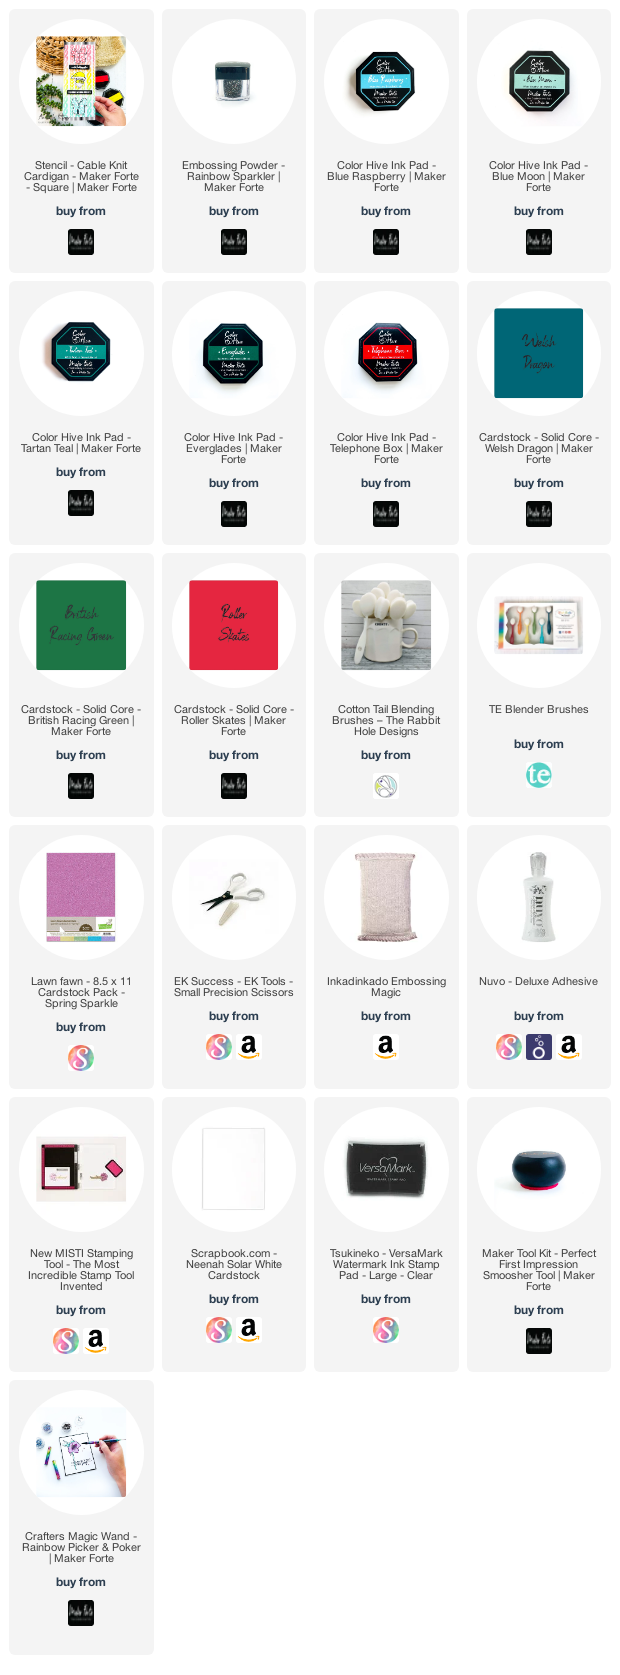
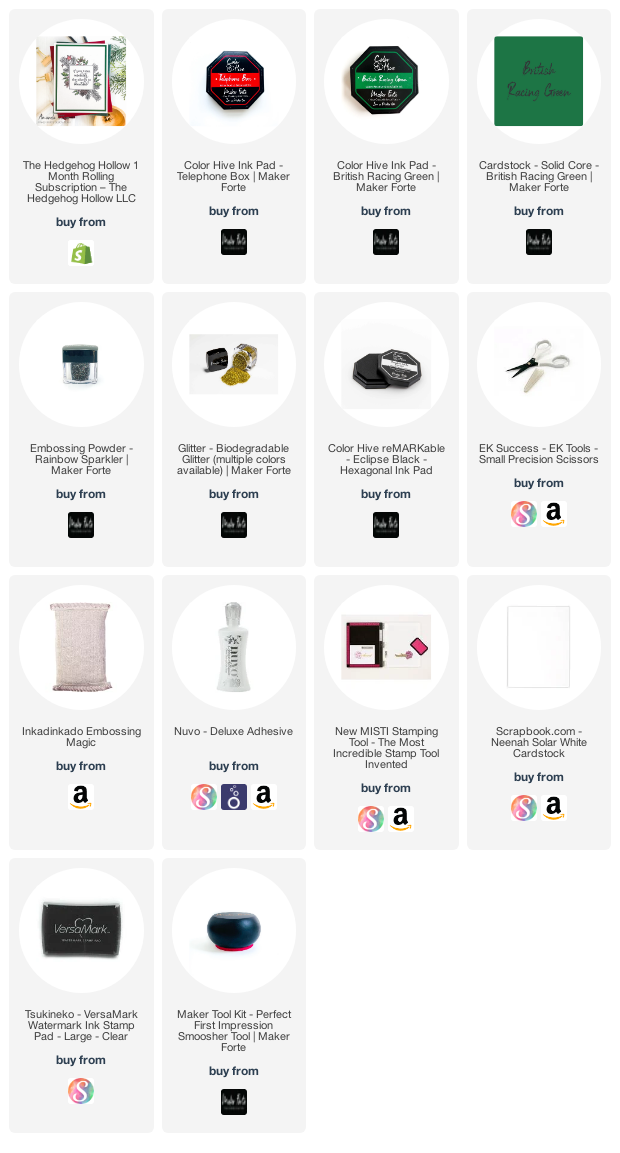
I’m often asked what supplies I use to make my cards and projects, so I’ve put together a list using affiliate links when possible. If you make a purchase with these links I may receive a small commission. These help me to keep up with blog costs and continue bringing you fun projects. Thank you so much for your support!


I hope you enjoyed these projects today! I’ll be back soon with more cards to share.

Comments { 0 }
rudolph-stencil-Kari-V

Handmade Candy Book

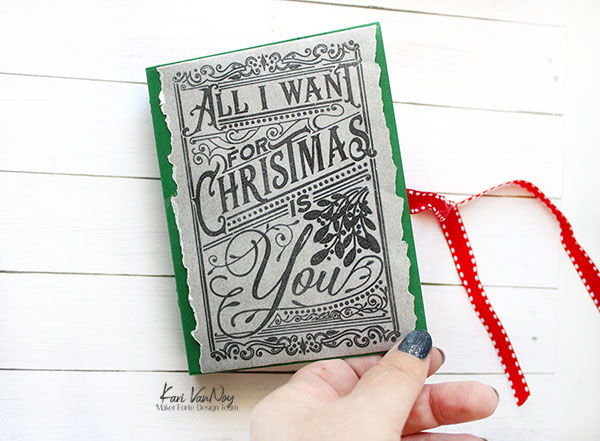
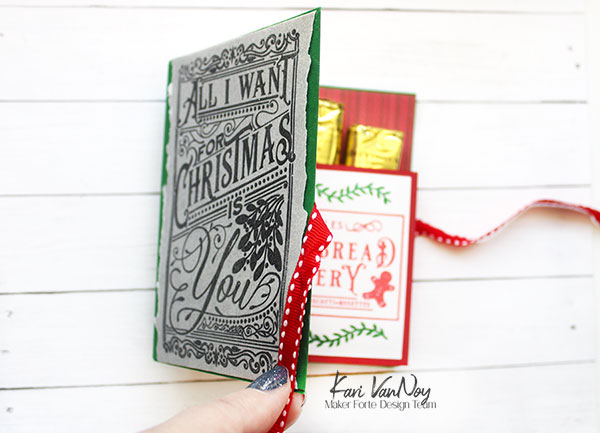
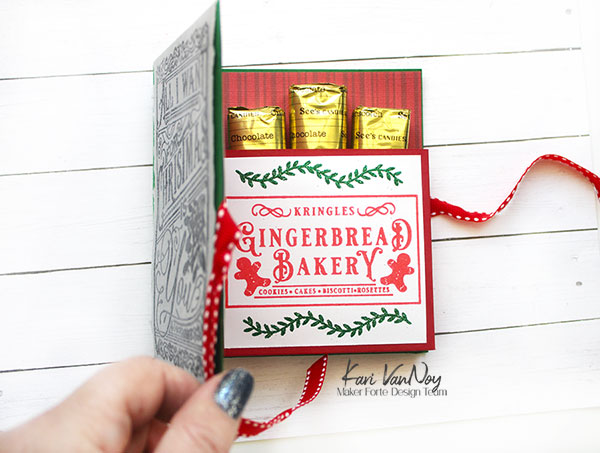
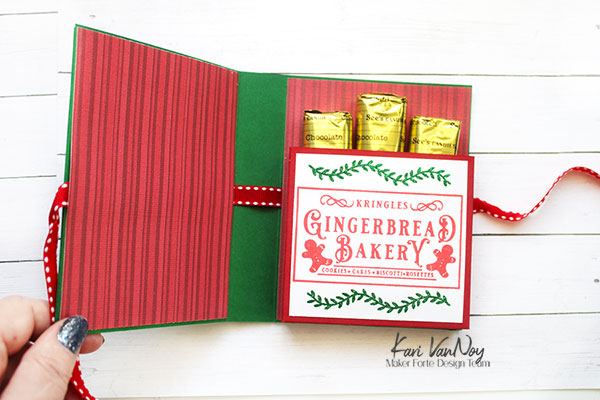
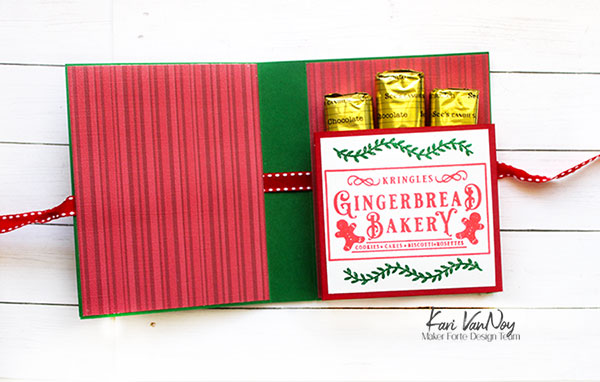
Hello! I am excited to share this project with you today….we are making Candy Books from cardstock! Remember those lifesaver books that made an appearance this time of year? Well, that’s kinda the idea with this project.

I have a video with ALL the details of how to make this, watch it here or in HD on YouTube:

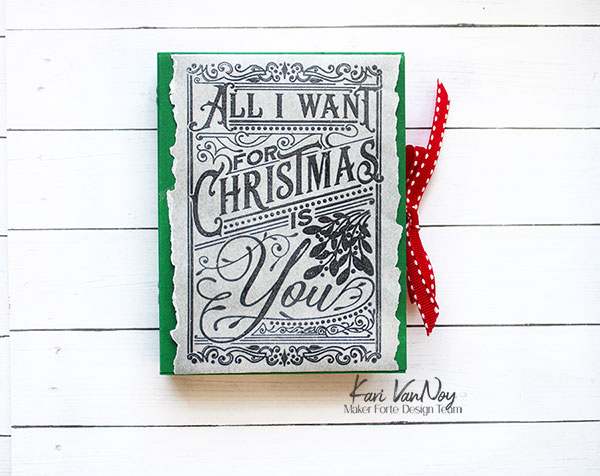
For the front cover I created a book jacket with silver vellum (I love this stuff!). I heat embossed the stamp from “All I Want for Christmas” on the vellum and I really love how it turned out.

For the inside, I stamped in red and green using the Tough Nut to Crack stamp set.

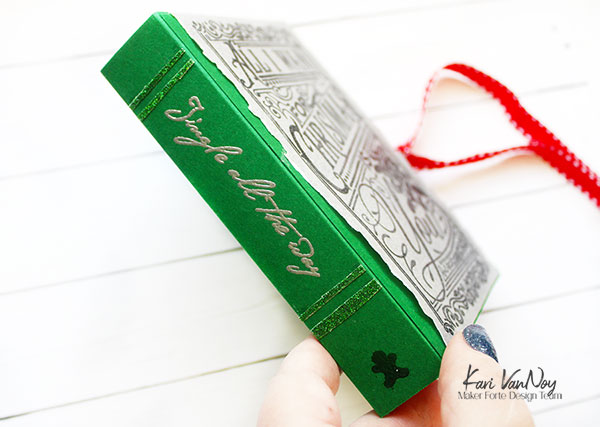
On the spine, I added some details with stamps and glitter tape. I love the font of the scripty “Jingle all the way.”

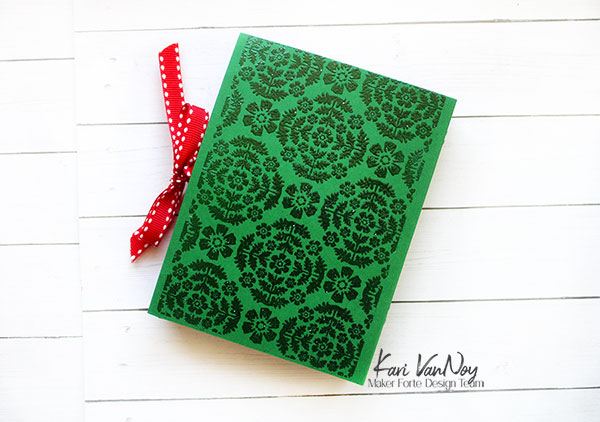
For the back of the book, I wanted some interesting texture, so I used the Damask stamp to clear heat emboss a design.

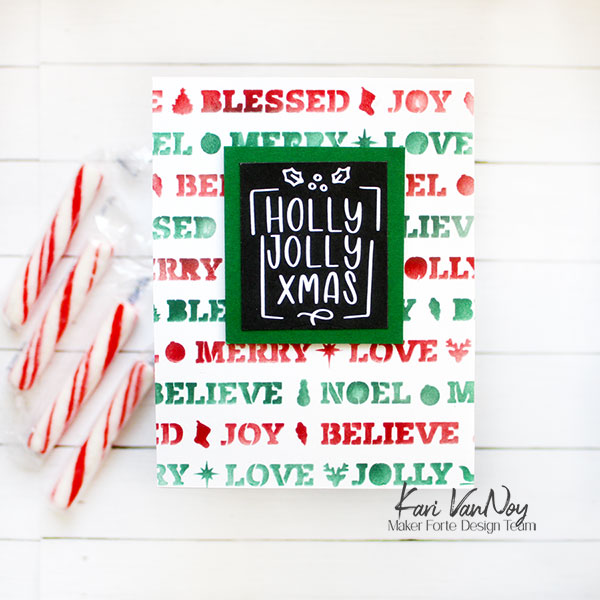
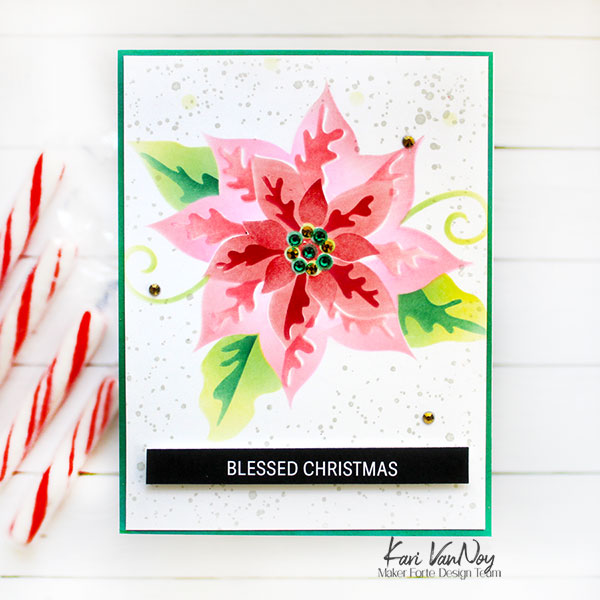
I have a few other ideas for the book front cover, too. You could easily change out this book jacket cover for a stenciled front cover. Here’s my favorites from the newest Maker Forte release:

Stencil this one up in reds and greens for a festive look!
A pretty Poinsettia!
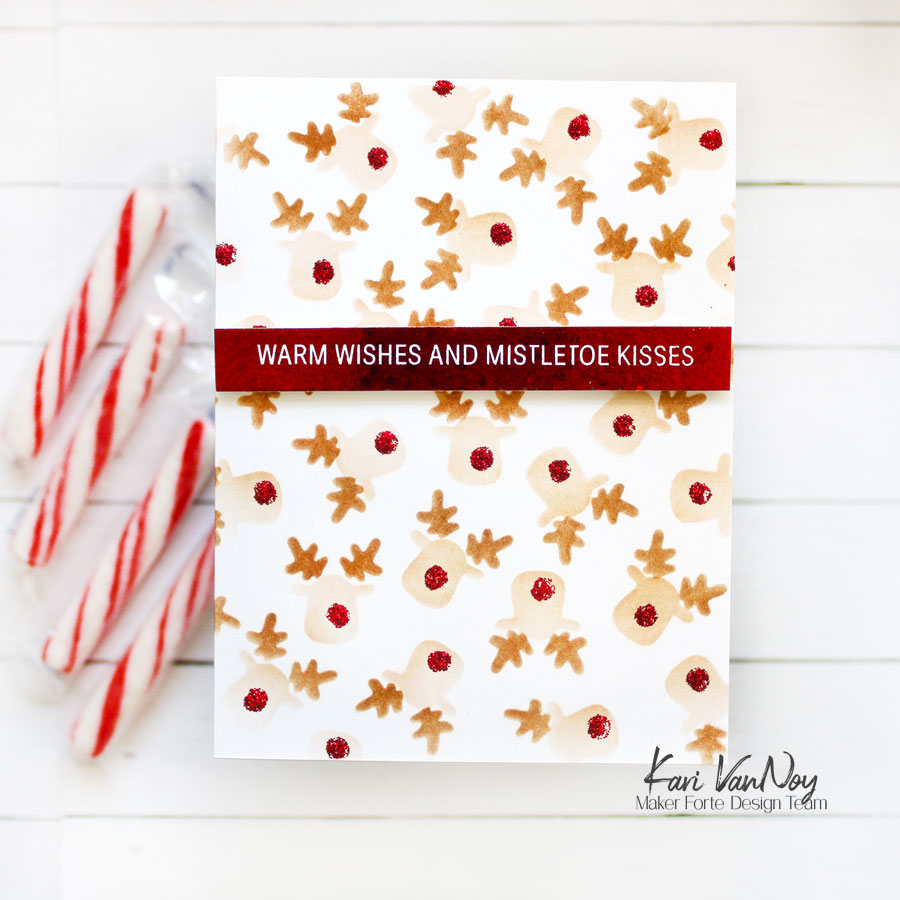
Make them all have red glittery noses…or just one!

I hope you enjoyed these projects today…these are definitely favorites of mine!

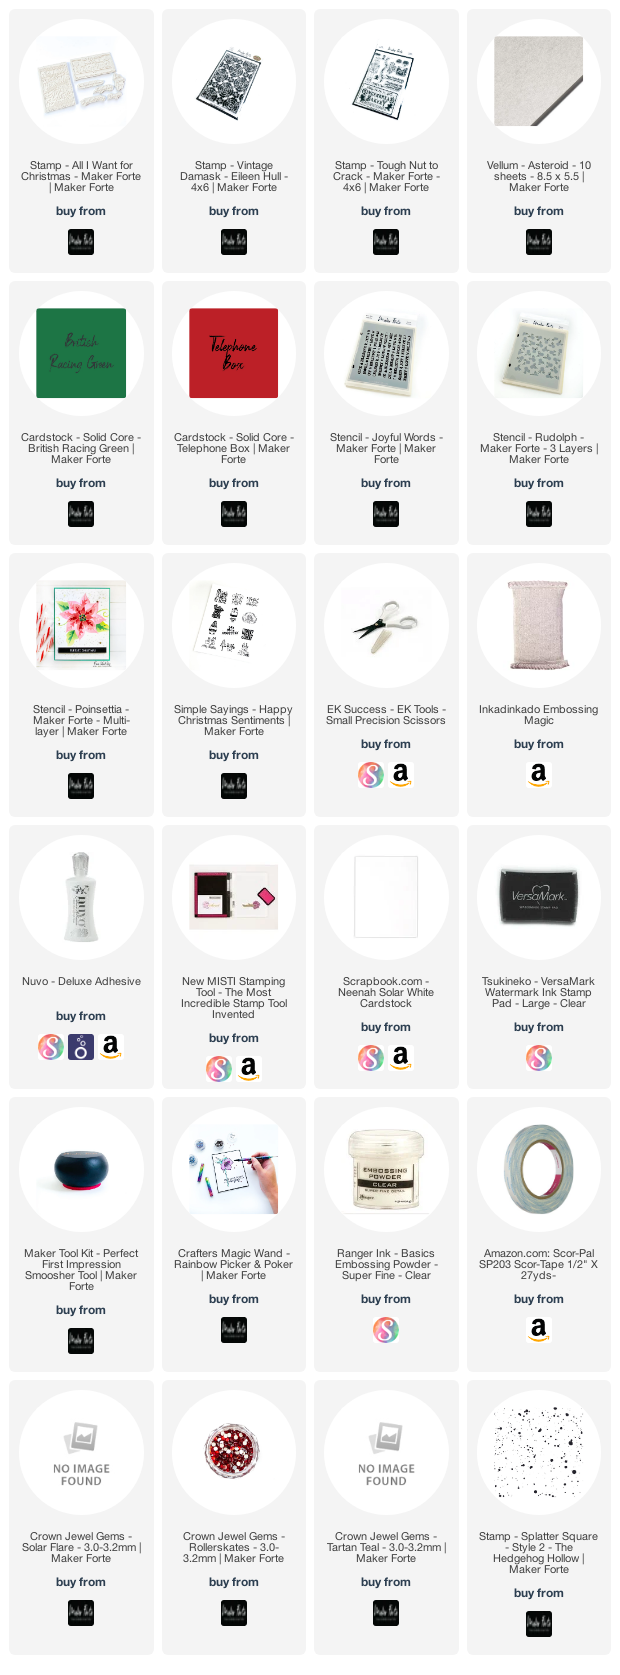
I’m often asked what supplies I use to make my cards and projects, so I’ve put together a list using affiliate links when possible. If you make a purchase with these links I may receive a small commission. These help me to keep up with blog costs and continue bringing you fun projects. Thank you so much for your support!


I’ll be back soon with more projects and cards!

Comments { 0 }
SUNSHINE-slimline-merry-card-1

Starlight Mints Projects

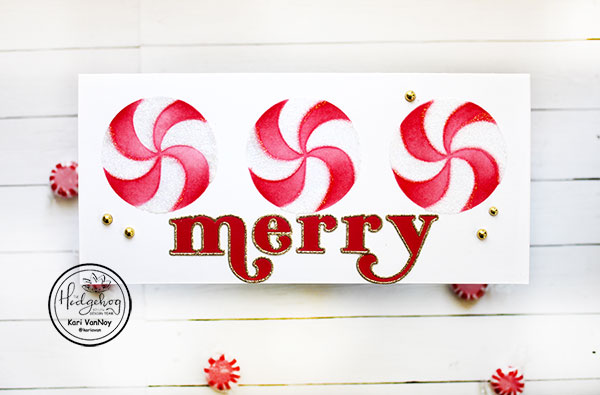
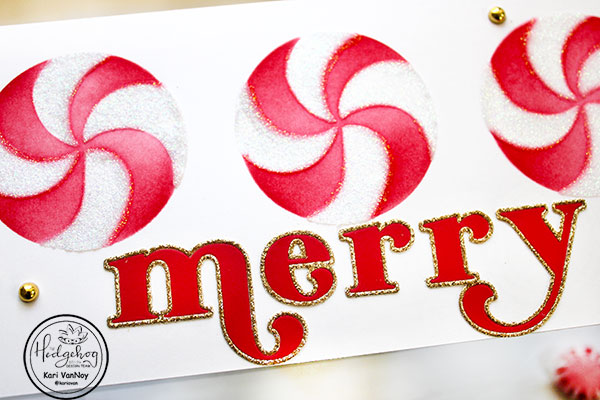
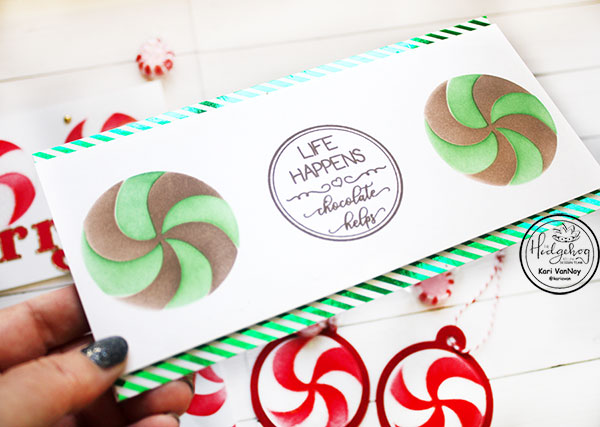
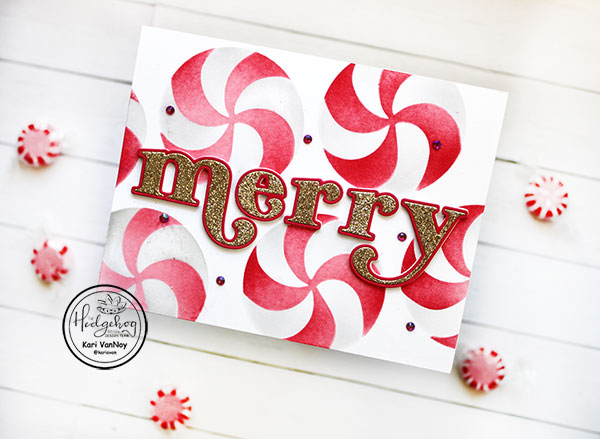
Hello! Today I have some holiday projects featuring Starlight Mints! I love this slimline stencil from the Hedgehog Hollow September Kit, and I couldn’t stop making with it. So today I have 3 cards and 2 gift tags for you!

Watch the video below or in HD on YouTube:

To read more about these projects, visit the Hedgehog Hollow blog HERE.

I’m often asked what supplies I use to make my cards and projects, so I’ve put together a list using affiliate links when possible. If you make a purchase with these links I may receive a small commission. These help me to keep up with blog costs and continue bringing you fun projects. Thank you so much for your support!


I hope you loved these projects today! I’ll be back with more cards soon!

Comments { 0 }
SUNSHINE-critters-with-supplies-crooked

Critters in the Woods

Hello! Today I have a card and video to share using the critters from the Hedgehog Hollow December Kit. I love these critters and so today I’m featuring FOUR of them as well as some fun techniques. I’m sharing ink smooshing, glitter, and gel techniques in todays card!

For the tutorial, watch my video below or in HD on YouTube:

To begin, I put four colors of Distress ink on my craft mat and spritzed it with water. Then I “smooshed” the bristol cardstock into the ink. I did this several times, drying the card with my heat tool in between each time.

Once I got it to a pretty stage, I allowed it to dry completely and then added some Metallix gel in Pearl White through the tree stencil. This gives a fun pearly shine.

I colored up the critters very simply and used some of the glitter in the box to add to their scarves and clothing. To do this, I simply added some liquid glue to the spots I wanted and sprinkled on the glitter. I allowed it to dry for a time before I shook off the excess glitter.

I cut out one of the toner sentiments from the kit, and added some NEW foil in the color Glass Slipper. I love this color! I ran it thru the Minc machine on the setting of 3.

Once the gel was dry, I added some green to the leaves using a Copic marker. Then I attached all the critters and sentiment to the card with foam squares.

Thanks for stopping by today!

I’m often asked what supplies I use to make my cards and projects, so I’ve put together a list using affiliate links when possible. If you make a purchase with these links I may receive a small commission. These help me to keep up with blog costs and continue bringing you fun projects. Thank you so much for your support!


Have a wonderful Holiday season!

Comments { 0 }
SUNSHINE-santa's-sleigh-close-up

Santa Claus is coming to Town

Hello! It’s THE week…the week that Santa Claus is coming to town! So today I have a special Santa Sleigh card, using TWO stencils that fit together perfectly! These are from Maker Forte and they are a dream to work with.

I started with Perfect Blend paper because it’s so smooth and makes it SO easy to ink blend. I added some Kaleidoscope powders in the new colors Yellowstone & Asteroid. These look so awesome and dreamy!

Check out the short video below, or in HD on YouTube to see how this all comes together:

Just look how that powder shines on this card:

I’m often asked what supplies I use to make my cards and projects, so I’ve put together a list using affiliate links when possible. If you make a purchase with these links I may receive a small commission. These help me to keep up with blog costs and continue bringing you fun projects. Thank you so much for your support!

Thanks for stopping by today!

Comments { 0 }