Archive | Christmas RSS feed for this section
sunshine-poinsettia-trellis

Poinsettia Love

Hello! Today I’m sharing some of my favorite POINSETTIA stamp (and die) sets! These are so beautiful and I couldn’t resist making a bunch of cards using the new November 2018 release from Our Daily Bread Designs.

sunshine-pink-poinsettia-spray

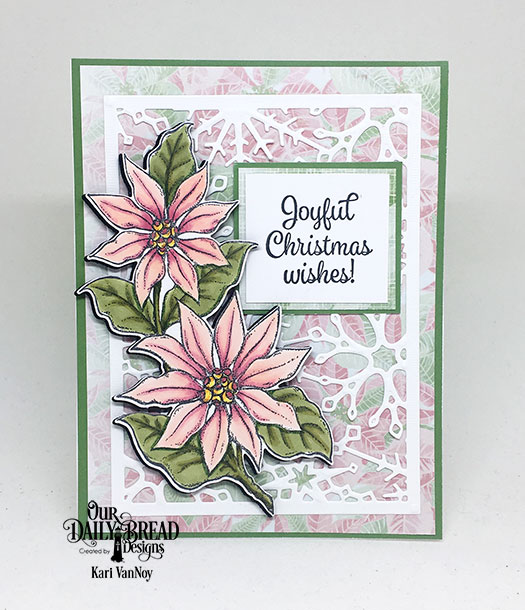
I colored this up in some pink Copics in the colors E50, R81, R83, and R85 so I could match that beautiful new Christmas Collection 2018 Paper from Our Daily Bread Designs. I used the Snowflake Sky die to cut out the white snowflake background, and attached the poinsettia spray to some black fun foam to add dimension.

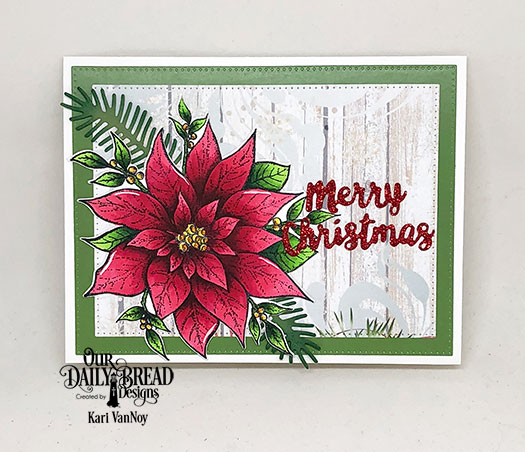
This next one shows the large poinsettia stamp set. It also comes with it’s own die to cut out the image! I love that it is included! The size of this stamp is perfect to fill an A2 size card.

sunshine-red-poinsettia-large

I added some Pine branches from this die, and that beautiful paper with the woodgrain is also from the new paper pack. The Merry Christmas sentiment is red glitter paper cut out with the Holiday Words dies.

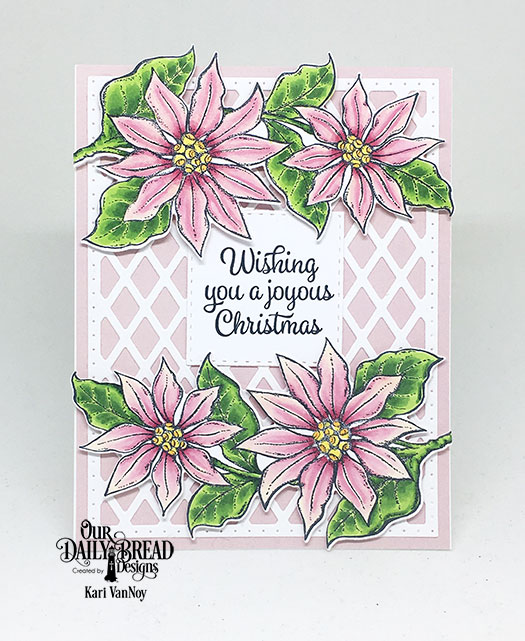
The last card features the same poinsettia die as the first card, and this time I added two of the poinsettia sprays over the Lattice Background Die.

sunshine-poinsettia-trellis

I love that you can mix it up a bit by just adding another spray of flowers. I also love how the leaves turned out! I used a classic Copic green color combo in YG17, YG67, and YG03.

I hope you enjoyed these beautiful poinsettia projects today! Have you started on your Christmas cards yet? If you are looking for poinsettias to add to your holiday cards, they are on sale as a bundle, which you can check out here. The bundle includes the paper pack I featured here, as well as the Poinsettia Box stamp set…which is also so beautiful! So go ahead and check it out.

Thanks for stopping by!
Comments { 0 }
gingerbread-house-close-up

Gingerbread Scene with The Hedgehog Hollow

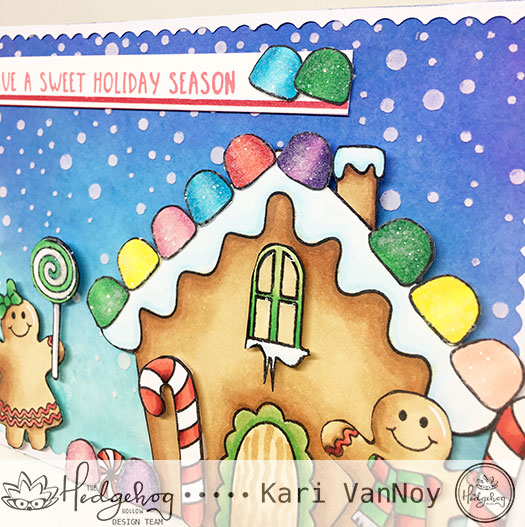
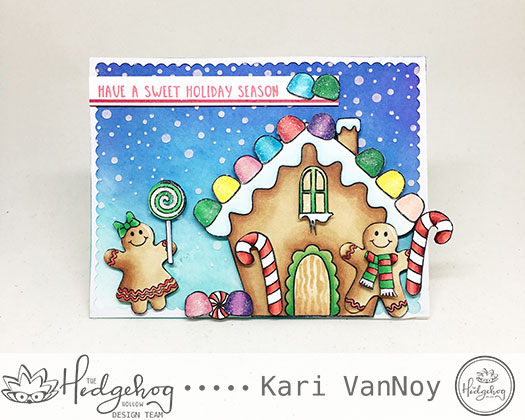
Hello! Today I am up on The Hedgehog Hollow blog sharing my first project with the November 2018 box. This box comes chock full of awesome supplies and sweet gingerbread stamps from Kindred Stamps!

Here is a sneak peek of my project:

gingerbread-house-card gingerbread-house-close-up

Head on over to the Hedgehog Hollow Blog for all the details!

And if you haven’t seen all the goodies in the new November box, click below to watch my unboxing video, or watch it on YouTube:


Thanks for stopping by! Have a sweet day.

Comments { 0 }
reindeer-tag-2

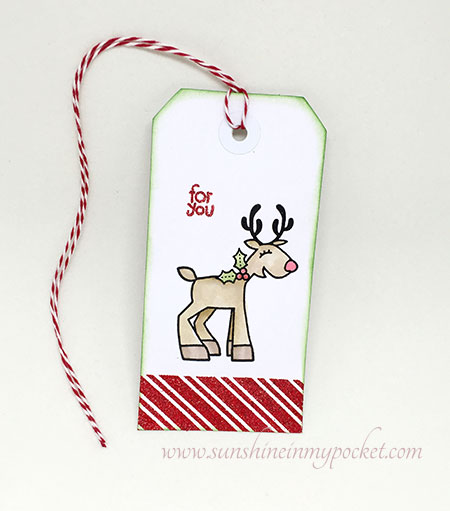
Happy Reindeer

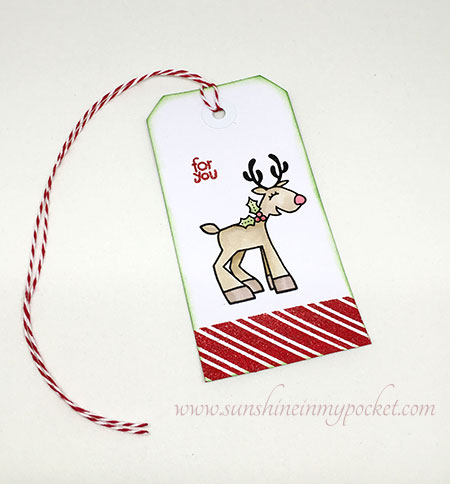
Ok, I love this happy reindeer from Paper Smooches. Doesn’t he just make you smile? This is my final project (I think) for my Online Card Class Holiday Style.

reindeer-tag

I used some of my favorite RED SPARKLE embossing powder on the sentiment and the candy cane stripes! Can you see the sparkle? I love that stuff.

I had to do a bit of masking to add that HOLLY to the neck on the reindeer, and then to do some of the inking. Oh what fun this tag was to make!

reindeer-tag-2

I used distress markers as watercolor to color that cutie. I think I’ll add the “To/From” to the back of this tag for a Christmas gift!

Comments { 0 }
christmas-baubles-2

Christmas Tree Baubles

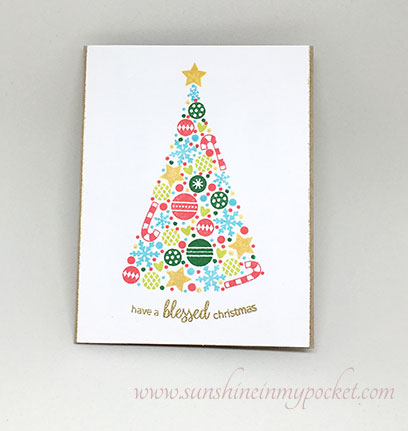
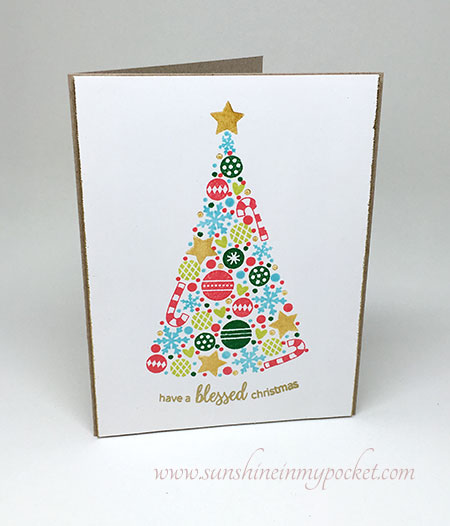
Wow, this technique was so fun but time consuming! In the Holiday Style Online Card Class, May Park had an awesome sample of a triangle tree shape stamped with all kinds of small stamps and I thought I’d give it a try.

Turns out I have a LOT of small stamps that worked so well for this technique.

christmas-baubles-1

I decided to round the bottom of my tree and make the sentiment curved to match. I used my GOLD delicata ink for the very first time (thank you, Wendi!) and I love it! See those stars? They are stamped with the gold ink.

christmas-baubles-2

I used the same gold embossing powder on the sentiment and on the right and left edges of the card. So pretty. My husband loves this one! But I don’t think it’s a candidate for mass production. Lol. 🙂

Have a blessed Christmas!

Comments { 1 }
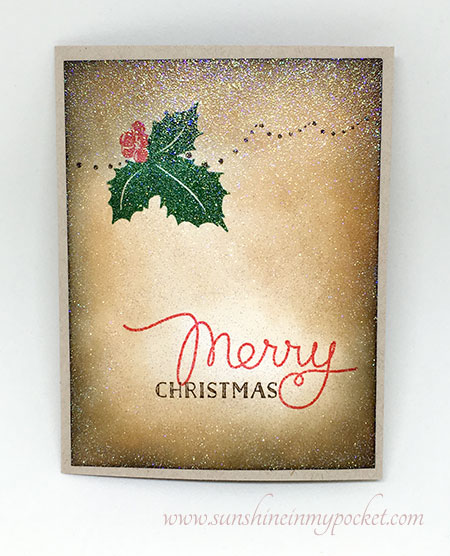
inked-edges-1

Vintage Christmas

This card was definitely out of my comfort zone. I was nervous to use brown distress ink over my stamping. But vintage fancy was the topic of the day at Online Card Classes Holiday Style!

inked-edges-2
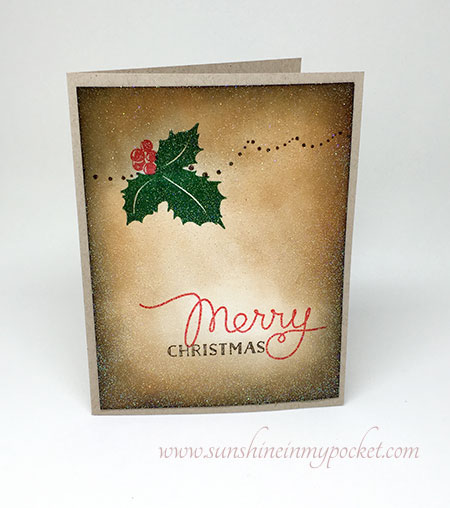
I used Neenah desert storm for the card base (I have a TON of this, but rarely use it) and I think it complements the vintage look.

After I finished all my stamping and inking I slapped some Versamark clear ink over it all and sprinkled Judikins sparkle embossing powder over it! Then I heat-set it and I think it turned out so fancy! I love that the glitter doesn’t come off on your hands when you use heat embossing.

inked-edges-1
Well, Kristina Werner totally inspired me to try this card…something very new for me! What do you think?

Comments { 0 }