Archive | Christmas RSS feed for this section
SUNSHINE-dear-santa-flat-lay

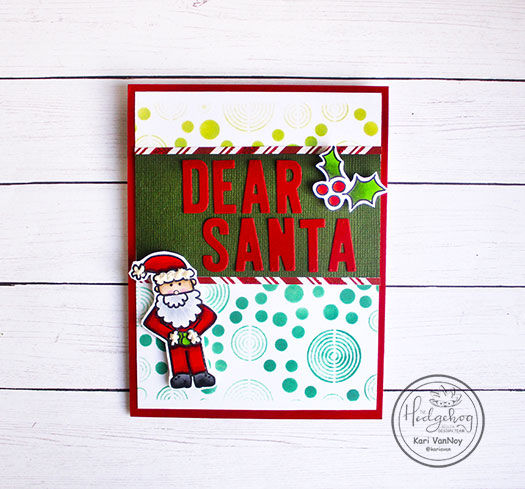
Dear Santa

Hello! Happy Thanksgiving to all my crafty friends in the United States! We have a tradition of decorating the tree the evening of Thanksgiving. All the kids and grandkids help to add the ornaments to the tree. No, it doesn’t turn out perfect or look like a designer tree, but it’s a really fun tradition and brings our family even closer.

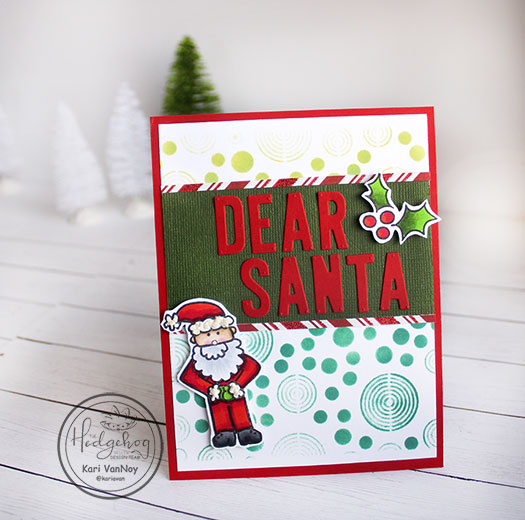
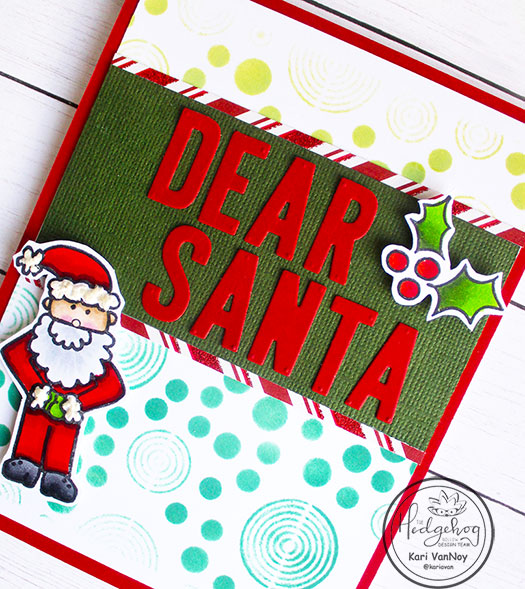
After that, we write letters to Santa! Today I have some Dear Santa cards to share.

I used the stencil and two stamps from the Hedgehog Hollow November Kit. To add some more fun, I used liquid applique to Santa’s hat and sleeves. It goes on liquid, but when you heat it up with a heat gun, it puffs up!

Here’s a quick video showing you how it all came together, watch it below or on YouTube:

https://youtu.be/MTedaSCE2-0

I’m often asked what supplies I use to make my cards and projects, so I’ve put together a list using affiliate links when possible. If you make a purchase with these links I may receive a small commission. These help me to keep up with blog costs and continue bringing you fun projects. Thank you so much for your support!
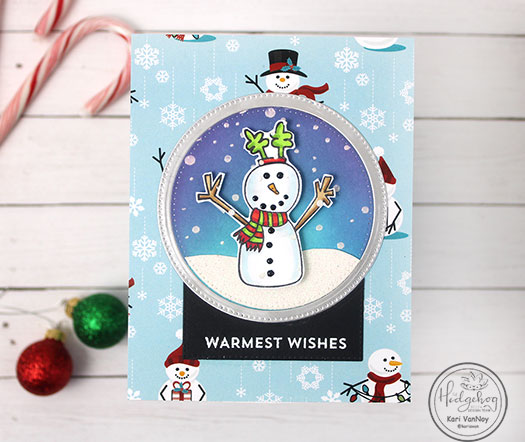
So tell me, do you write letters (or cards) to Santa?

I’ll be back soon with more inspiration!

Comments { 0 }
SUNSHINE-all-three-cards-close-up

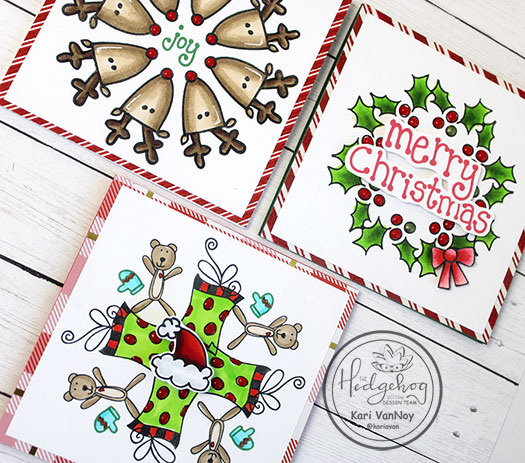
Easy Wreath Cards

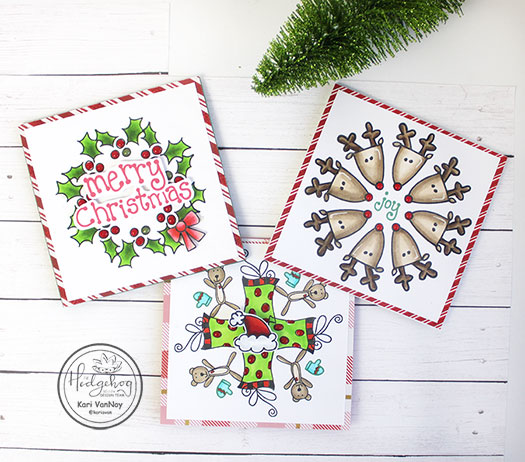
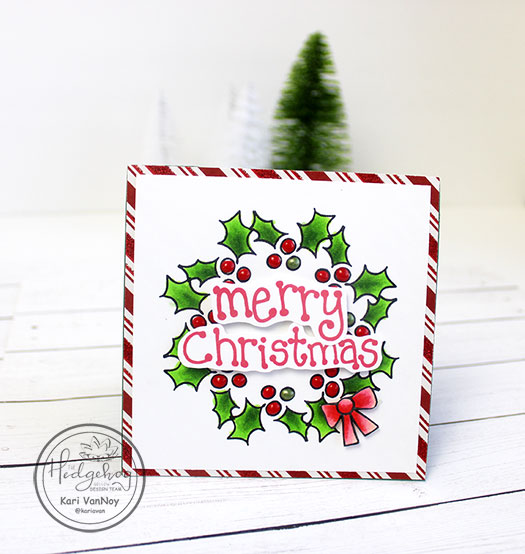
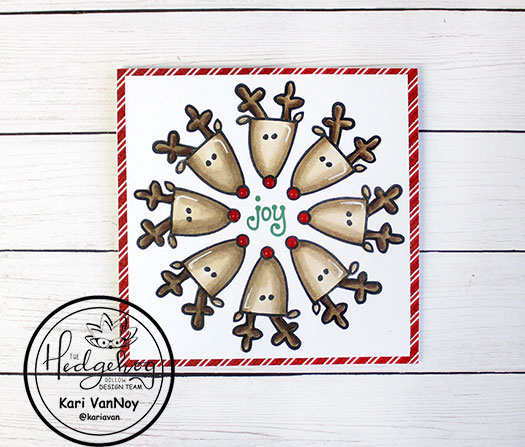
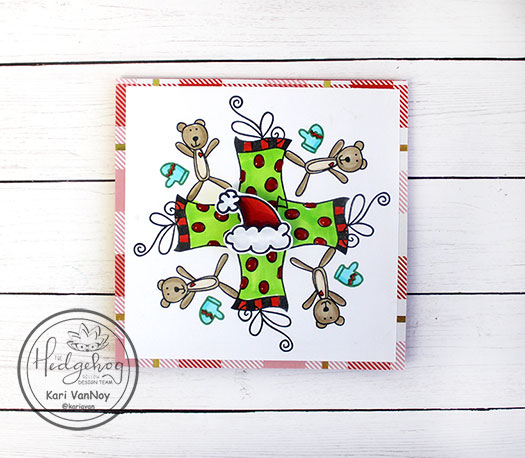
Hello! Today I’m showing you how easy it is to create a wreath card using small stamps! I made 3 cards to share, choosing stamps from The Hedgehog Hollow November Kit.

These are soooo fun to make (and a little addicting…that’s why I made three! Lol)

I made a quick video to show you just how easy it is when you have a MISTI or other stamp positioner. Watch it below or on YouTube:

https://youtu.be/8UYpgr8Jr8w

These stamps are so cute from this month’s kit, don’t you think?

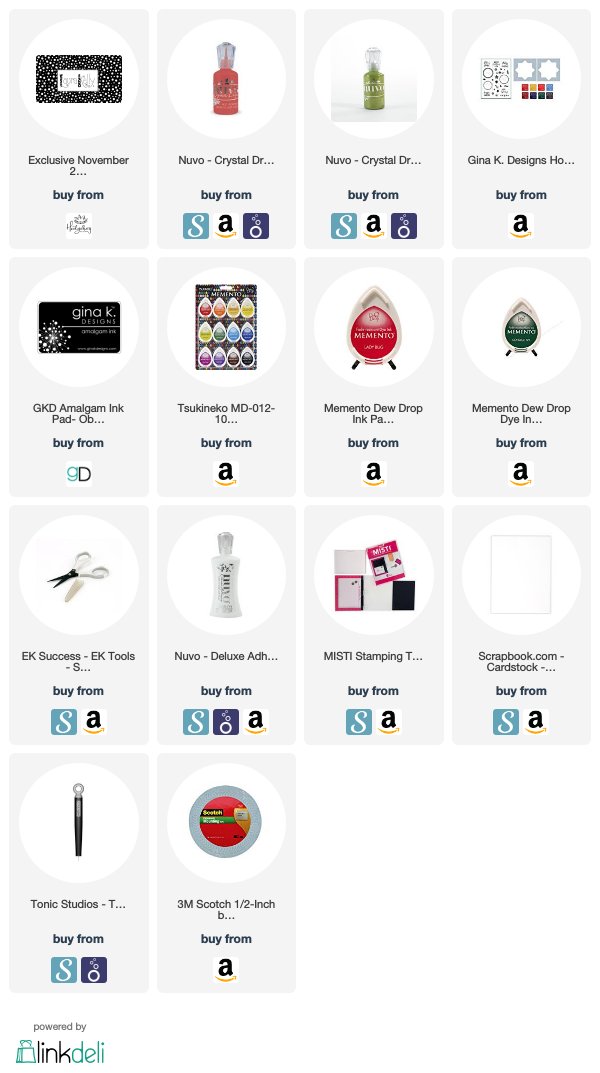
I’m often asked what supplies I use to make my cards and projects, so I’ve put together a list using affiliate links when possible. If you make a purchase with these links I may receive a small commission. These help me to keep up with blog costs and continue bringing you fun projects. Thank you so much for your support!

Comments { 0 }
GOT-JOY-happy-holidays-with-trees

Dana Joy Holiday 2019 Hop

Hello, everyone. Today I’m over at Dana’s blog and Youtube channel today for Dana’s Got Joy Creations Holiday Series 2019. Make sure you are following this series for amazing holiday inspiration, giveaways, discount codes and don’t forget to leave a comment below to qualify all the giveaways. There will also be tutorials and cards shared by Dana as well and she will have a few surprises to share with you!

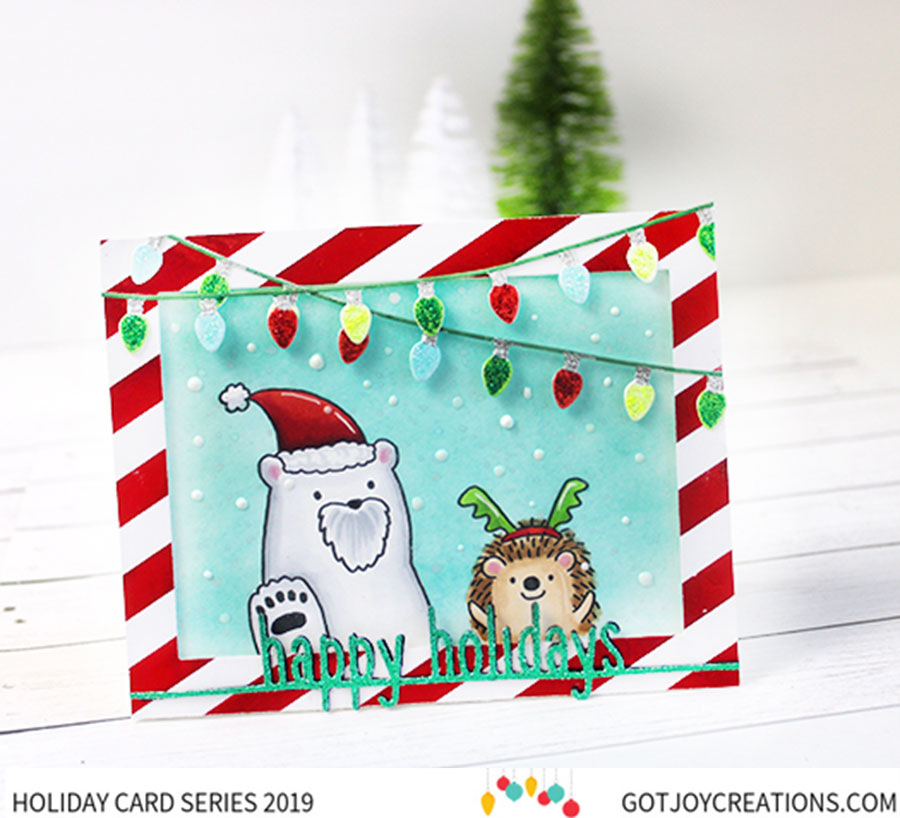
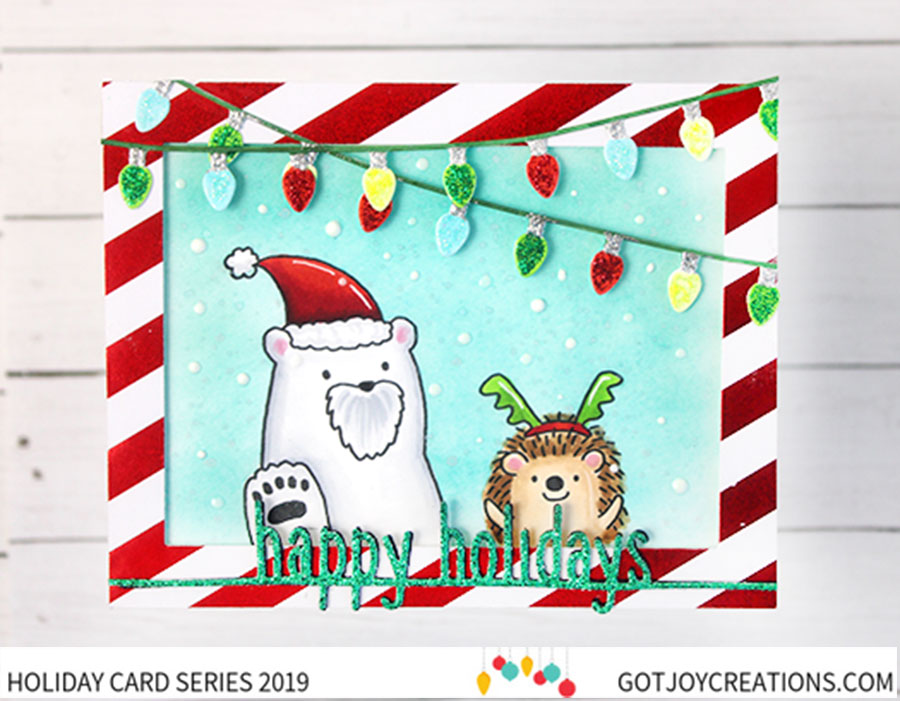
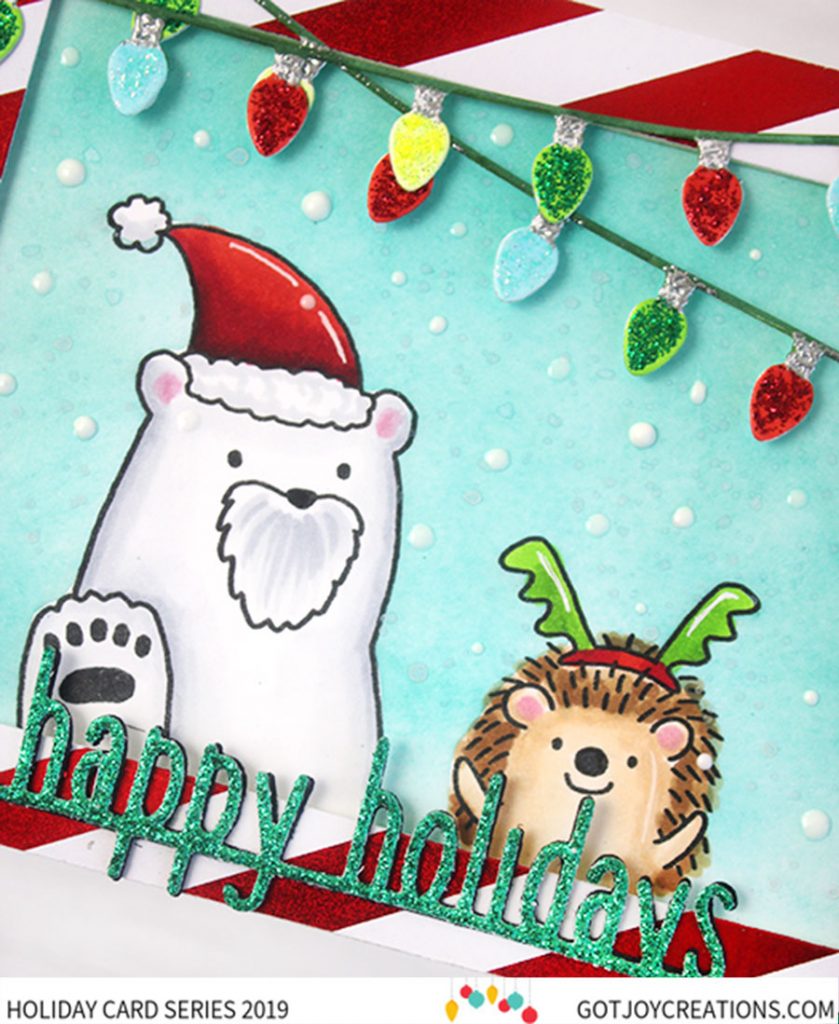
Today I have a fun holiday card for you featuring a little hedgehog friend visiting Santa. This card is filled with lots of foil shine and glittery goodness…everything a that makes holiday card extra special, right!?

I have a video showing you how I put this card together, as well as lots of tips on adding snow, glitter (that doesn’t come off!), and even foil shortcuts. Be sure to check out my video at Dana’s Channel (Here) and make a comment to be entered to WIN!

Aren’t these critters cute?! I colored them up very quickly with Copic Markers. Don’t worry about making the coloring perfect, there is so much detail and glitter and shine on this card that will delight your recipient!

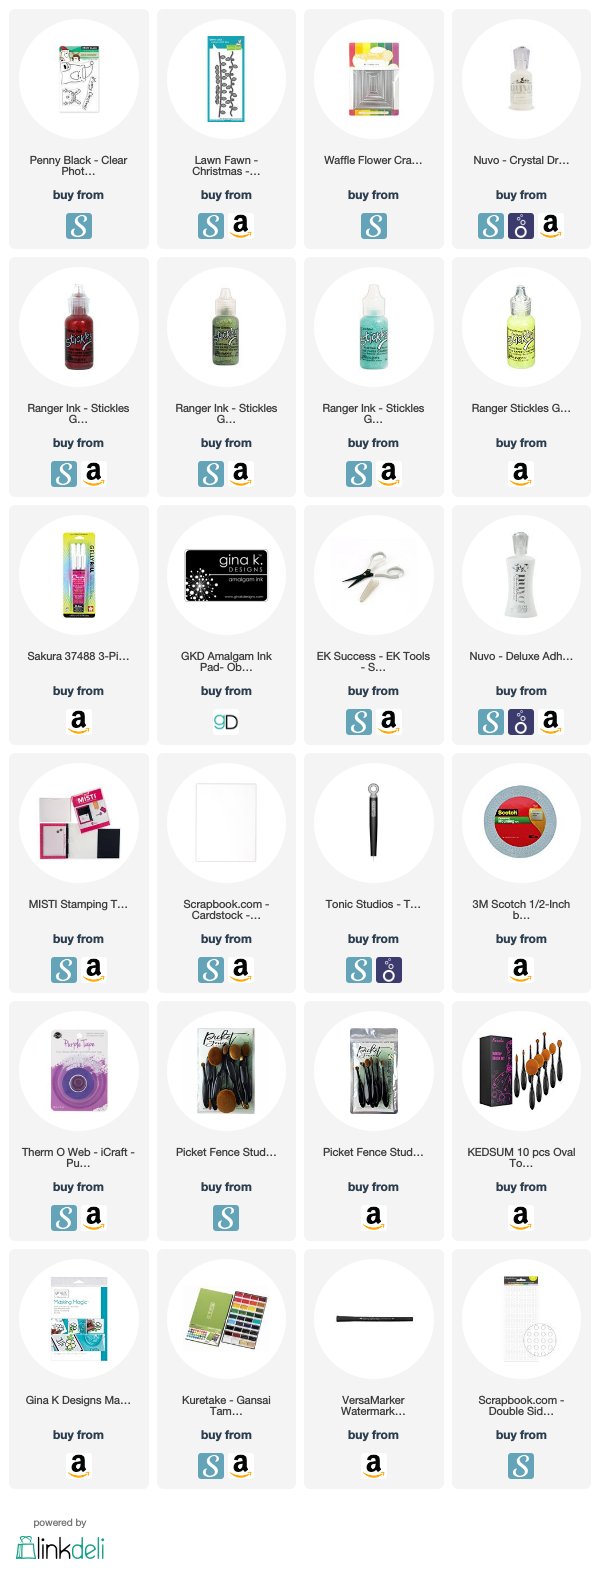
I hope this card put a smile on your face today! I have a list below of all the supplies, if you are interested.

The GJC Holiday Card Series runs from November 17 to December 14. Each day Dana will have a Guest Designer on her blog sharing their holiday card ideas just like I did today. Hopefully you will find something to inspire you to create holiday cards for your family and friends this year. Follow along on her YouTube Channel and make sure you leave comments on each designer’s posts or videos for chances to win.

Enjoy all the holiday inspiration!

Kari VanNoy
Find me here: Instagram, Blog, YouTube

Disclosure: The links below are affiliate links. If you decide to use these links to shop, you are supporting today’s post writer – thank you! They may receive a small portion of the sale, at no extra cost to you. These products are endorsed by the author, and we hope you will love them too!


Comments { 2 }
make-it-jolly-close-up-2

Make It Jolly

Hello! Today I have another beautiful holiday card to share with a favorite sentiment of mine this season.

Make It Jolly. So Jolly!

This card came together so quickly with the use of some glittery foil striped paper I found in my stash! Love the extra sparkle.

I first die cut the large HOLLY with bold alpha dies and inked them up with green Distress Ink. Then I popped those up on fun foam and added them to the foiled striped paper.

I used the same green ink to make a paper strip and stamped on the sentiment “Make it Jolly. So Jolly!” with embossing ink, then white heat embossed it.

To finish it all off, I added some holly die cuts and some Green Nuvo drops. You might be wondering why I didn’t add red Nuvo drops…well, the red that I had didn’t match the red foiled paper (it was too pink). So green it is!

I added it all to a pre-scored card base (these are a dream for making cards so easily!) and that’s it!

I’m often asked what supplies I use to make my cards and projects, so I’ve put together a list using affiliate links when possible. If you make a purchase with these links I may receive a small commission. These help me to keep up with blog costs and continue bringing you fun projects. Thank you so much for your support!

Thanks for stopping by!

Comments { 0 }
SUNSHINE-family-portrait-with-trees

Family Portrait Christmas Card

Hello! Today I created my family portrait Christmas card using stamps from the November 2019 Hedgehog Hollow Kit. These stamps include a bunch of line art drawings of people, so it is really fun to create a family with them! There is even enough characters that I’ll bet you could have an entire family reunion!

I started out by building up my family on the Misti stamping tool. I found that I could fit them all close enough together that I was able to stamp them ALL at once! A big time saver!

After I stamped them using amalgam ink (my favorite for Copic coloring), I began inking around them using makeup brushes for a soft look. I started building up the color slowly with a soft touch, then kept adding to it until I got the look I wanted.

Then I colored us all up with Copics!

I have a quick video to show you how quickly this card came together, watch it below or on YouTube:

Isn’t this such a fun set to build a family portrait Christmas card?! I had so much fun.

But my sister, who is a professional photographer, tells me it’s no longer cool to be all matchy-matchy in family photos. That it should be more natural looking. Lol.

So will you create a cooler family than mine? I’d love to see your creations!

I’m often asked what supplies I use to make my cards and projects, so I’ve put together a list using affiliate links when possible. If you make a purchase with these links I may receive a small commission. These help me to keep up with blog costs and continue bringing you fun projects. Thank you so much for your support!

I hope you enjoyed a look at my Christmas cards of the family photo this year! Lol. I’ll be back with more inspiration soon.

Comments { 0 }