Archive | Christmas RSS feed for this section
Yip-Yip-shaker-4

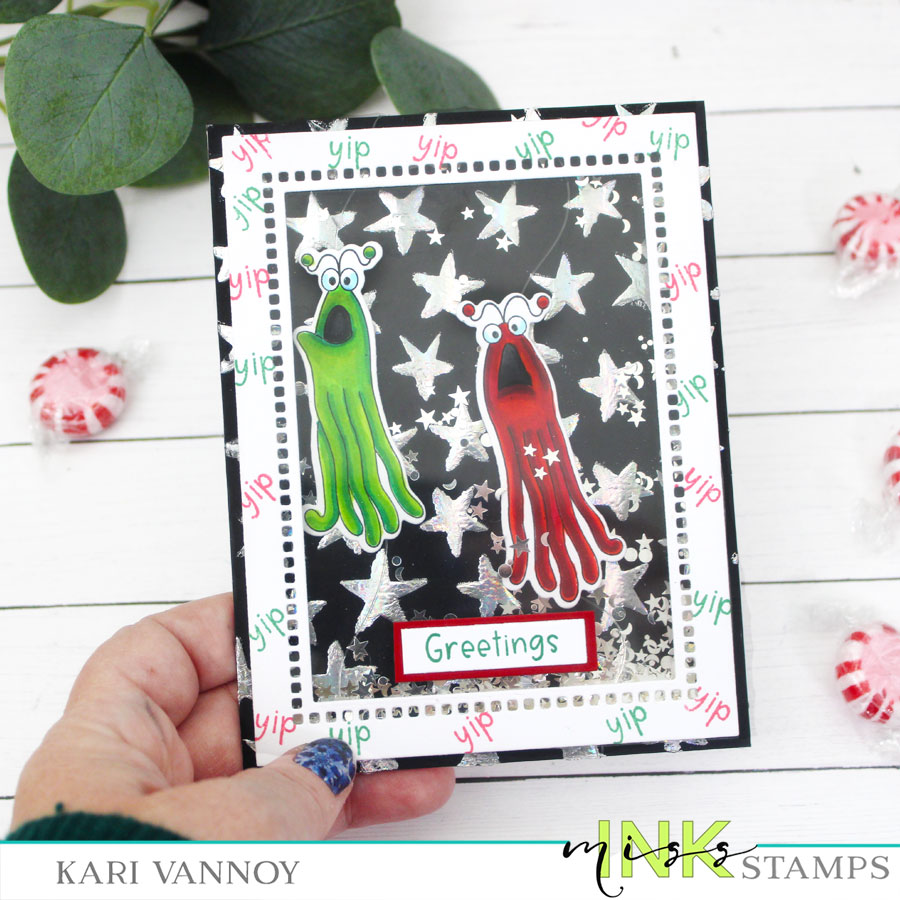
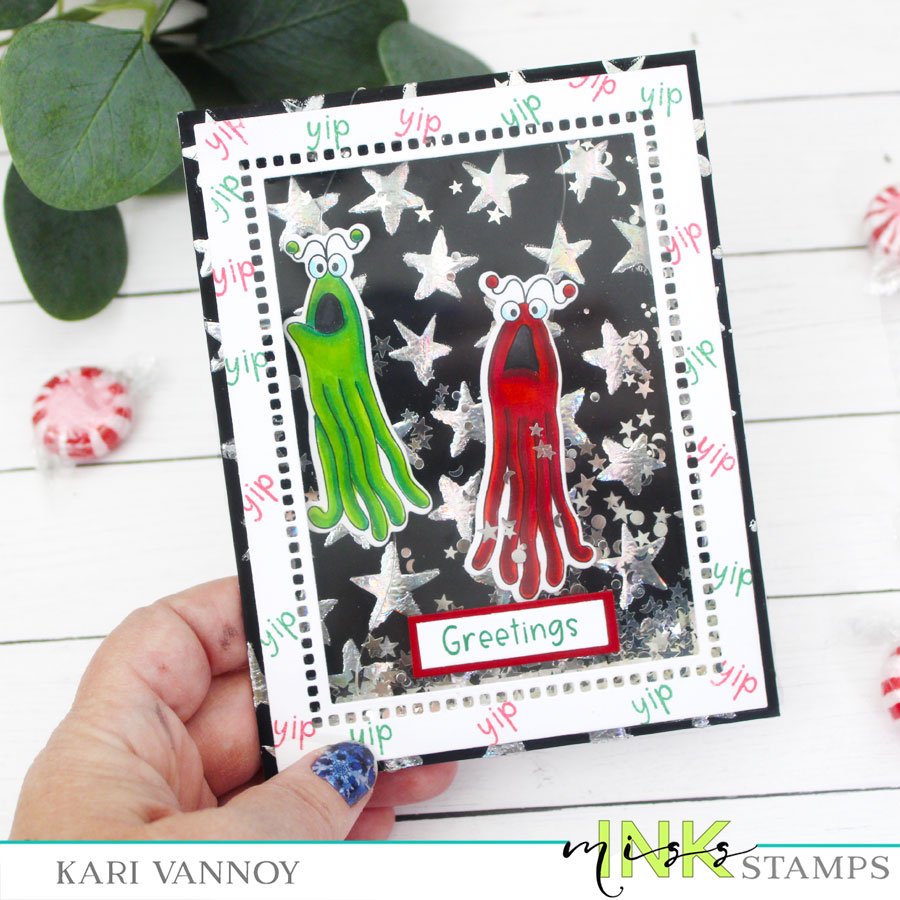
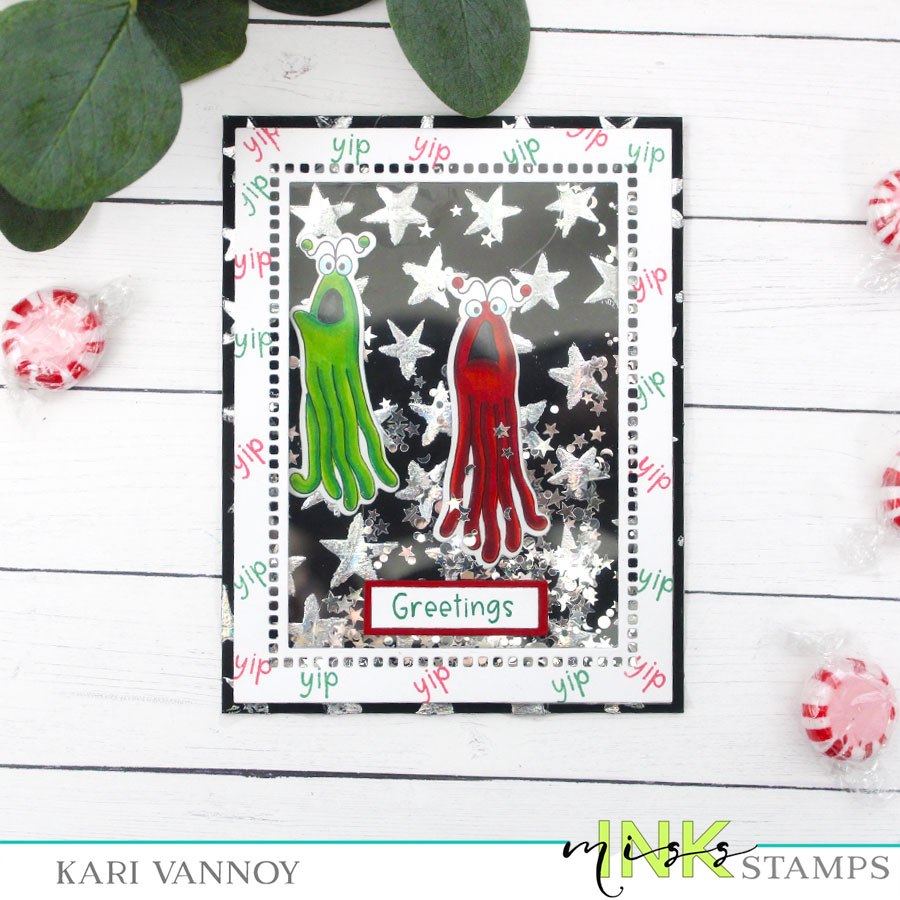
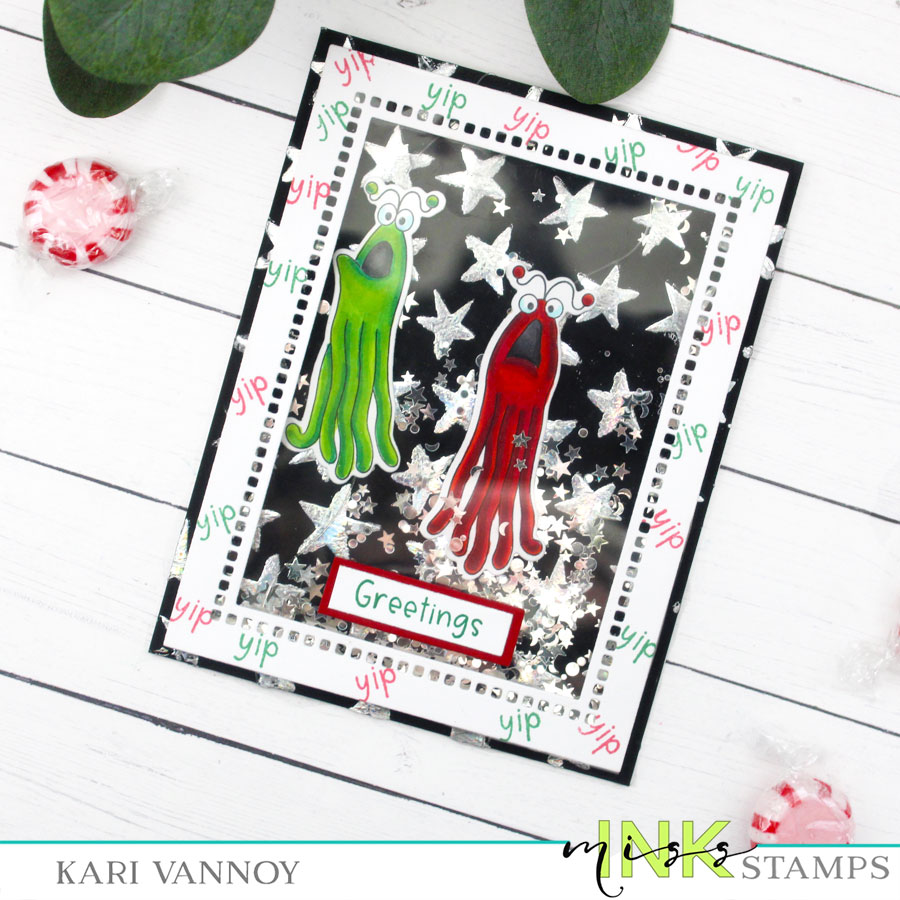
Free Floating Shaker Card with Greetings from Mars

Hello! Today I am creating a Free Floating Shaker Card with Greetings From Mars! Watch the video below or on YouTube:

This is a fun stamp set, and I just love those little creatures. You should see how funny they look when they are “floating” around with this shaker card!

I created a foiled star background to give a nod to the “Mars” reference (like a galaxy). Don’t worry– there’s no heat involved in this foiling effort!

I hope you’ll check out the video to see the full process and how to put this card together.

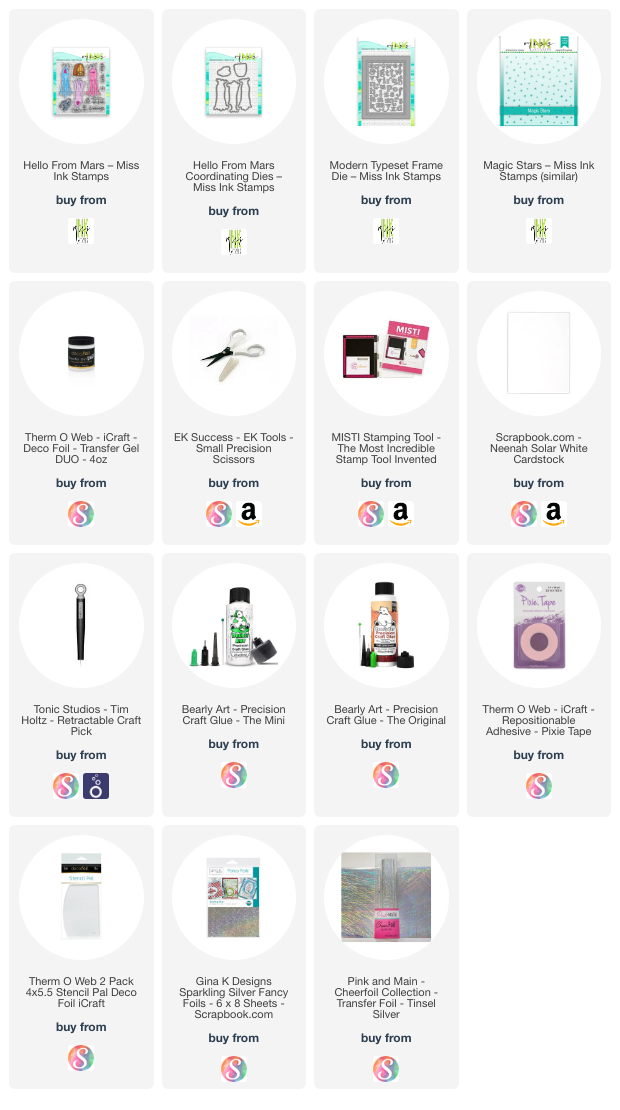
I’m often asked what supplies I use to make my cards and projects, so I’ve put together a list using affiliate links when possible. If you make a purchase with these links I may receive a small commission. These help me to keep up with blog costs and continue bringing you fun projects. Thank you so much for your support!


This could be a Christmas card for one of your weird relatives! Lol. Thanks for stopping by today! See you next time with more cards to share.

Comments { 0 }
YT-11-22-24-hot-foiled-Gift-boxes-ALL-3

Hot Foiled Gift Box

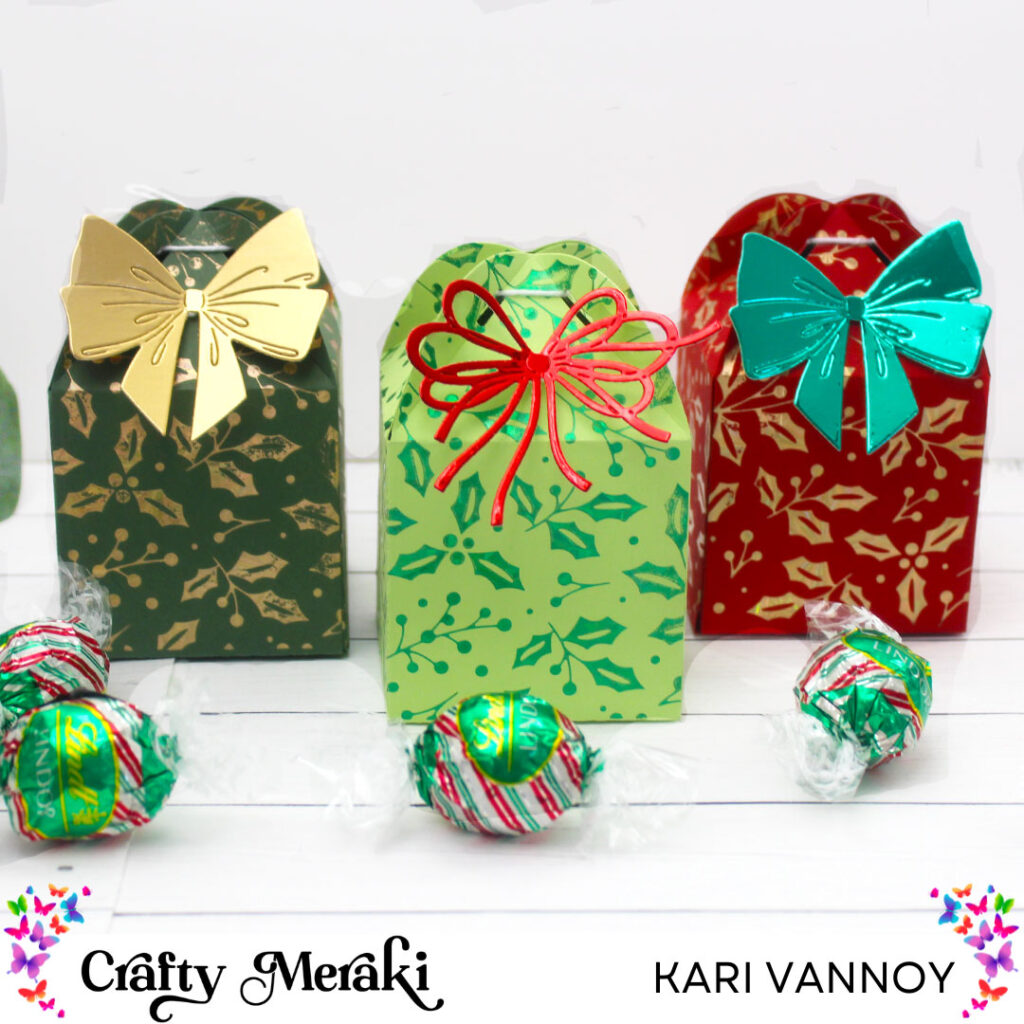
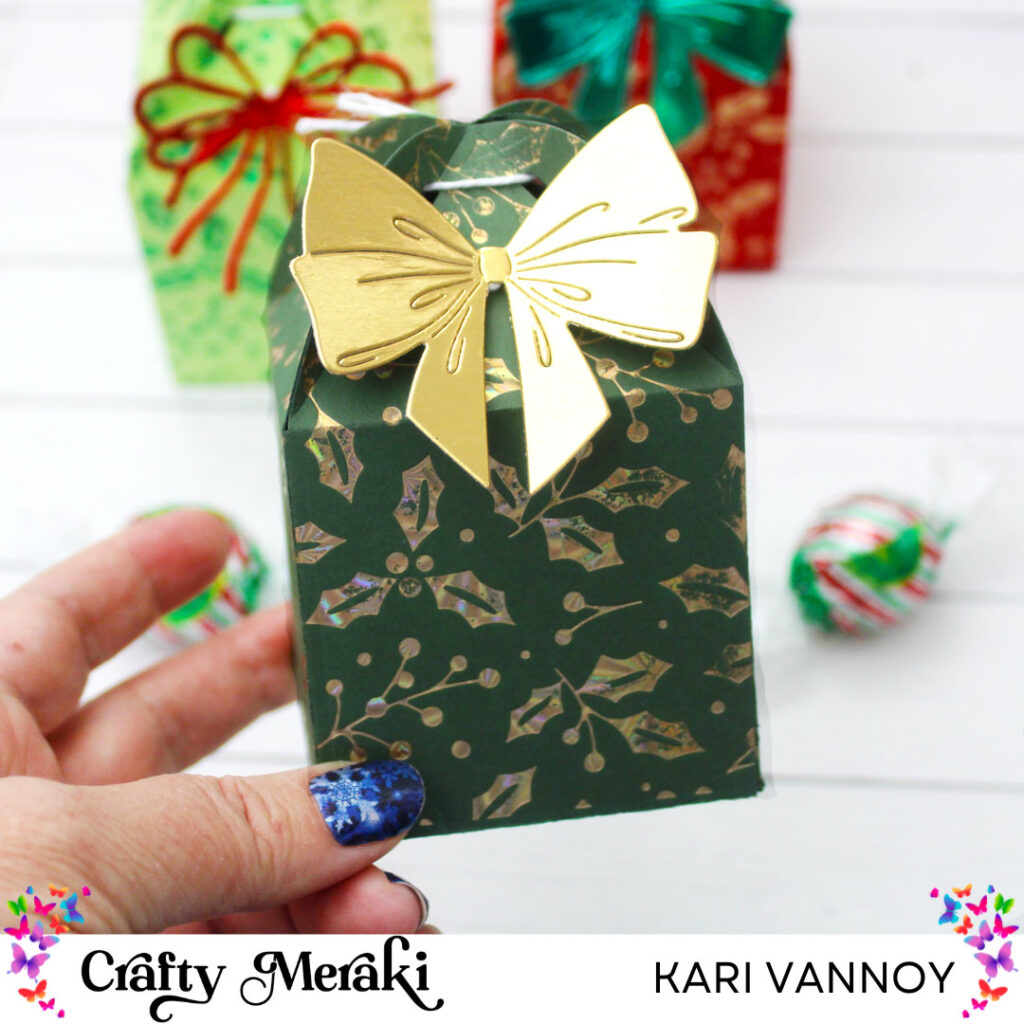
Hello! Today I have a new project and video to share…a set of Hot Foiled Gift Boxes! I am super excited to share the secret to getting this to work (because I wasn’t sure it WOULD work until I tried it!)

Watch the video here or on YouTube:

This is a project you really need to see! It is so much easier to explain it in the video, so go ahead and watch that first.

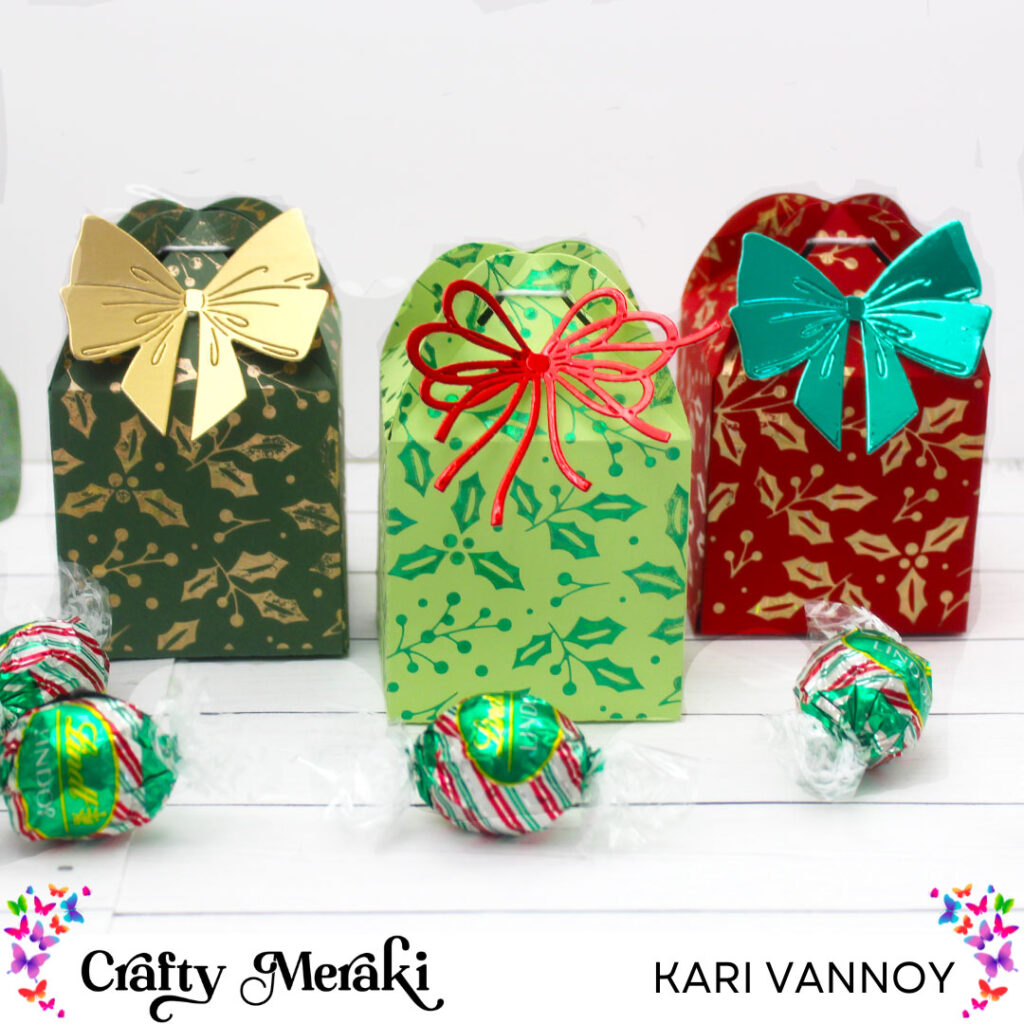
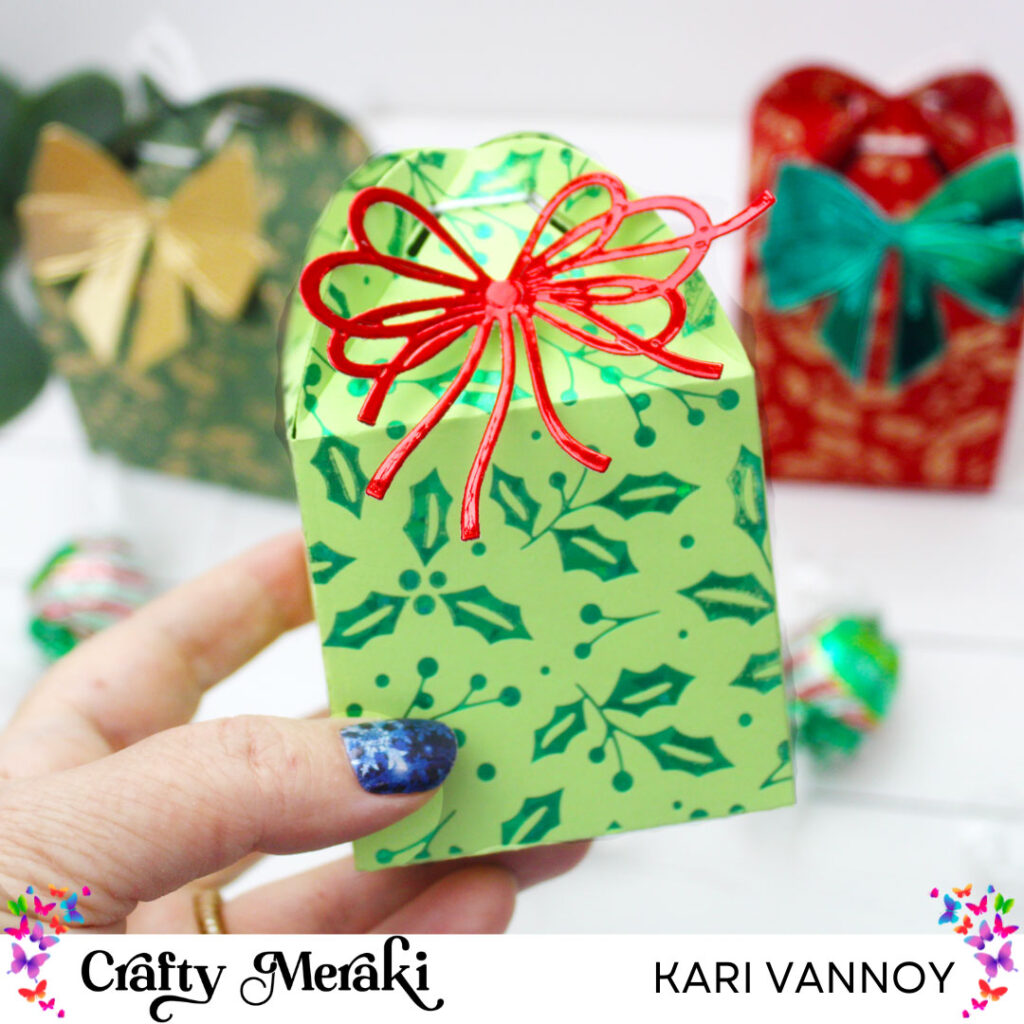
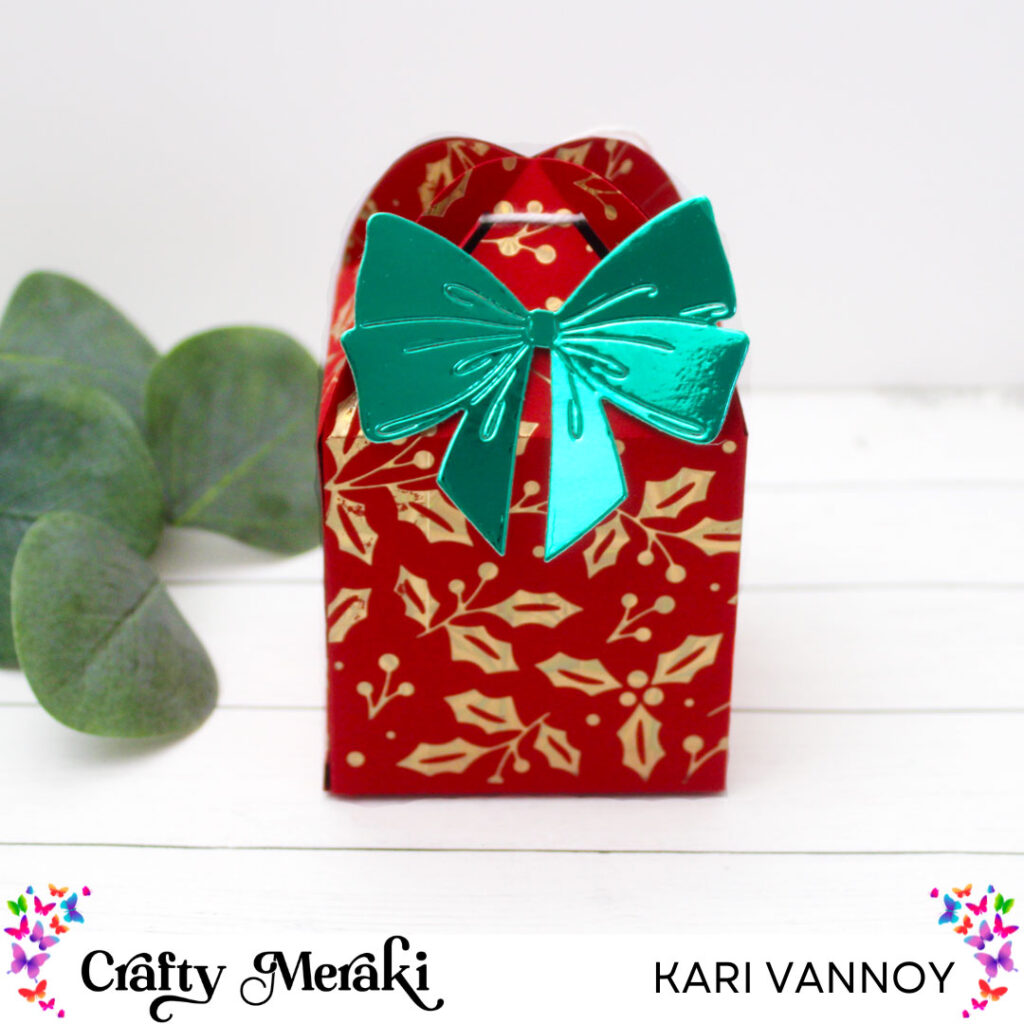
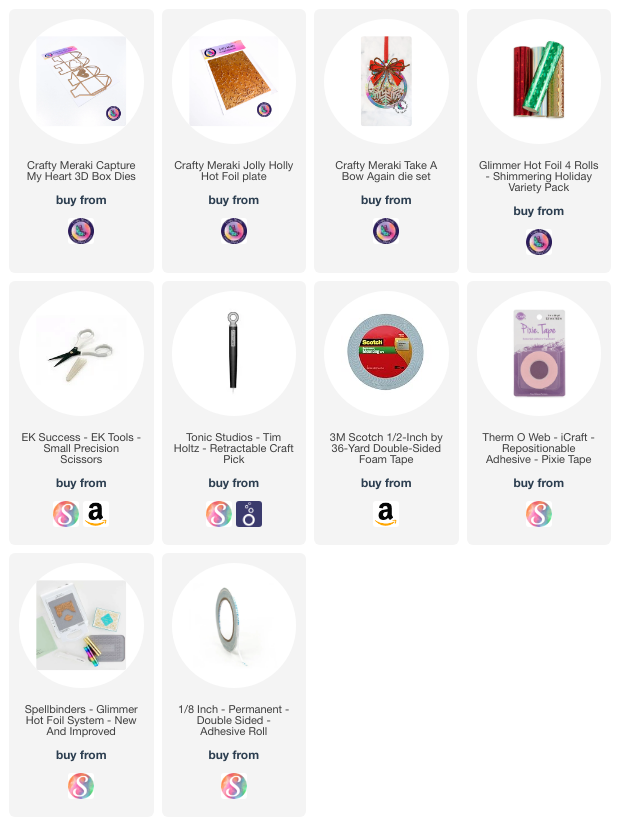
I started off with the beautiful hot foil plate called Jolly Holly from Crafty Meraki. I love this foil plate! I foiled some green onto a lighter green cardstock, some gold foil onto red cardstock AND some darker green cardstock.

Then, I put these boxes together and added a Metallic Bow from the Take A Bow Again die set. I just love how these little boxes turned out. They fit a good amount (5 or 6 easily) of Lindt Chocolates inside!

These little bejeweled boxes are so fun! I hope you can see some of the shine from the foil and the bows.

I’m often asked what supplies I use to make my cards and projects, so I’ve put together a list using affiliate links when possible. If you make a purchase with these links I may receive a small commission. These help me to keep up with blog costs and continue bringing you fun projects. Thank you so much for your support!


Thanks for stopping by, I hope you enjoyed this project! See you soon with more to share!

Comments { 0 }
YT-10-25-24-Magical-Christmas-press-plate-Gilded-Holiday-Expressions-Press-Plate-Hugs-Slimline-Tag-die-tag-1

Have you tried the BetterPress?

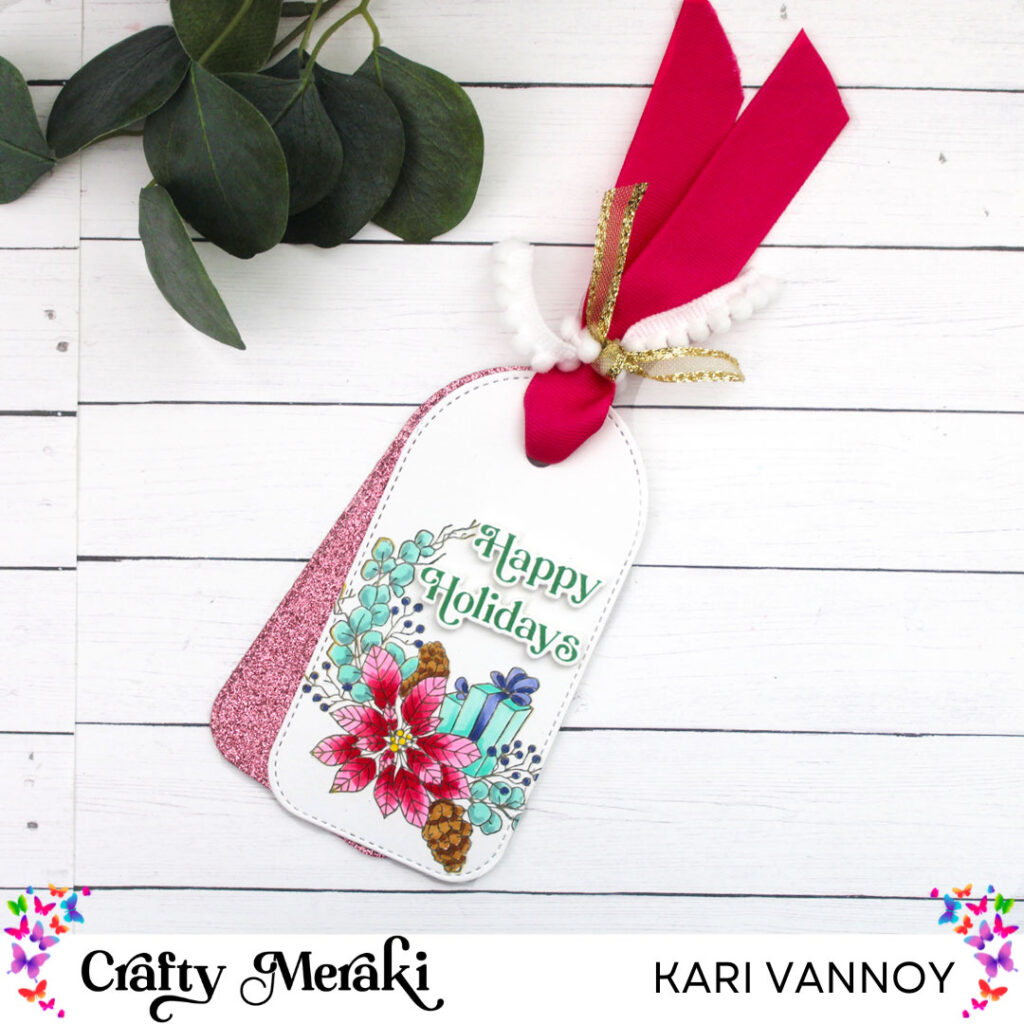
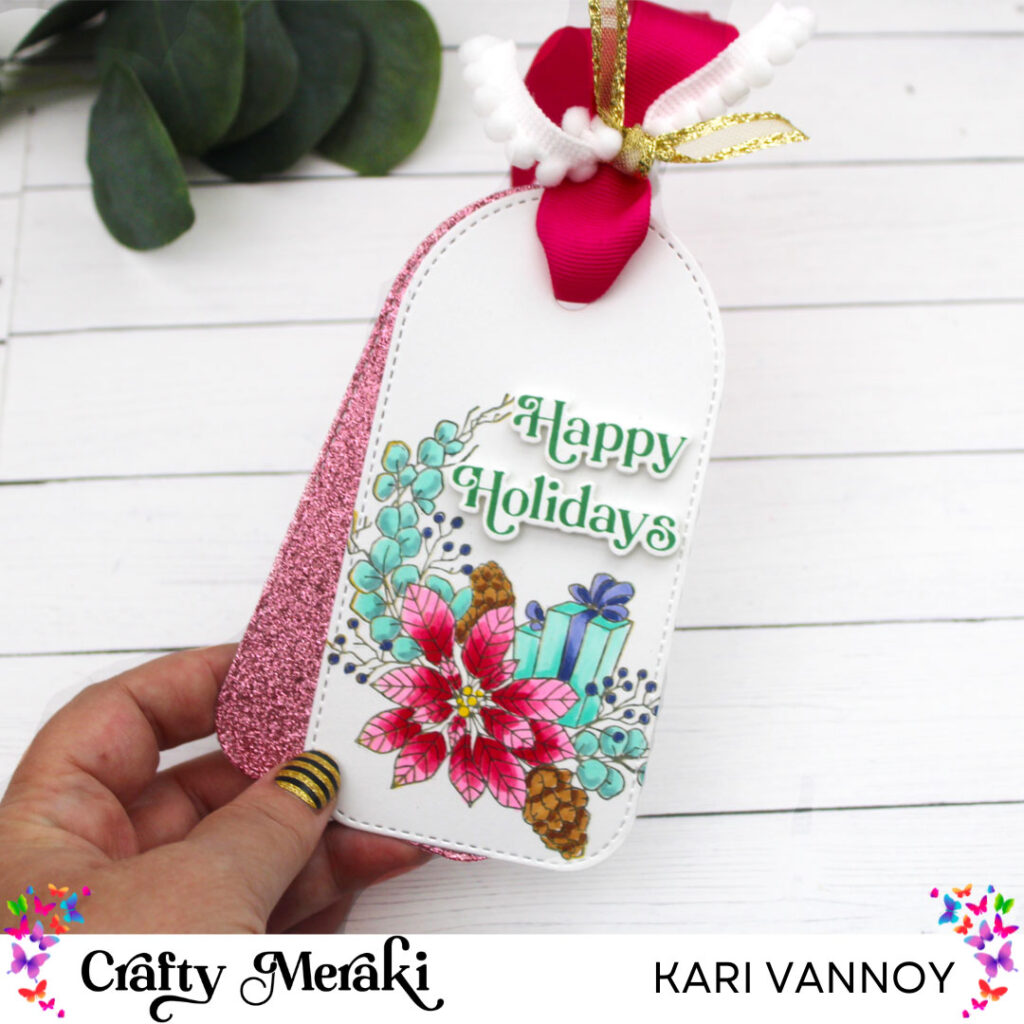
Hello, it’s Kari here with a new Christmas tag to share using the Press plates from Crafty Meraki. Have you tried the Better Press yet?

Watch the video below or on YouTube to see how fun it is to use 2 inks:

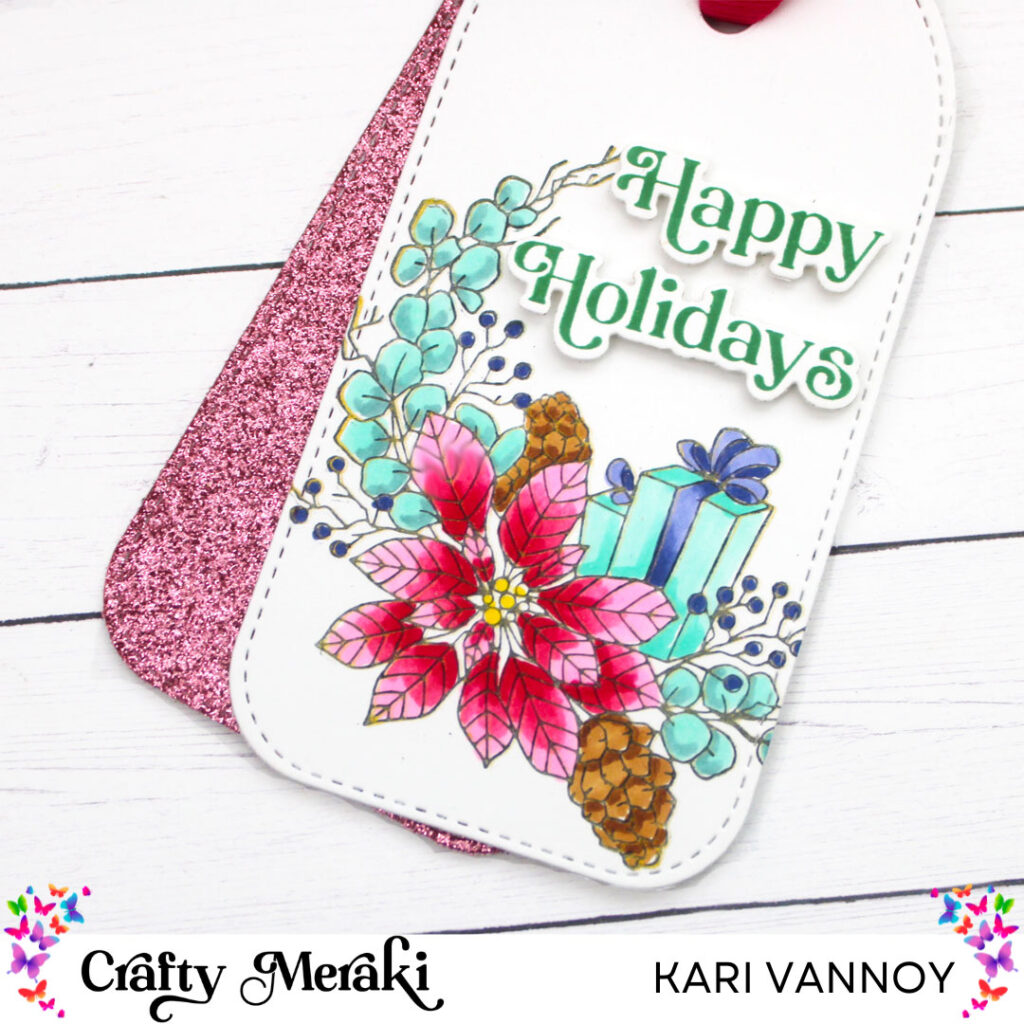
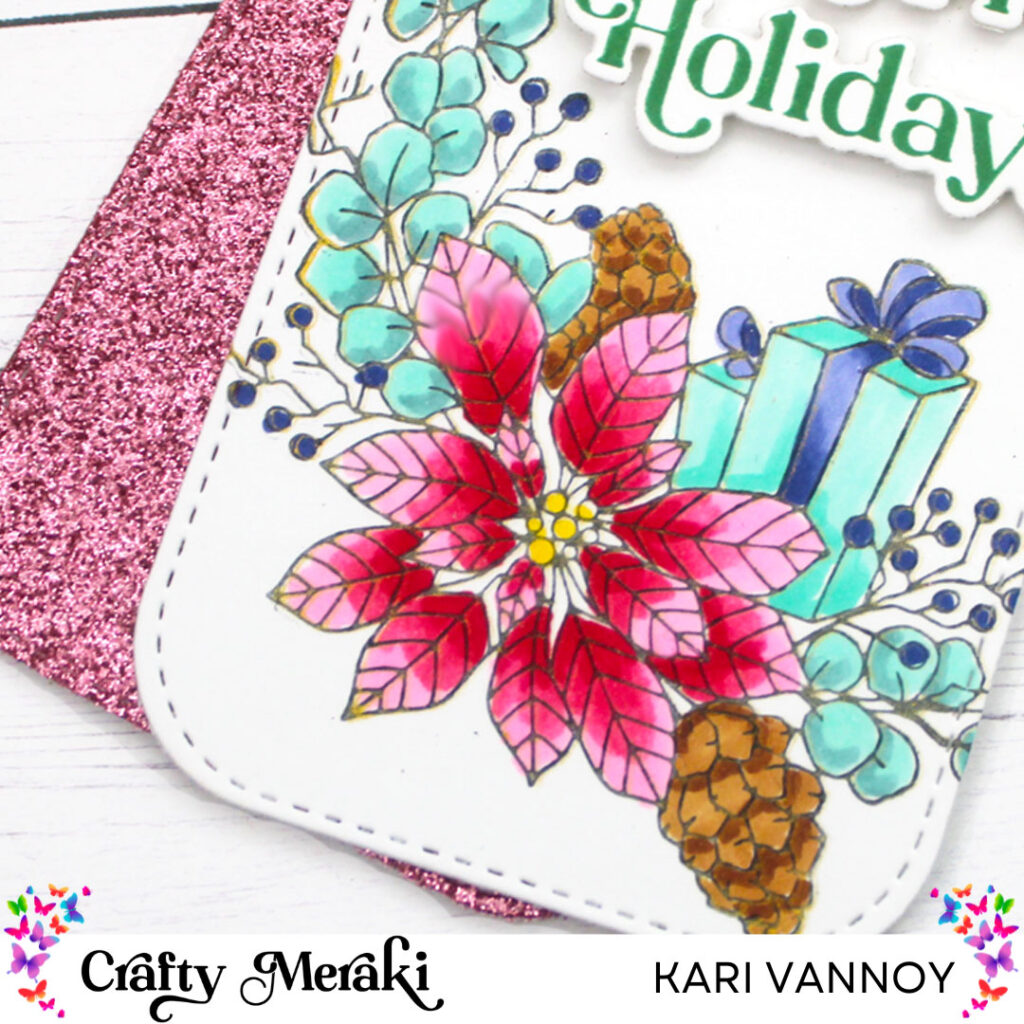
I love the new press plates and this one was so fun to color! I used GOLD ink first, then black right over the top of that. If you look closely you can see a little shadow of gold ink around the edges of the image. This is not necessary to do, but I LOVED the gold for this holiday project!

I colored it up with Copic markers and share all the details in the video. Then I cut it out with the Hugs Slimline tag die (shortening it with the technique I also share in the video).

I finished it off with some pink glitter paper and pink & gold ribbon, with a touch of pom pom yarn! Such a fun look.

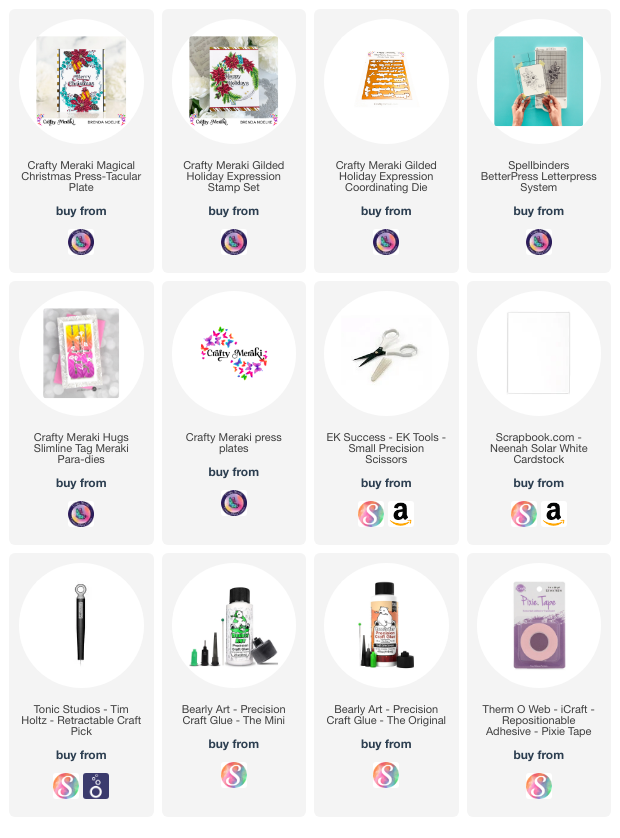
I’m often asked what supplies I use to make my cards and projects, so I’ve put together a list using affiliate links when possible. If you make a purchase with these links I may receive a small commission. These help me to keep up with blog costs and continue bringing you fun projects. Thank you so much for your support!


Hope you enjoyed this project today! I’ll be back with more soon!

Comments { 0 }
YT-7-12-24-Festive-Flora-Wreath-EAP-Craft-A-Round-Mini-Slimline-Die-Kari-V-1

Christmas in July card…so easy!

Hello! Today I’m sharing a video with the Festive Flora Wreath EAP from Crafty Meraki. This is the neatest paper…and perfect for a quick card or for when you don’t feel like coloring!

Watch the video here:

For the background I dry embossed the Craft-A-Round mini slimline die onto the background (after I had ink blended with Distress Oxide ink). It makes such a pretty soft texture!

I cut the wreath and all the sentiments at once from the Effortless Artistry Paper using the Coordinating die. It’s such a time saver!

I used a portion of the wreath on the bottom left and top right of the card panel. It’s a great way to create a different look!

I chose the sentiment “Warm Wishes” because it sure is warm here today (111 degrees!) and I thought it was appropriate. Lol. I finished off the card with the beautiful Fern Dew Drops.

I’m often asked what supplies I use to make my cards and projects, so I’ve put together a list using affiliate links when possible. If you make a purchase with these links I may receive a small commission. These help me to keep up with blog costs and continue bringing you fun projects. Thank you so much for your support!


I hope you enjoyed this project today!

Comments { 0 }
SUNSHINE-love-and-joy-alice-card-1

Holiday Wishes from Alice & Friends

Hello! Today I have a new card and video bringing you Holiday wishes from Alice & Friends! I just absolutely HAD to make a holiday card with Alice.

Watch the video below or in HD on YouTube:
For this card I brought together a few of the stamp sets from the Alice Collection: All Smiles stamp set & Storybook Alice stamp set.

I used the Alice Background layering stencils in light green and light red for the background (which I absolutely LOVE!) I should mention that this is a 3 layer stencil set, but I only used 2 layers in this card. So many other options for this stencil that I have yet to explore!

The Love & Joy is cut from the alphabets in the Woodgrain Frame Die set using glitter paper. I love a bit of that glittery shine! I used Lawn Fawn glitter paper so the glitter doesn’t come off all over the place.

The subsentiment is from the All Smiles stamp set…isn’t is a lovely sentiment?

I’m often asked what supplies I use to make my cards and projects, so I’ve put together a list using affiliate links when possible. If you make a purchase with these links I may receive a small commission. These help me to keep up with blog costs and continue bringing you fun projects. Thank you so much for your support!


Happy Holidays from all of us!

Comments { 0 }