I don’t remember much about going to girls camp when I was a youth, but one thing I DO remember is receiving a homemade pillow case with my name embroidered on it. I still have that pillowcase all these years later! So I really wanted to make pillowcases for the girls this year.
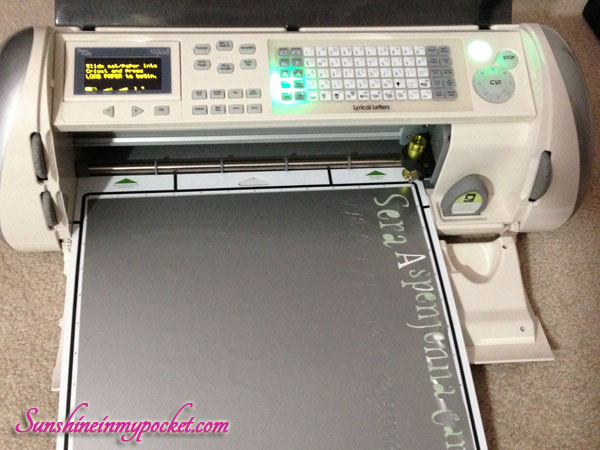
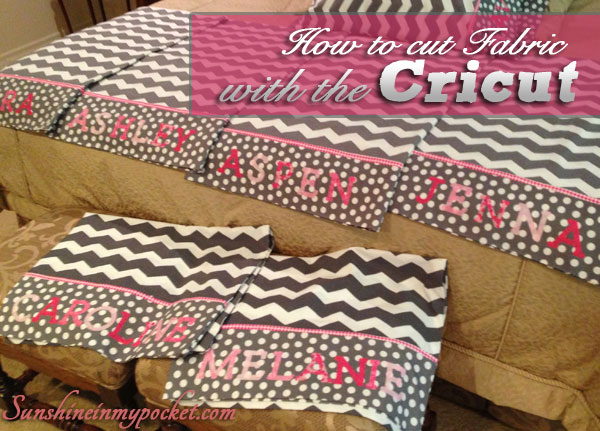
I was excited to cut names out of fabric with my Cricut and then iron them on. Here’s a quick video on how to do this: (It’s easier than I thought!)
I’ve seen other videos where they use fabric stiffener to cut the fabric. You have to paint on the stiffener and then wait for a day or so for it to completely dry. It seemed messy and took WAY too long for me!
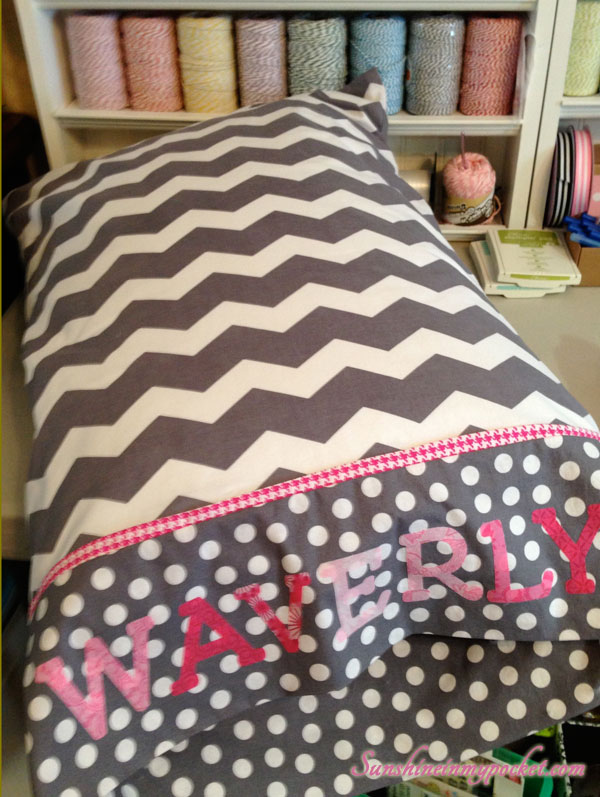
So instead, I used “Heat & Bond,” which you can find at JoAnn’s or WalMart…and it worked great!
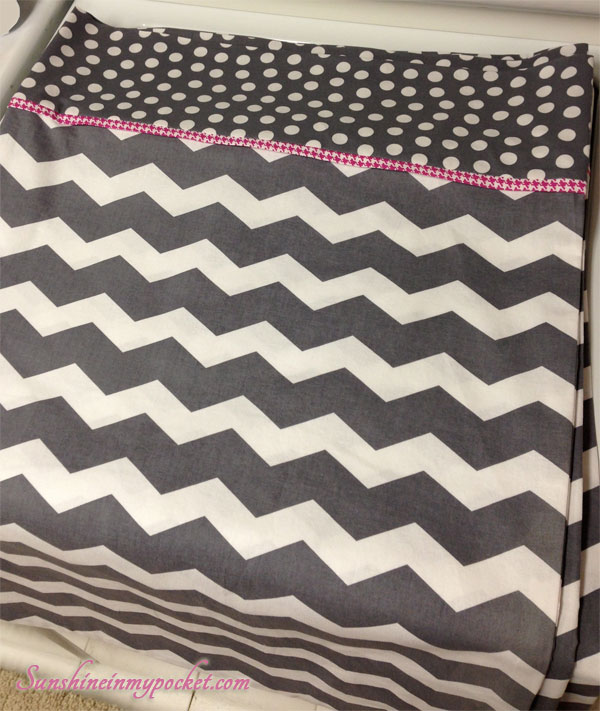
I sewed up a bunch of these pillowcases using the burrito method. There is a good tutorial here. This is a fast way to make cute pillowcases, including a sweet little piping (hot pink houndstooth on my pillowcases).
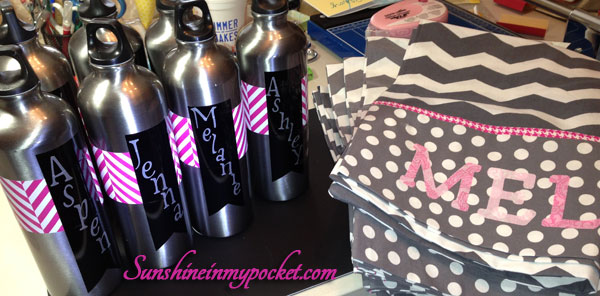
Our camp director, Krista, picked out the fabrics for these and I LOVE them! I think she has an extraordinary eye for putting fabrics together. (Thanks, Krista!)
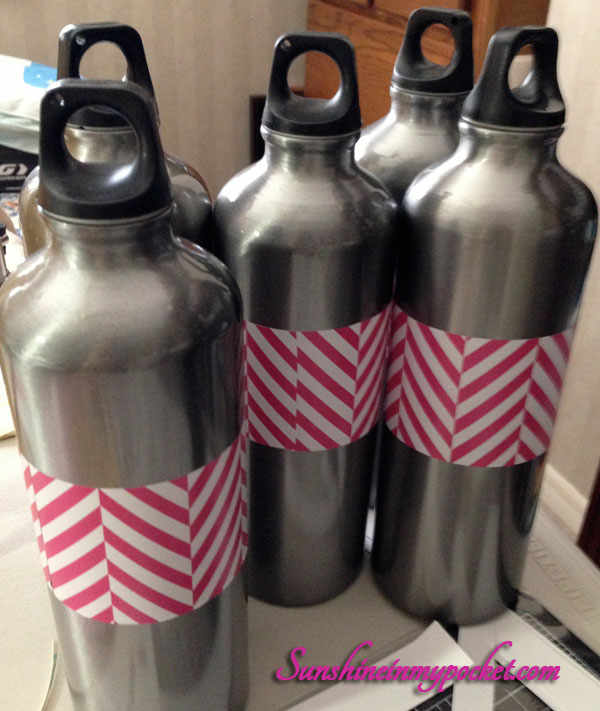
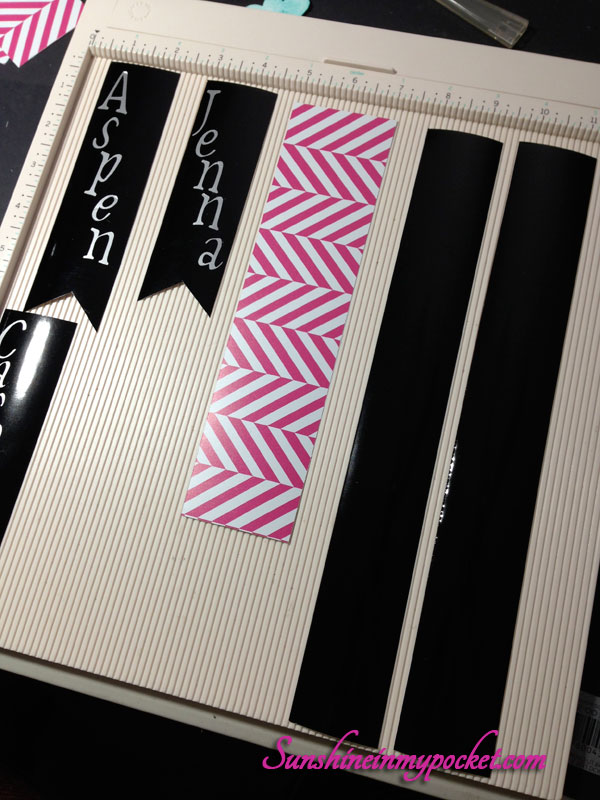
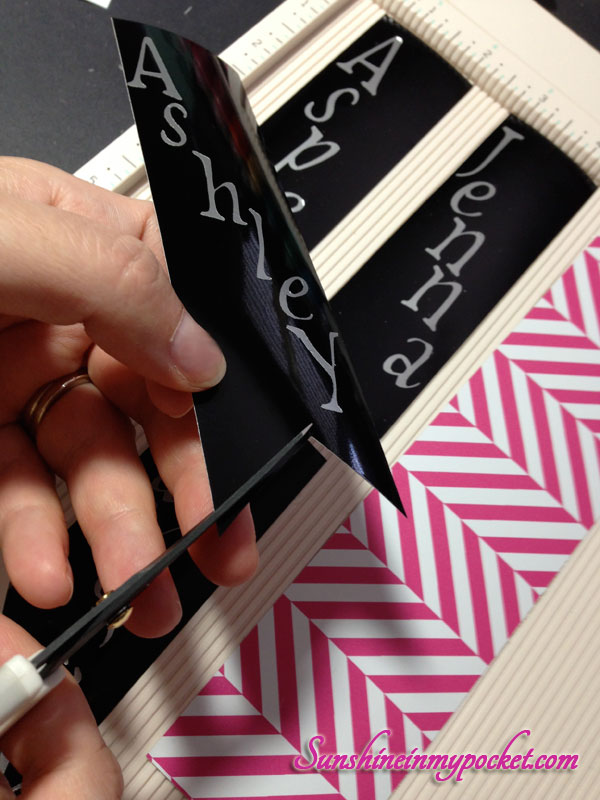
Then I cut the fabric letters using the Cricut, and ironed them on. They turned out fantastic! And I think they look great with the waterbottles for camp.

So if you have a cricut and haven’t tried cutting fabric yet, what are you waiting for? It’s easy and there is so much you can do with fabric. I am ready to work on my next fabric project. See you next time.