Archive | DIY RSS feed for this section
watermelon-sundae-with-fruit

Back to School Snack Idea (party) — How to make a Watermelon Sundae

I love Back To School sales {and} parties! I don’t have kids at home (anymore), but I can’t help shopping all the Back to School sales. I love to collect office supplies: pens, markers, folders, sheet protectors, and notebooks.

This year I was so antsy to have a Back to School party. Luckily, my 2 nephews were here visiting this past week and so guess what we did!! Yes…a Back To School Snack Party! I wanted to have a bunch of “healthy” after school snacks for the boys to try.

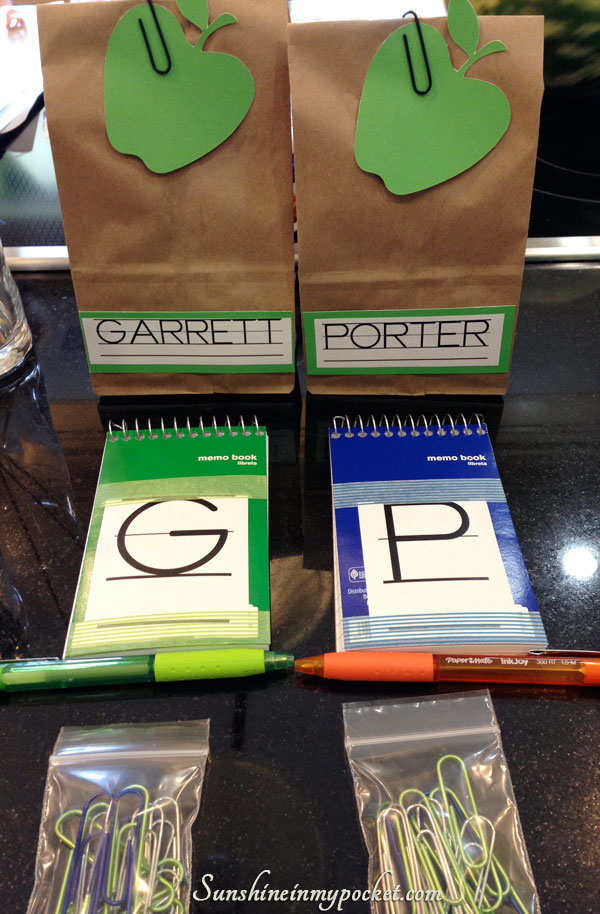
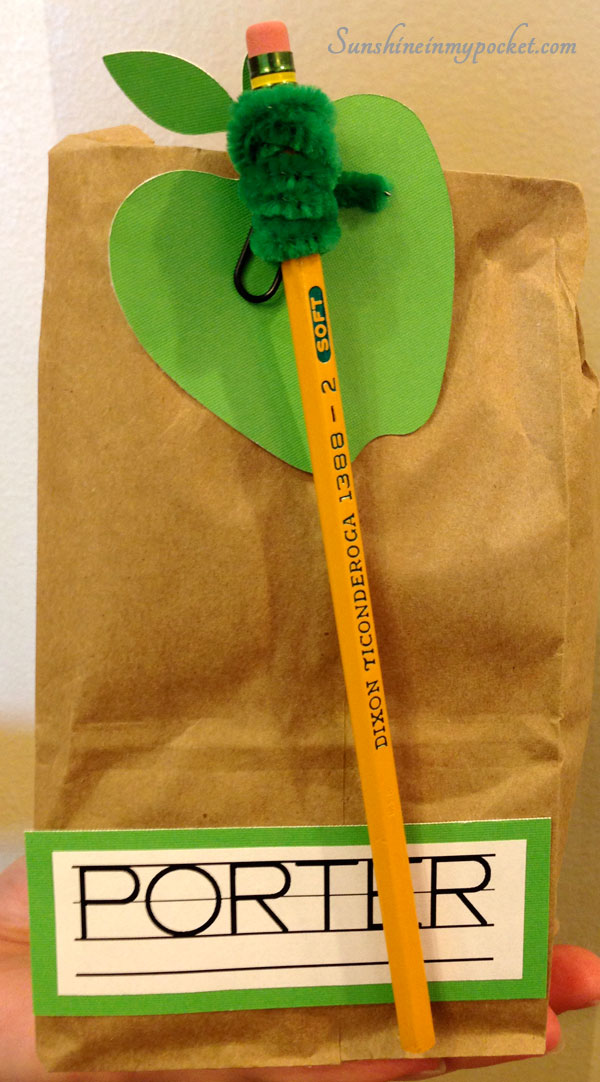
I set it up with some school lunch bags, snacks, pens, paperclips and highlighters. I cut those cute little apples out with the Cricut Sampler cartridge. We had to have green apples because that’s G’s favorite color!! (ok, actually it’s LIGHT CORE GREEN, but this lime green is close enough, right? He gets that color from one of his favorite video games: Skylanders. I got educated about that game this week!)

back-to-school-bags

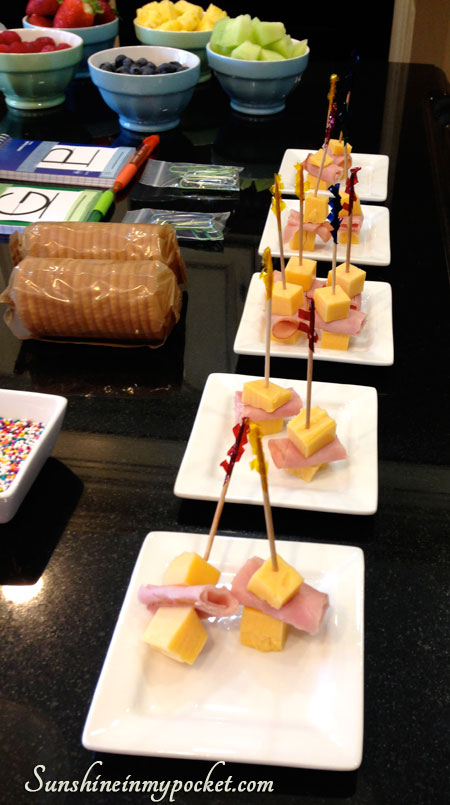
We had plenty of fruit and crackers. And I had the boys put together their own cheese and ham on fancy toothpicks. (They LOVED this part). Kids really do love to be involved and I think they enjoy their snacks even more if they can take a little ownership.

the-snack-table

After putting together their ham and cheese picks, I had another treat up my sleeve. Something that looks so tasty, but is also good for you!

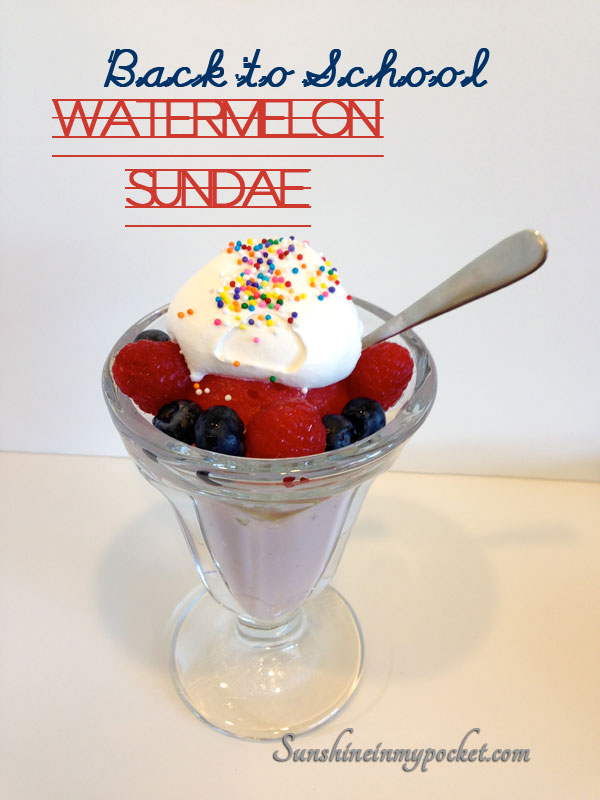
Here’s what I came up with:

watermelon-sundaes

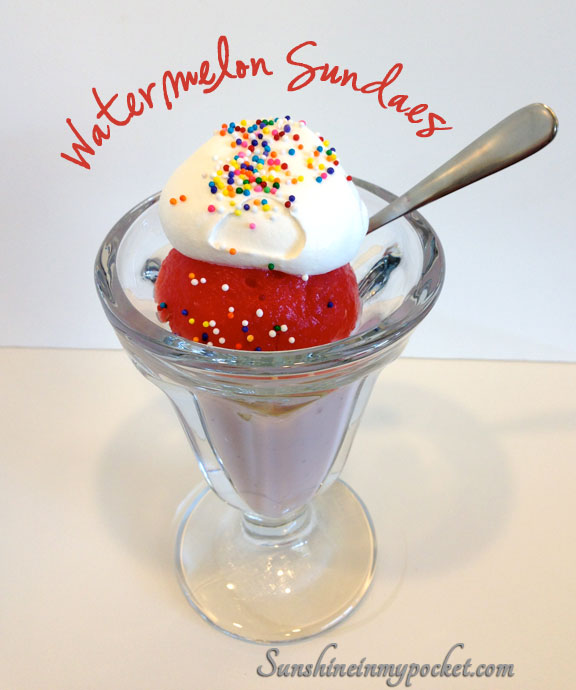
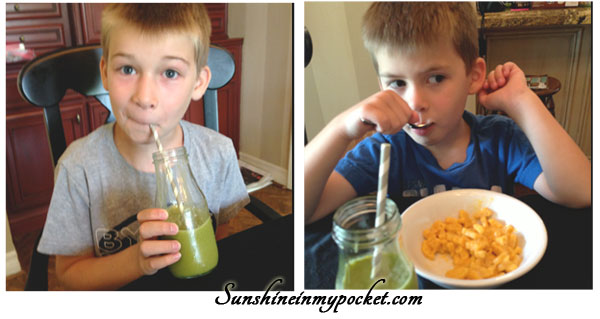
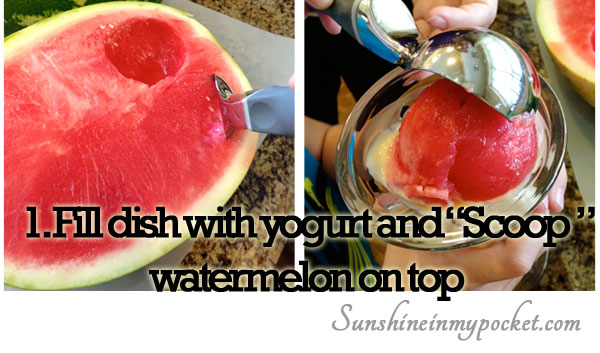
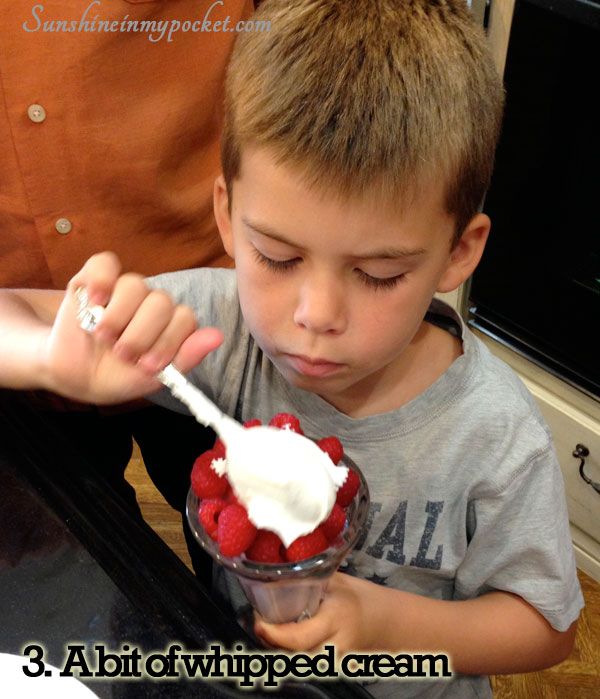
And OH, these were quite the hit! They are fabulously easy to make with the kids and SO MUCH FUN! I had these sundae glasses already, but I’ve seen them at the dollar store recently. 😉 My nephews helped to build their own watermelon sundae:

step-one-fill-with-yogurt-and-scoop-watermelon-on-top

step-2-add-fruit

step-3-a-bit-of-whipped-cream

step-4-don't-forget-the-sprinkles

porter-and-garrett-with-sundae

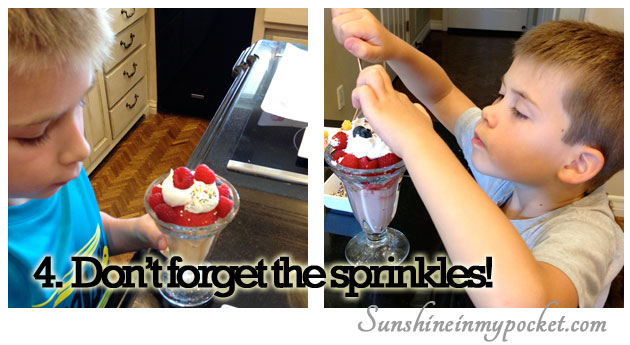
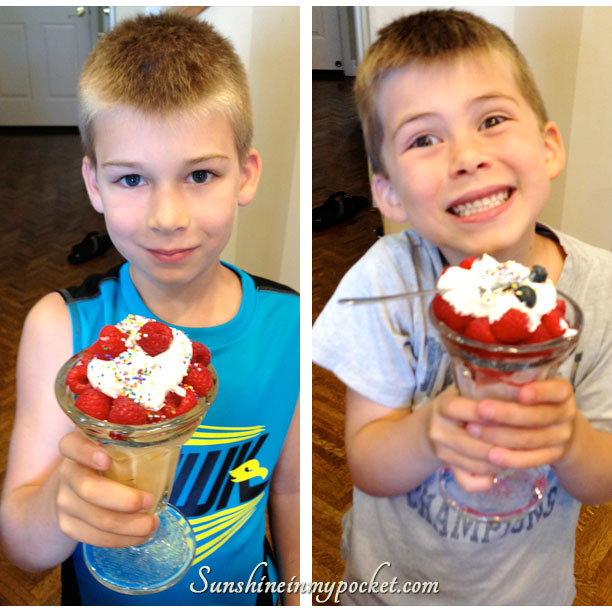
My nephews ate this up! But we didn’t stop there…

fruit-skewers

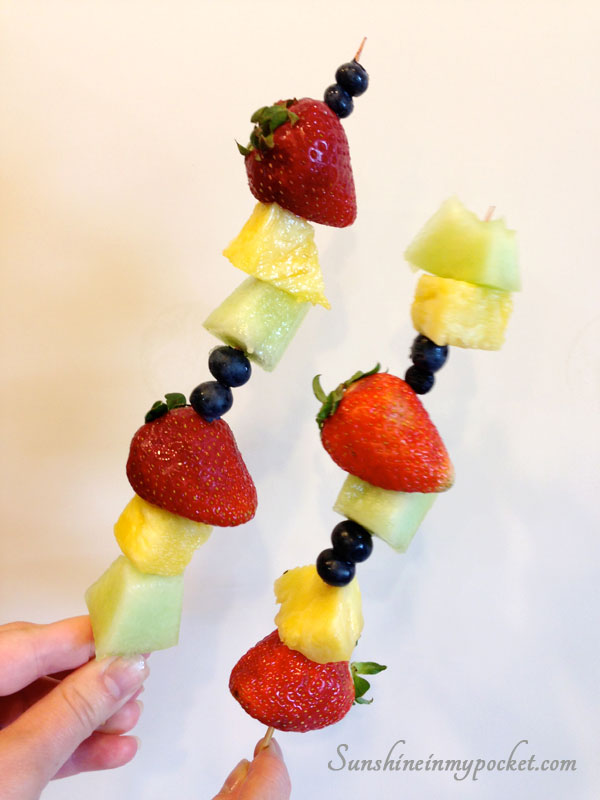
We made fruit skewers…G preferred strawberries and blueberries for this one.

garretts-fruit-skewer

garrett-with-notebook

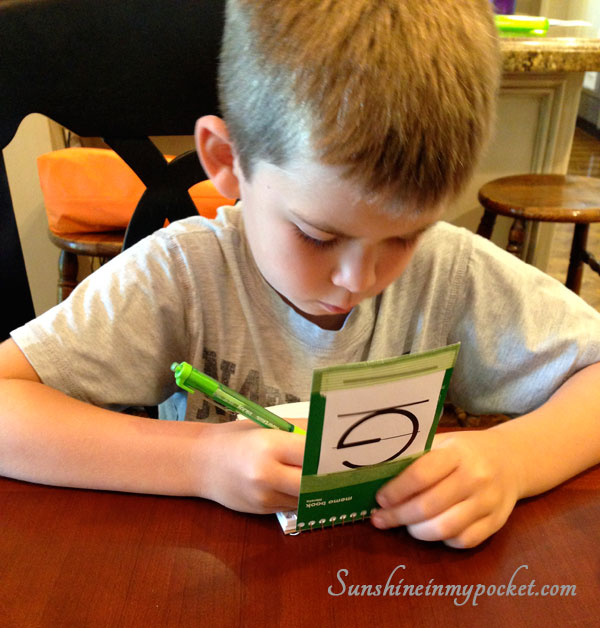
And then the boys wrote in their notebooks about their favorite after school snacks. G decided to DRAW pictures of his favorite snacks. First he drew a watermelon sundae. Then he drew ham and cheese picks. And then he drew this:

garretts-drawing

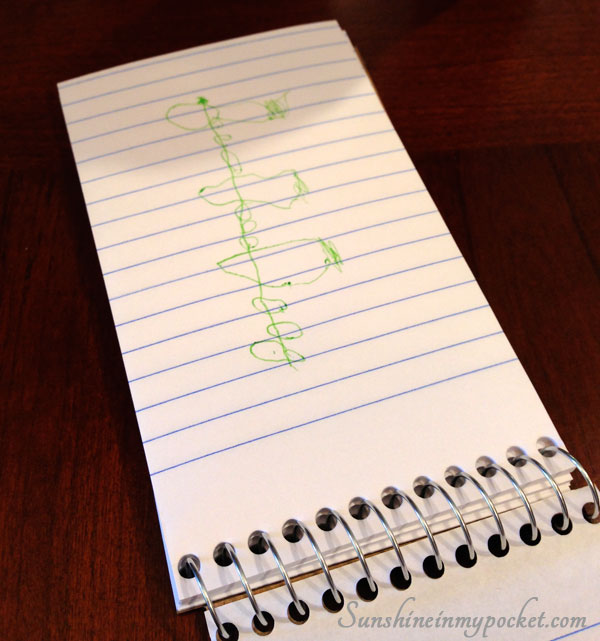
That’s his fruit skewer: see the strawberries and blueberries?! How much do I love that my nephews loved all the after-school snacks we had? {quite a bit!}

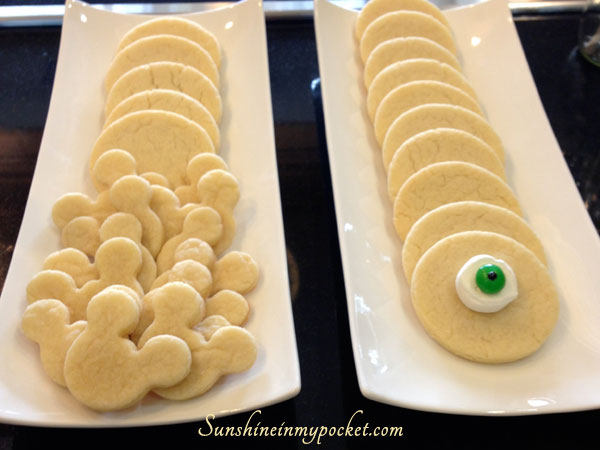
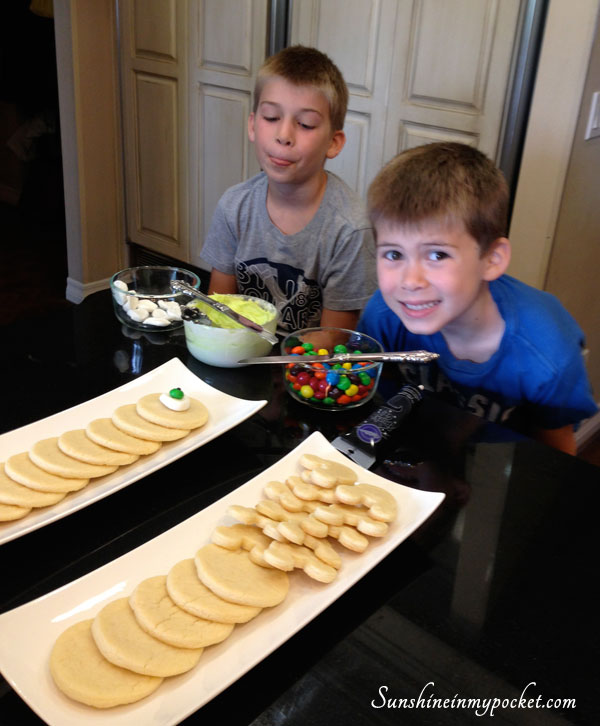
And to top it off, they finished up their “bookworms” made of pipe cleaners and attached to a pencil.

porters-bag-and-pencil

What a great snack party!

Talk to your kids about their favorite snacks. What can they help assemble for their own snacks? It makes Back to School so fun! Happy school year!

watermelon-sundae-with-fruit

Linking up to the “Let’s Hear It For the Boy” link party here! (Let’s face it…I’m a little excited that I have a blog post that will work for this party. If you follow me, you know my blog posts are usually pink and girly!)

Comments { 3 }
sipping-and-eating

Monsters University Summer Snack Party

monsters-u-snack-party

The movies this summer have been so fun for my nephews! They LOVED Monsters University and so we decided to have a snack party with Mike and Sully. 🙂 Later, my nephews saw Despicable Me 2 and I asked which movie they liked better? They said unanimously: “Despicable Me 2!!” (It’s a good thing we had this Monsters University snack party first.)

This is such a fun and easy celebration to throw together. We found Mac & Cheese in monster shapes:

monsters-mac-and-cheese

And while that was cooking, the boys wanted to practice making monster eyes:

making-eyes

We used marshmallows (cut into slices), m&ms (peanut butter), and black decorating gel. These would make the “Mike Wasowski” eyes for the sugar cookies.

green-smoothie

We blended up a quick (and rather healthy) green “Wasowski” Smoothie to drink with our Mac & Cheese.  Mmmmm…. These are so easy to make with a little spinach, frozen pineapple and mango, ice, water, and banana.

sipping-and-eating

And then…we decorated the Wasowski Cookies! I made these sugar cookies earlier and cut them into circles and Mickey Mouse shapes. The boys were so creative decorating these.

the-cookies

ready-to-decorate

decorating-cookies

G loves his Uncle Lann! I love that picture of G giving a hug…he so was excited for this part! We all joined in on the cookie decorating fun.

three-monster-cookies

When we finished decorating all the cookies, we decided to take some over to my nephews C and L, who live in Phoenix. They just had a new baby brother! (Who doesn’t need some Wasowski cookies at a time like this?!)

cookies-all-lined-up

If you have little boys/nephews/cousins/neighbors…get them together for a little monster snack party and cookie decorating fun. I hope you have just as much fun as we did!

Comments { 0 }
four-pillowcases

Cutting Fabric with the Cricut (and easy pillowcases)

how-to-cut-fabric-with-the-cricut

I don’t remember much about going to girls camp when I was a youth, but one thing I DO remember is receiving a homemade pillow case with my name embroidered on it. I still have that pillowcase all these years later! So I really wanted to make pillowcases for the girls this year.

I was excited to cut names out of fabric with my Cricut and then iron them on. Here’s a quick video on how to do this: (It’s easier than I thought!)

I’ve seen other videos where they use fabric stiffener to cut the fabric. You have to paint on the stiffener and then wait for a day or so for it to completely dry. It seemed messy and took WAY too long for me!

So instead, I used “Heat & Bond,” which you can find at JoAnn’s or WalMart…and it worked great!

bunch-of-pillowcases

I sewed up a bunch of these pillowcases using the burrito method. There is a good tutorial here. This is a fast way to make cute pillowcases, including a sweet little piping (hot pink houndstooth on my pillowcases).

Our camp director, Krista, picked out the fabrics for these and I LOVE them! I think she has an extraordinary eye for putting fabrics together. (Thanks, Krista!)

Then I cut the fabric letters using the Cricut, and ironed them on. They turned out fantastic! And I think they look great with the waterbottles for camp.

finished-pillowcase

four-pillowcases

So if you have a cricut and haven’t tried cutting fabric yet, what are you waiting for? It’s easy and there is so much you can do with fabric. I am ready to work on my next fabric project. See you next time.

Comments { 0 }
getting-boxed-up

Personalized Water Bottles

personalized-water-bottles

Here’s another goodie I designed and created for Girls Camp! The first thing I think about for camping is WATER. And I was in search of the perfect water bottle to give to the girls. (The camp director wanted their NAMES on the bottles…and you can bet I took on the challenge.)

It was fortunate for me that I found these metallic water bottles at the Dollar Store! I had to visit 6 dollar stores in order to find enough of them! Each store had a few, or none…and since I am not the type to give up, I just kept on going to more stores until I found matching bottles. (I was happy to finally find victory!)

Since our colors were grey, pink and chevron, I thought the metallic work work out perfectly. And then I found the pink herringbone vinyl (which is sort of like chevron, right?) and I just knew it was a great match.

put-pink-vinyl-on-first

To make these personalized water bottles, first adhere the pink herringbone vinyl.

Second, trim the black shiny vinyl (I cut it into 1 1/2″ strips)

Third, cut the silver metallic vinyl letters with a die cut machine. (I used my Cricut and the Lyrical Letters font)

Adhere the metallic letters to the black vinyl strips. And cut them down into flags after you put on the letters.

cut-names-with-cricut

gather-vinyl-needed

cut-black-vinyl-with-flag-edge

Here’s a tip for cutting the perfect flag end: Cut the middle of the flag first, up about an inch. Then, cut from the bottom left side up to the cut mark in the middle…and then cut from the bottom right side up to the cut mark in the middle. Voila! A perfect flag every time.

Last, adhere the flag with letters to the water bottles with the pink herringbone already attached.

finished-water-bottles

I think they turned out pretty cute, don’t you? (And there’s a sneak peek at the pillowcases I made…coming in another post!)

Bonus: here’s a sweet little (easy) gift sack I put together for a treat:

lunch-sack-with-ribbon-and-coffee-filter

It’s just a white lunch sack (small size) with chevron ribbon, white coffee filter flower, and clothes pin with washi tape! Sometimes you need a sweet little gift that takes just minutes to put together. 😉 {Inside are the best animal cracker snack bags.}

getting-boxed-up

And here’s the start of getting things all boxed up. I hope they like them! And here’s what I love: acting as camp support (ie: making all these little gifts and helps) without actually GOING to camp. (In fact, I will be in California the whole time they are at camp).

But I do love still being a small part of the celebration. Happy day!

Now I hope you are not tired of pink and girly YET, I have another camp post coming soon!

Comments { 0 }
cones-in-a-box

Easy Paper Cones

I love to make these paper cones as a container for small gifts and treats. Last Christmas, I made them in green and red and filled them with homemade caramels. For my daughter’s Sweet 16 Birthday party I made them in black and white and filled them with popcorn. And more recently I made them in a sunshine yellow color to deliver Lemon Shortbread Cookies and Hugs.

cones-in-a-box

They are simple to make and you only need 12 x 12 paper (I used paper from Michaels), red sticky tape (also from Michaels), ribbon of your choice, and a hole punch. (I also sometimes fill the bottom of the cones with shredded paper)

At first when I began making these, I couldn’t get them to look right. They were a little skewed and a little off-center. But when I took a class on piping chocolate (I know, strange)…the LIGHT WENT ON!! We made a little triangle out of parchment paper to fill with chocolate and pipe onto a plate. And that’s when I figured out I could apply the same technique to these paper cones!

First, cut the 12 x 12 paper in half Diagonally. Then tape and roll up, matching up the corners. I made a quick video to explain better:

So just take a few minutes to watch the video and you’ll be whipping up perfect paper cones in no time!

The great thing about these cones is that you can HANG them from a door knob if the recipient is not home. What fun to come home to a little treat hanging on your door! (If it’s hot outside, don’t put in anything that would melt)

And if you are the recipient of a pretty paper cone, why not enjoy the contents, re-fill with a treat of your choice and pass it on to another friend? The great Paper Cone Pass-It-On Project. That’s what we’ll call it. 🙂

Here’s some ideas of what to fill your paper cone with:

Popcorn
Caramels
Cookies
Hugs & Kisses
Hershey’s Miniatures
Small wrapped candies
Miniature Lotion or Hand Sanitizer
Nail Polishes, Nail Files
Gift Cards and Treats
Movie Passes
Flowers
Notes of Appreciation or Encouragement

The list goes on…What would you put in your paper cone?

cone-with-bee-card

Comments { 2 }