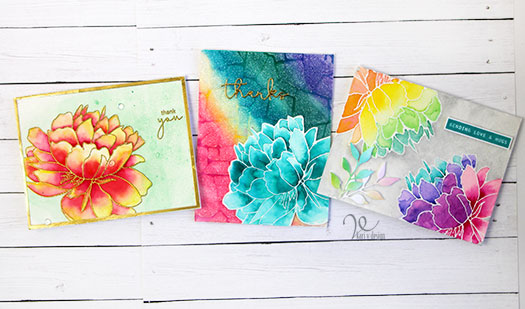
Hello! Today I’m sharing a project I’ve been working on for a while as a part of my AECP certification. I took a course from Nina Marie Trapini called “Polychromatic.” And, since mother’s day is coming right up, I thought I’d combine these ideas!
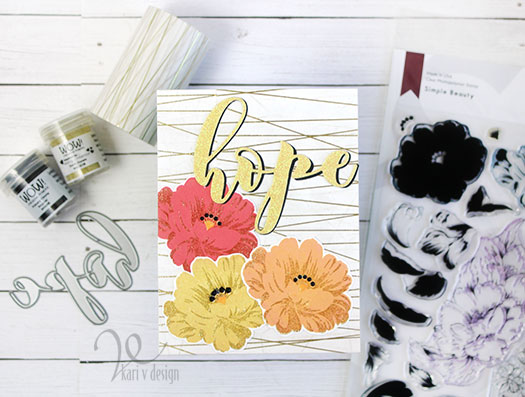
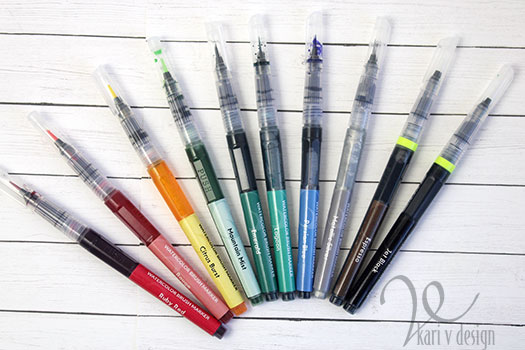
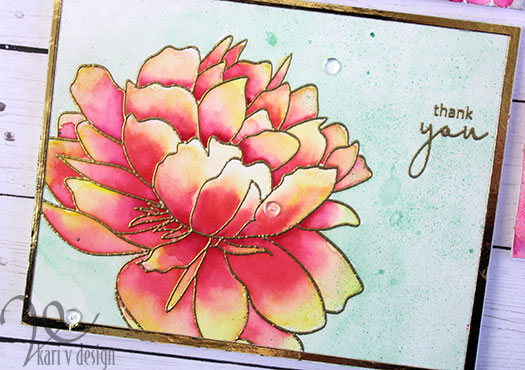
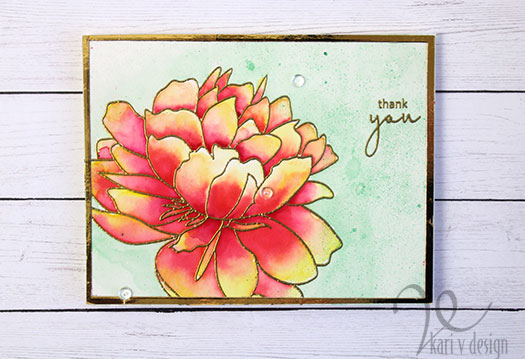
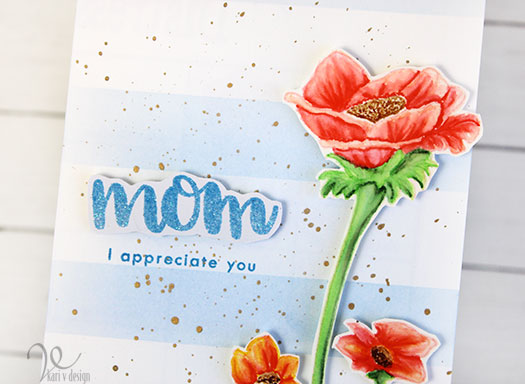
Part of the challenge was to color an image with a light or similar color ink to the image you are coloring. So I stamped out my images with a very light pink ink (rose blush from Altenew), then I colored them up with Zig Clean Color Real Brush Markers in pinks, reds, yellows and oranges.
It’s almost like no-line coloring! I think they turned out so nice. I used bristol smooth paper to stamp the images, then cut them out.
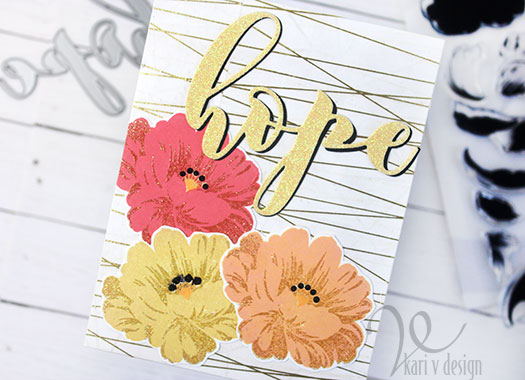
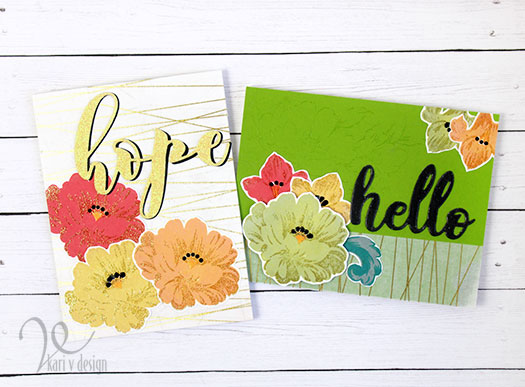
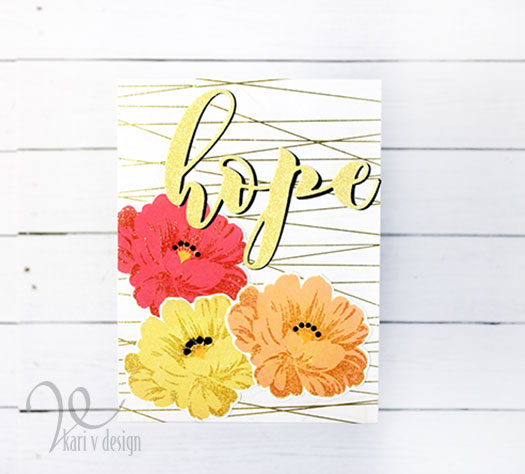
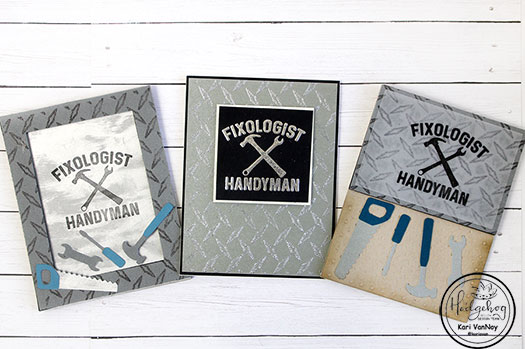
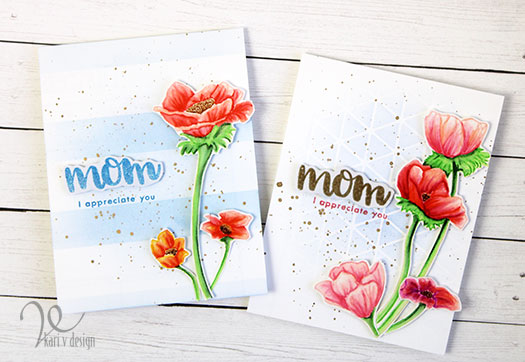
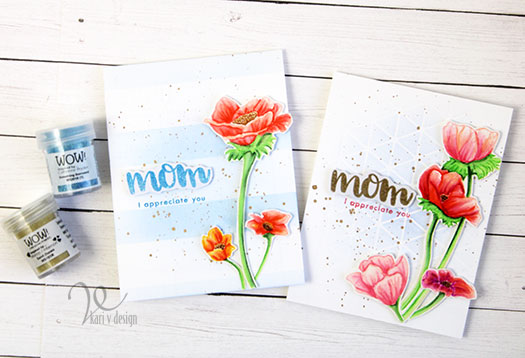
I had plenty of images to create two cards. I used the sentiment from the same set (masking off a portion so I only used “I appreciate you”) and added a mom sentiment that was heat embossed in gold and blue sparkle embossing powders.
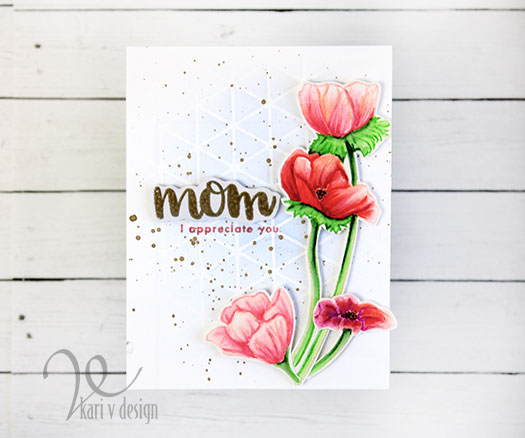
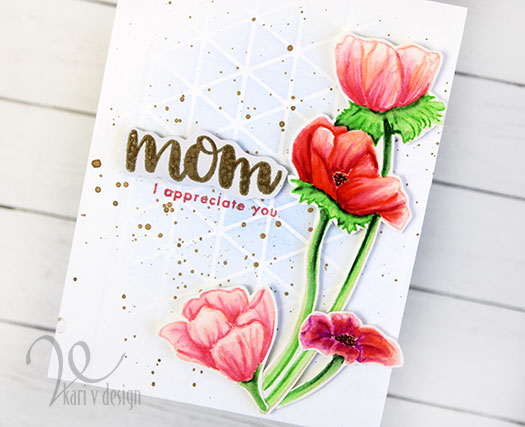
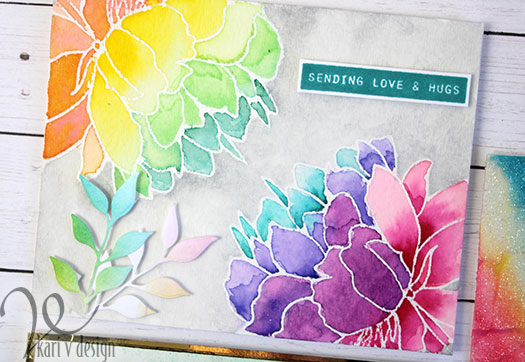
I inked up this background using a die cut as a stencil…this adds a bit of geometric to the floral card.
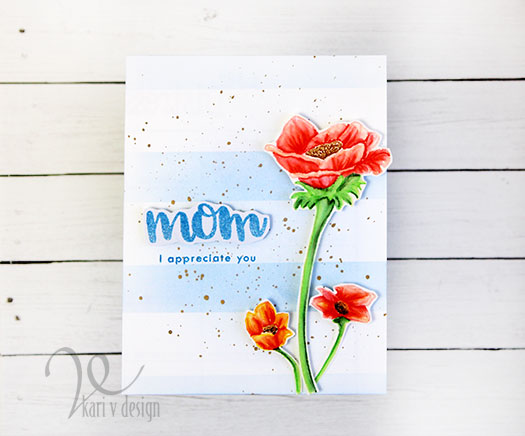
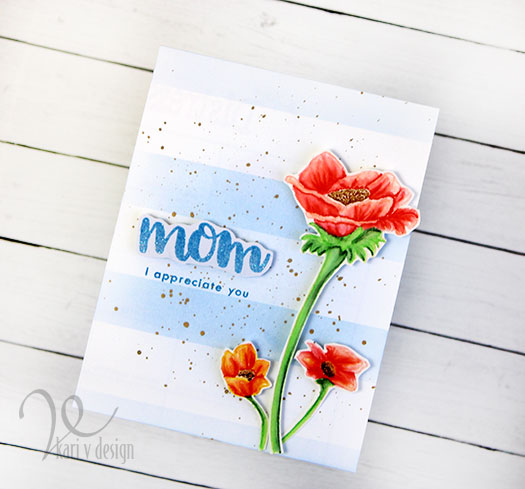
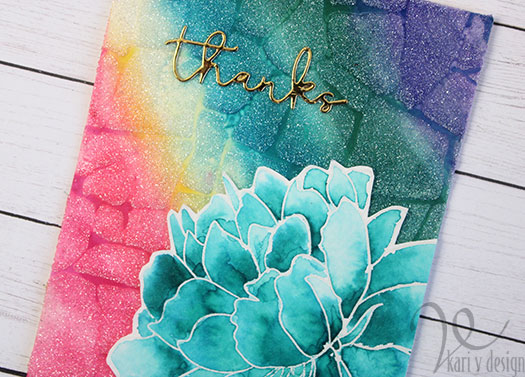
For this second card, I taped off the background using post-it tape and inked on a soft blue stripe. Gold splatters add a happy touch. I was inspired by the stripes and colors of the current Altenew Challenge so I will also enter this in the challenge for the month. See the beautiful blues, yellows and oranges?!
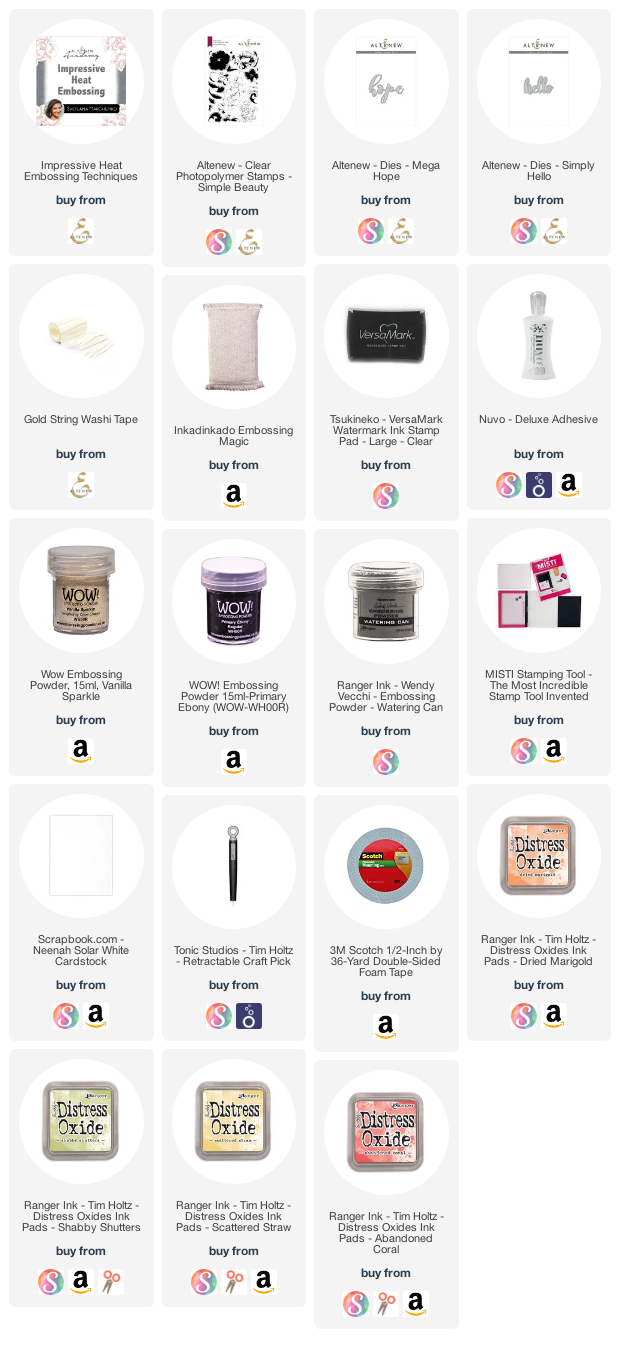
I’m often asked what supplies I use to make my cards and projects, so I’ve put together a list using affiliate links when possible. If you make a purchase with these links I may receive a small commission. These help me to keep up with blog costs and continue bringing you fun projects. Thank you so much for your support!
I hope you enjoyed these projects today! Have you made some mother’s day cards yet?