About KariV

Author Archive | KariV
finished-project-with-my-reflection

Altered Project

Hello! Today I am sharing something a little different than I normally share, but a project I’ve been thinking about putting together for a really long time. This is a part of my FINAL for Level 2 of Altenew Educator Certification Program.

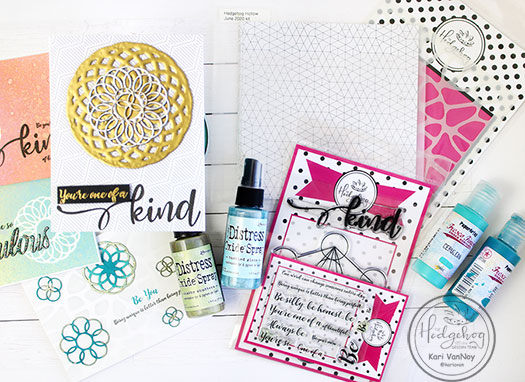
The challenge for this portion was to create an Altered Item/Upcycled Project. I have been wanting to create a show piece for my craft studio display, so I gathered together some old items, and some items I’ve been collecting from packaging: some corregated cardboard, paper shred, shipping paper, and an old dark shadow box frame.

dark frame, cardboard and packing paper

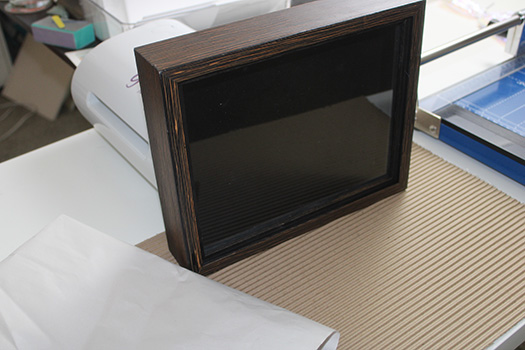
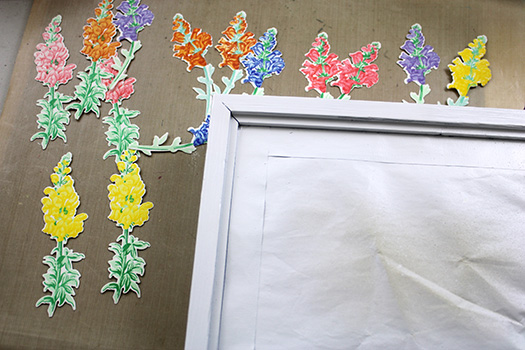
I took the packing paper and taped it over the glass to protect the glass from getting any paint on it. Then I spray painted multiple layers of white paint on the frame.

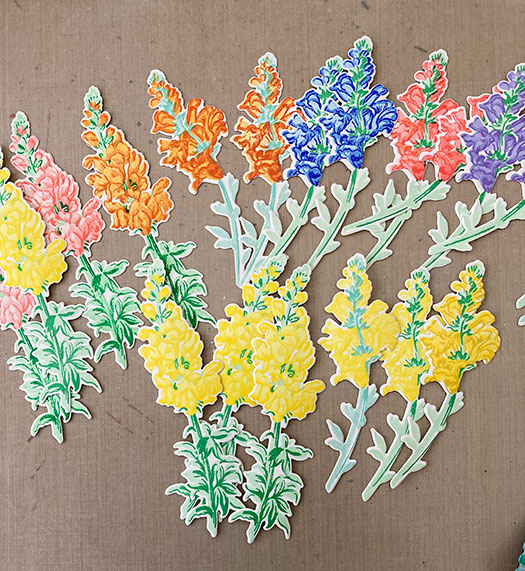
While that was drying I stamped multiple layered Snapdragon stamps from this Altenew stamp set.

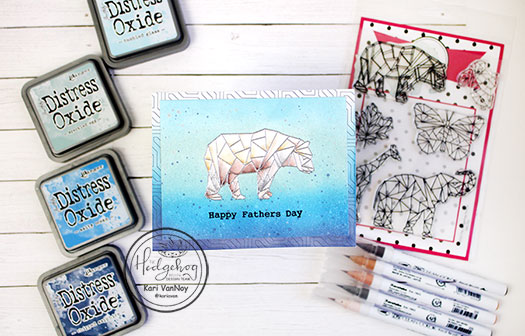
I also took the corregated cardboard and used some Altenew spray and Distress Oxide sprays to get a greenish-blue interesting background with plenty of texture! Corregated cardboard makes for an unexpected backdrop. I found some old paper shred in various shades of green and then my project really started to come together!

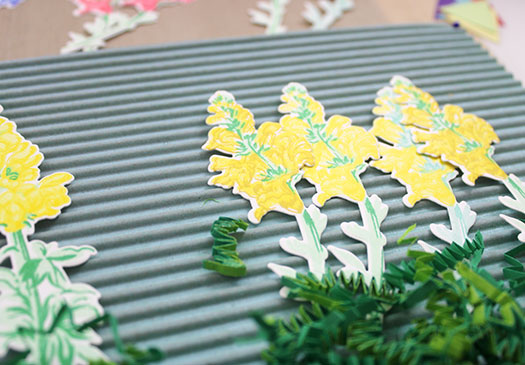
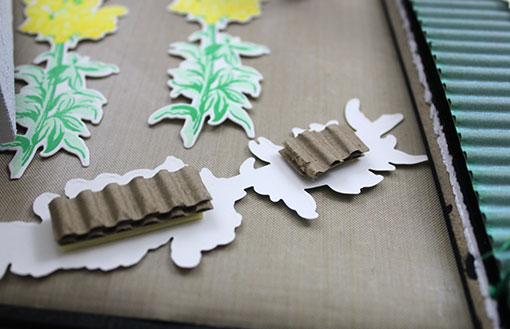
To make various layers of snapdragons, I used small strips of the corregated cardboard stacked up onto each other and attached it to some of the flowers with foam tape. This gave me so many layering options and I didn’t have to use or waste layers upon layers of my foam tape.

Since the colors of my craft room and blog are yellow and turquoise, I decided that I would use only the yellow snapdragons on this project. Besides, yellow is one of my favorite colors!

Snapdragons remind me of my grandmothers (both are deceased now), and so I wanted a sentiment on this showpiece that would also remind me of them. I played around with different ideas like: CREATE, JOY, LOVE, and HAPPY, but none of them seemed just right.

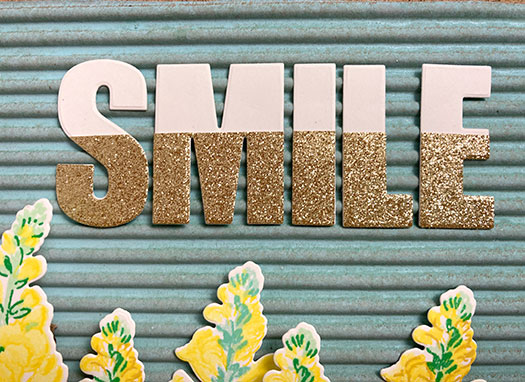
THEN I got the inspiration I needed and settled on the right word: SMILE! I die cut the word twice using my favorite Large Alpha Die set; once in white and once in gold glitter paper. When I die cut the glitter paper, I only die cut 1/2 of each letter so I could stack it onto the white letters.

I put the whole thing together, adhering the snapdragons in multiple layers. I attached the sentiment directly to the cardboard backing, and added in some of the green paper shred. It’s a little reminiscent of potting moss!

Here is the altered project sitting on my desk…

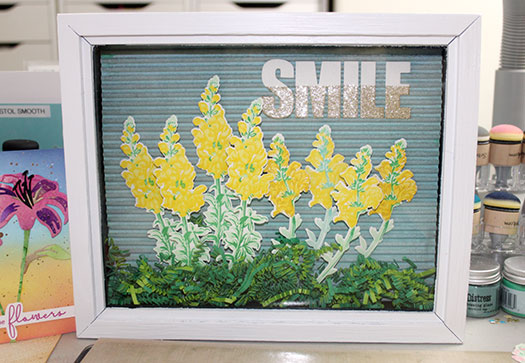
I think it looks like a big barrel of snapdragons. I can almost pinch them now to make them “talk” to me, just like my Grandma used to do!

I hung it on the wall in my craft studio (with a little help from my hubby)…this is just the right place…

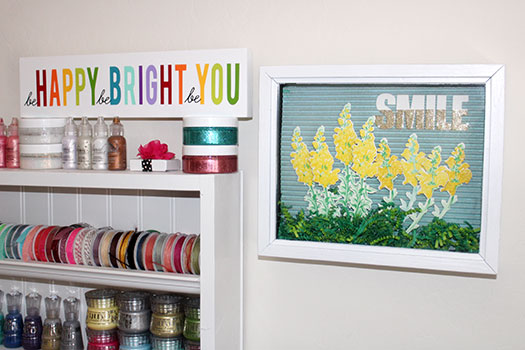
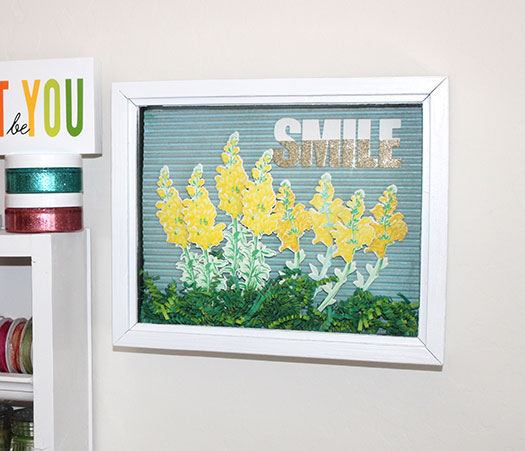
I had to take a picture at an angle so as not to get a glare off the glass front! I hope you can tell there is so much dimension to this piece…with all the textures and layers. The gold glitter dipped sentiment is now my favorite!

I hope you enjoyed this project today! I had a lot of fun making it, even though it took so much longer to make than I expected. I took about a week to get it all done as the drying time between layers was a factor.

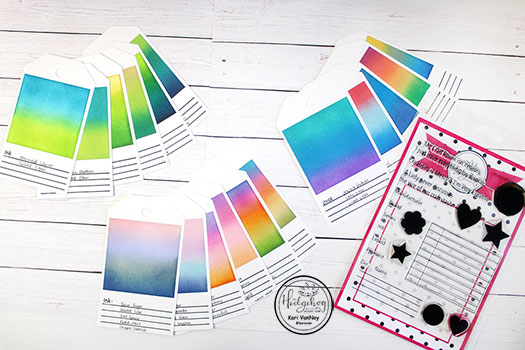
A BONUS: I have plenty of colorful snapdragons to add to cards now! Since I originally thought I might use a rainbow of flowers, I stamped a bunch of options at the same time.

A beautiful sight, a desk full of flowers!

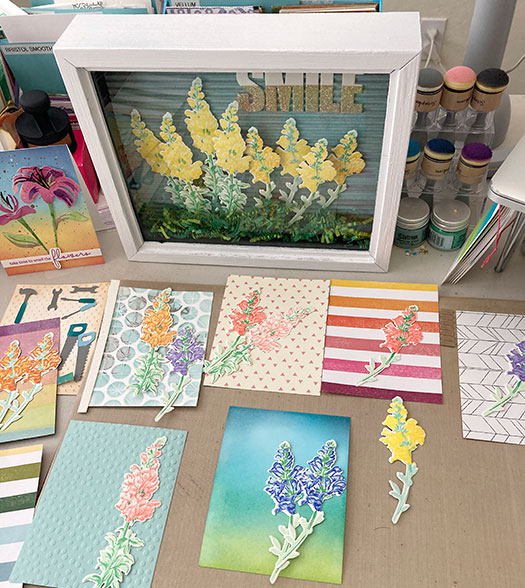
You can bet I’ll be making a bunch of cards soon with these! Thanks for stopping by today.

Comments { 1 }
SUNSHINE-bear-card-with-supplies-2

Geometric Bear Card

Hello again! Today I’m up on the Hedgehog Hollow blog with a masculine geometric bear card. This is perfect for Father’s Day that’s coming up soon!

Head on over to the HH blog to check out all the details. I also have a quick video that you can watch below or in HD on YouTube:

I’m often asked what supplies I use to make my cards and projects, so I’ve put together a list using affiliate links when possible. If you make a purchase with these links I may receive a small commission. These help me to keep up with blog costs and continue bringing you fun projects. Thank you so much for your support!

Thanks for stopping by today!

Comments { 0 }
SUNSHINE-cards-sprays-and-paints-rt

Chipboard Pieces

Hello! Today I have 3 ways to use chipboard pieces on your cards! I just fell in love with the laser-cut chipboard that came in the June 2020 Kit. So today, I have multiple cards to share using 3 chipboard techniques.

I have all the details in the video below, watch it here or in HD on YouTube:

I had so much fun and made all these cards in one morning. I used all the chipboard pieces up! Watch the video for all the tips!

I’m often asked what supplies I use to make my cards and projects, so I’ve put together a list using affiliate links when possible. If you make a purchase with these links I may receive a small commission. These help me to keep up with blog costs and continue bringing you fun projects. Thank you so much for your support!

Hope you enjoyed these projects today! See you soon with more card making inspiration.

Comments { 0 }
thanks-jar-close-up

If I Could Bottle Thank Yous

Hello! Today I’m participating in the Paper Smooches Thank you challenge. I decided to use a die that I have never used before: the small jar die. I paired it with a favorite thanks die, and that’s how this card was born!

The background was a stencil that I inked up and I added the “my heart is full” as a sentiment strip. Can you tell that the jar lid is silver mirror cardstock? It always turns out a little funny in pictures.

Thank you challenge

I may have to re-take the photos because I took them at night, and the lighting was strange on them. But for now, they will do.

I absolutely ADORE Paper Smooches fonts, and this thanks word die is definitely a favorite!

Thanks for stopping by!

Comments { 3 }
SUNSHINE-some-ink-swatches-with-close-up-stamp

Ink Blended Tags for Inspiration

Hello! Today I’m up on The Hedgehog Hollow blog here to share these Ink Blended tags for Inspiration.

I love how these turned out! I used the quiet, unassuming line stamp in the lower left corner of this stamp set from the Hedgehog Hollow May 2020 Kit.

Check out my video for all the details, and a SECRET for getting almost any ink combination to blend well. Watch below or in HD on YouTube:

For all the ink combinations I used, head on over to The Hedgehog Hollow.

I’m often asked what supplies I use to make my cards and projects, so I’ve put together a list using affiliate links when possible. If you make a purchase with these links I may receive a small commission. These help me to keep up with blog costs and continue bringing you fun projects. Thank you so much for your support!

Here’s one of the backgrounds I created inspired by one of the tags…I can’t decide if it should be a vertical or landscape card! lol. So I haven’t attached the hello sentiment until I can decide.

Thanks for stopping by! I hope you enjoyed the May kit this year…it’s already sold out, it has been so popular.

See you next time!

Comments { 0 }