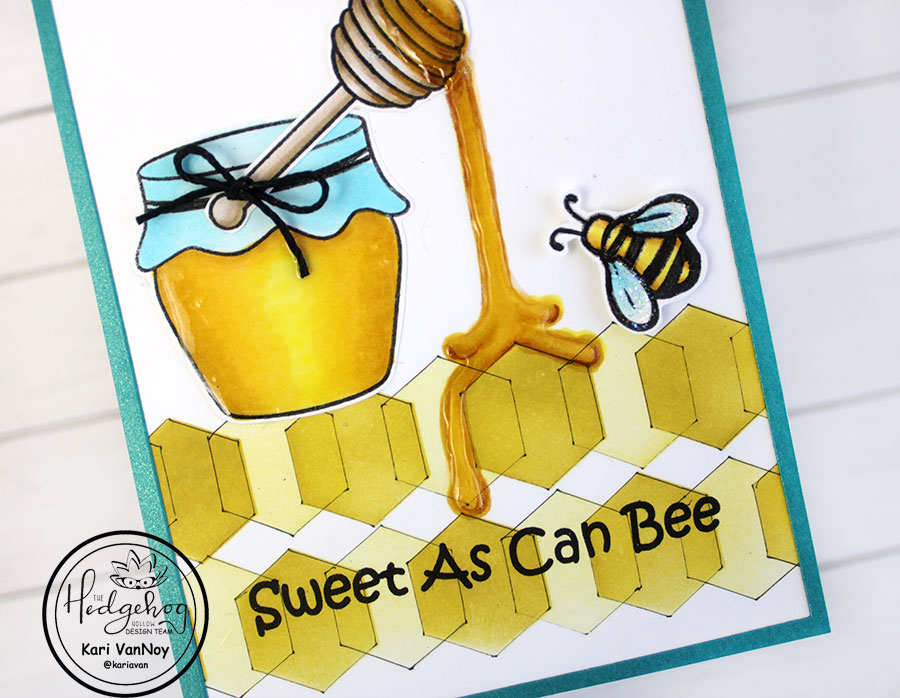
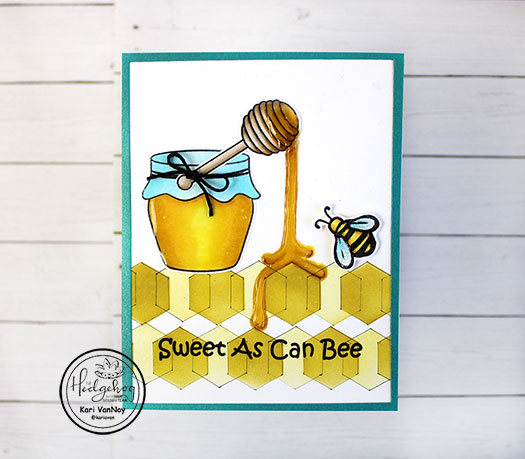
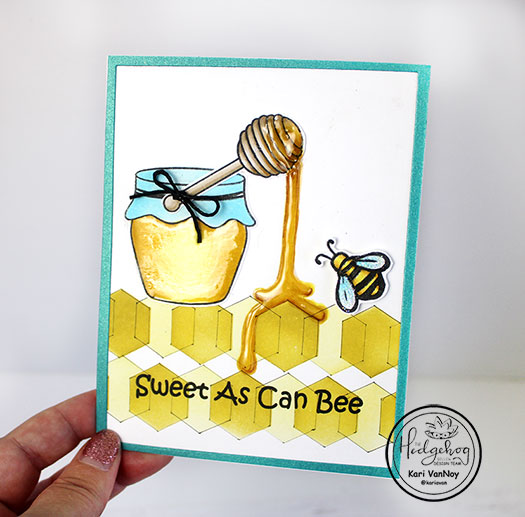
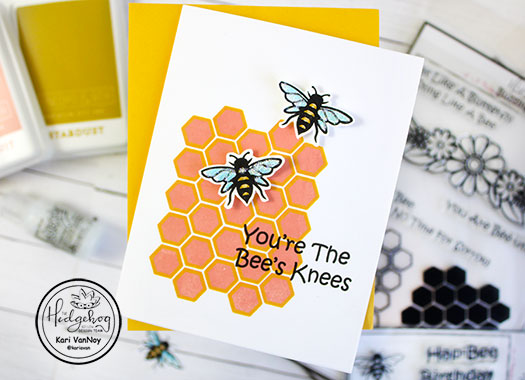
Hello! Today I have a fun card to share…with some REALISTIC looking honey dripping down the front.
I couldn’t wait to make this card when I saw the new August Kit from the Hedgehog Hollow.
I have a quick video to show you just how to make this realistic honey (that isn’t sticky!! Lol) Watch it below or in HD on YouTube:
I’m often asked what supplies I use to make my cards and projects, so I’ve put together a list using affiliate links when possible. If you make a purchase with these links I may receive a small commission. These help me to keep up with blog costs and continue bringing you fun projects. Thank you so much for your support!
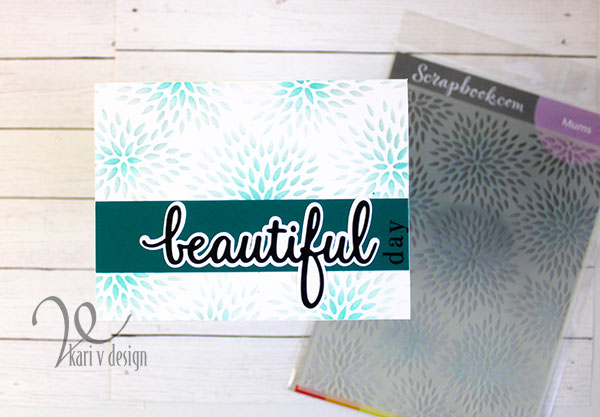
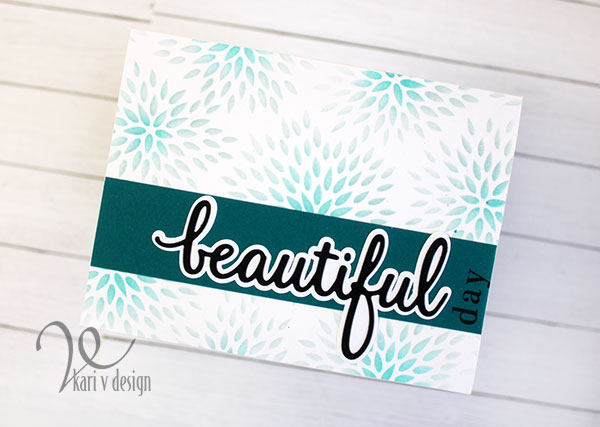
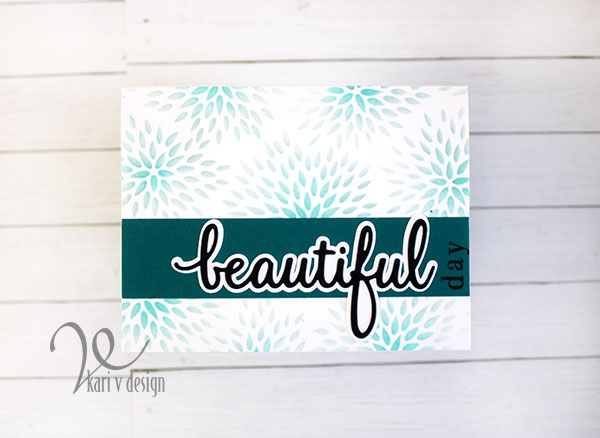
Hello! It’s a Monday, and I had to make this card to remind me that there is something beautiful in every day.
I adore this stencil! It’s a new favorite! I first dry embossed the background so it was raised, and then I inked on the mums, with the darkest color in the middle.
I added a strip of the new, beautiful Concord & 9th cardstock and added the die cut sentiment. There, that really brightens up my day!
I’m often asked what supplies I use to make my cards and projects, so I’ve put together a list using affiliate links when possible. If you make a purchase with these links I may receive a small commission. These help me to keep up with blog costs and continue bringing you fun projects. Thank you so much for your support!
Thanks for stopping by! I hope your Monday was beautiful.
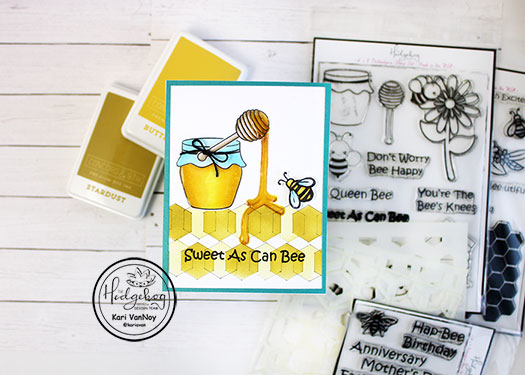
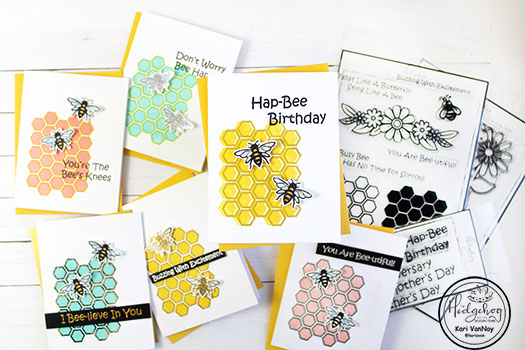
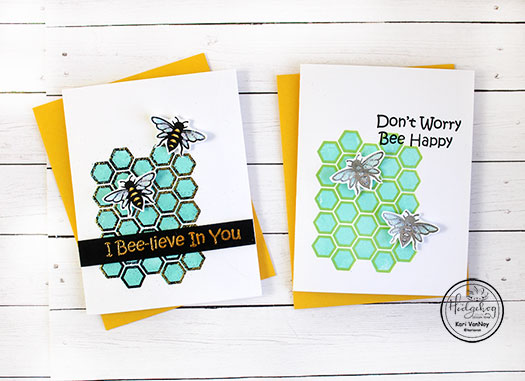
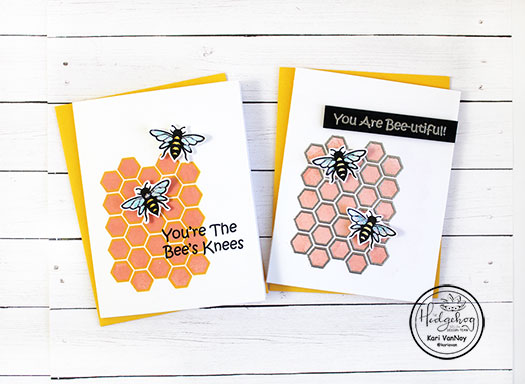
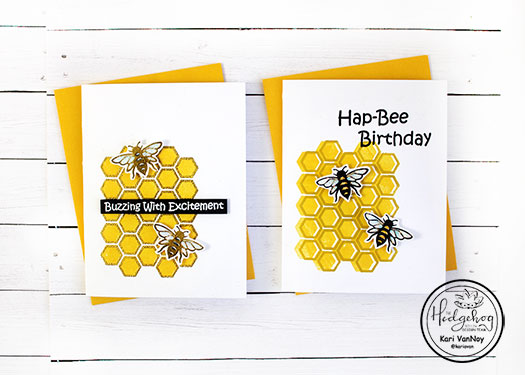
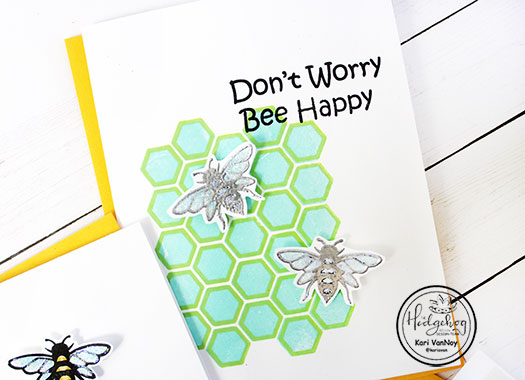
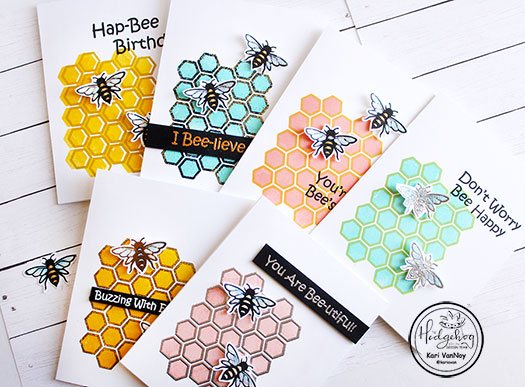
Hello! Today I’m back with FIVE Ways to Uplevel the Honeycomb Layering Stamp from The Hedgehog Hollow August Kit. This kit is so full of sweetness: honey and Bees, Flowers and sentiments….I love it all!
I have this short video showing you the five ways, watch it below or on YouTube:
If you can’t watch the video, I’ll also share these tips quickly here.
Choose unexpected colors to stamp with.
Stamp Layer 1 with one color, and Layer 2 with a completely different color
Try embossing Layer 2 for a different look
Offset Stamping – Layer 2 doesn’t have to completely match up
Stamp sentiments directly on card panel OR use sentiment strips popped up with foam tape
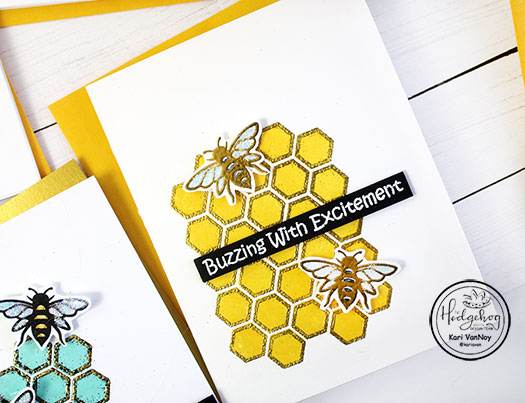
blue with black & gold heat embossed Layer 2 | blue with green Layer 2 Grapefruit with yellow stamped Layer 2 | Grapefruit ink with silver embossed Layer 2 Yellow with gold heat embossed Layer 2 | Yellow with offset Stardust ink Layer 2
I’m often asked what supplies I use to make my cards and projects, so I’ve put together a list using affiliate links when possible. If you make a purchase with these links I may receive a small commission. These help me to keep up with blog costs and continue bringing you fun projects. Thank you so much for your support!
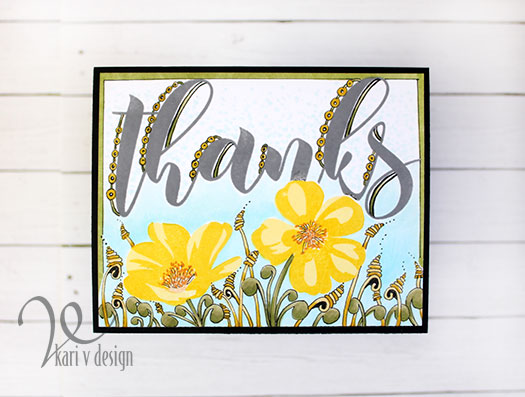
Hello! Today I’m excited to share with you my very first Zentangle project on a card. I have to admit I was a little intimidated by this….but I persevered until I got just the look I was going for!
This was inspired by a class I took at Altenew Academy by Amber Rain Davis. It’s a great class, and I recommend it if you like to doodle or love to add details to your cards!
While practicing my tangles, I learned quite a few things: first of all, I wish I had a broader tip pen. Here I used my .05 Copic Multiliner, and while the details turned out great, I wished that my tangles were a little BIGGER and BOLDER with the lines.
I used four different Zentangles on this card: Mooka, Zinger, Springkle, and Caviar. These turned out with my own flair and in my own style, as most tangles will take on the style of the illustrator.
I will show you my progress on how this card came about:
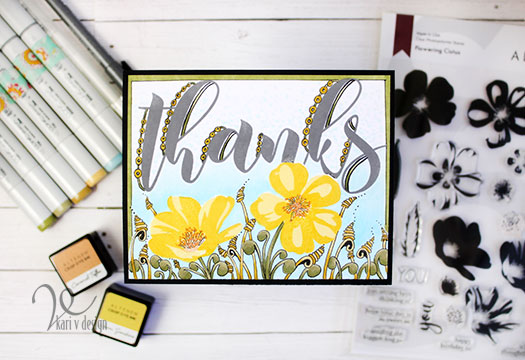
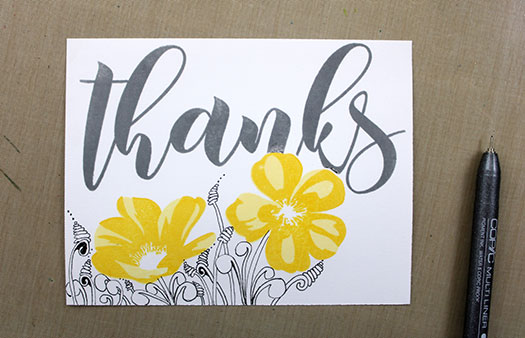
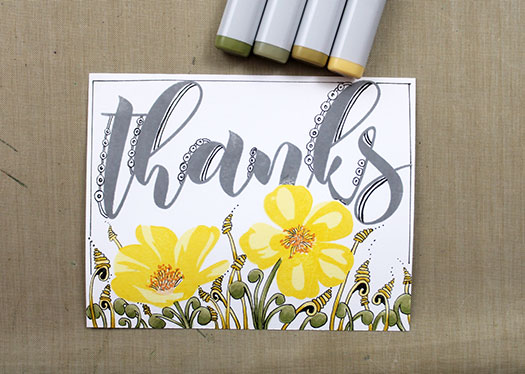
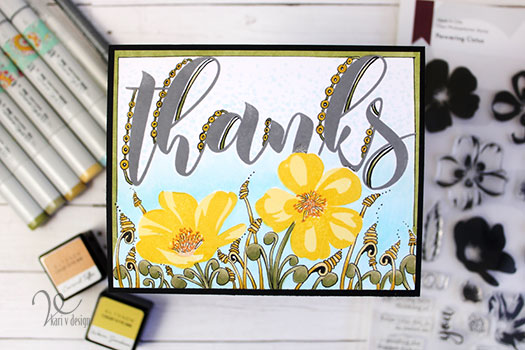
First, I stamped the flowers with two shades of yellow ink. I masked them off before stamping the large Thanks sentiment in gray ink. Then I started in with the Zentangles, adding some “Mooka” to act as the leaves and stems of the flowers.
The beginning of something great…
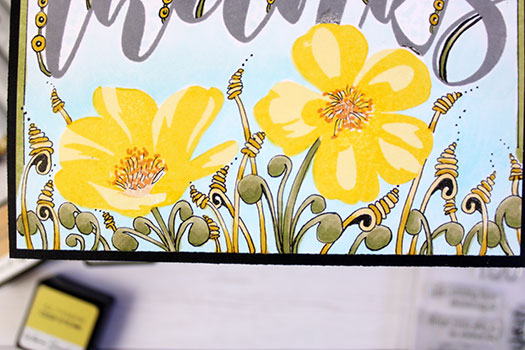
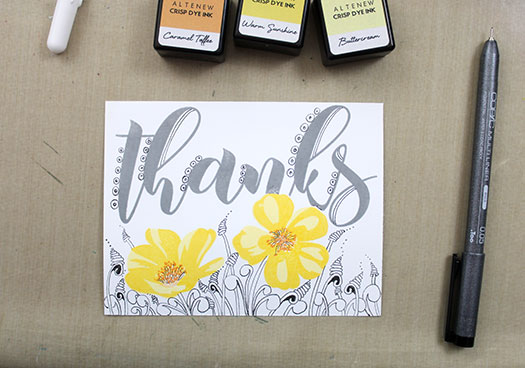
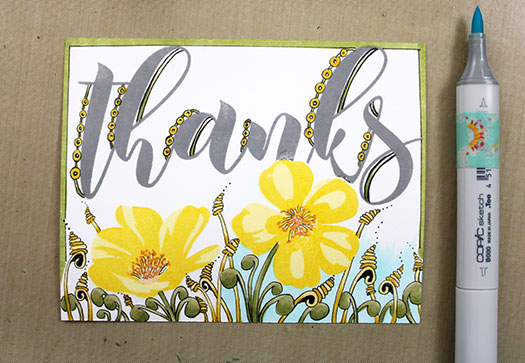
I continued adding the tangles with some Zingers and Springkles, and I stamped the centers of the flowers with an orange ink. I end up adding some lines and auras to the centers, too.
Then, I drew in some “Caviar” tangles on the left of each of the letters of the sentiment. I felt like the sentiment was getting left out and needed something, so caviar it was! I attached the caviar together with some small connecting lines. I added some lines on the inside of some of the letters, too.
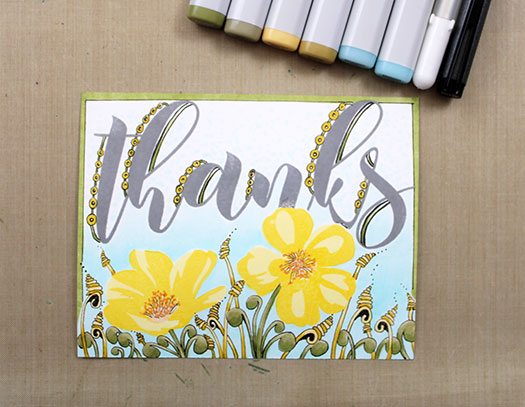
Then I outlined the entire card with a thin, black border (for this I used a ruler). Now it’s time to color! I used only a few colors of Copic markers for this: Y32, Y26, YG93, YG91.
After the leaves and tangles were colored, I outlined the entire frame in YG93 green and began adding some blue shades at the bottom of the card. I started off with B00 and lightened it up at the top with B000. Finally, I added blue dots at the top of the card fading off into white. I thought that gave this card a kind of dreamy look!
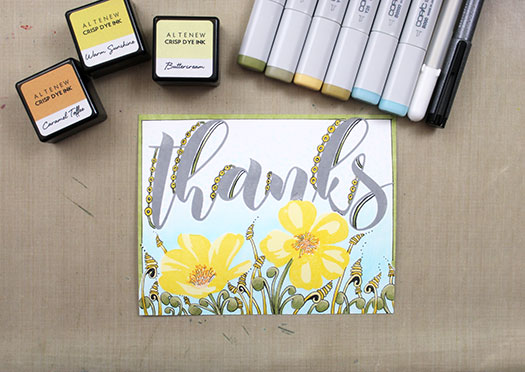
After all the coloring, the card finally started looking all put together! I matted it with some black cardstock to finish it all off.
I loved making this card after I got over the intimidation of it all. Lol. The drawing was relaxing, and I feel like the final result has a dreamy and whimsical feel to it. You might not be able to see the light blue dots at the top of the card, but that also adds to the dreamy feeling.
I hope you enjoyed this card today! I’ve linked the class below if you are interested in getting started with some Zentangles of your own.
I’m often asked what supplies I use to make my cards and projects, so I’ve put together a list using affiliate links when possible. If you make a purchase with these links I may receive a small commission. These help me to keep up with blog costs and continue bringing you fun projects. Thank you so much for your support!
Hello! Today I’m back with tips on how to use one SMALL stamp from your set and turn them into five cards! I’m using the cutest little stamp from the July Hedgehog Hollow Kit today: I just couldn’t stop with this July Kit until I made all my little avocado cards!
I have a video with all the ways and some tips for making them quickly, watch it below or on YouTube:
I hope you will take a moment to watch the video to see my five ideas! For now, I will leave you with pictures of all these cutie cards and a quick description:
Stamp a whole bunch of the small image to create a “patterned paper” then watercolor it! For the first one, I used Zig Clean Color Real brush markers, then splattered on some paint to get a fun texture (and to mask the fact that my background didn’t come out as smooth as I wanted! Lol.) These are tricks of the trade, my friends!
Add a Stencil to the background…for the second card (which is the one on the left) I used Altenew watercolors and got some BEAUTIFUL colors. Then I took the circle stencil from a previous HH Kit and added the circles to the background.
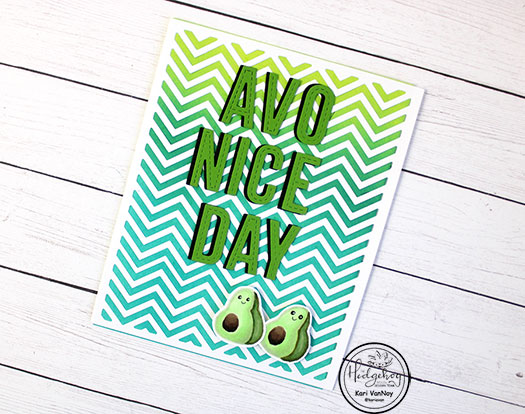
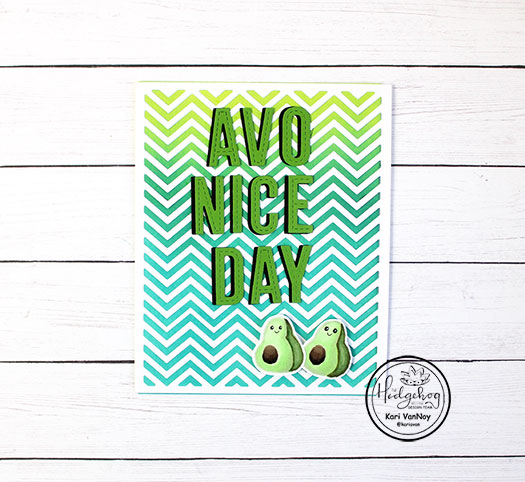
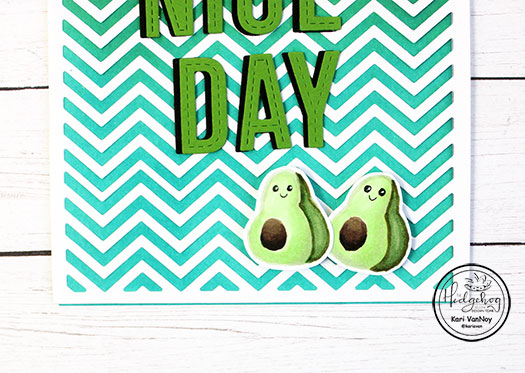
3. Try no-line copic coloring and add a PUNNY sentiment with die cuts. Here I stamped the avocados in a light ink and colored with Copics. I show you how I colored up with Copics in the video. I ink blended that background with Distress Oxides and added a chevron cover die. Then I die cut the letters to make a fun sentiment.
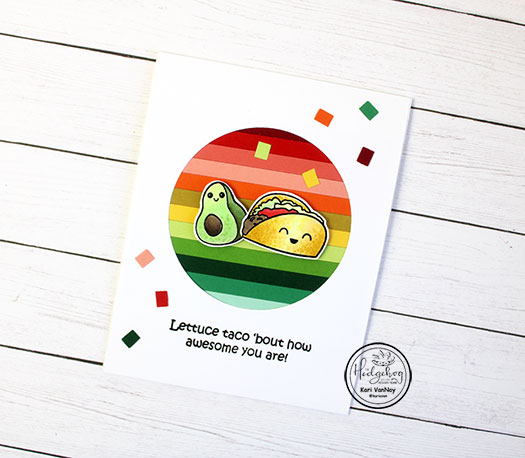
4. Use die cut paper strips to make a fun background for your images. Here I paired that avocado with the taco from the same set. If you have leftover strips of paper, use them to make confetti for the front of your card. It’s a fiesta! So fun.
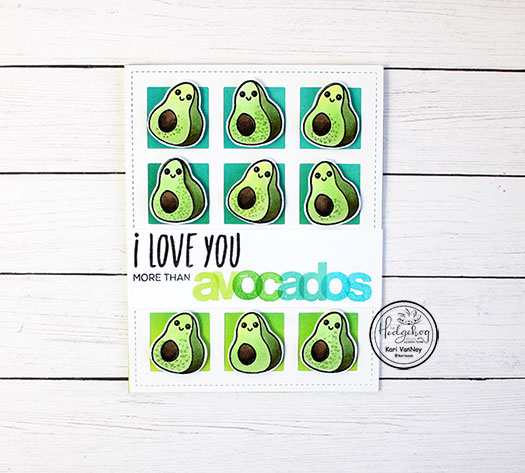
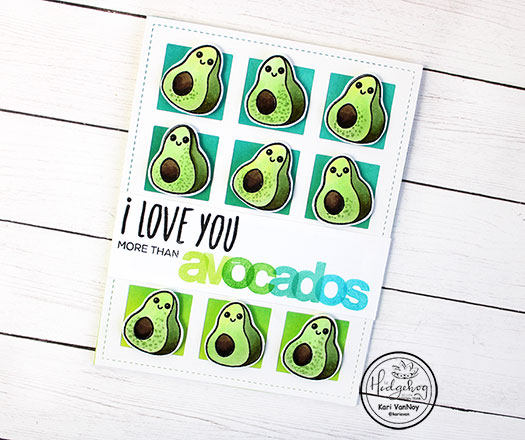
5. Use a grid to highlight lots of your small stamps. Here’s a “tray” of avocados with a sentiment that I stamped from a new FAVORITE alpha stamp set! I used different transparent ink colors to get a fun vibe. By using transparent inks, you can overlap your letters and still read it. Such a happy look! Try this at home!
I’m often asked what supplies I use to make my cards and projects, so I’ve put together a list using affiliate links when possible. If you make a purchase with these links I may receive a small commission. These help me to keep up with blog costs and continue bringing you fun projects. Thank you so much for your support!
Hi I'm Kari. I'm a creator, a card maker, and a day maker! I am Lucky in love to a supportive husband, blessed to raise 3 kids (all moved away now!), and happy to be watched over by 2 dogs.
I originally started this blog to remind me to be happy amid adversity, and I hope it inspires you, too!