About KariV

Author Archive | KariV
SUNSHINE-snow-one-like-you-close-up-crooked

Snowy Background

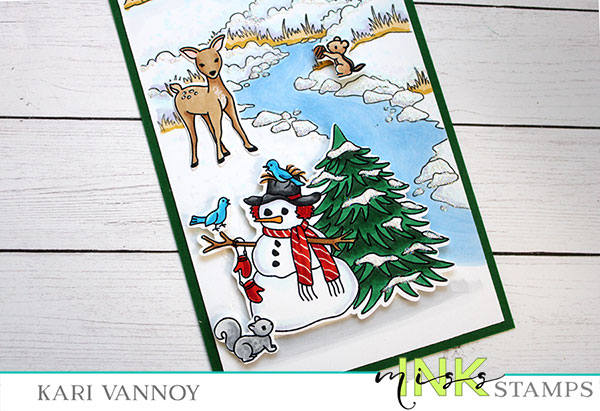
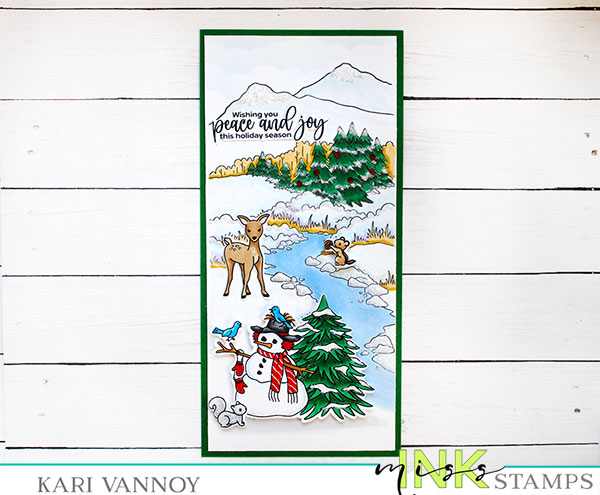
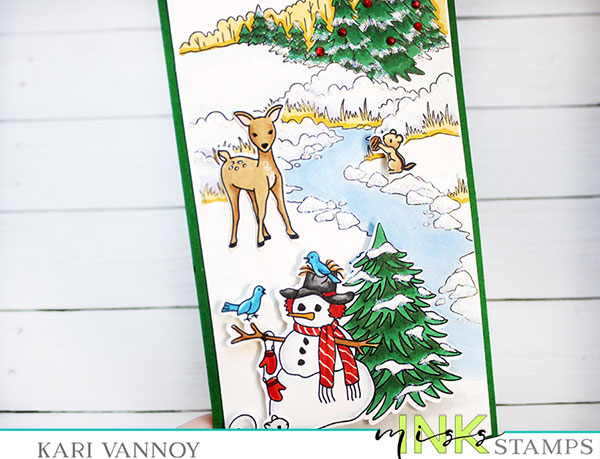
Hello! Today I’m taking a forest background stamp and turning it into a SNOWY background stamp. I love that this background stamp from Miss Ink Stamps is so versatile. The “river” could also become a “pathway” and you can color it for any season.

Today I”m making it winter, with snow all around. I have a video to show you how I did this, watch it below or in HD on YouTube:
I’m often asked what supplies I use to make my cards and projects, so I’ve put together a list using affiliate links when possible. If you make a purchase with these links I may receive a small commission. These help me to keep up with blog costs and continue bringing you fun projects. Thank you so much for your support!
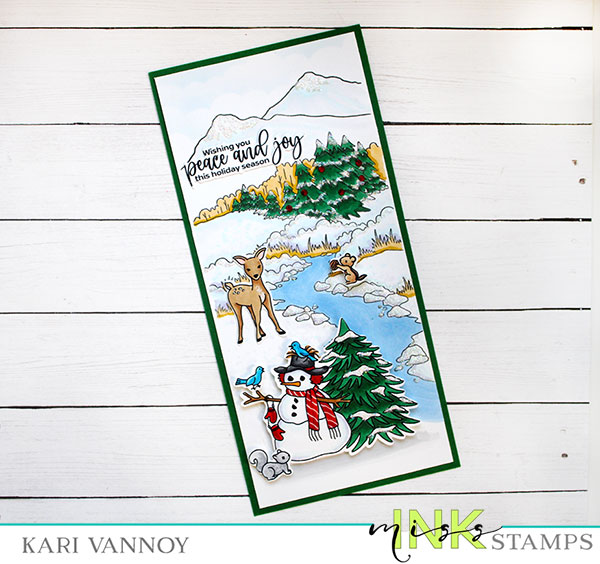
I added lots of glitter to make it glisten in the sun! This was a delight to color. I hope you enjoyed!
Comments { 0 }
SUNSHINE-gladiolas-card-only

Pretty In Pink

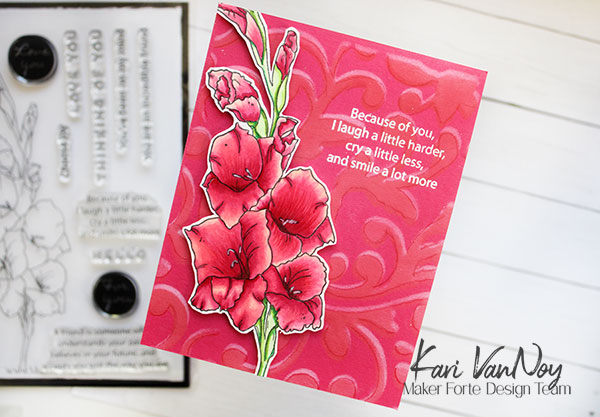
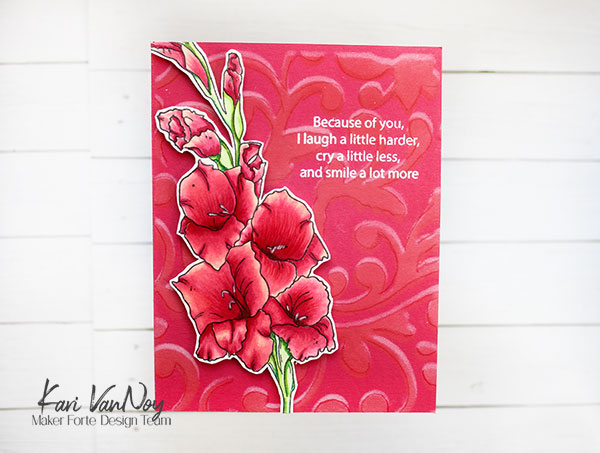
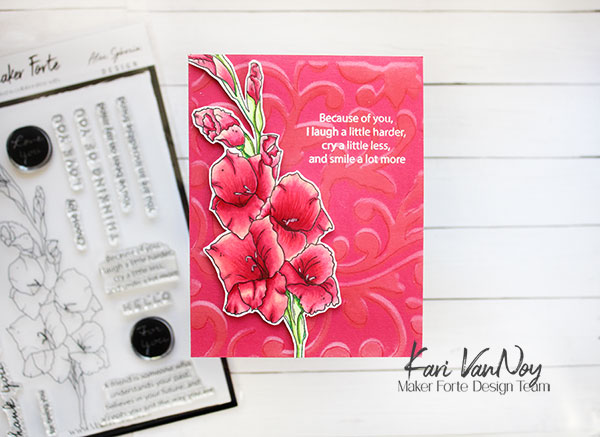
Hello! Today I have a new stamp set to share from Maker Forte. It’s a design by Alex Syberia and it’s so beautiful! I paired it with the Winter Swirls stencil for a Pretty In Pink card.

To start, I used the Offset Stencil technique: I first inked on some white pigment ink over the Winter Swirls stencil. Then I moved the stencil just a little bit, and inked on some Candy Apple Red ink over the top. I used my favorite Tiptree Jam cardstock for this card panel.

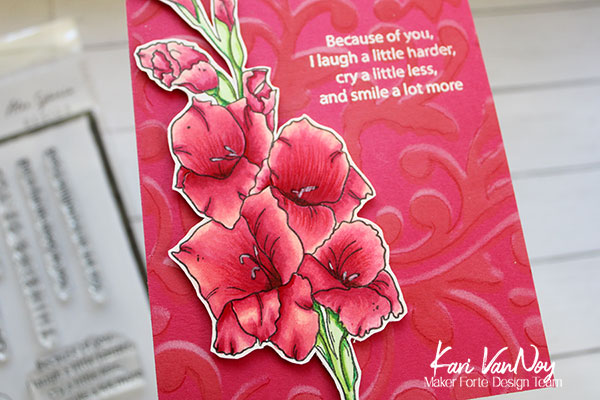
I set the panel aside to dry as I colored up the gladiolas from this stamp set with Copic Markers. Then I fussy cut the image and added it to the card panel with 3M foam tape.

I white heat embossed the sentiment using Versamark ink. I love this sentiment!

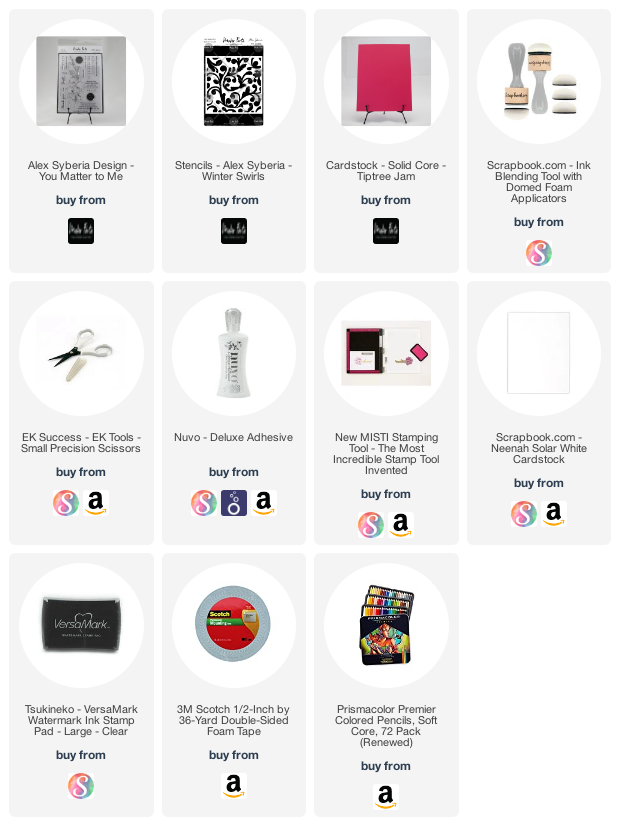
I’m often asked what supplies I use to make my cards and projects, so I’ve put together a list using affiliate links when possible. If you make a purchase with these links I may receive a small commission. These help me to keep up with blog costs and continue bringing you fun projects. Thank you so much for your support!


Thanks for stopping by!

Comments { 0 }
SUNSHINE-sleigh-with-all-supplies-1

Wood U Bend Ornament

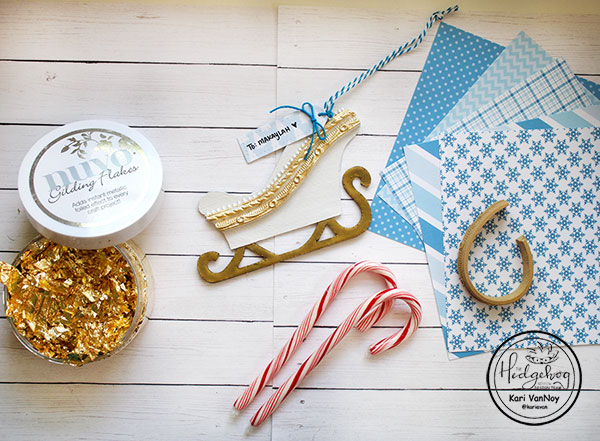
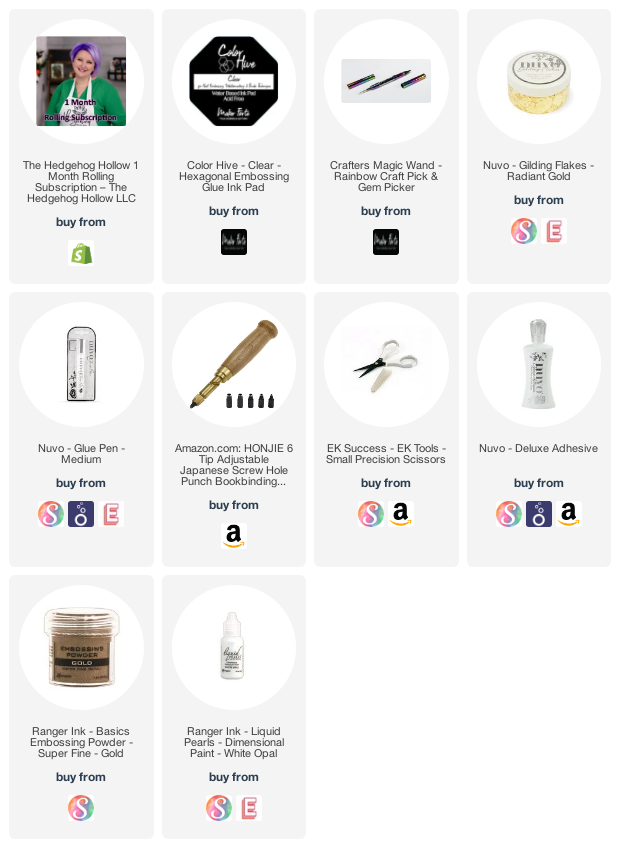
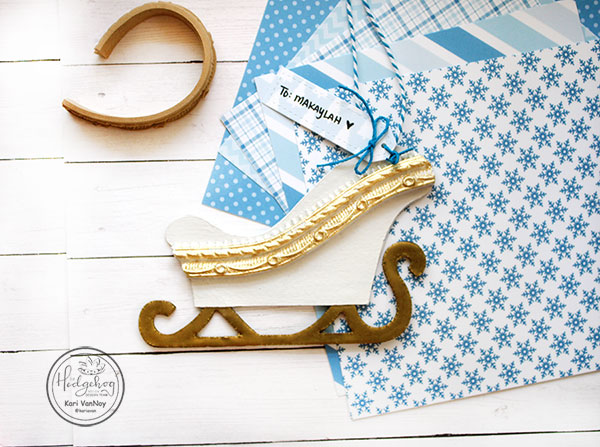
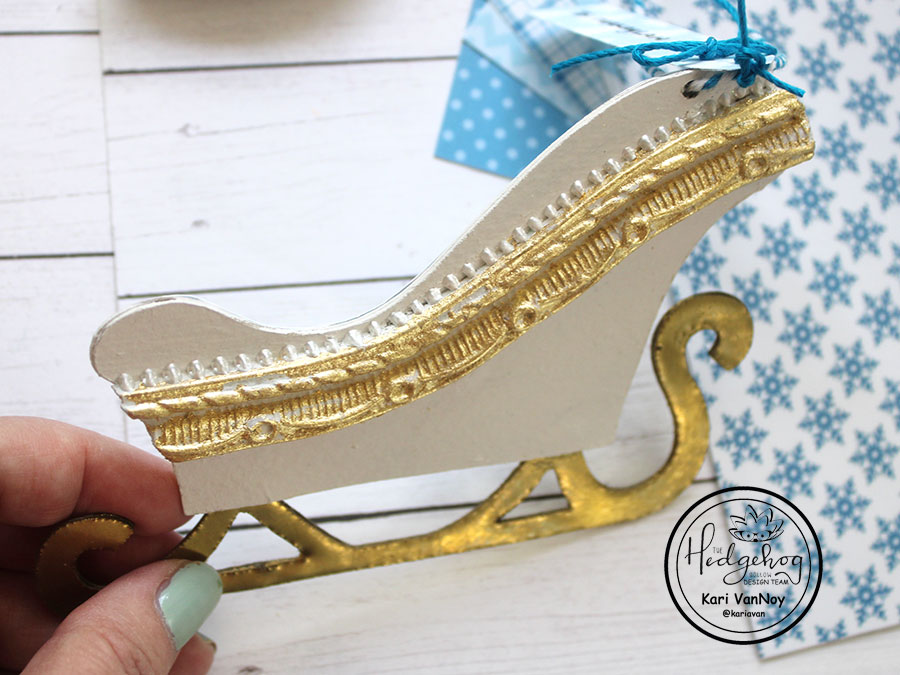
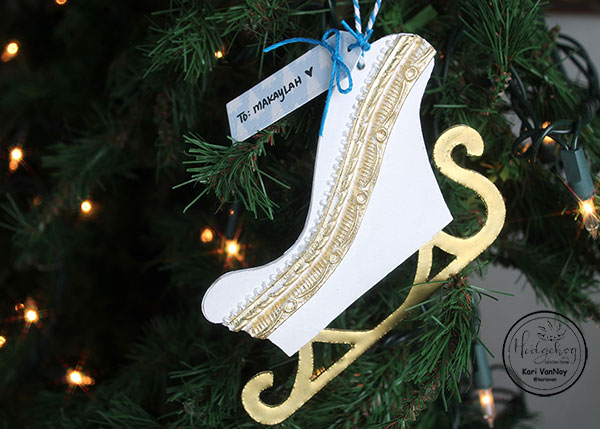
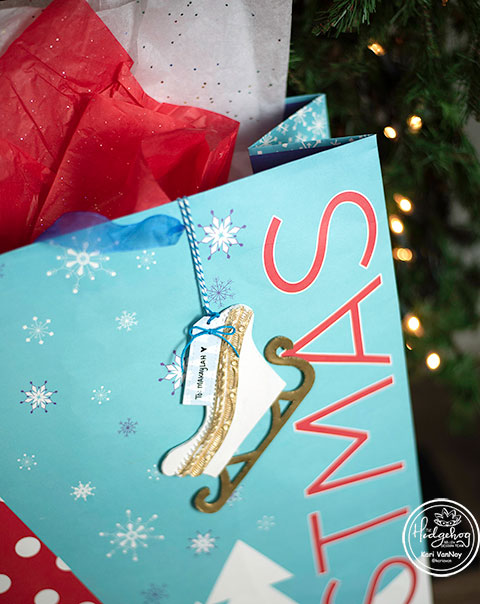
Hello! Today I’m up at the Hedgehog Hollow blog sharing this holiday ornament project using Wood U Bend. This is a unique product that is made out of wood, and when you heat it, you can bend it to the shape you want!

Visit the blog for all the details! I also have a video showing all the tips and surprises I found out about this product, watch it below or in HD on YouTube:

I loved making this project, so I hope you’ll take a look and tell me what YOU think about the Wood U Bend. (this was a sample I got in the November Hedgehog Hollow Box).

I’m often asked what supplies I use to make my cards and projects, so I’ve put together a list using affiliate links when possible. If you make a purchase with these links I may receive a small commission. These help me to keep up with blog costs and continue bringing you fun projects. Thank you so much for your support!


Comments { 0 }
Craft Studio Tour!

Craft Studio Tour!

Finally…my craft studio tour is ready! I created this video to share my organizational tips (or lack of organization) and set up in my craft studio. I have to admit, I was a little nervous to share this because it’s STILL not quite as orderly as I’d like. But if I waited until it was perfect, this video would never happen! Lol.

I hope you enjoy and get a few ideas. Let me know what you think! Watch the video below or in HD on YouTube:

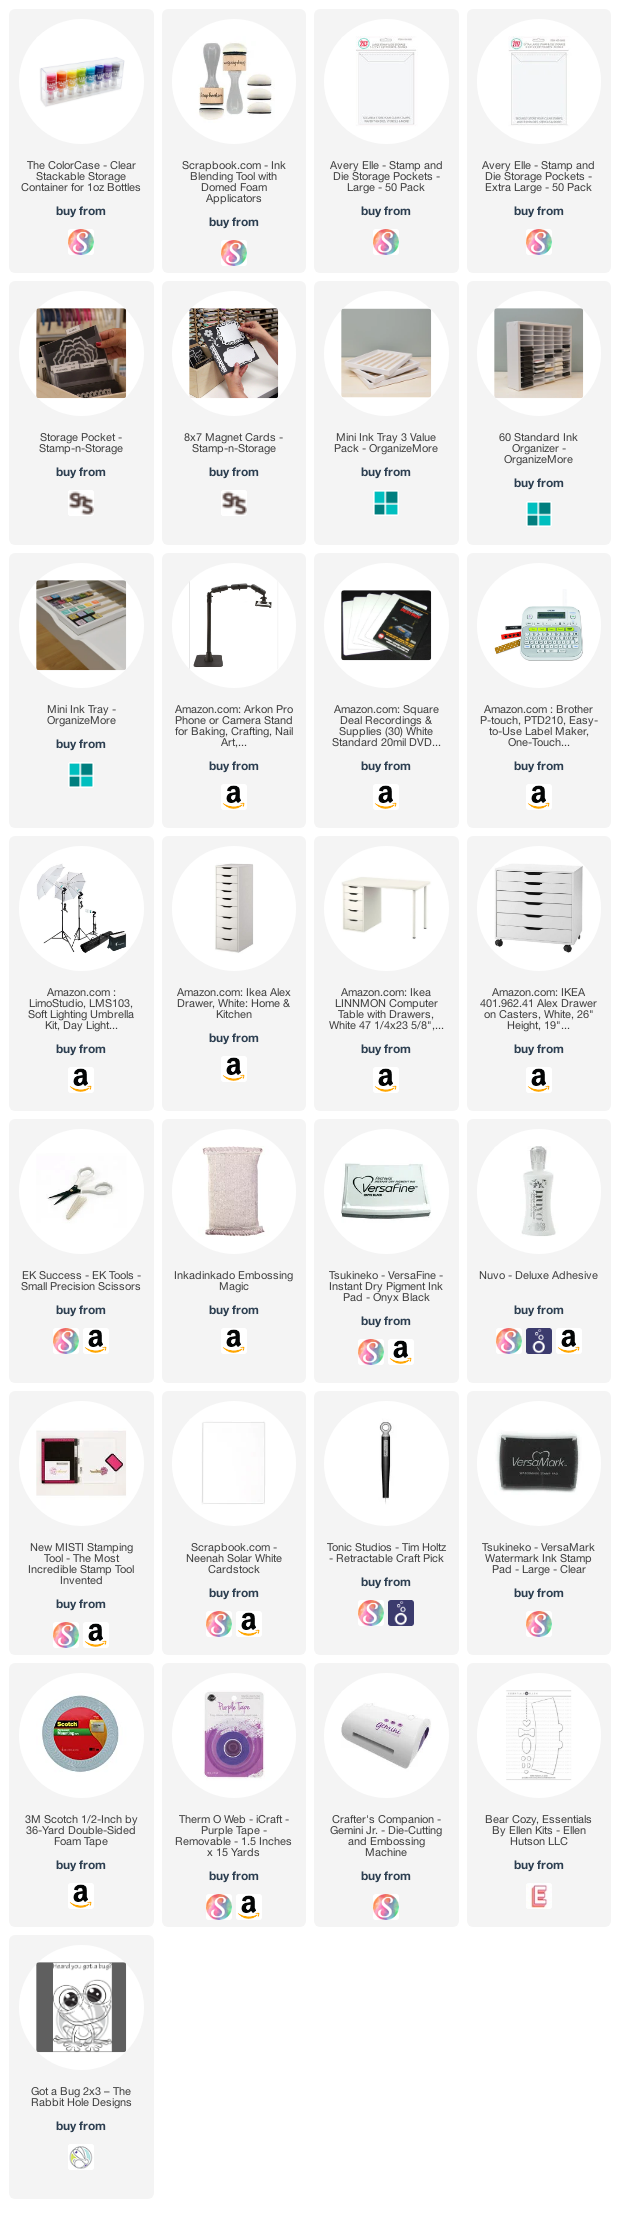
I’ve listed some of my crafty organization favorites and tools. It’s impossible to list them all because there’s A LOT of stuff in there! Lol. So here’s a few of the ones I thought would be helpful, using affiliate links when possible. When you purchase from one of these links I may receive a small commission, at no extra cost to you. Thank you for supporting my site (and crafty goals).

Comments { 0 }
SUNSHINE-all-three-cards-only

Not Just for Hanukkah Cards

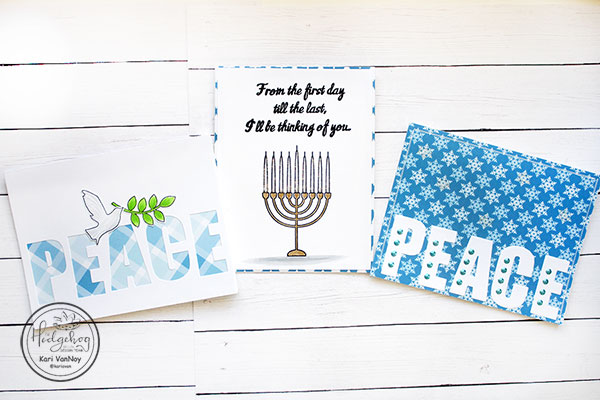
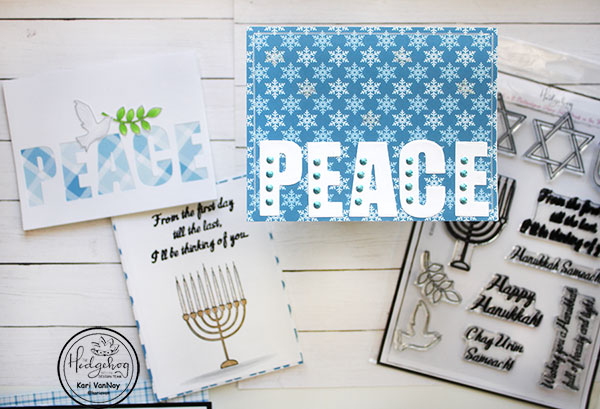
Hello! Today I am thinking outside the box using the Hanukkah stamp set from the Hedgehog Hollow November Kit. I know very many people that celebrate Hanukkah, so I needed to come up with some other ideas for cards with this set.

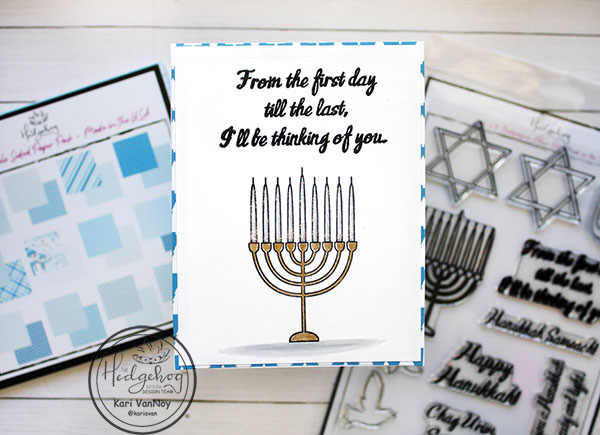
First, I created a Hanukkah card using the Menorah (candles) from the set. I stamped it and colored it up simply with a gold gel pen and Copic markers. Then I added a shadow below it with Cool Greys to ground the image.

I matted it on some blue and white paper from the Kit. Lastly, I added some glittery Stickles to the candles to finish it off.

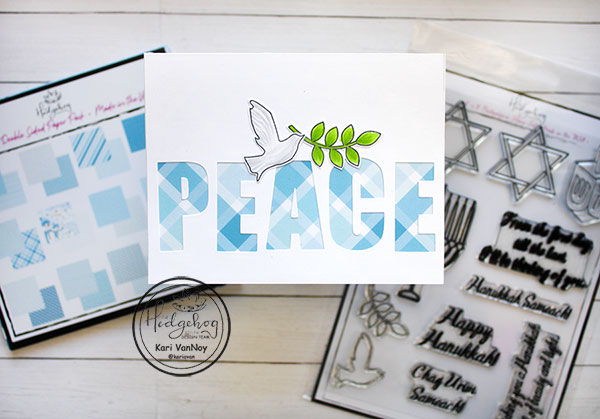
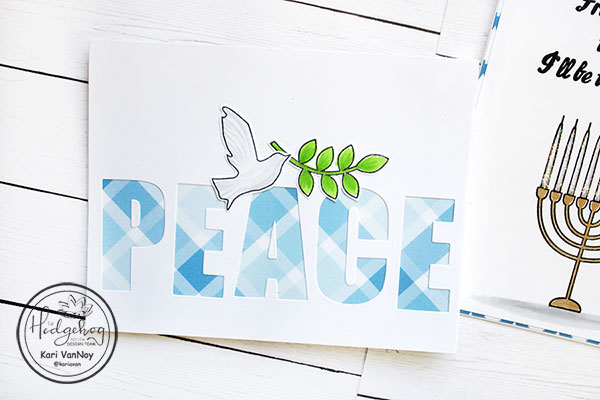
Then, I saw that dove from the set and decided to pair it with the branch to create a card. I took some alpha dies from my stash and cut out the word “PEACE.” I added some blue plaid paper behind the die. Then I added the dove and branch; I colored these up with Copics.

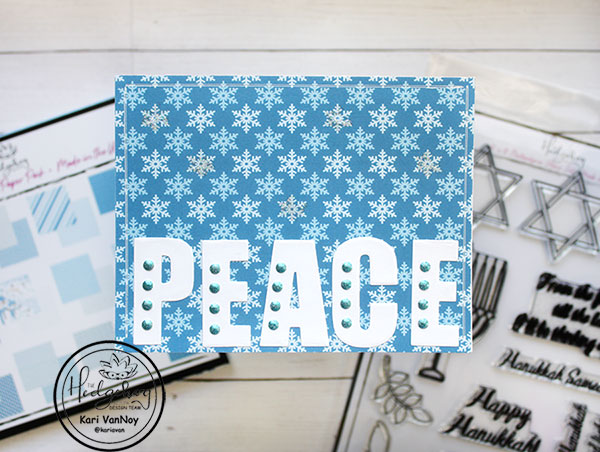
Since I had the white letters left over from this card, I decided to make ONE MORE card! I chose another paper from the paper pack, this time a snowflake paper. Then I added those letters and decorated them up with some gems. I drew a white gel pen frame around the perimeter of the card to finish it up.
I hope you enjoyed these projects today and use your stamps to think outside of the box! I’d love to see what you come up with.
Comments { 0 }