Hello! Today I’m excited to share 4 more ideas on using Alphabet stamp sets. I have found the BIGGEST alpha stamp set I have ever seen…and my projects today are all using this set.
Watch my video below or in HD on YouTube:
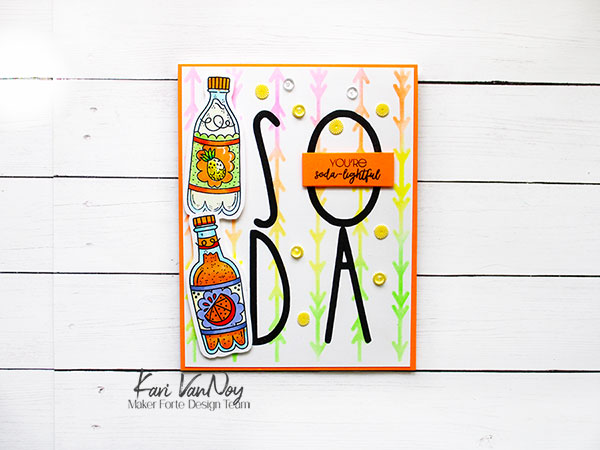
1. Spell It Out
Of course, the first and most obvious use of Alphabet stamps is to spell out a word or a name. But have you ever replaced one of the letters with an image?! This is fun and adds some whimsy to the page.
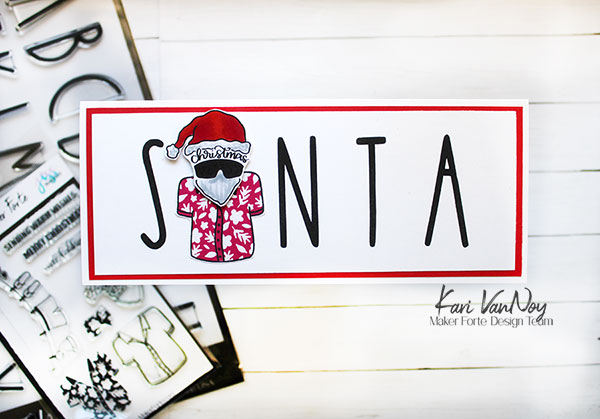
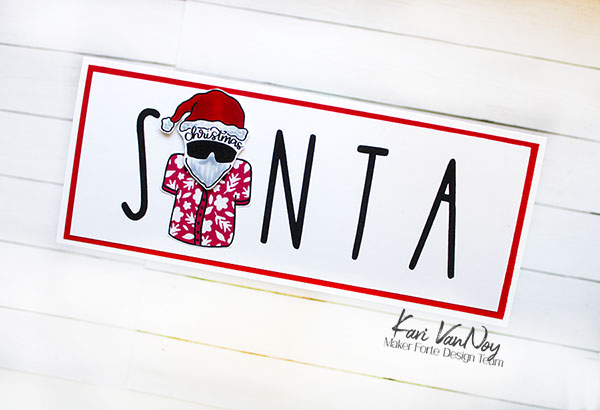
Also, try stacking your letters for a different look!
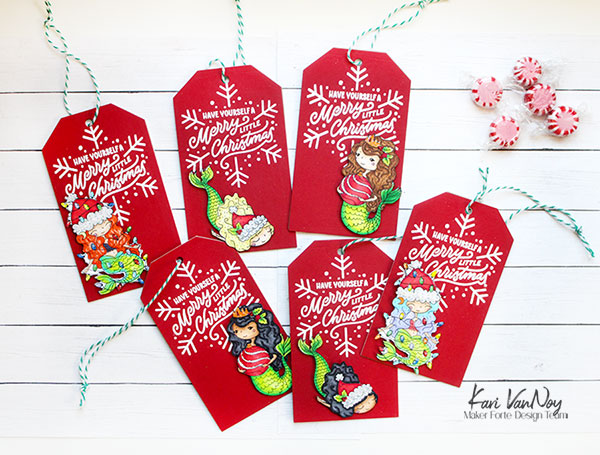
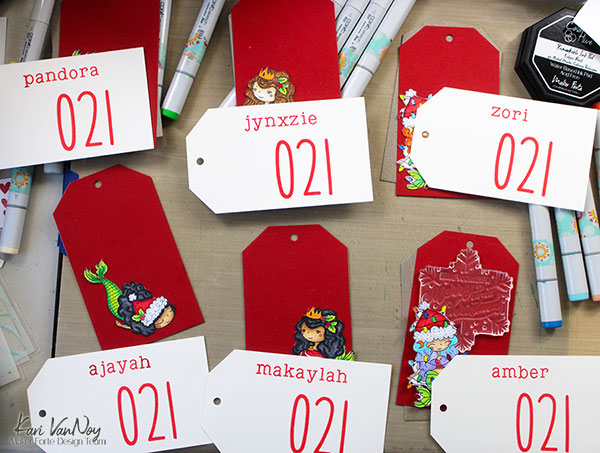
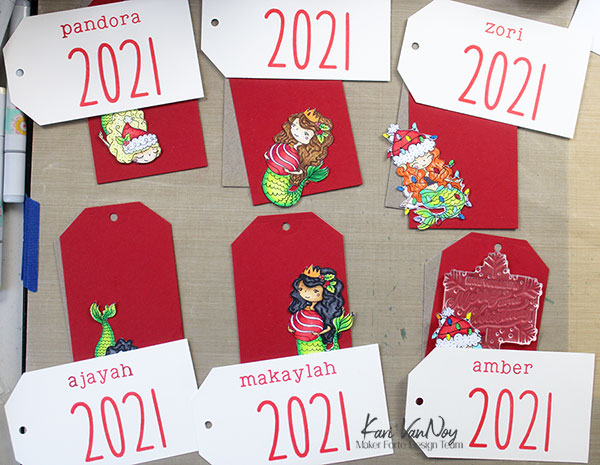
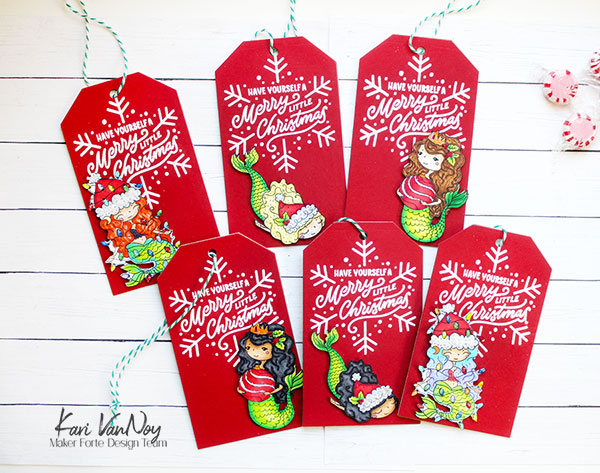
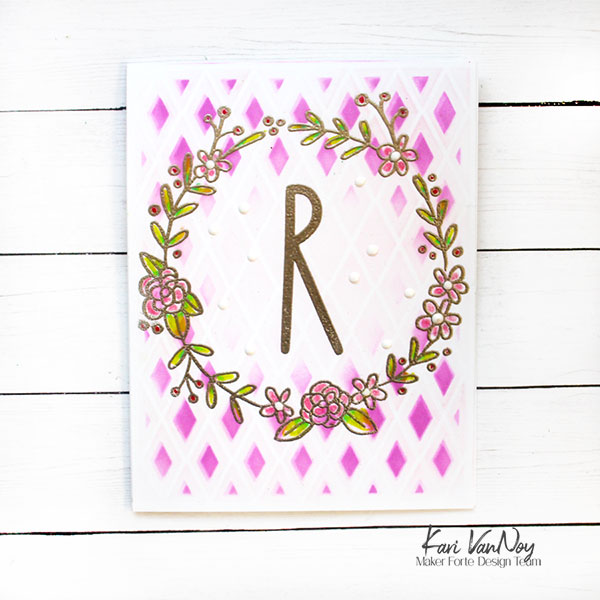
2. Monograms and Initial Cards
The letters on this set are so large and that makes them PERFECT for a monogram or Initial Card! These are great for cards AND tags.
Today I made a very non-Christmas initial card for my Daughter-in-Law. Her birthday is this week and often gets mixed up with Christmas. So this is just for her to show that we are celebrating HER on her birthday.
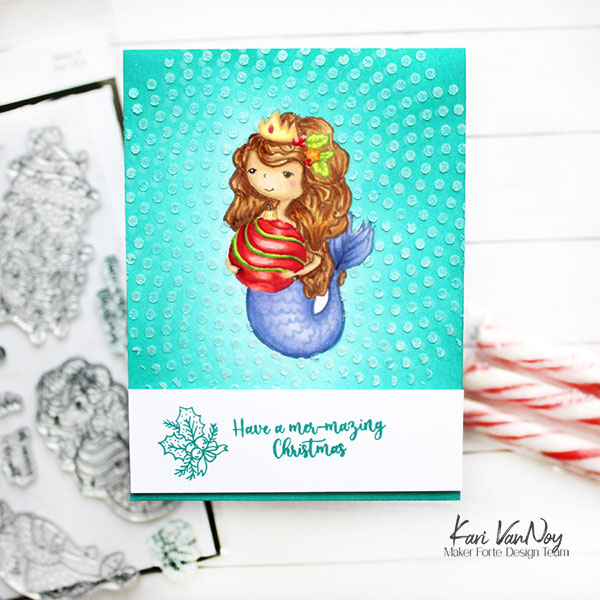
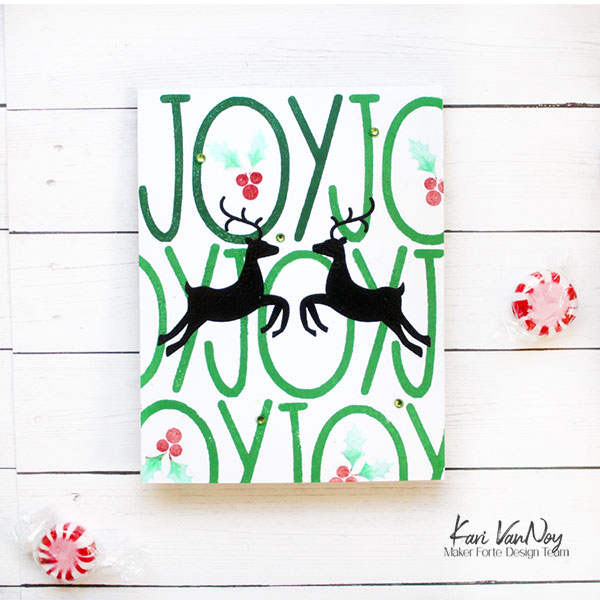
3. As a Background
Letters make a fun background and these large letters really add a pop! Here I repeatedly stamped the word JOY in green ink and then black heat embossed the deer over the top using THIS stamp set.
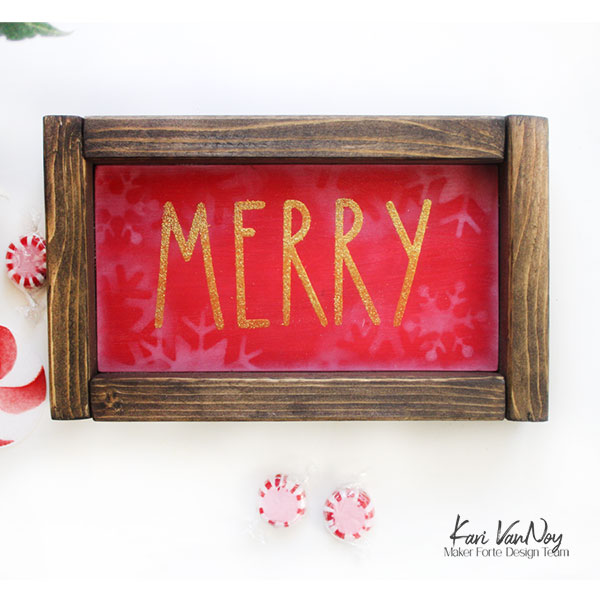
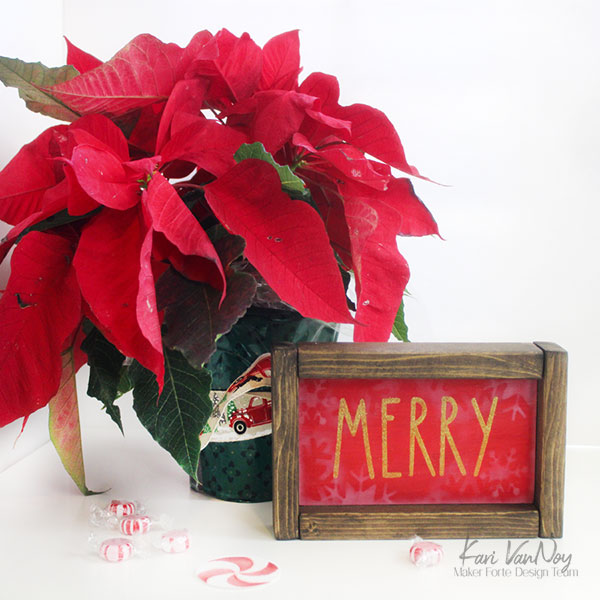
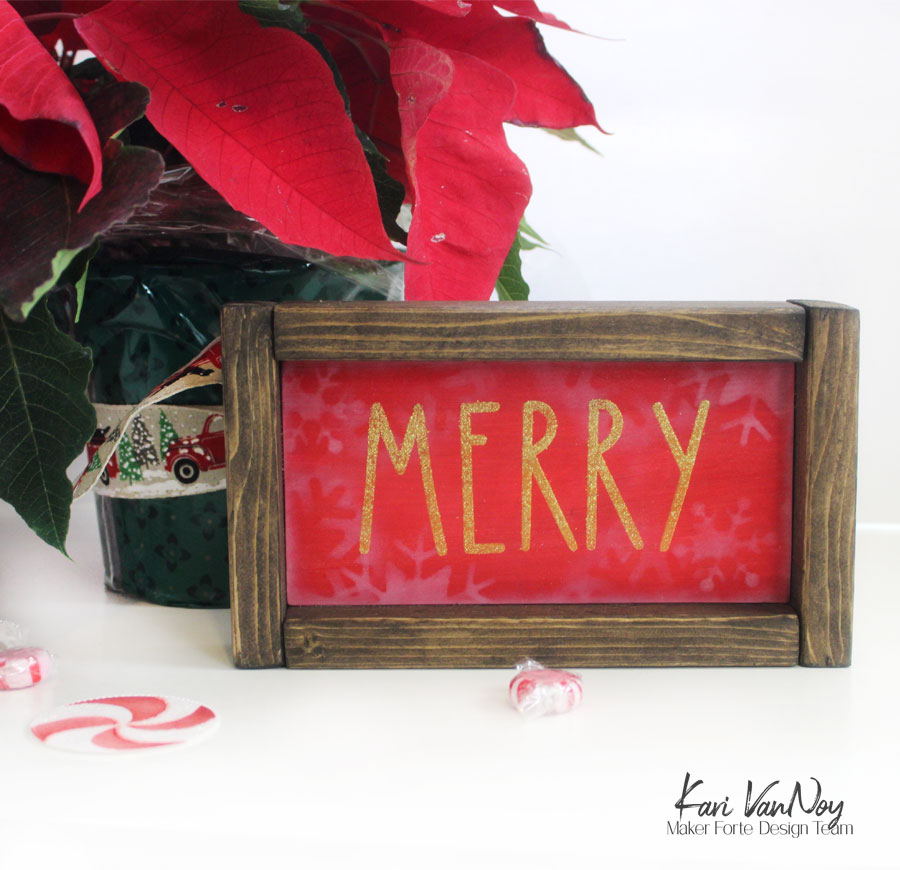
4. Home Decor
Another really positive aspect of such a large stamp set, is that you can make home decor pieces and signs. Here I made a Merry little sign by heat embossing in gold over a red painted wood block. I added an easy rustic frame and Voila!
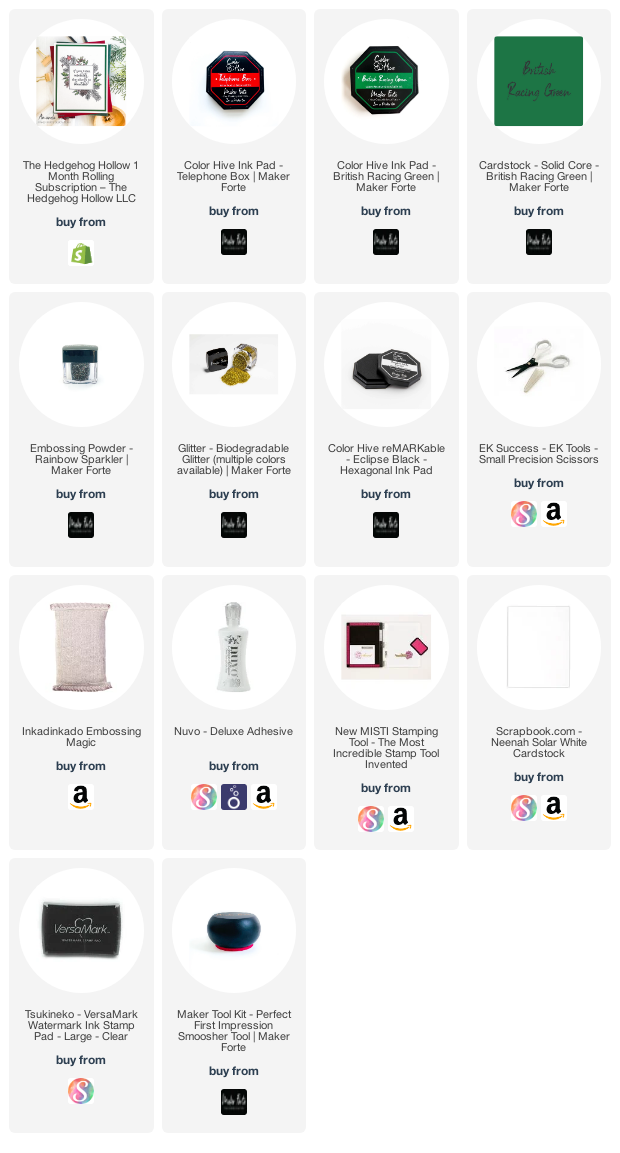
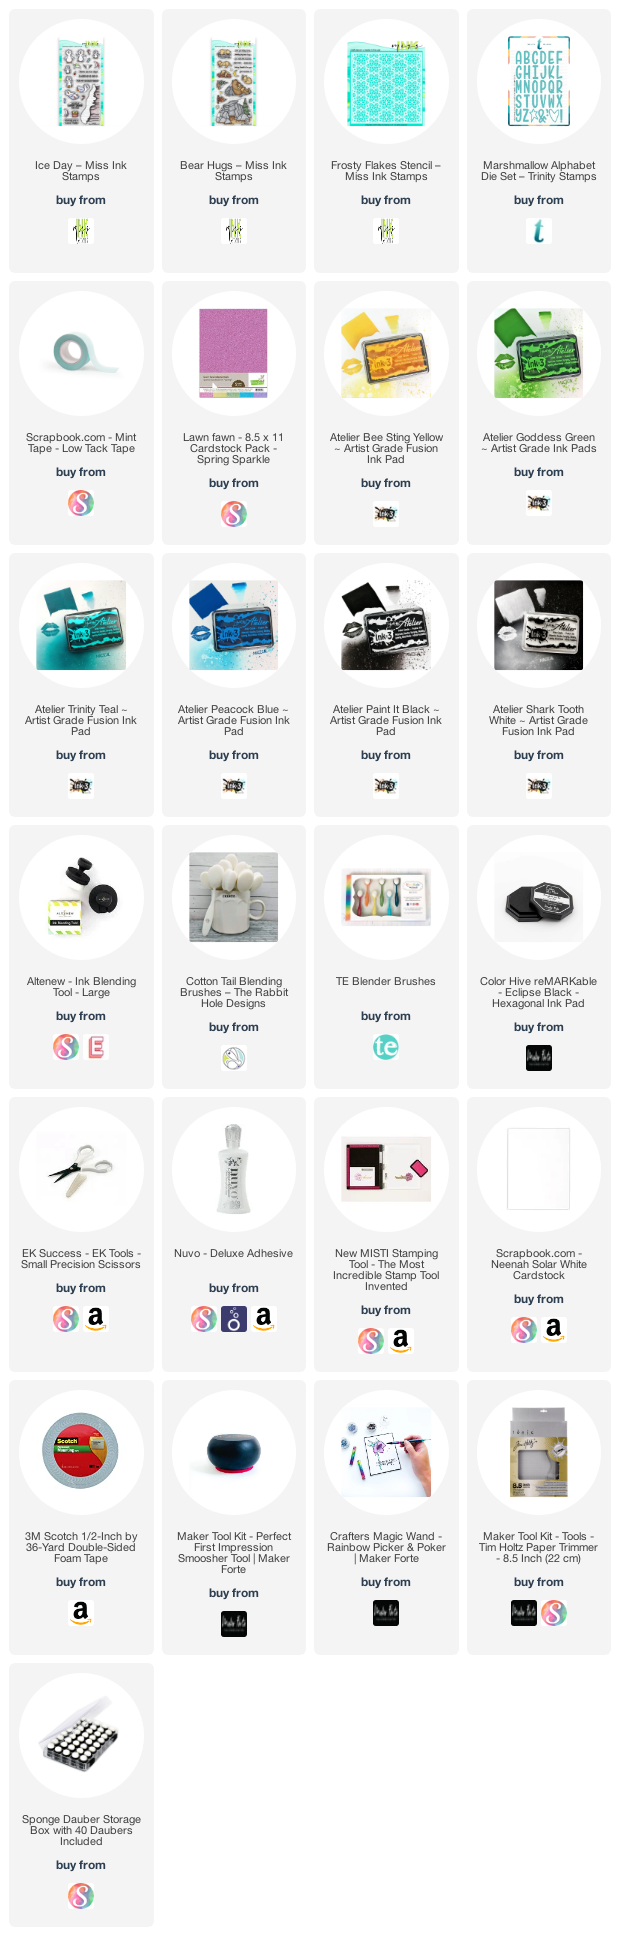
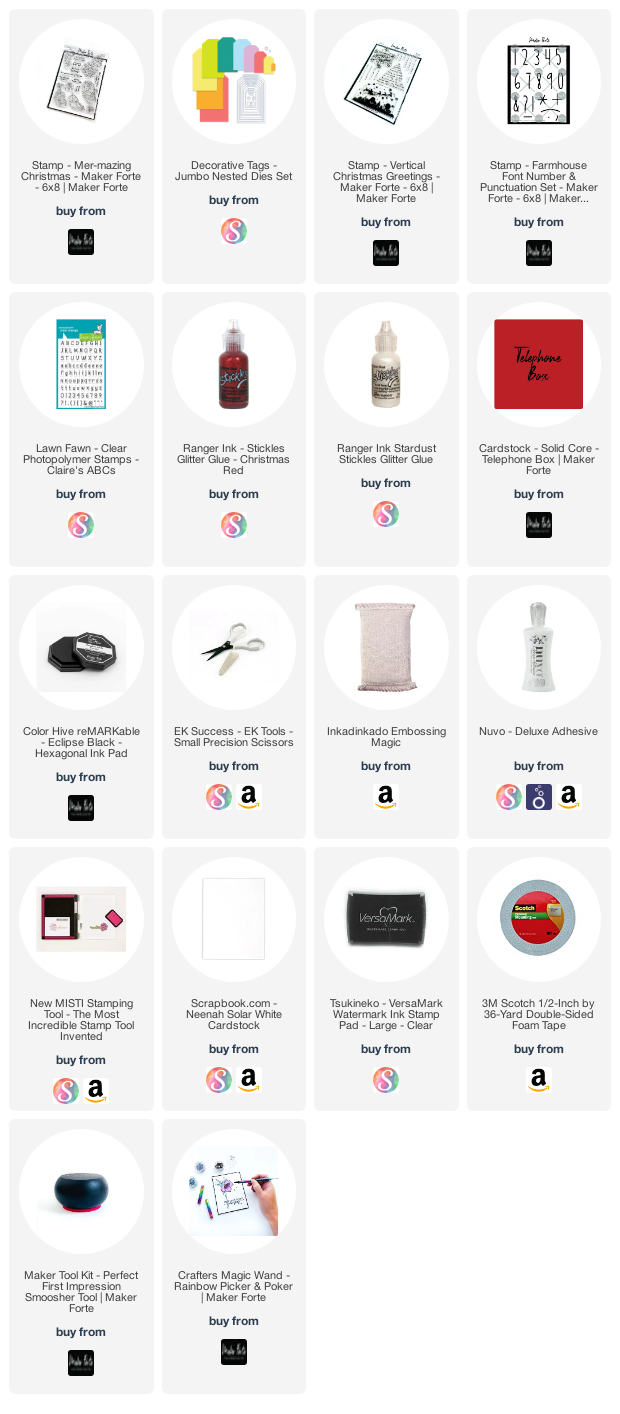
I’m often asked what supplies I use to make my cards and projects, so I’ve put together a list using affiliate links when possible. If you make a purchase with these links I may receive a small commission. These help me to keep up with blog costs and continue bringing you fun projects. Thank you so much for your support!

I hope you have a very happy holiday season!