About KariV

Author Archive | KariV
altenew-july-challenge

How to get a Watercolor Look on Cards

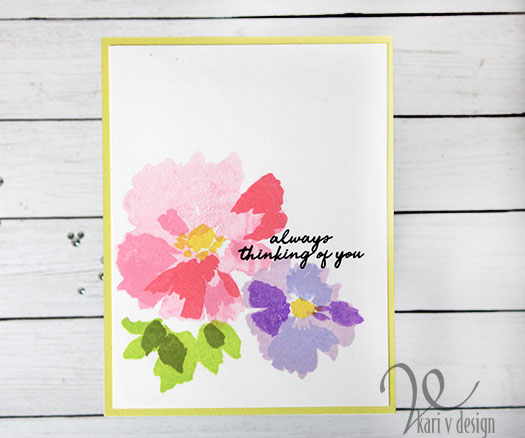
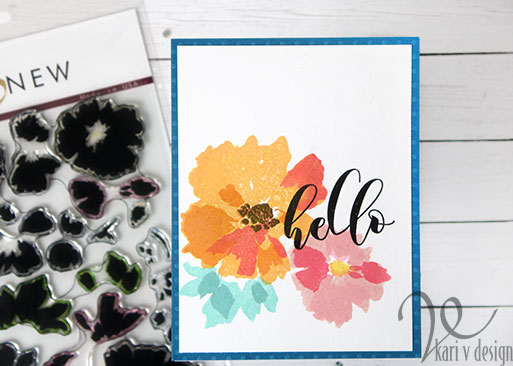
Hello! I’m excited today to share with you some watercolor looking cards. Now, I did not actually watercolor these, however I did do a technique where I inked up the stamp then misted it with water to get this dreamy look!
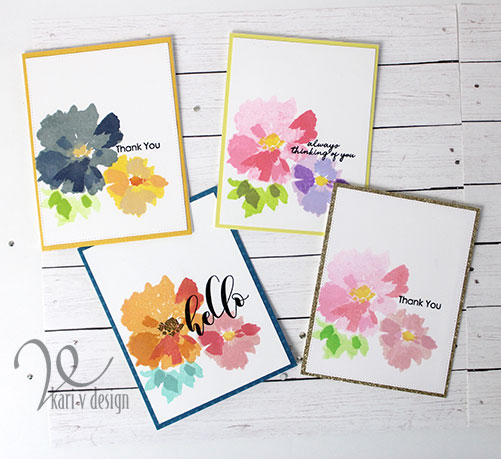
I was inspired by Nicole in her All About Layering 1 course, she liked to use colorful, inked florals with a black sentiment. I love that look, so I thought I’d give it a try with a variety of sentiments!
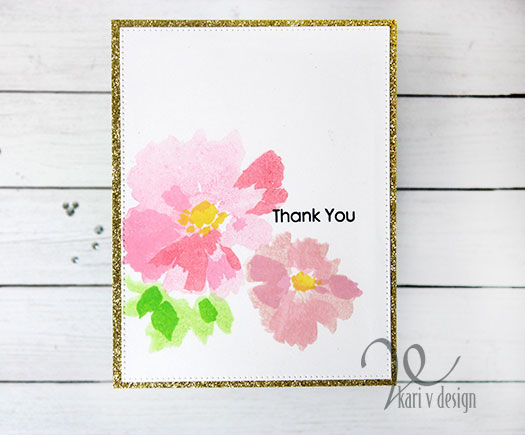
For this one I used a gold glitter frame to make it pop.
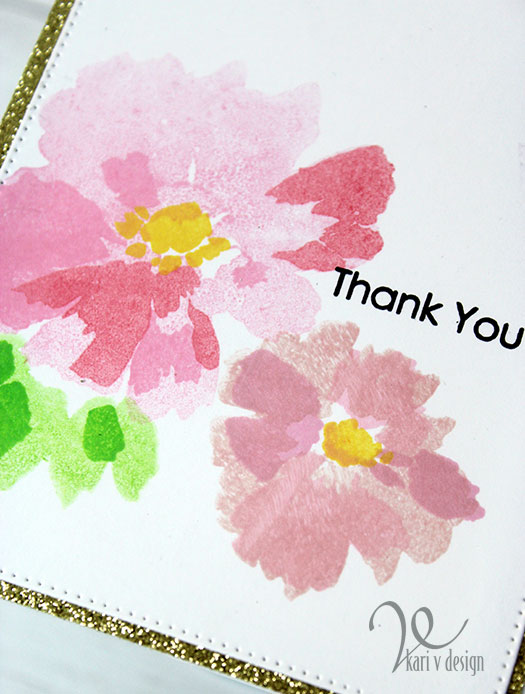
Watercolor spritz

I decided to make a whole bunch of cards using different colors of florals. Since I had the stamps all set up in my MISTI, why not?

To make it easy on myself, I usually set up the layers in my original MISTI so I have room enough to put two stamps on at a time. Then I stamp in assembly- line style, changing up the colors as I want. That’s how I made a whole bunch of these floral panels at the same sitting.

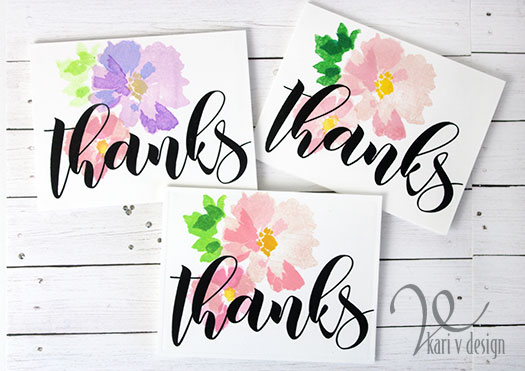
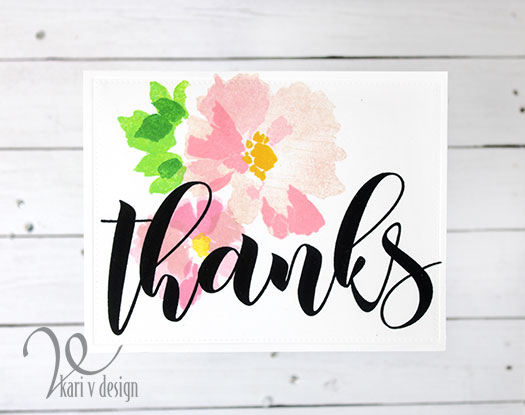
For the next cards, I went with a bold sentiment….just for fun! I really love how they turned out, and I’m always in need of thank you cards.
Big Thanks!

I just turned these onto the side/horizontal layout to fit that big thanks word on the card panel. For large sentiments like this I am sure to use my MISTI (or stamp positioner) just in case I need to stamp it twice to get that dark, crisp black sentiment. Love it! You can see I experimented with a lot of green inks on these…still need to find my perfect green combo.
a different color combo

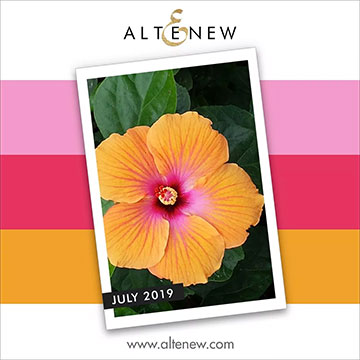
This color combo was inspired by the current July Altenew Challenge!
Always thinking of you

The inking may not be perfect, but that is some of the joy of watercolor stamping (using a spritz of water)! Keep in mind that if you use Distress Oxides for this, they dry with a more chalky look (as one of those purple colors above…also on the yellow and dark blue flower in the very first picture).

Thanks for stopping by! I’m often asked what products I used, so I have a list for you below, using affiliate links when possible. When you purchase product using these links I may receive a small commission. These really help in keeping up with blog costs and allow me to bring more fun projects like this one! Thanks so much!
Comments { 5 }
everything-glitter-but-rose-CARD

Heat embossing with Stencils

Hello! Today I have another favorite technique: heat embossing with stencils. It’s a fun one, so gather your best stencils and give it a try.

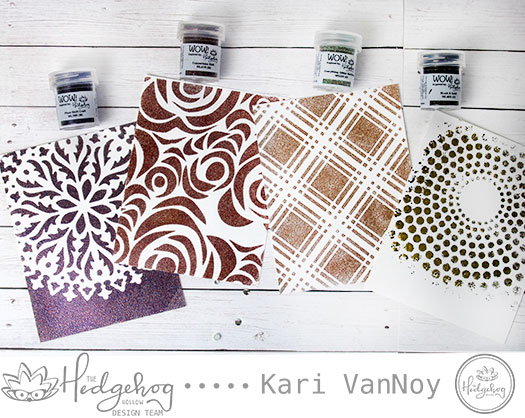
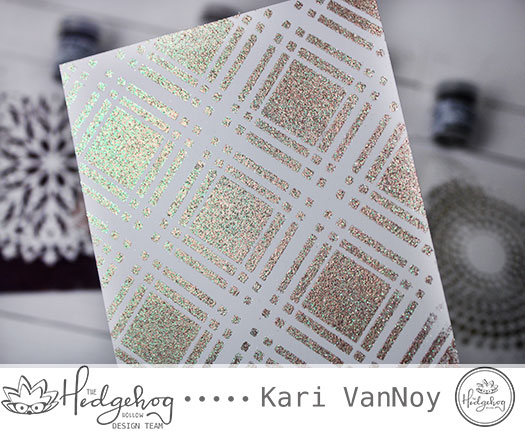
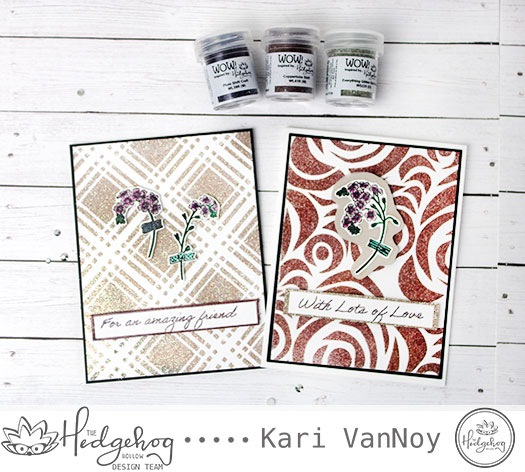
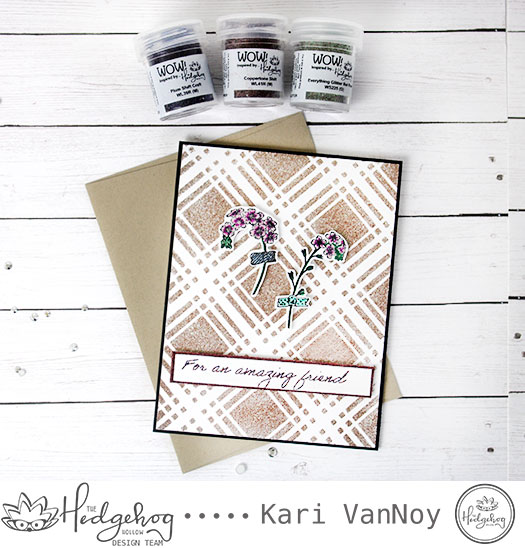
Today I’m using the embossing powders designed by the Hedgehog Hollow in collaboration with Wow! Embossing Powders. They are such beautiful colors…take a look:

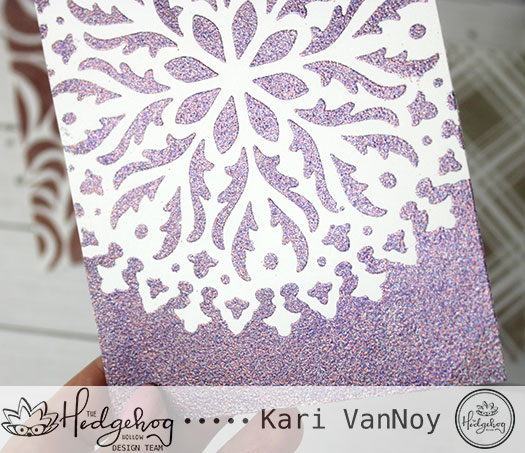
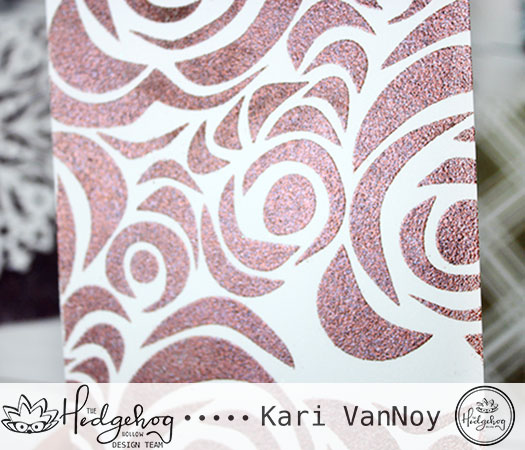
Plum Shift Craft, Coppertone Shift, Everything Glitter but Rose, Black & Gold

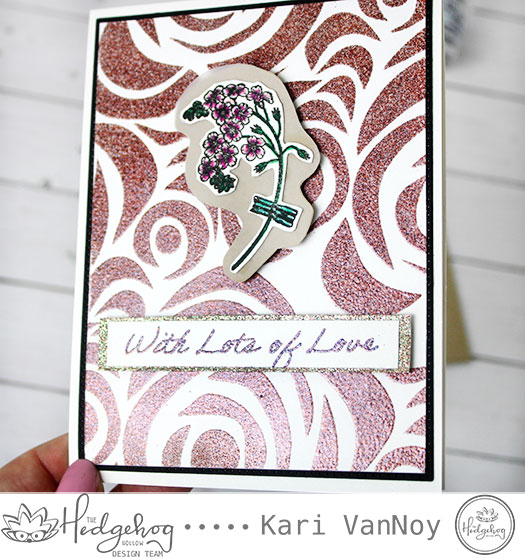
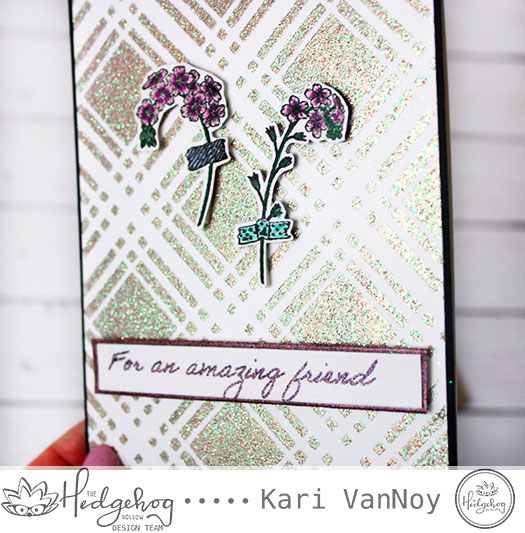
To make these panels, first attach your stencil to a card panel. Use Versafine ink (or another sticky embossing ink) and smoosh it through the stencil onto the card panel. Remove the stencil. Add your embossing powder and heat set it with a heat gun.

I think these embossing powders are certainly worthy of an entire card panel! I did create a couple of them into cards by cutting down the panel and layering with black cardstock. Then I added it all to a card base and attached the floral stems with foam tape.

I heat embossed the sentiments with the same embossing powders, and layer that onto a heat embossed strip of paper.

And that’s all it takes to create shiny embossed cards! These look great with the kraft envelopes included in the Hedgehog Hollow July Kit.

That’s all for today! I’ll see you next time.

Comments { 0 }
day-5-glitzy-CLOSE-UP

Glitzy Glitter

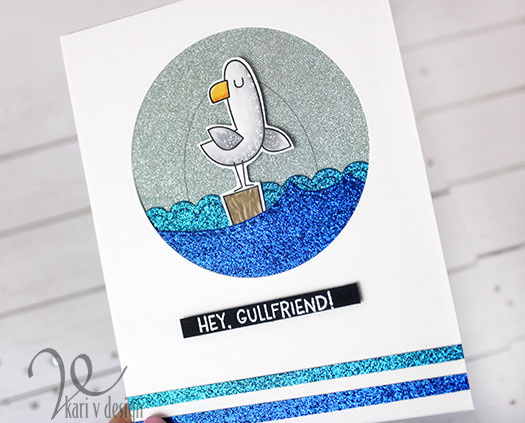
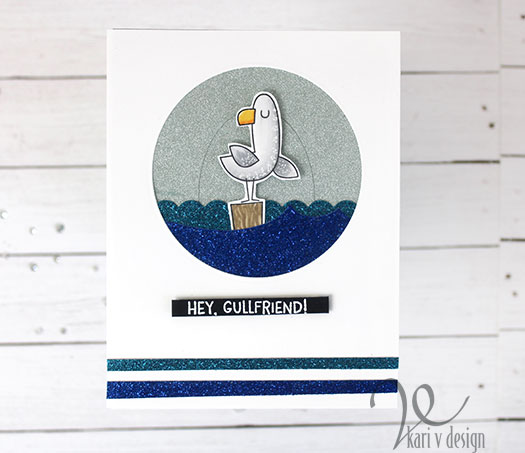
Hi there! It’s the final Day (day 5) of MFT Camp Create and the challenge is Glitzy Glitter. For this one, I pulled out my all-time favorite Seagull stamp.

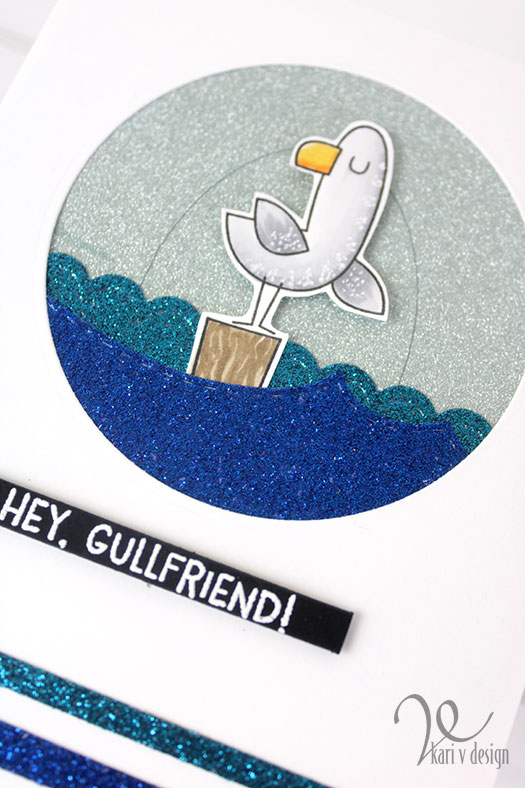
Glitter Paper in two shades of blue

I love that little seagull. I colored him up with Copics and added white dots for some fun detail. The “ocean” is made with glitter paper cut into wave shapes, and behind that seagull is even MORE glitter paper in silver. I created an Oval dry embossed behind the seagull to highlight this critter even more.

Glitter is tricky to capture in photos!

I hope you have enjoyed this week of creating with Camp Create! I officially have completed all FIVE DAYS! Here’s my badge for today.

It was a wonderful week at Camp Create! A big thank you to My Favorite Things Stamps for the challenges!

Hey, Gullfriend!

See you next time!

Comments { 0 }
day-4-sensational-close-up-2

Sensational Sliders

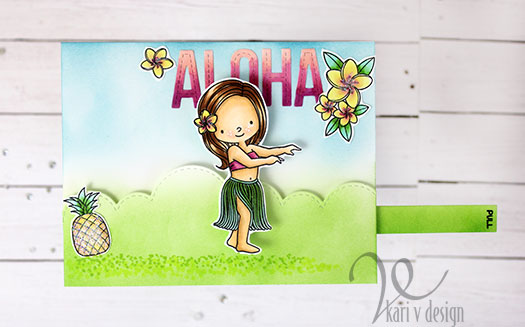
Hi there! It’s time for Day 4 of MFT Camp Create, which brings us to slider cards! I have to admit, I don’t make very many slider cards right now, but when I do make them I LOVE them!

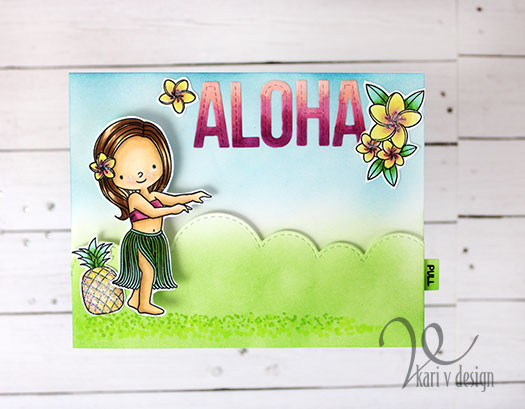
Today I tried a new technique of a HIDDEN slider and it’s pretty slick! I learned this from the MFT video for today’s challenge.

Aloha!

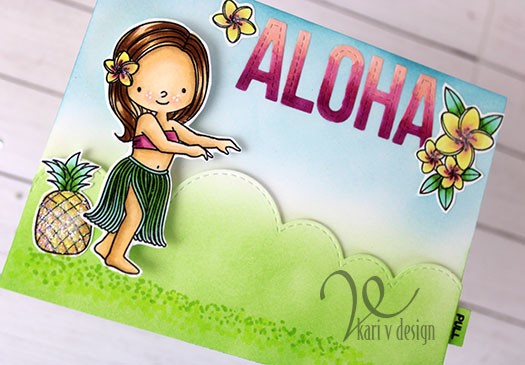
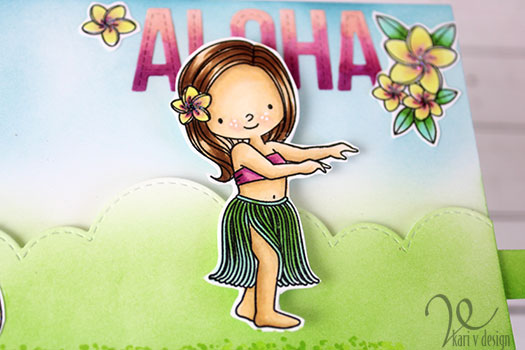
Don’t you like how this hula girl dances across the card! Lol. I love it. I cut out the word “Aloha” from MFT alpha dies and colored them with copics to match her outfit.

She’s good at Hula

I made the card background pretty simple on this one, with some ink blending and copics, but I wanted to concentrate on that slider element.

Here’s the badge I earned for today:

Thanks for stopping by! Aloha!

Comments { 0 }
day-3-card-3

Spectacular Shakers

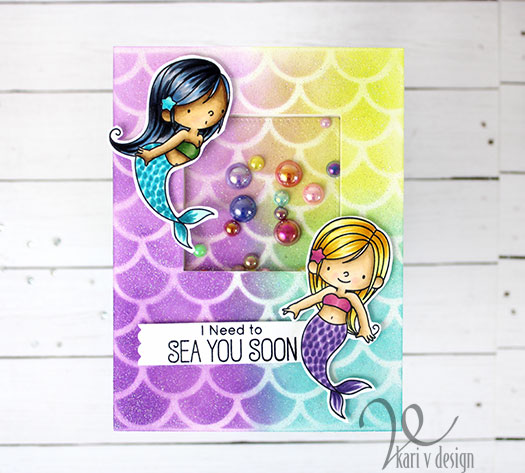
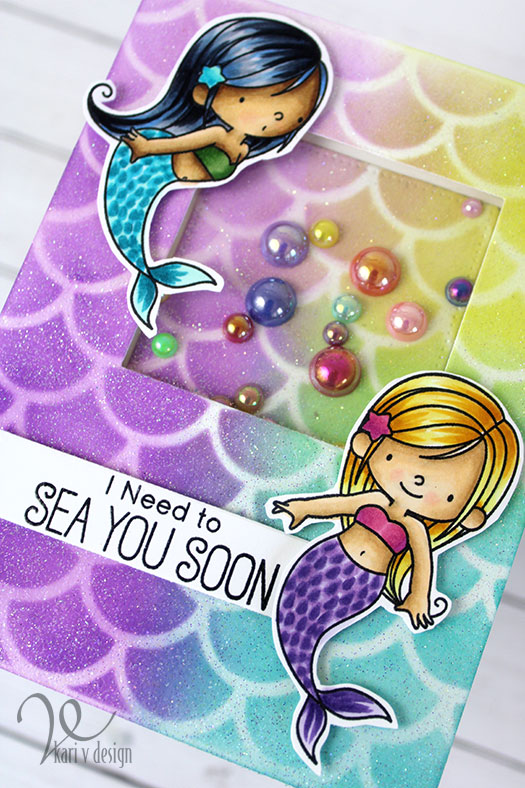
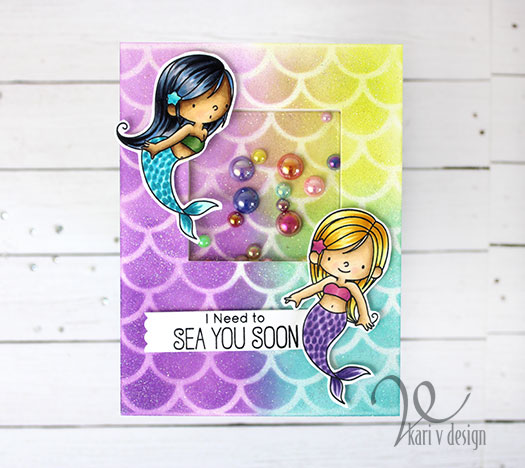
It’s Day 3 of MFT Camp Create and that means SHAKER CARDS! I love shaker cards and this time I inked up those mermaids with Copics. I forgot just how much I enjoy coloring mermaids!

I tried a new way to color up their tails and I like how it turned out…gives quite a bit of texture. For the background of this card, I used an MFT stencil to ink on some Distress Oxides in mermaid colors. Then I used some Glitter embossing powder over the entire panel! Can you see that glitter?

Glittery goodness!

Those shaker pieces are so much fun (from Trinity Stamps!) and I love the shine they have. Perfect for a shaker mermaid card!

Here’s the badge I earned for today:

I hope you enjoyed this shaker mermaid card today!

Comments { 0 }