About KariV

Author Archive | KariV
colorful-merry-with-trees

Freezer Paper Snowflakes

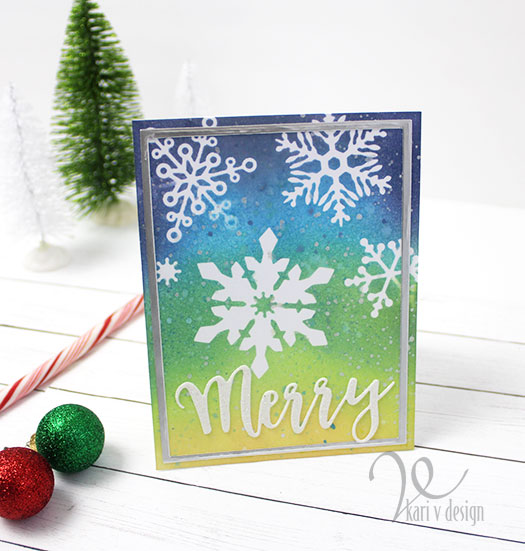
Hello! I have a great new tool for the craft studio to share today. You might think this is a kitchen item, but today it is working GREAT on a card or two! It’s Freezer paper…a little trick I learned in a recent class from Altenew.

For my cards, I first die cut some snowflakes out of the freezer paper. Then I ironed them onto the paper with a warm iron. Then I did a little ink blending with my new favorite blending tool.

Ink blended background on the right

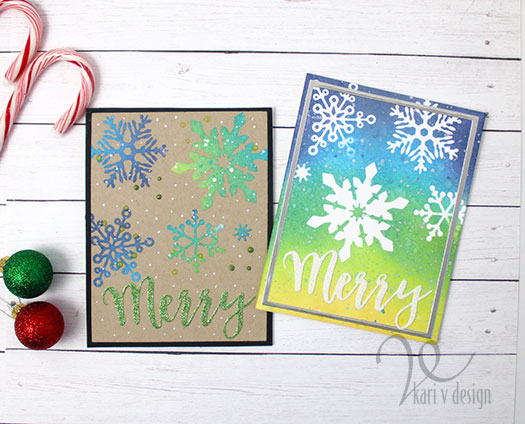
I splattered the background with more ink, and some pearl watercolors. Then I carefully removed the snowflakes…and look at those beautiful white snowflakes left behind!

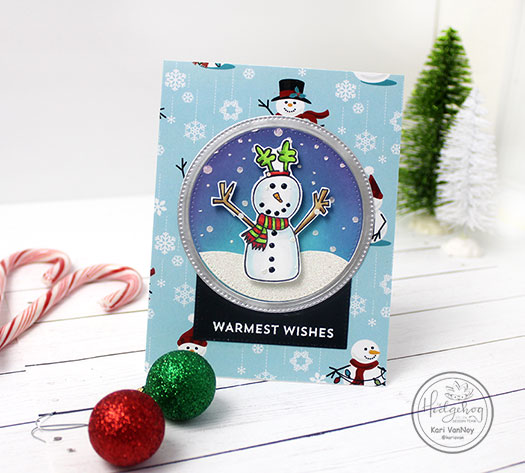
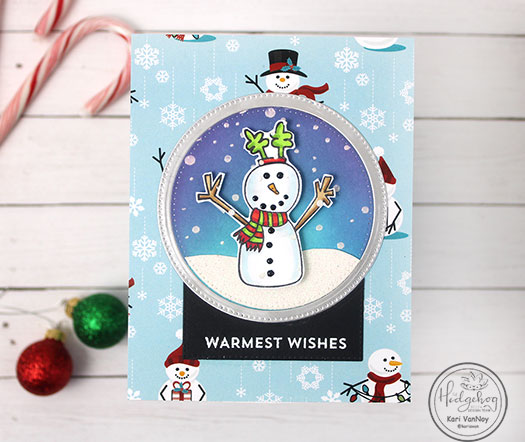
The “Merry” sentiment is die cut from glitter paper, and added along with a silver foil frame. What an awesome technique! Who would’ve thought to use freezer paper? I love this and think it might even work better than masking paper.

I have a quick video to show you on how to do this, watch below or on YouTube:

Of course, once I removed the snowflakes (cut from the freezer paper), I couldn’t let them go to waste! So I made a second card on Neenah Desert Storm paper. I was interested to see if I could get them to still iron-on to this second card. Did it work?…yes and no. Lol.

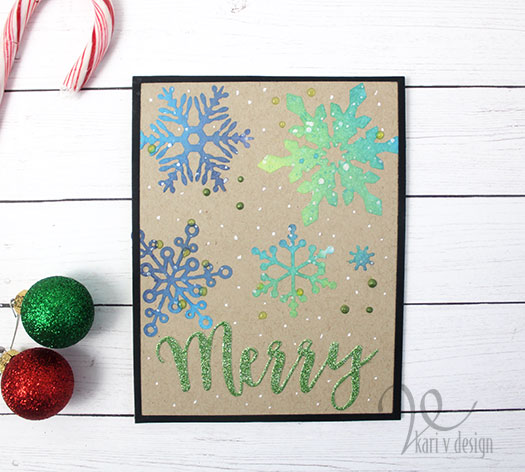
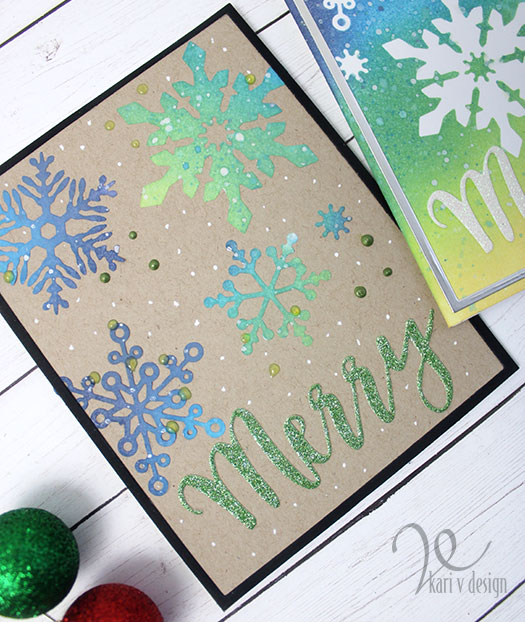
Most of them DID iron back on, but I had one problem snowflake. So what did I do?! I used a little liquid adhesive and Nuvo drops to help keep it stuck down!! Lol. There’s more than one way to make a card work.

I added some extra Nuvo drops and white gel pen to this one, to finish it off. Which one do you like better?

I’m often asked what supplies I use to make my cards and projects, so I’ve put together a list using affiliate links when possible. If you make a purchase with these links I may receive a small commission. These help me to keep up with blog costs and continue bringing you fun projects. Thank you so much for your support!

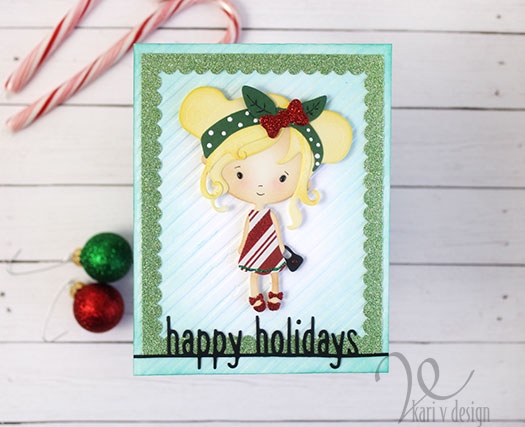
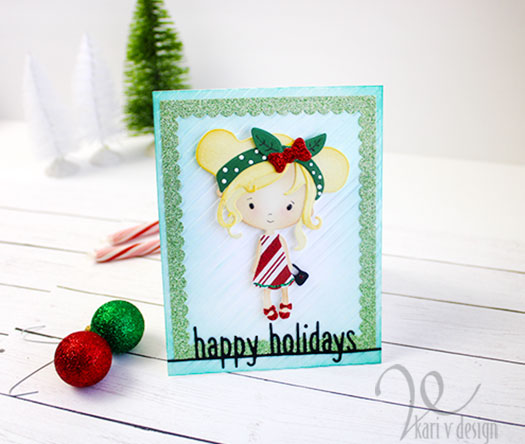
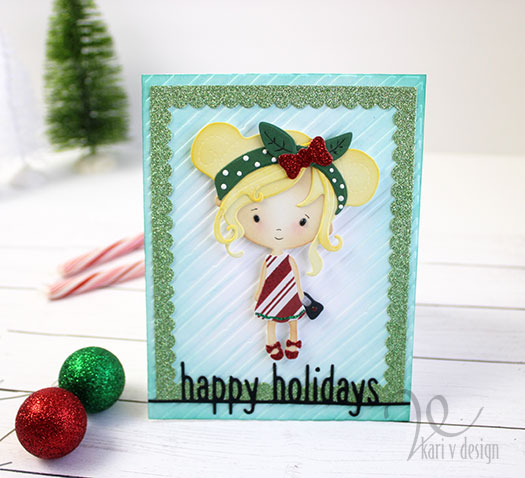
I absolutely love these colors for a holiday card. Thanks for stopping by!

Comments { 1 }
SUNSHINE-snowglobe-card-1

Do You Want to Build a Snow Globe?

Hello! Today I have a Snow Globe card to share, created with basic shape dies. This cute snowman stamp is from the Hedgehog Hollow November Kit and it’s perfect for this holiday card!

I used nesting Circle dies for the Snow Globe frame, and a rectangle die to create the Snow Globe and base. The background of the Snow Globe is cut with a circle die to fit right inside.

I show you just how to create this Snow Globe and put the entire card together below, or watch it on YouTube:

I added the “snow” with Metallix White Pearl gel. Then for finishing touches, I added Black Nuvo drops to his eyes, mouth, and coal buttons. A little glitter pen on his scarf and antlers give a little extra sparkle!

The background paper is some I had in my Christmas stash, and I thought it was perfect for this snowman card. You can use any holiday paper you have, or create your own inked background.

I’m often asked what supplies I use to make my cards and projects, so I’ve put together a list using affiliate links when possible. If you make a purchase with these links I may receive a small commission. These help me to keep up with blog costs and continue bringing you fun projects. Thank you so much for your support!

Thanks for stopping by today! I hope you enjoyed this Snow Globe project today. See you next time!

Comments { 0 }
polkadoodles-girl-card-3

Sweet Christmas Girl

Hello! Today I have a card using dies only! Sometimes it’s fun to switch it up and use only dies on a card.

Isn’t she sweet?! I made her a candy-striped dress and red glittery shoes, with a holly headband! This is exactly an outfit that I dream to own…but I think I just might look a little ridiculous. Maybe one day I will be able to pull it off! Lol.

This sweet girl was colored up with inks and finger daubers! It’s so quick and easy to color up a die this way.

I have a video to show you how this all came together, watch it below or on YouTube:

That light green glitter frame is from a Spring glitter paper set, but I LOVED the lighter green for this card.

I’m often asked what supplies I use to make my cards and projects, so I’ve put together a list using affiliate links when possible. If you make a purchase with these links I may receive a small commission. These help me to keep up with blog costs and continue bringing you fun projects. Thank you so much for your support!

I added lots of fun finishing touches to her outfit: green stickles, white nuvo drops and leafy veins to the headband. Would you wear a candy-striped dress? How about red glitter shoes? Or a holly headband?!

I’ll be back soon with more holiday card fun!

Comments { 0 }
SUNSHINE-dear-santa-flat-lay

Dear Santa

Hello! Happy Thanksgiving to all my crafty friends in the United States! We have a tradition of decorating the tree the evening of Thanksgiving. All the kids and grandkids help to add the ornaments to the tree. No, it doesn’t turn out perfect or look like a designer tree, but it’s a really fun tradition and brings our family even closer.

After that, we write letters to Santa! Today I have some Dear Santa cards to share.

I used the stencil and two stamps from the Hedgehog Hollow November Kit. To add some more fun, I used liquid applique to Santa’s hat and sleeves. It goes on liquid, but when you heat it up with a heat gun, it puffs up!

Here’s a quick video showing you how it all came together, watch it below or on YouTube:

https://youtu.be/MTedaSCE2-0

I’m often asked what supplies I use to make my cards and projects, so I’ve put together a list using affiliate links when possible. If you make a purchase with these links I may receive a small commission. These help me to keep up with blog costs and continue bringing you fun projects. Thank you so much for your support!

So tell me, do you write letters (or cards) to Santa?

I’ll be back soon with more inspiration!

Comments { 0 }
Lann-place-card-closer-up

Pie Placecards

Hello! I’m back with some Thanksgiving table Pie placecards!

I found this little pie die from Lil Inker Designs and I just knew that I needed it for my Thanksgiving table placecards this year. Here’s a preview:

I made all kinds of flavors: pumpkin, chocolate, pecan, banana cream, apple, cherry, key lime…. all the favorites for this time of year!

Can you pick out which flavors are which? I added all the names with a black pen. Here’s a photo of my Thanksgiving table with the placecards…getting closer to being ready!

Pumpkin pie for Lann!

I hope you enjoyed this quick look at the PIE placecards! I love them!

A Very Happy Thanksgiving to all my friends celebrating in the U.S.

Comments { 0 }