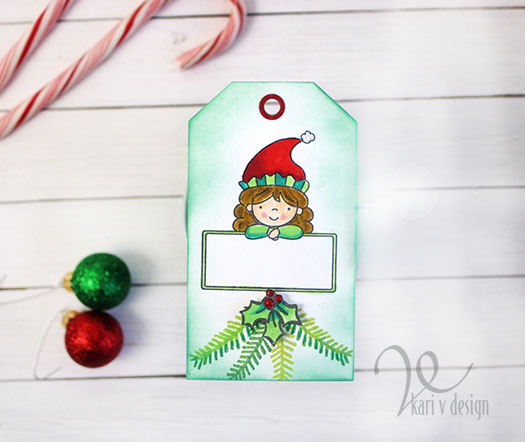
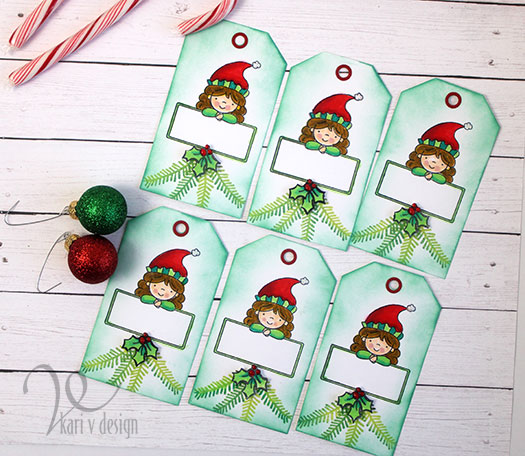
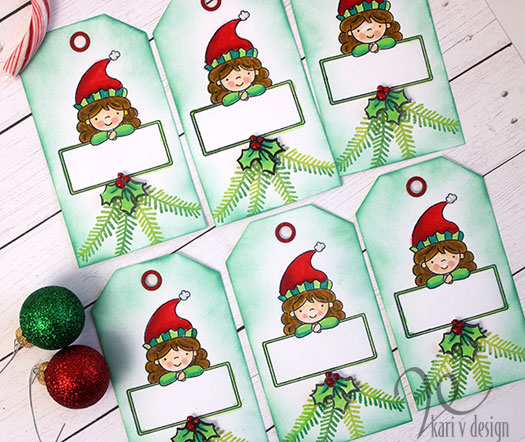
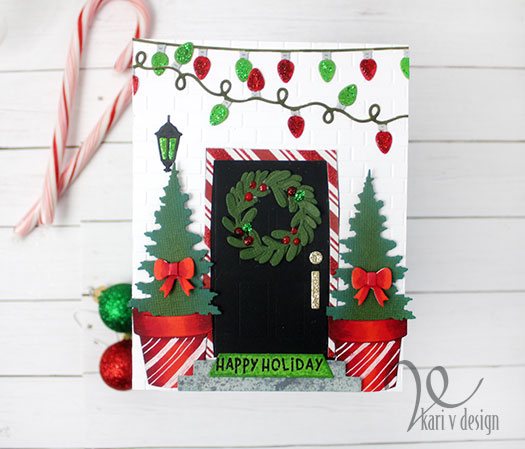
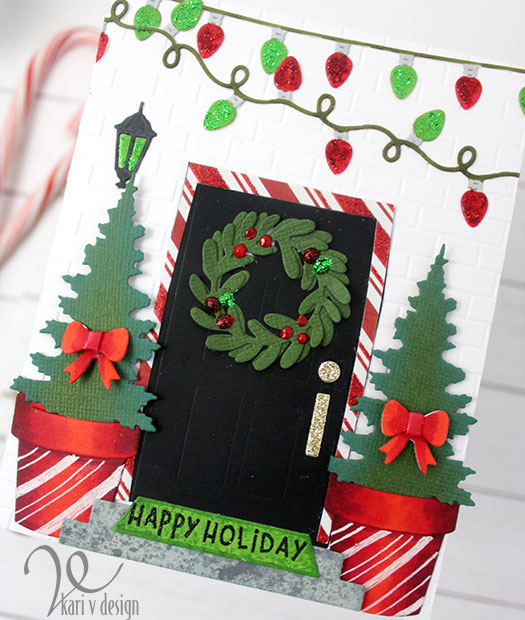
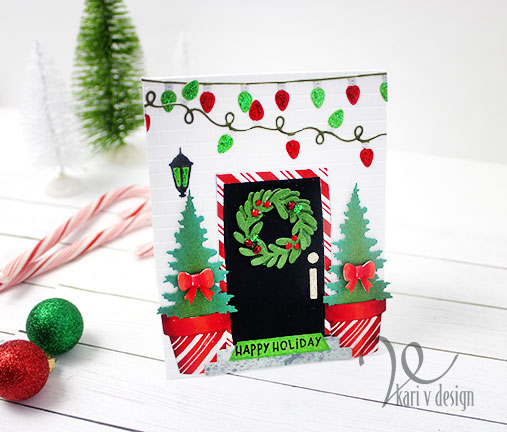
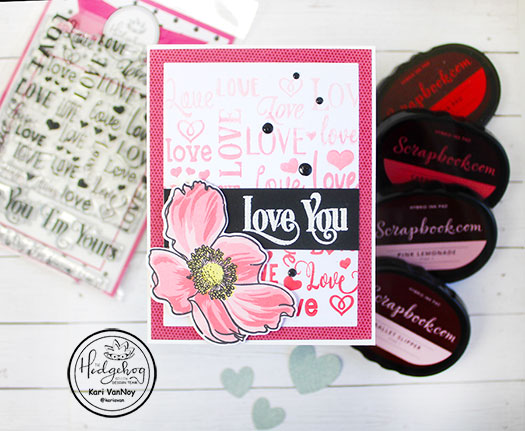
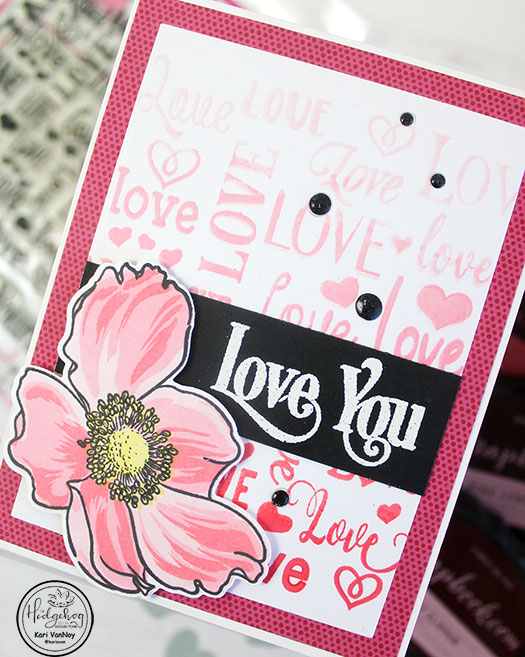
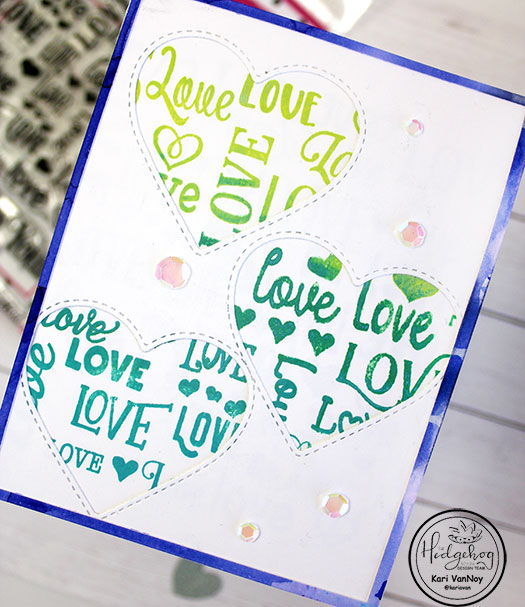
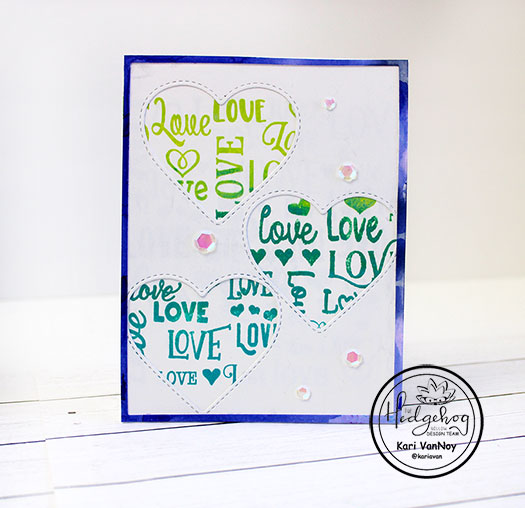
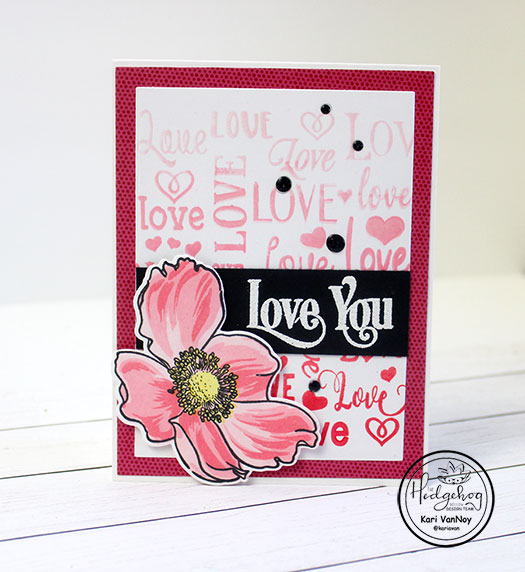
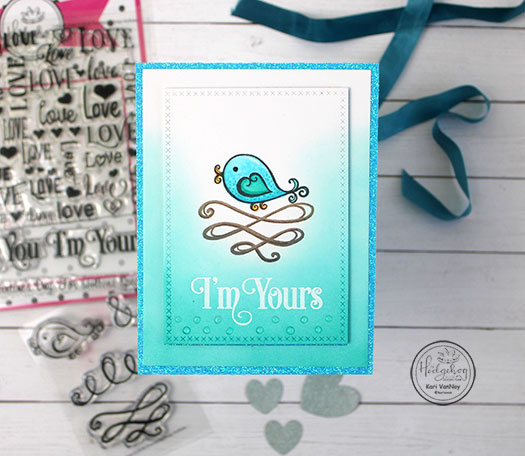
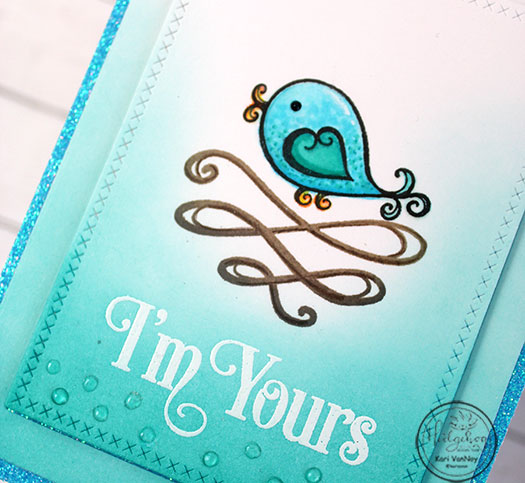
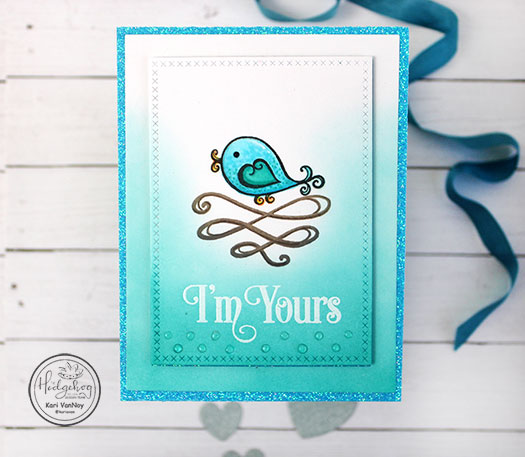
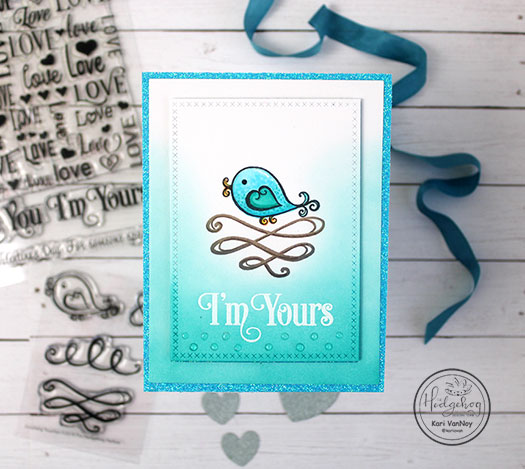
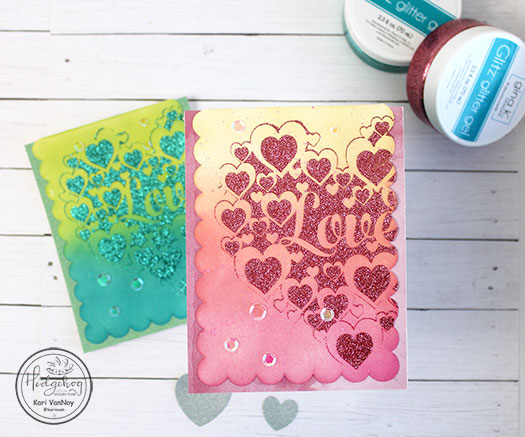
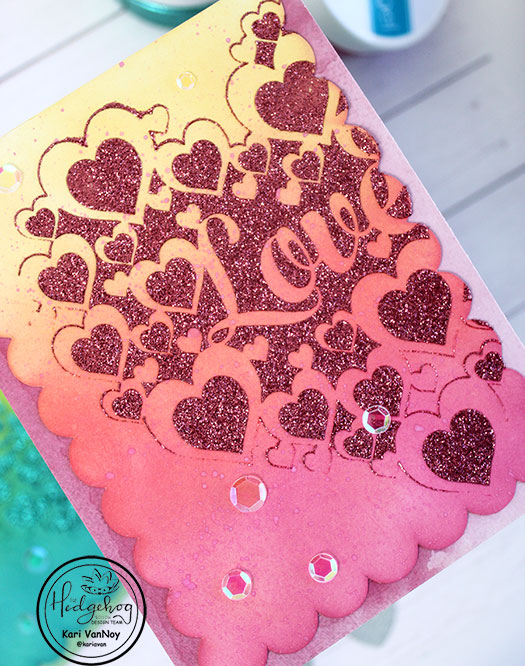
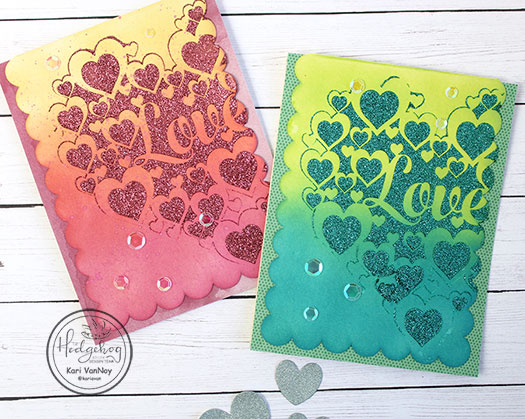
Hello! I’m so excited to share some Glittery, Bright love cards today using two new products from this year: Glitz Glitter Gel and the Stencil Pal.
I have to say, I think that Stencil Pal is going on my list for favorites this year!
I created a video to show you how I put these cards together and sharing some tricks for using them, watch it below or on YouTube:
I’m often asked what supplies I use to make my cards and projects, so I’ve put together a list using affiliate links when possible. If you make a purchase with these links I may receive a small commission. These help me to keep up with blog costs and continue bringing you fun projects. Thank you so much for your support!
Thanks for stopping by today! I hope you had a wonderful Holiday! See you soon with more inspiration.
Hello! Today I have a fun card inspired by my neighbor’s holiday decorations. This year they have gone all out with lights, lawn decorations, and blow-up characters. It’s fun to see!
That is what gave me the idea to create a Holiday House on a card.
This house is decked out with glittery lights, Christmas trees in candy cane pots, a holiday wreath and door frame decor, and even a holiday welcome mat. The porch light has been changed to green…and I think whoever lives here just loves this time of year!
I had a great time putting this together and it made me feel a little better to create a decorated home on a card since we didn’t put up any Christmas lights this year! We wanted to, of course, but work and other things got in the way until (I thought) it was just too late to pull out all the lights.
I have a video to show you all the fun, watch it below or on YouTube:
https://youtu.be/oADFcuBA4Vo
Did you decorate for the holidays this year? We DID decorate inside with our tree, ornaments, and stockings for all the kids and grandkids….it’s just OUTSIDE that looks a little grinch-ish. Lol.
I’m often asked what supplies I use to make my cards and projects, so I’ve put together a list using affiliate links when possible. If you make a purchase with these links I may receive a small commission. These help me to keep up with blog costs and continue bringing you fun projects. Thank you so much for your support!
Wishing you a very happy holiday season. I hope you feel so much love this time of year, whatever your traditions and decorations are. See you soon with more inspiration.
Hello! Today I have a fun ombre stamped background idea for you, with two card ideas! I love a good ombre background, and this stamp set from the Hedgehog Hollow December 2019 kit is so perfect for this technique.
Love you Ombre stamped background
Instead of typing out the details, I made a video to tell you just how to get this look on your cards, watch it below or on YouTube:
I also create a green & blue version. I love making non-traditional Valentine cards…because any time is a good time to send a card to your loved ones!
I’m often asked what supplies I use to make my cards and projects, so I’ve put together a list using affiliate links when possible. If you make a purchase with these links I may receive a small commission. These help me to keep up with blog costs and continue bringing you fun projects. Thank you so much for your support!
Thanks for stopping by today! I’ll be back with more inspiration soon!
Hello again! Today I’m using the new December 2019 Hedgehog Hollow Kit to create a cute bird in a nest card. I’m sharing this on the Hedgehog Hollow blog today, too!
This card came together pretty quickly. I started with a card panel of Neenah Solar White 80# paper and stamped the little bird with Copic friendly ink. Then I stamped the “nest” I created with the swirl stamp in two shades of brown ink.
I colored up the bird with copic markers and added some dots with copics and colored pencils. Then I white heat embossed the sentiment.
At this point, it was difficult to read the sentiment because it was white embossing on white paper. So I used make up brushes to brush on some Distress Ink.
I only inked it up around the “nest” and left it softer color toward the top. Then I die cut the cross-stitched rectangle, and cut down the outer rectangle as well so I could add some sparkly paper peeking from the background!
For the final touch, I added some Nuvo Jewel drops under the sentiment. Isn’t this birdie so cute?
I’m often asked what supplies I use to make my cards and projects, so I’ve put together a list using affiliate links when possible. If you make a purchase with these links I may receive a small commission. These help me to keep up with blog costs and continue bringing you fun projects. Thank you so much for your support!
Thanks for stopping by! I hope you enjoyed this project. See you soon with another card!
Hi I'm Kari. I'm a creator, a card maker, and a day maker! I am Lucky in love to a supportive husband, blessed to raise 3 kids (all moved away now!), and happy to be watched over by 2 dogs.
I originally started this blog to remind me to be happy amid adversity, and I hope it inspires you, too!