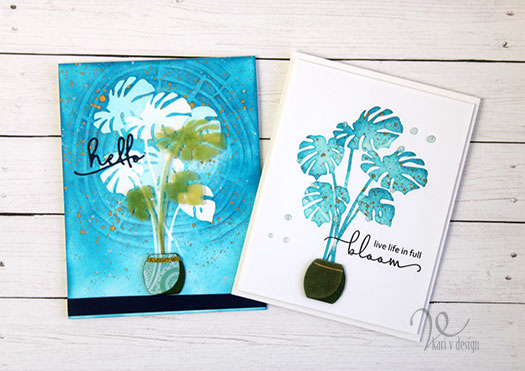
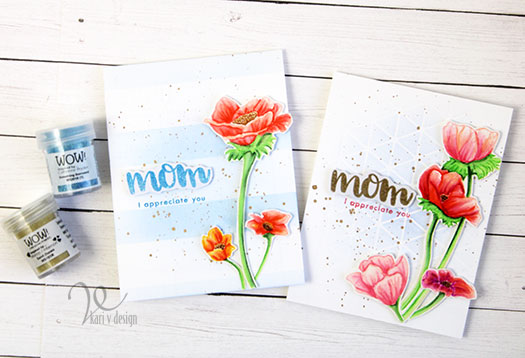
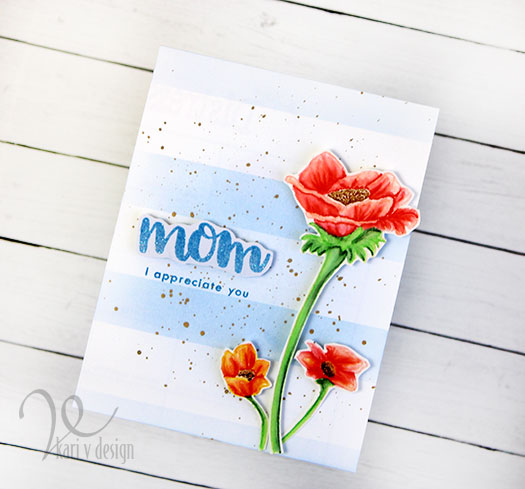
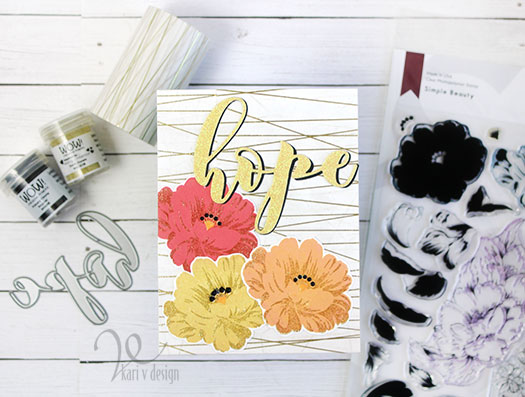
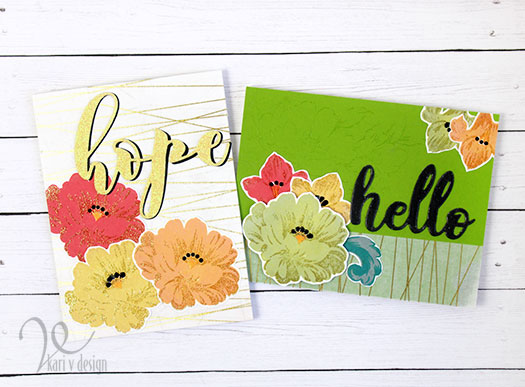
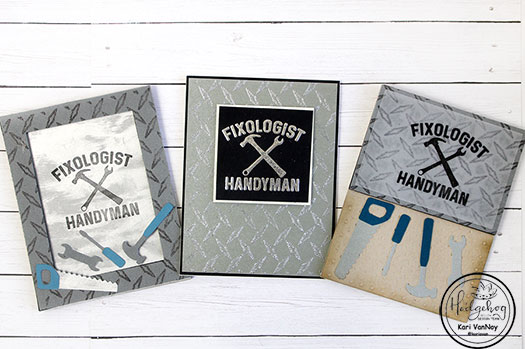
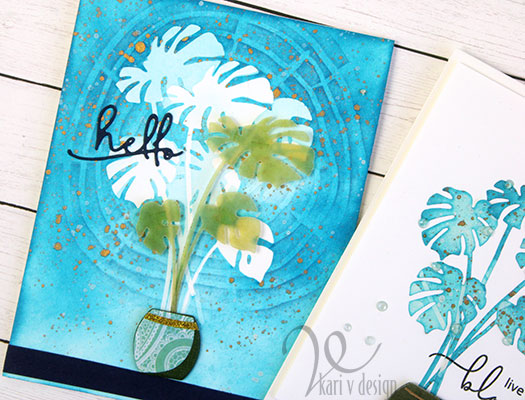
Hello! Today I have a Layered Masking Technique that is sure to make you happy: because it creates TWO cards!
I was inspired by the class at Altenew Academy called Masking Unleashed. The technique I loved was layering the masking to created more depth in your card. I took it a little further by adding four layers!
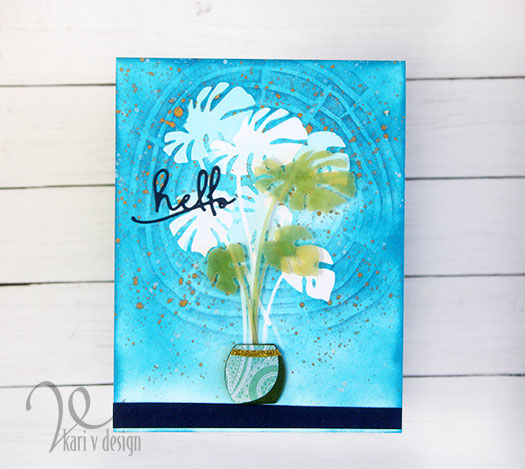
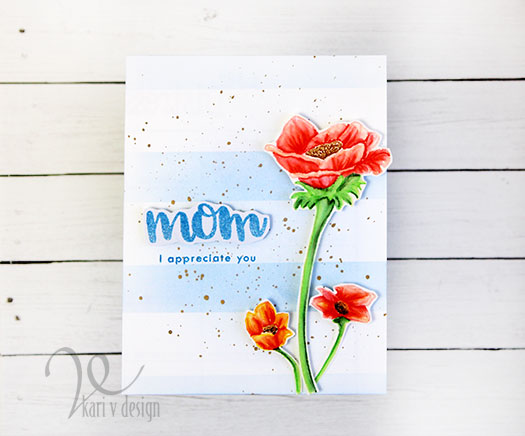
- I first masked off some leaves and inked the background (those are the whitest leaves)
- Then I masked more of the leaves and inked even more (those are the lighter blue leaves)
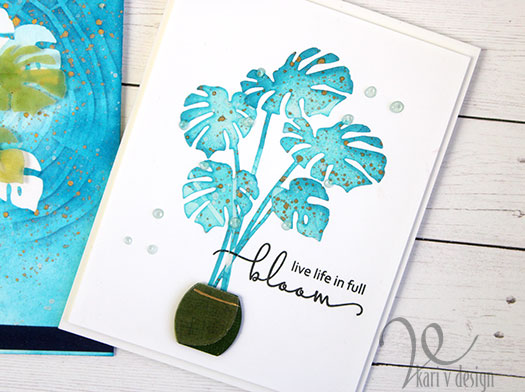
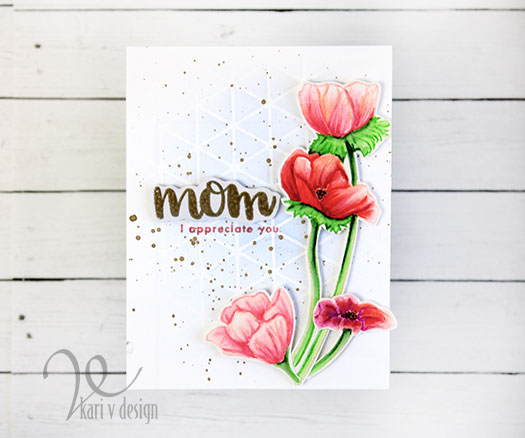
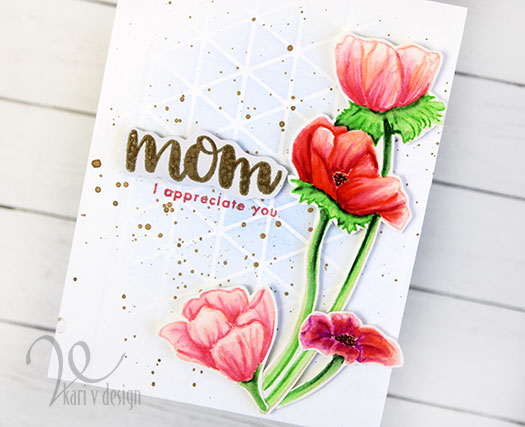
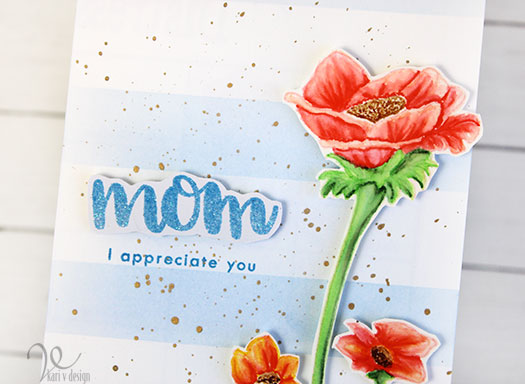
- I added a stencil layer with a darker blue ink to create a focal point that draws your eyes right to the plant
- Fourth, I added some vellum leaves (colored up with green copic marker)
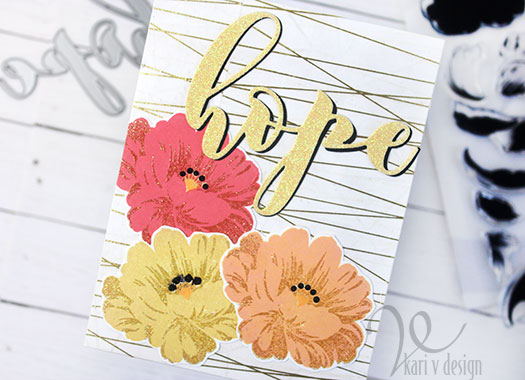
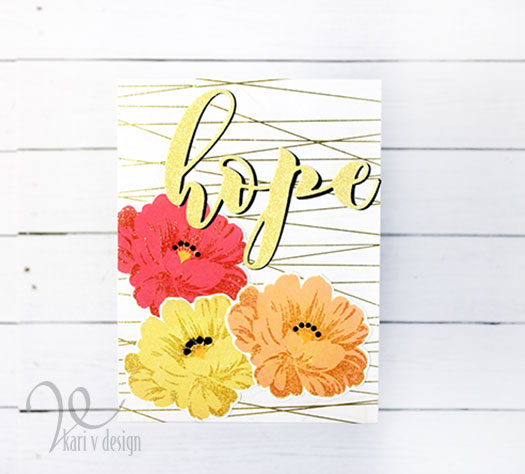
For even more interest I added white and gold splatters and a “designer” vase.
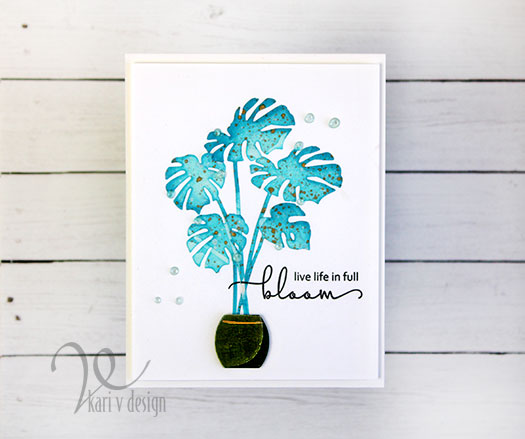
After I took off those masks from the first card, I saw the beautiful blue leaves splattered with the gold and white paint and I knew I needed to make another card…they were too beautiful to go to waist.
I made a video with all the details and tricks for keeping those masks adhered down to the card…after all, those masks had been put on and taken off a number of times! Watch the video below or in HD on YouTube:
I had a great time making these and I highly recommend this class!
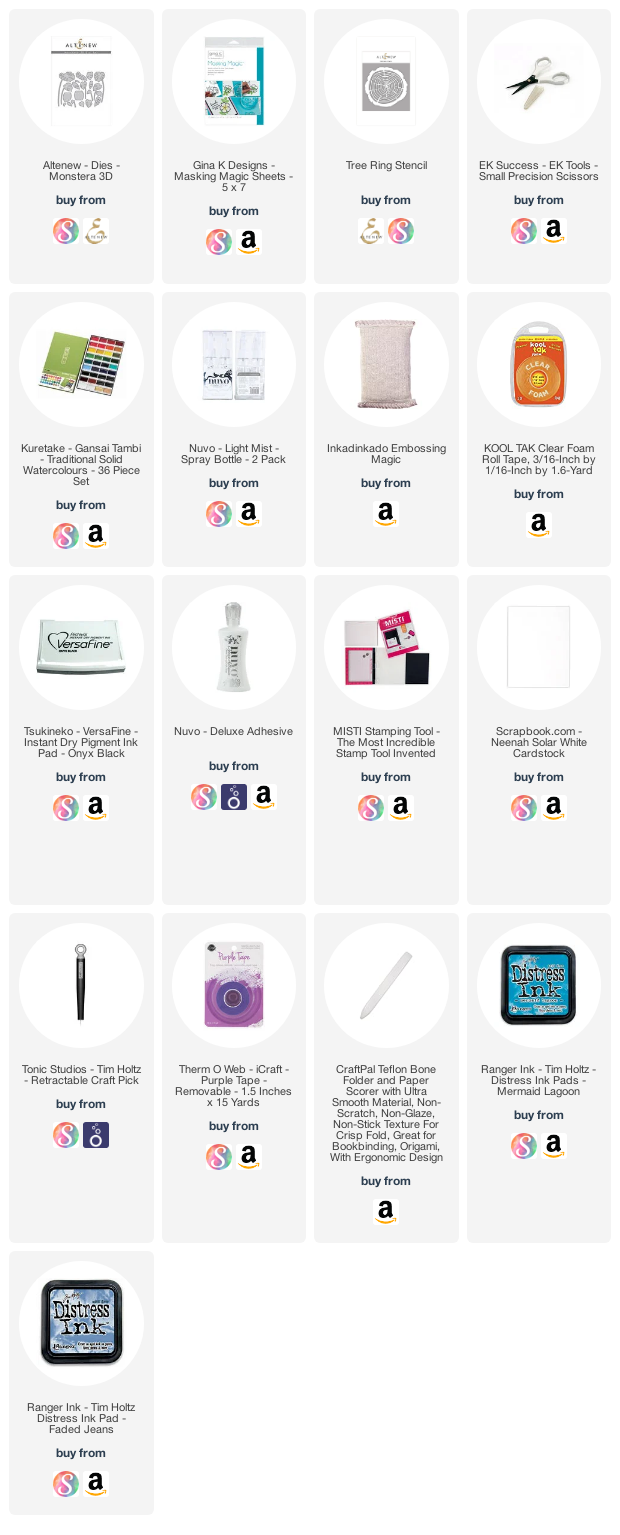
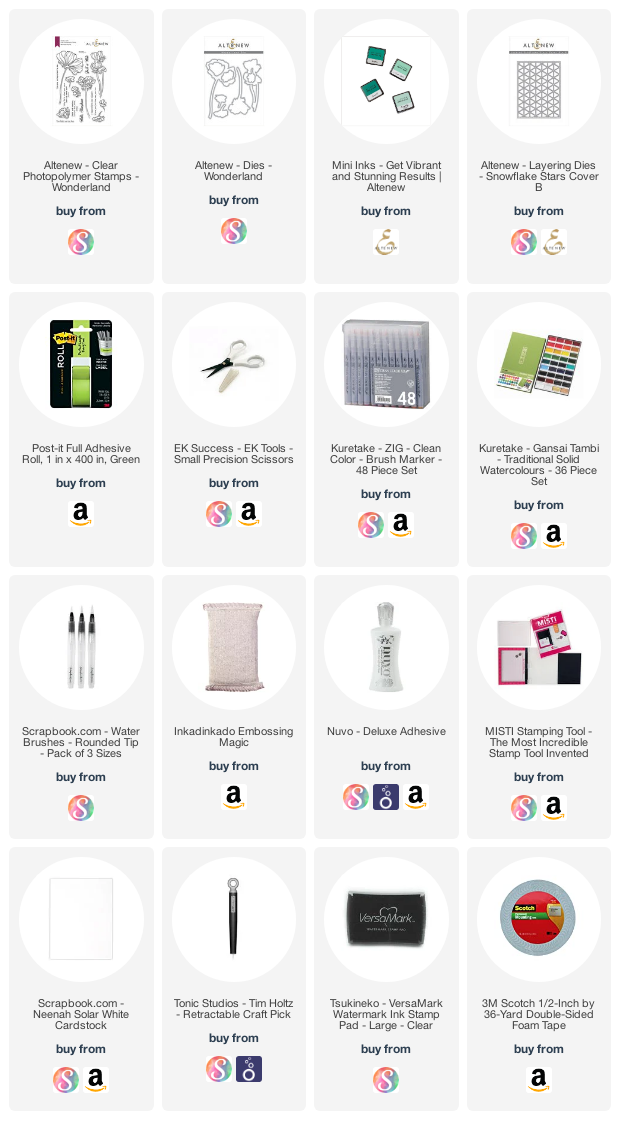
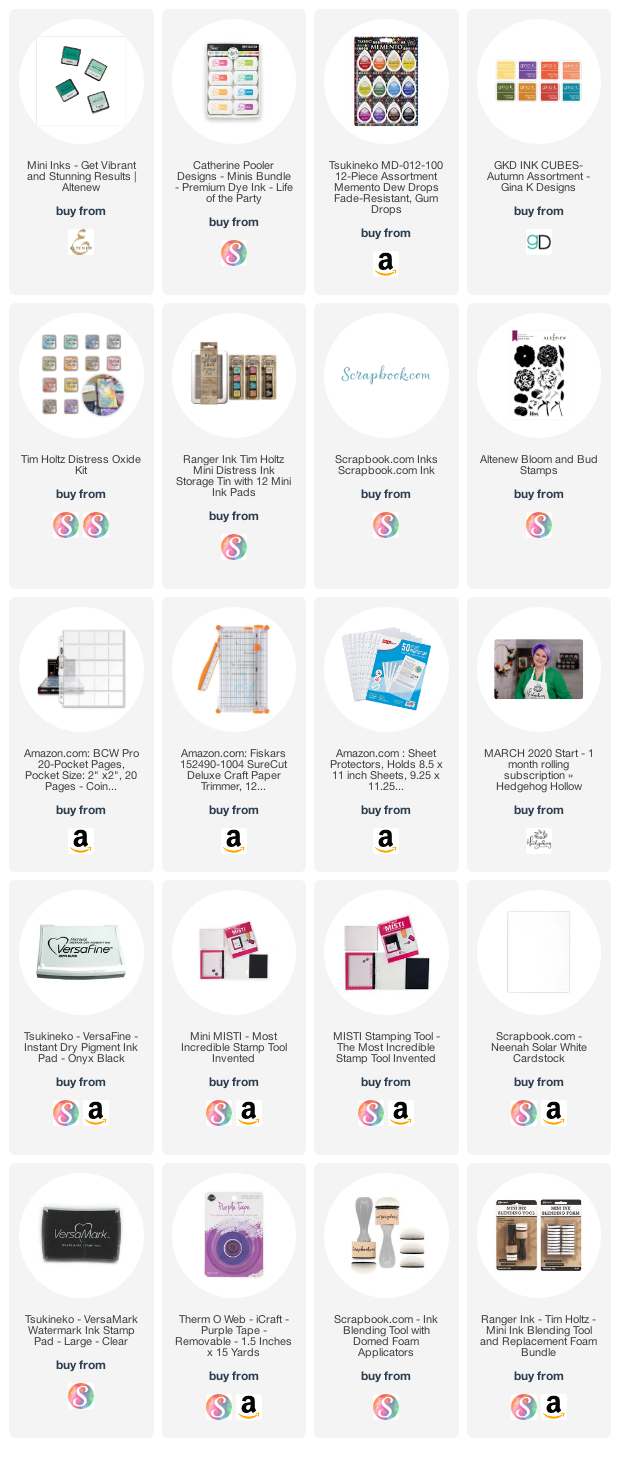
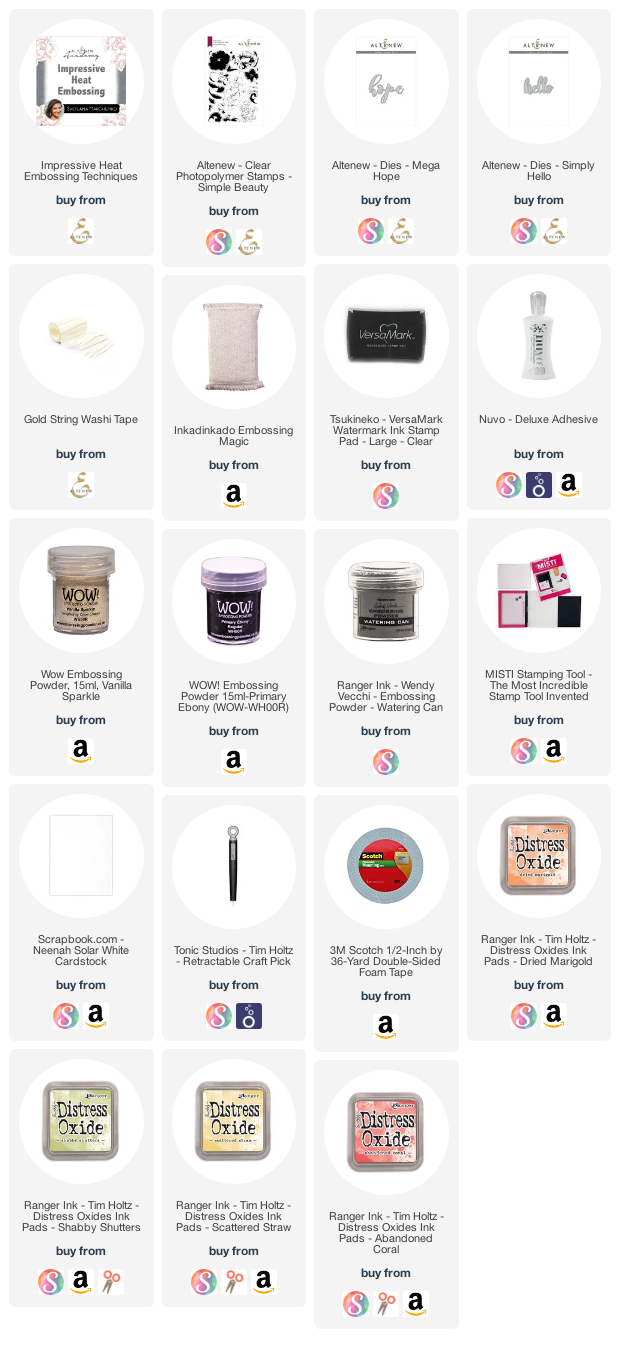
I’m often asked what supplies I use to make my cards and projects, so I’ve put together a list using affiliate links when possible. If you make a purchase with these links I may receive a small commission. These help me to keep up with blog costs and continue bringing you fun projects. Thank you so much for your support!