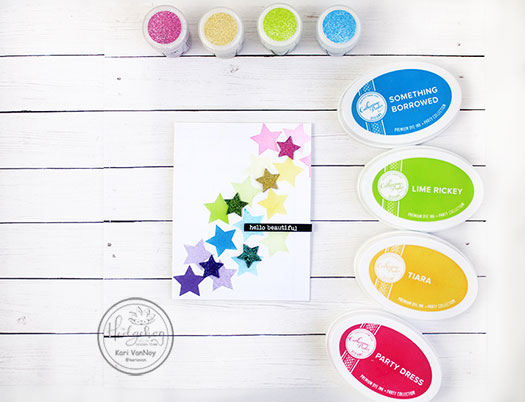
Hello! Today I’m up on The Hedgehog Hollow blog here to share these Ink Blended tags for Inspiration.
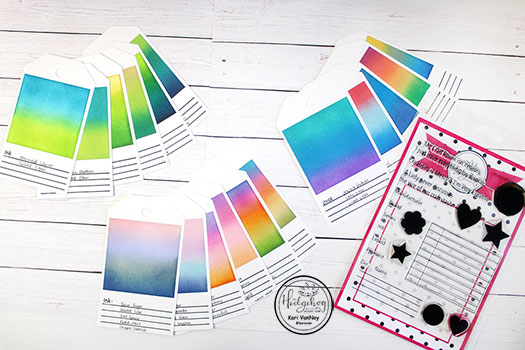
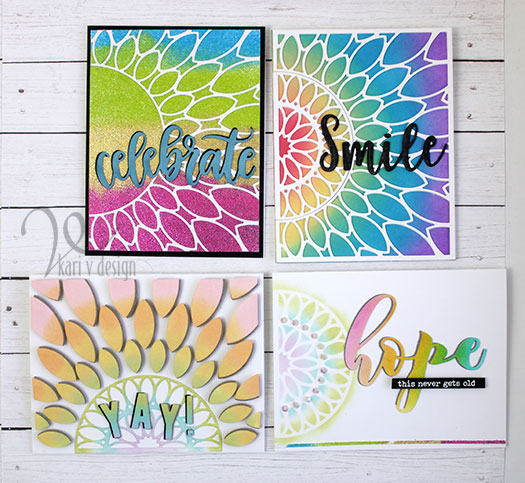
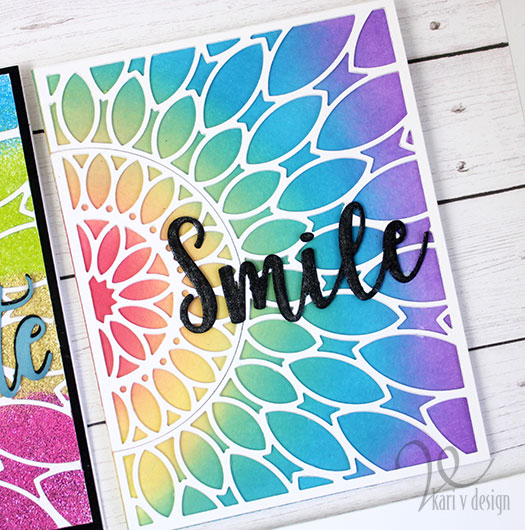
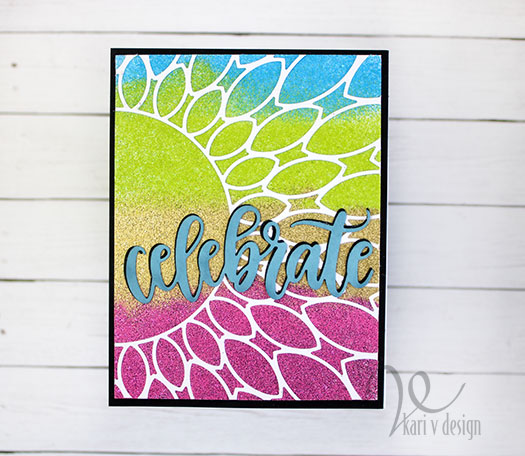
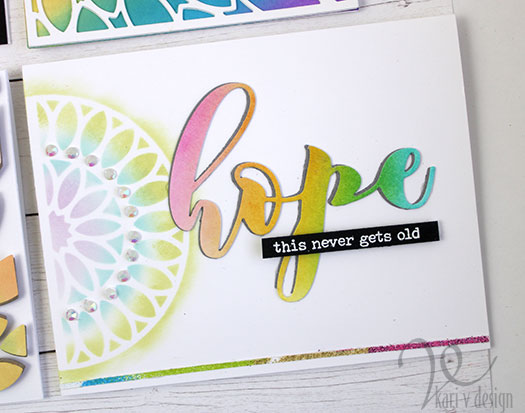
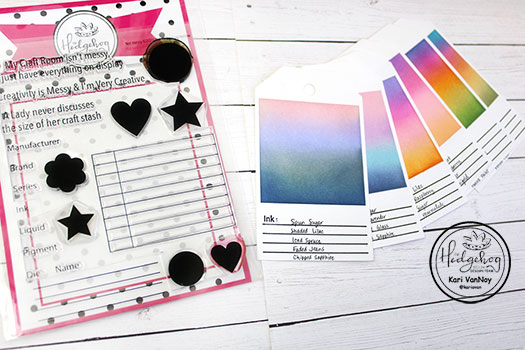
I love how these turned out! I used the quiet, unassuming line stamp in the lower left corner of this stamp set from the Hedgehog Hollow May 2020 Kit.
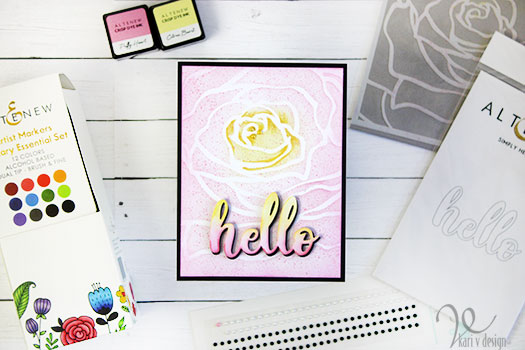
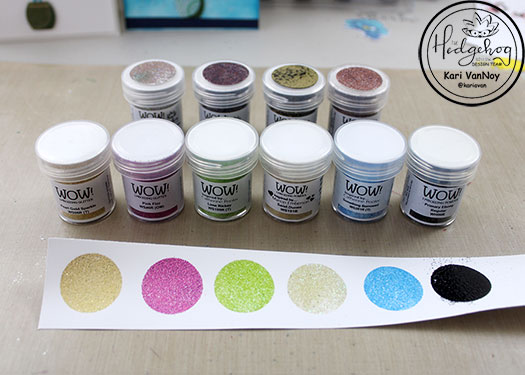
Check out my video for all the details, and a SECRET for getting almost any ink combination to blend well. Watch below or in HD on YouTube:
For all the ink combinations I used, head on over to The Hedgehog Hollow.
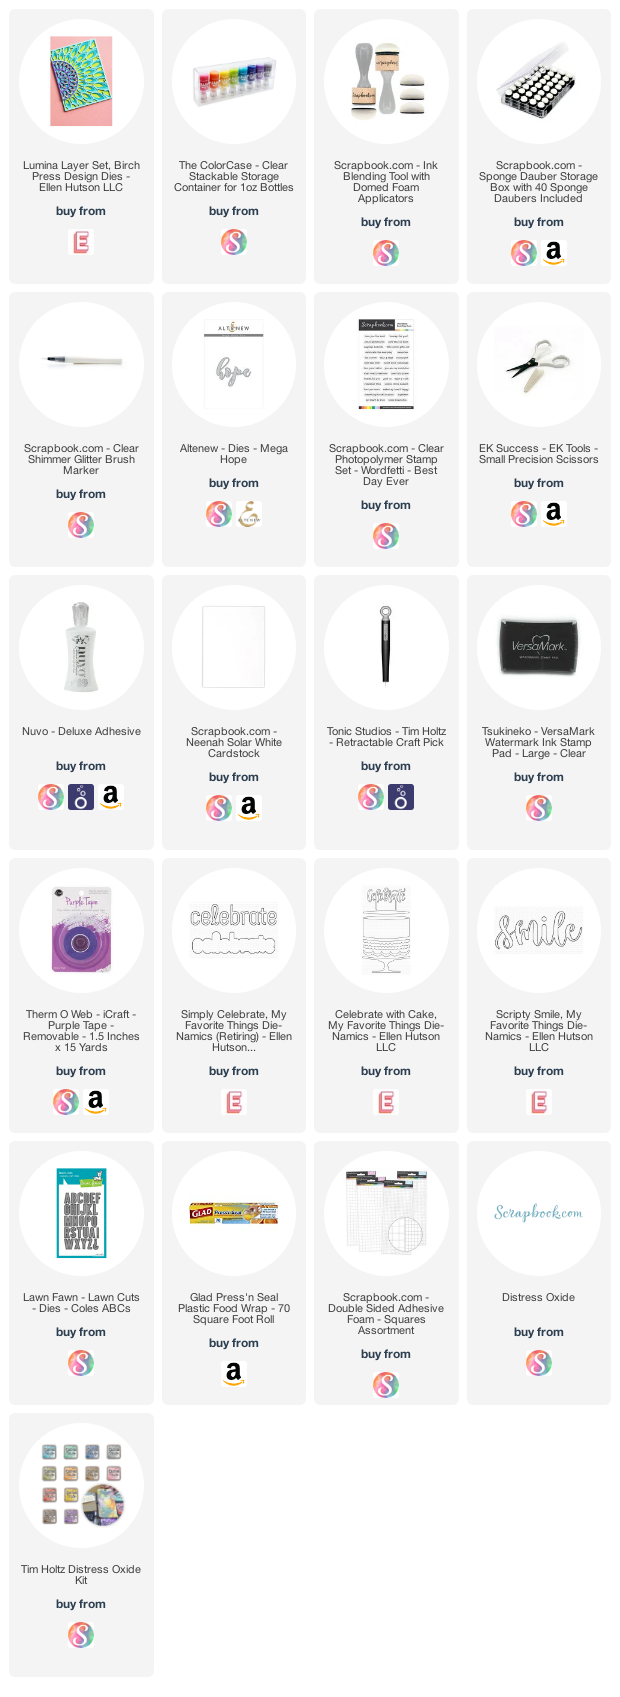
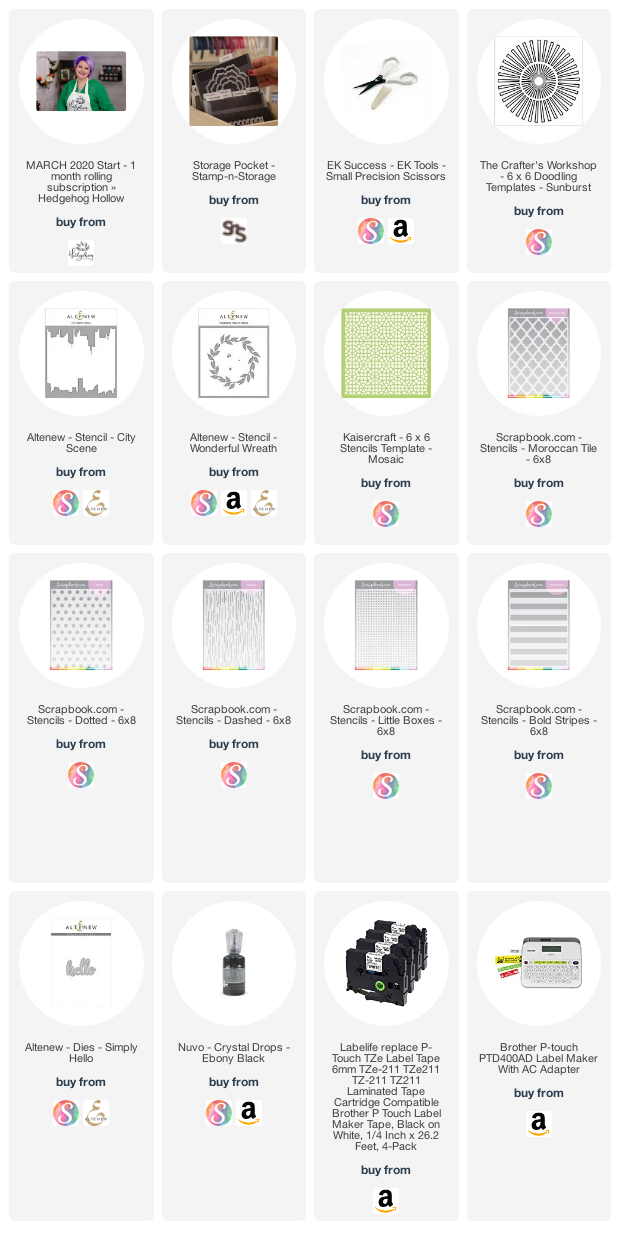
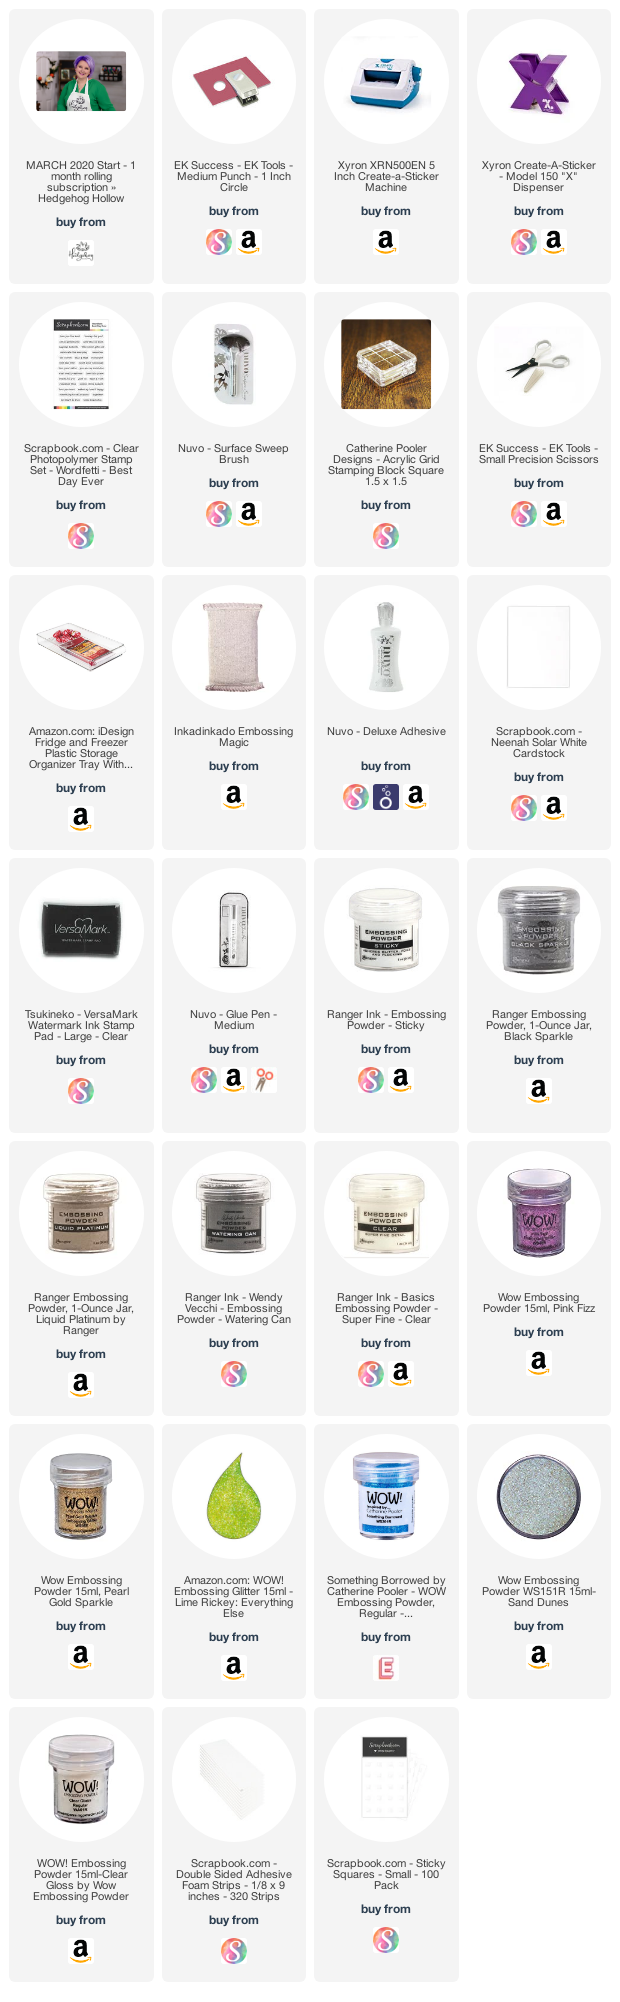
I’m often asked what supplies I use to make my cards and projects, so I’ve put together a list using affiliate links when possible. If you make a purchase with these links I may receive a small commission. These help me to keep up with blog costs and continue bringing you fun projects. Thank you so much for your support!

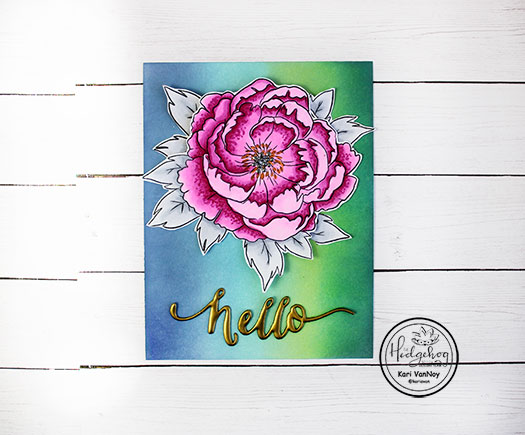
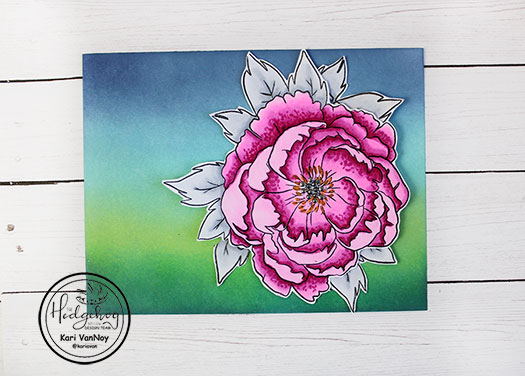
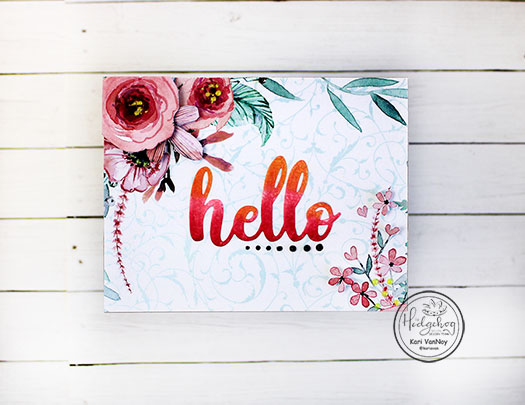
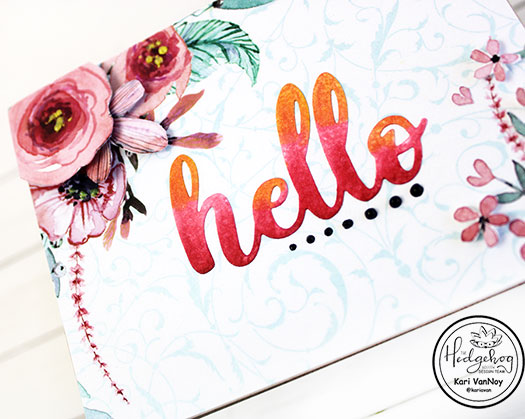
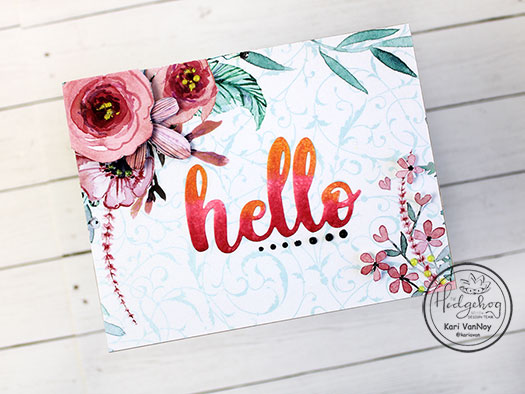
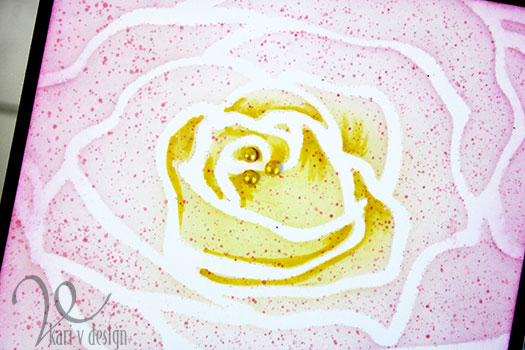
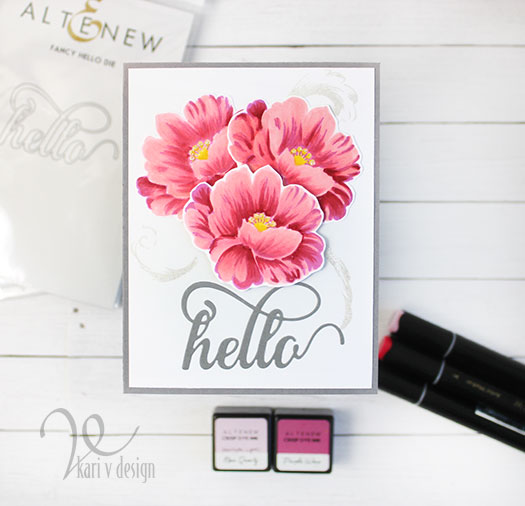
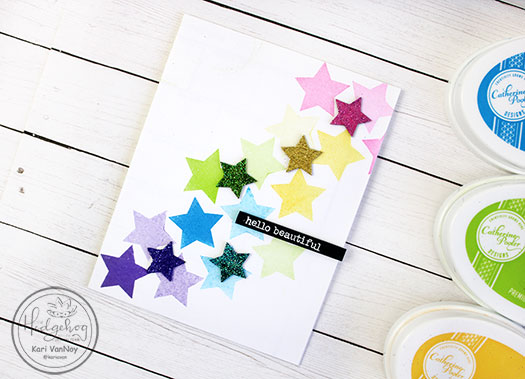
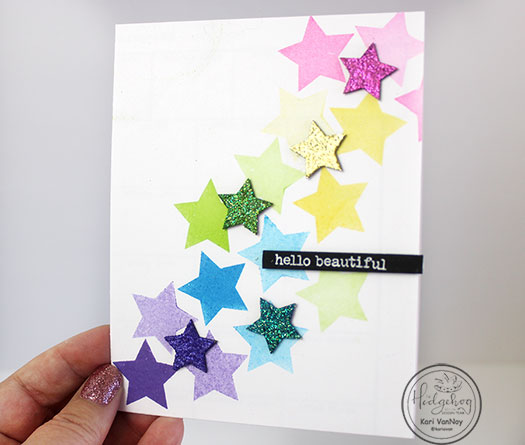
Here’s one of the backgrounds I created inspired by one of the tags…I can’t decide if it should be a vertical or landscape card! lol. So I haven’t attached the hello sentiment until I can decide.
Thanks for stopping by! I hope you enjoyed the May kit this year…it’s already sold out, it has been so popular.
See you next time!