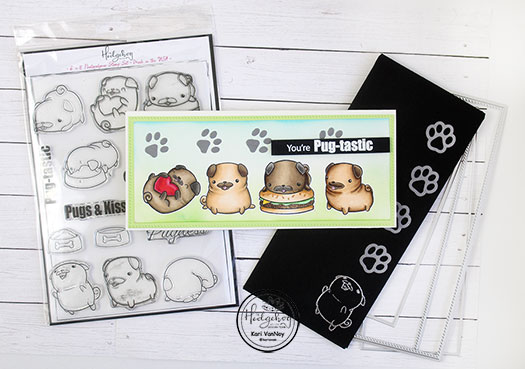
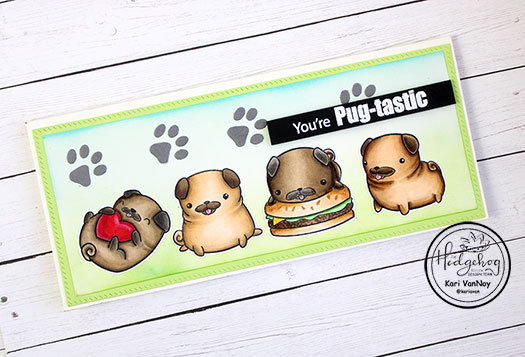
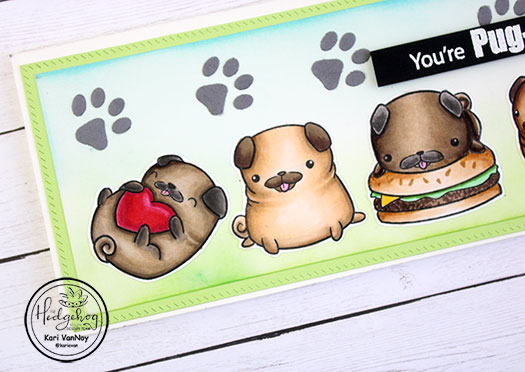
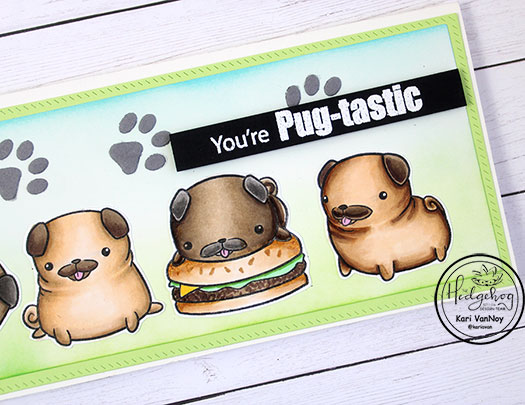
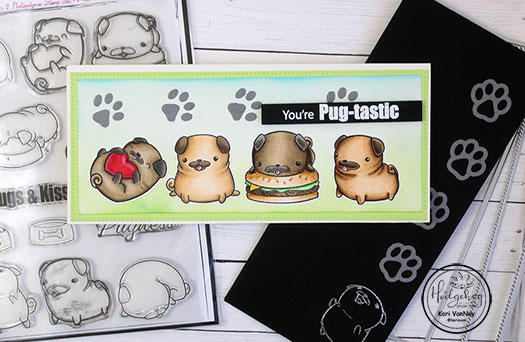
Hello! Today I’m excited to bring you a preview of the Hedgehog Hollow July 2020 Kit…and I have a Copic Colored Pug Slimline card to share.
Take a quick look at the video below for a Copic color choices, coloring, and putting the card together! I also show you how to make a coordinating slimline envelope. Watch below or in HD on YouTube:
This was a super fun project to make, I hope you enjoy! Check out more details at the Hedgehog Hollow, and please do come back to see more projects with this kit throughout the month!
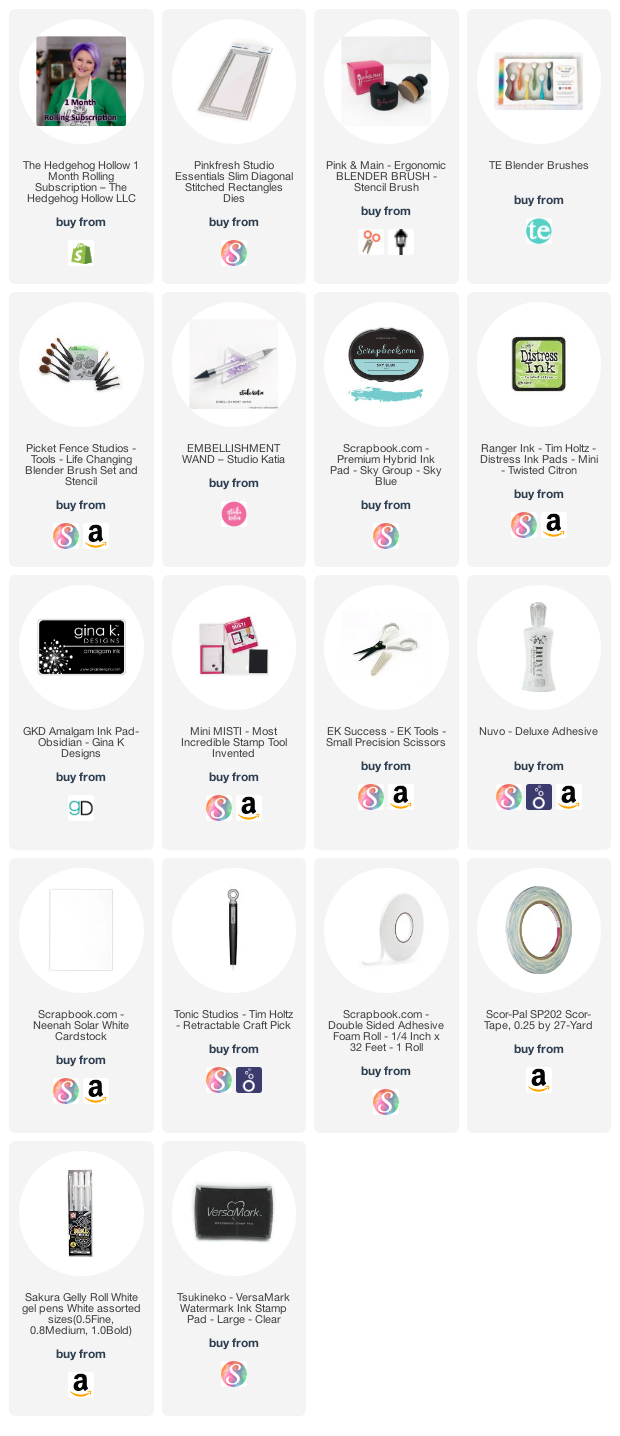
I’m often asked what supplies I use to make my cards and projects, so I’ve put together a list using affiliate links when possible. If you make a purchase with these links I may receive a small commission. These help me to keep up with blog costs and continue bringing you fun projects. Thank you so much for your support!
Hello! Today I am sharing my original plan for storing paper scraps and why it didn’t work!! If you ever save scraps of paper for your cards or scrapbooks, you are going to want to watch this!
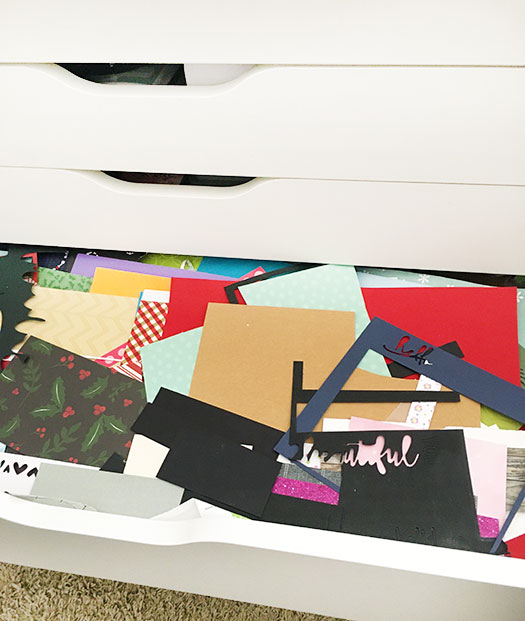
I always wanted a drawer set aside for scrap paper. I was in absolute heaven when I finally had the space to have this EXTRA drawer. I thought it was the best thing ever! I could just throw all my scrap paper in this drawer and have it ready and on hand when I needed it.
For a while, it was a dream. Until it got a little out of hand…
After a short while, the drawer got filled up, and overflowing so that it became hard to even close the drawer without paper falling out. It got so bad, that one day I decided this was NOT THE WAY!!
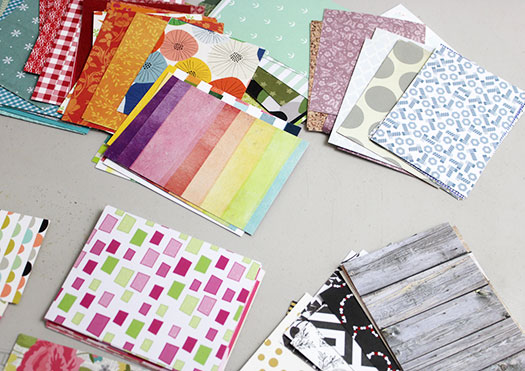
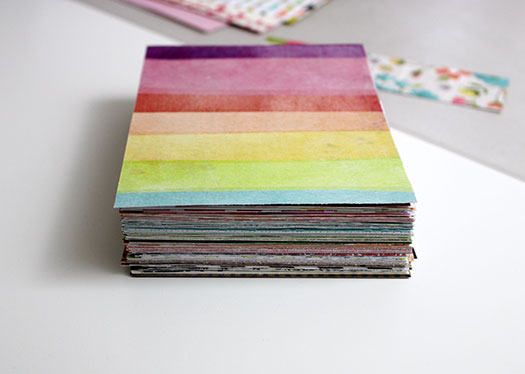
So I took the larger pieces of paper and cut them into card-size pieces (4 1/2″ x 5 1/2″). The rest of the smaller paper I made into piles of color families.
I now have a good size collection of patterned paper for cards. And I keep them at the top of my desk for ready access.
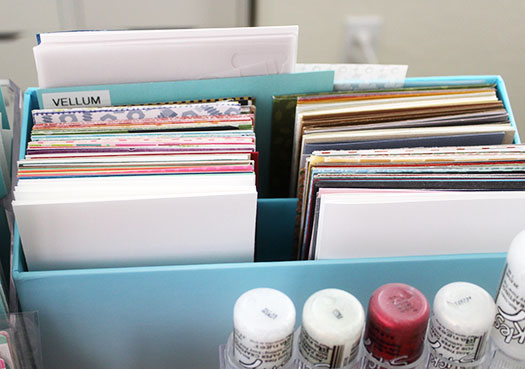
As for the scraps, threw away quite a bit. But I do like to keep scraps for easy die cutting (especially for my favorite layering flower die cuts)!
Watch the video to see how I keep it ready and organized now!! It’s my new favorite system. I love the change and now I have an empty drawer to organize my next obsession…which I will share very soon!
Thanks for stopping by! How do you keep your scraps organized?
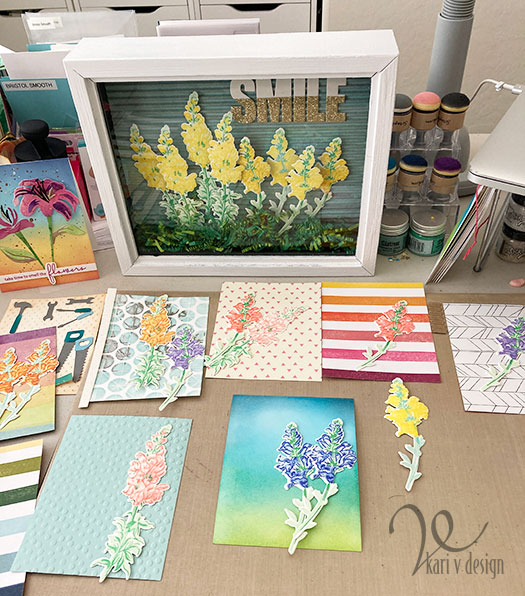
Hello! Today I am a part of a blog hop for Papercrafters Unite Against Racism. My projects today are some of my favorite flower layering stamps, with the idea that I could maybe make you smile. I’d love to send flowers to those of you who are angry, sad, upset, or discouraged during this time.
Sometimes, as crafters, we don’t know exactly the right thing to say or do. My heart hurts and I’m so sensitive to this topic, but I also don’t want to say the wrong thing. So, these flowers are hopefully doing the job making you smile today.
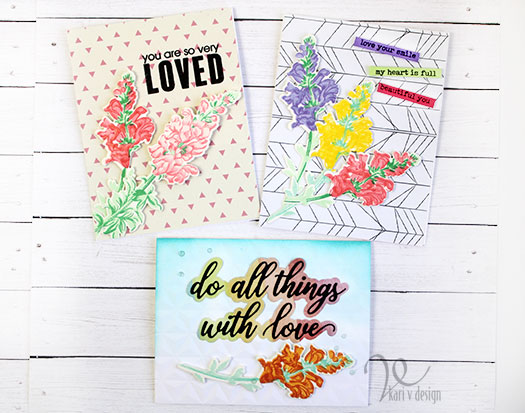
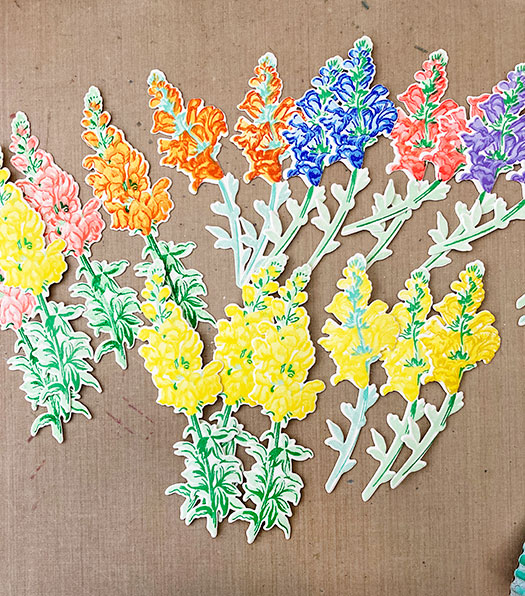
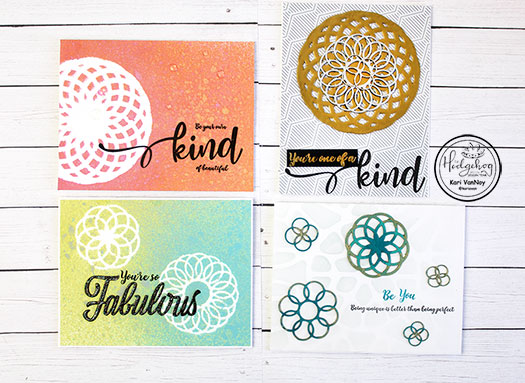
While I financially cannot send flowers to everyone, at least I can create some floral cards to share! So I have some layered snapdragon cards (some of my favorite flowers!) using patterned paper.
I love these patterned paper ideas! I have a quick video on how to make these cards, with three ideas for using patterned paper! And I share how to easily layer these snapdragons for mass production. Watch the video below, or in HD on YouTube:
Love is the best answerusing patterned paper as the shadow layer
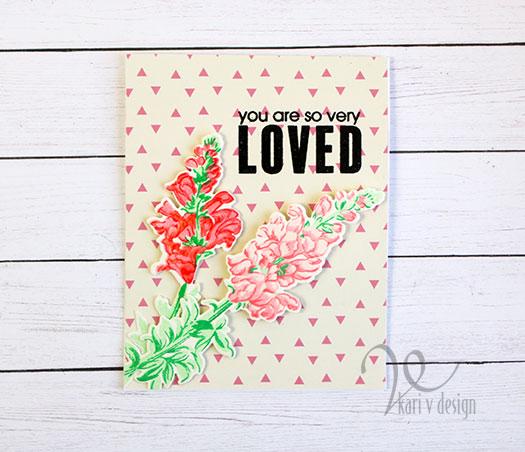
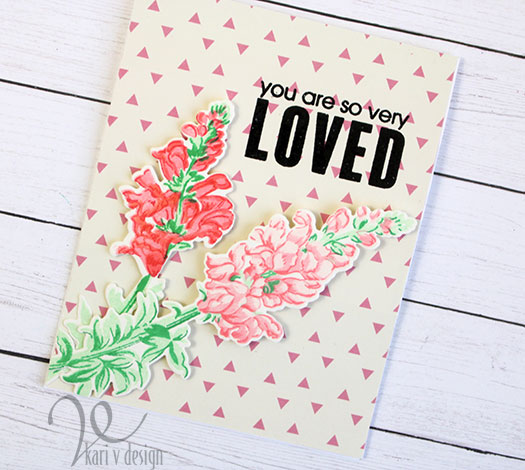
For this first card I used patterned paper as the shadow layer on this die from PinkFresh Studio. I love the variation in color. I made a simple background using ink blending and an embossing folder to get an interesting look.
Lots and Lots of flowers!
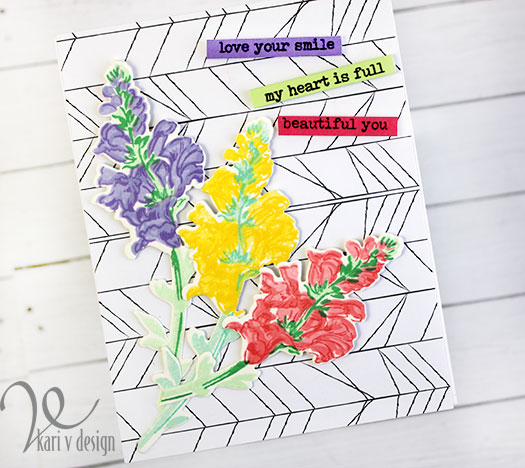
For the second card, I simply used a black and white background paper as the base to showcase a beautiful, colorful bouquet!
love your smile, my heart is full, beautiful you!
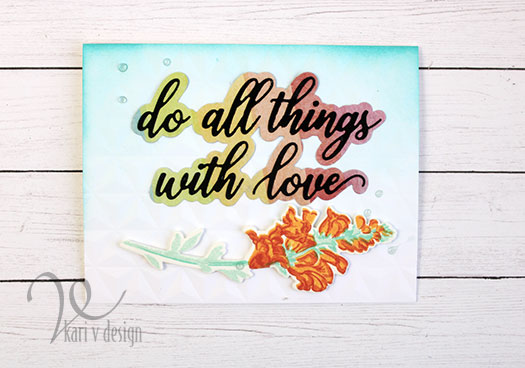
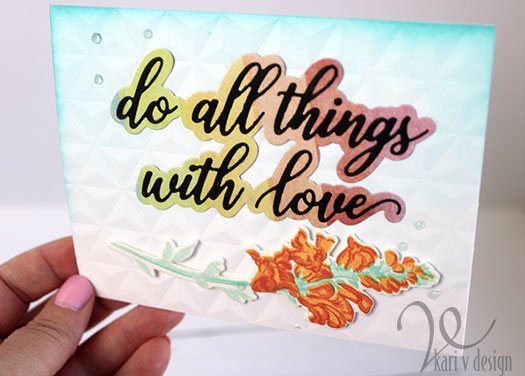
And the last card uses some heat embossing directly on patterned paper to create a pink delicious card.
Since I love yellow snapdragons, I also made a project for my craft studio with these (pictured below..the shadow box frame)! AND I have plenty of flowers to still use on cards!! Be sure to check out the video for my tips on mass producing these flowers.
So many flowers…ready to make even more cards!
I’m often asked what supplies I use to make my cards and projects, so I’ve put together a list using affiliate links when possible. If you make a purchase with these links I may receive a small commission. These help me to keep up with blog costs and continue bringing you fun projects. Thank you so much for your support!
Which card is your favorite? Leave me a message below.
Continue on the hop, your next stop is the talented Kathya Kalinine here. If you get lost, check out the complete list and more information at Justine’s blog here.
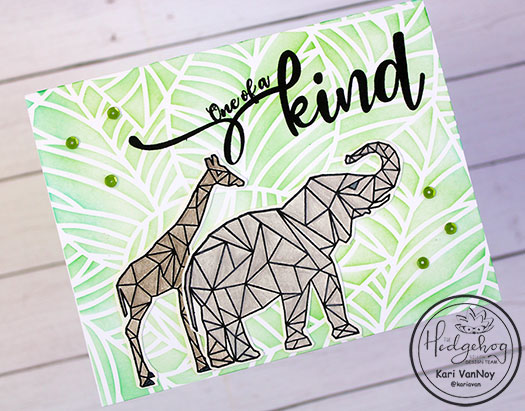
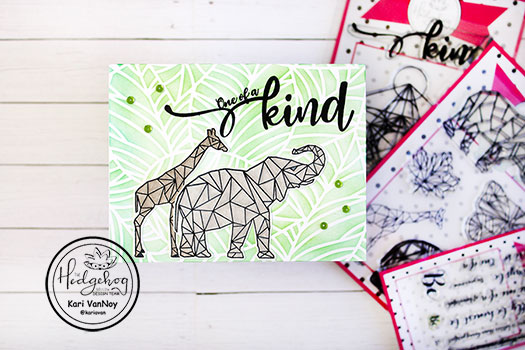
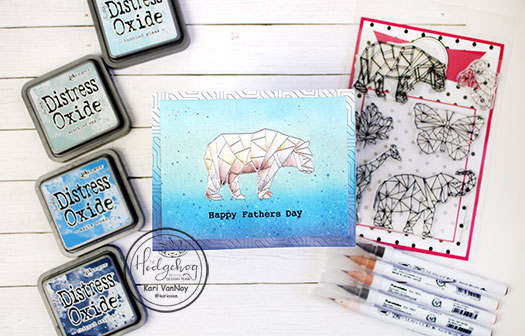
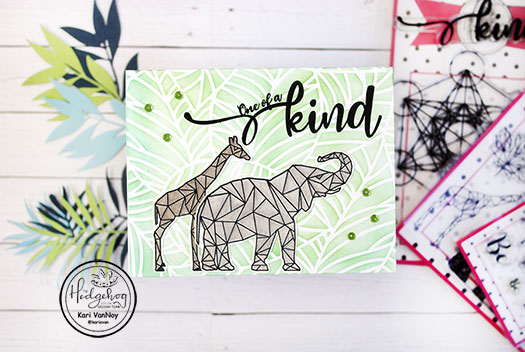
Hello! Today I’m sharing a Geo Jungle card using the Hedgehog Hollow June 2020 Kit. This is a favorite kit of mine and today I turned the zoo animals into JUNGLE animals!
All these stamps are from the kit, including that large “Kind” stamp (I love it!) To see the details on this card, visit the Hedgehog Hollow blog here.
I’m often asked what supplies I use to make my cards and projects, so I’ve put together a list using affiliate links when possible. If you make a purchase with these links I may receive a small commission. These help me to keep up with blog costs and continue bringing you fun projects. Thank you so much for your support!
Also, check out all my other projects using this June 2020 Kit:
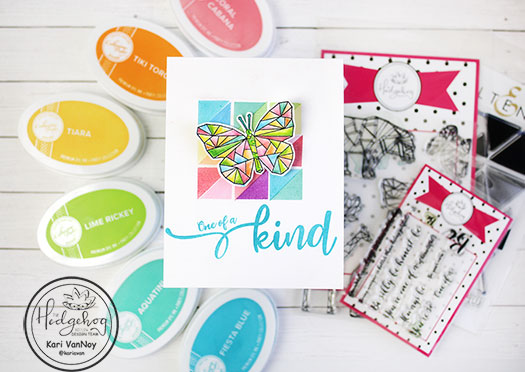
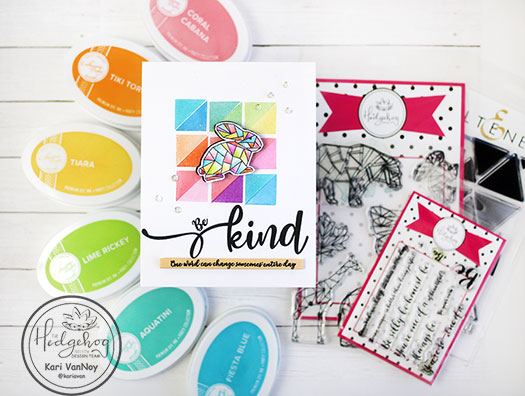
Hello! Today I have a geometric background for a geometric animal card…and while last week I published a masculine geometric card, this week the cards are definitely more feminine.
To make the background, I took an isosceles triangle stamp and stamped it twice to create a square. I did this 9 times to create an even larger square in a variety of ink colors.
Then I stamped the Geometric Zoo animals (a bunny and a butterfly) with Versafine Onyx Black ink. I watercolored them in the same ink colors as stamped on the background.
The sentiment is stamped in a blue ink to match, and I added green gemstones on the butterfly body to finish it off.
I just love all the colors of these cards!
I’m often asked what supplies I use to make my cards and projects, so I’ve put together a list using affiliate links when possible. If you make a purchase with these links I may receive a small commission. These help me to keep up with blog costs and continue bringing you fun projects. Thank you so much for your support!
I hope you enjoyed this geo background technique today! I’ll be back real soon with more card inspiration!
Hi I'm Kari. I'm a creator, a card maker, and a day maker! I am Lucky in love to a supportive husband, blessed to raise 3 kids (all moved away now!), and happy to be watched over by 2 dogs.
I originally started this blog to remind me to be happy amid adversity, and I hope it inspires you, too!


![NEW-Square-[Participant]-01](https://sunshineinmypocket.com/wp-content/uploads/2020/06/NEW-Square-Participant-01.jpg "NEW-Square-[Participant]-01")