Hello! Today I’m back with tips on how to use one SMALL stamp from your set and turn them into five cards! I’m using the cutest little stamp from the July Hedgehog Hollow Kit today: I just couldn’t stop with this July Kit until I made all my little avocado cards!
I have a video with all the ways and some tips for making them quickly, watch it below or on YouTube:
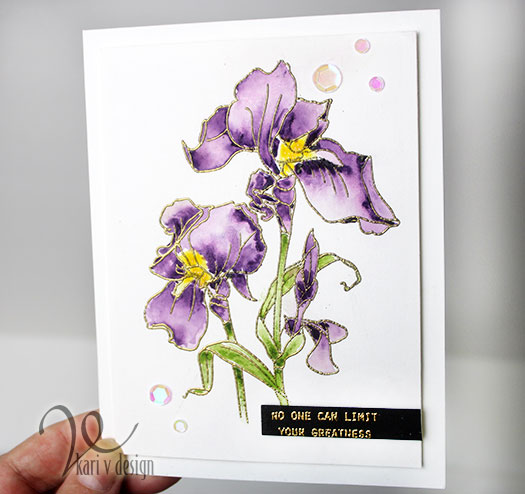
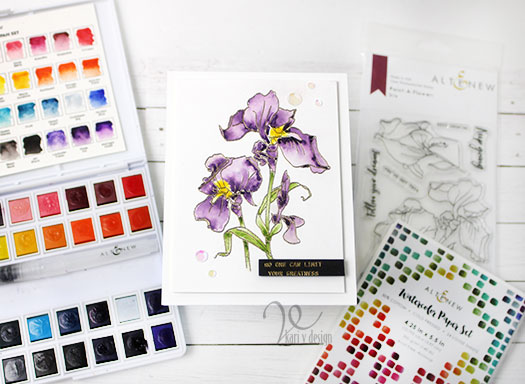
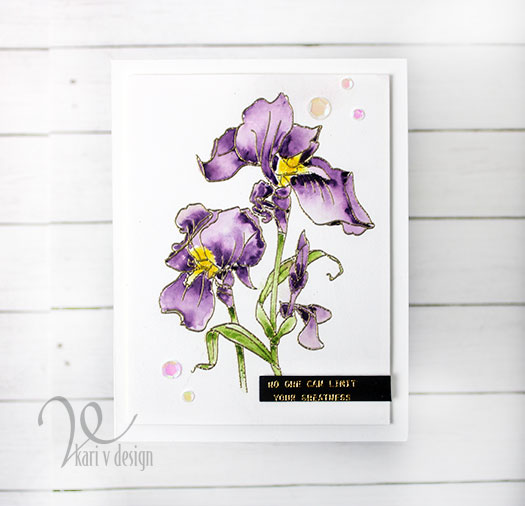
I hope you will take a moment to watch the video to see my five ideas! For now, I will leave you with pictures of all these cutie cards and a quick description:

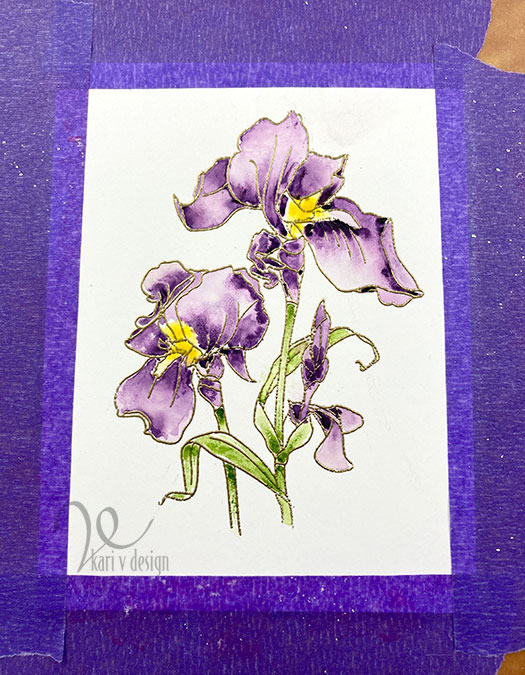
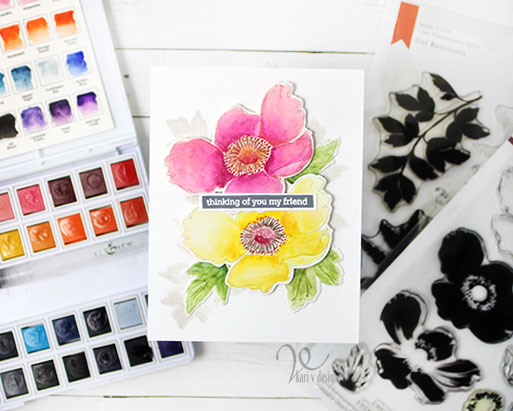
- Stamp a whole bunch of the small image to create a “patterned paper” then watercolor it! For the first one, I used Zig Clean Color Real brush markers, then splattered on some paint to get a fun texture (and to mask the fact that my background didn’t come out as smooth as I wanted! Lol.) These are tricks of the trade, my friends!
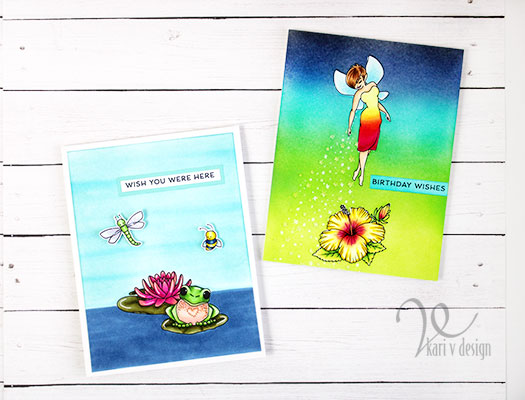
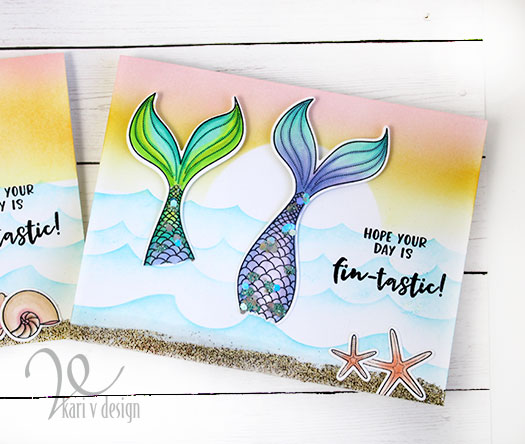
- Add a Stencil to the background…for the second card (which is the one on the left) I used Altenew watercolors and got some BEAUTIFUL colors. Then I took the circle stencil from a previous HH Kit and added the circles to the background.
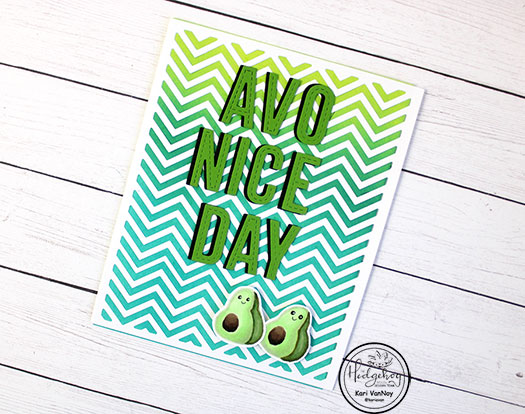
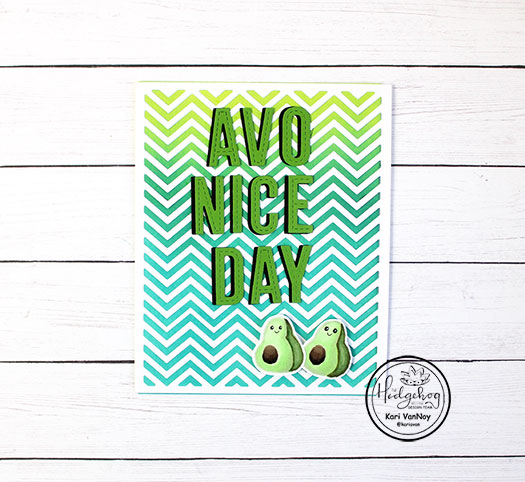
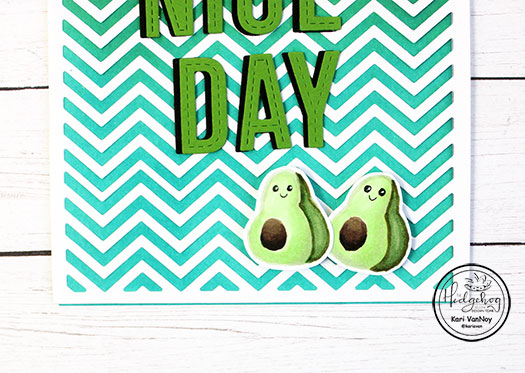
3. Try no-line copic coloring and add a PUNNY sentiment with die cuts. Here I stamped the avocados in a light ink and colored with Copics. I show you how I colored up with Copics in the video. I ink blended that background with Distress Oxides and added a chevron cover die. Then I die cut the letters to make a fun sentiment.
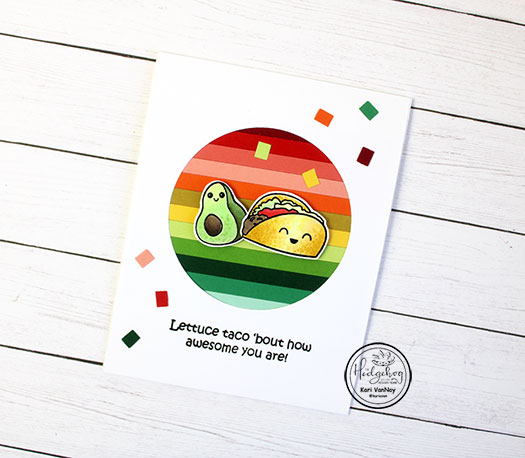
4. Use die cut paper strips to make a fun background for your images. Here I paired that avocado with the taco from the same set. If you have leftover strips of paper, use them to make confetti for the front of your card. It’s a fiesta! So fun.
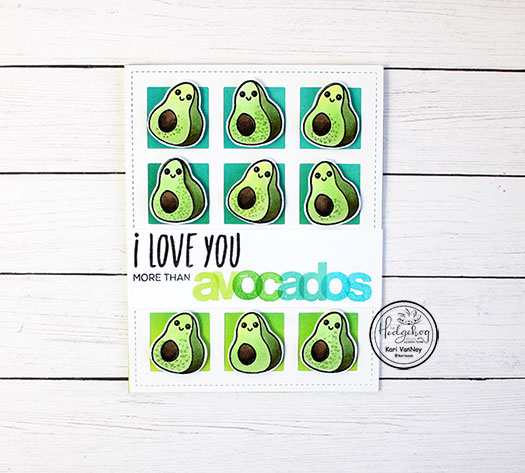
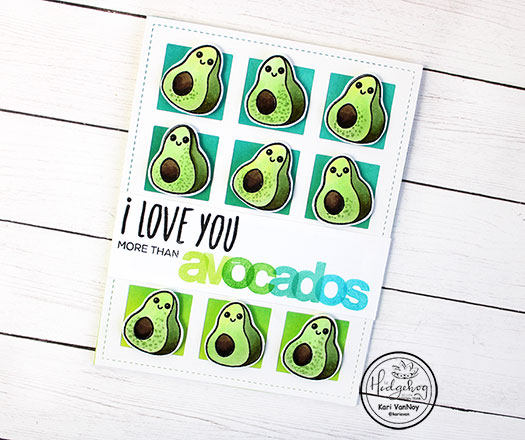
5. Use a grid to highlight lots of your small stamps. Here’s a “tray” of avocados with a sentiment that I stamped from a new FAVORITE alpha stamp set! I used different transparent ink colors to get a fun vibe. By using transparent inks, you can overlap your letters and still read it. Such a happy look! Try this at home!
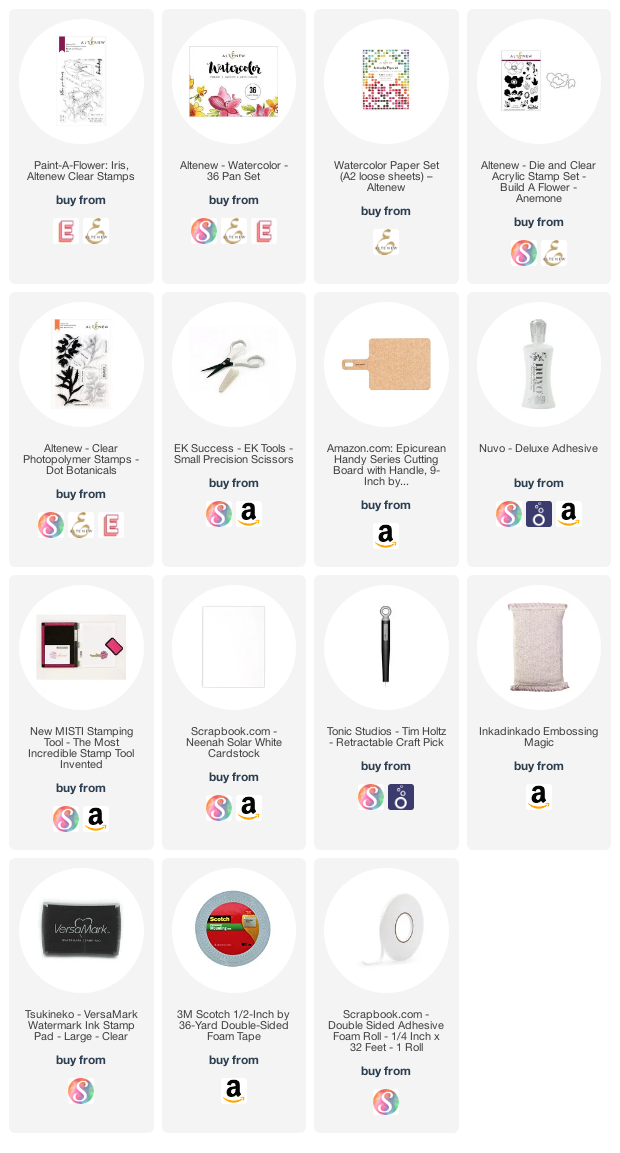
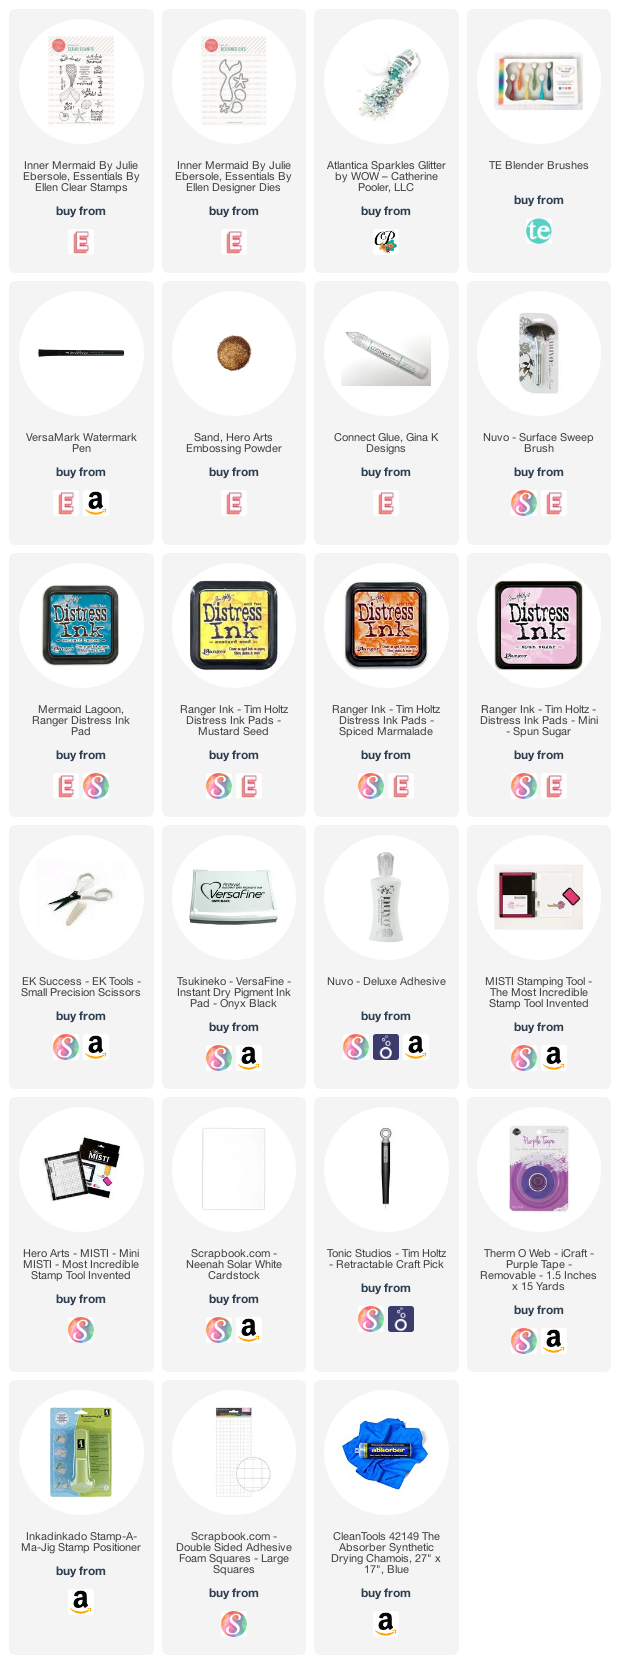
I’m often asked what supplies I use to make my cards and projects, so I’ve put together a list using affiliate links when possible. If you make a purchase with these links I may receive a small commission. These help me to keep up with blog costs and continue bringing you fun projects. Thank you so much for your support!