About KariV

Author Archive | KariV
SUNSHINE-warm-wishes-card-1

Warm Winter Wishes

Hello! Today I have a one-layer card to share…which is rare for me! But this Hedgehog Hollow December Kit has really inspired me to create a “patterned paper” background!

It’s a simple card, but I do love how it turned out! I took the square frame stamp and stamped it in British Racing Green ink (a favorite)! Then I stamped the berries in Telephone Box ink.

I heat embossed the sentiment in the middle with my NEW FAVORITE embossing powder (Rainbow Sparkler), which has some fun glittery sparkles in it.

For extra sparkle, I added some glue to the berries and sprinkled it with red glitter. I allowed that to completely dry before attaching the whole panel to some green cardstock.

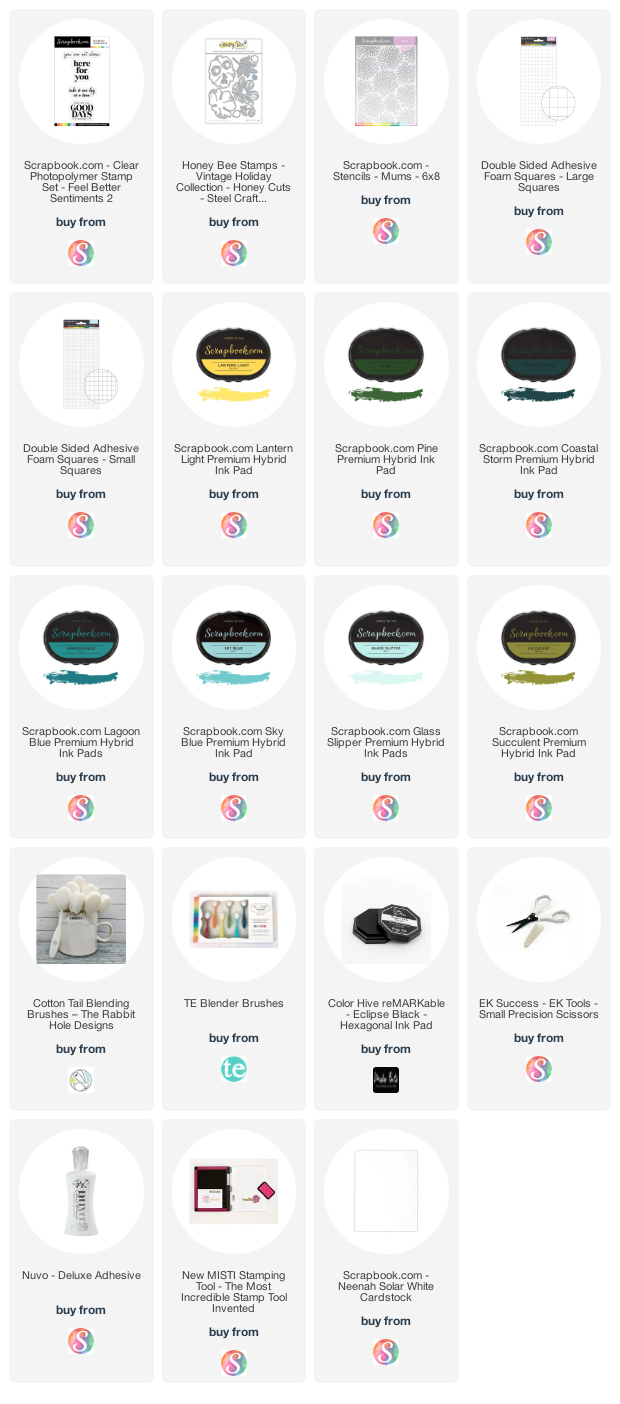
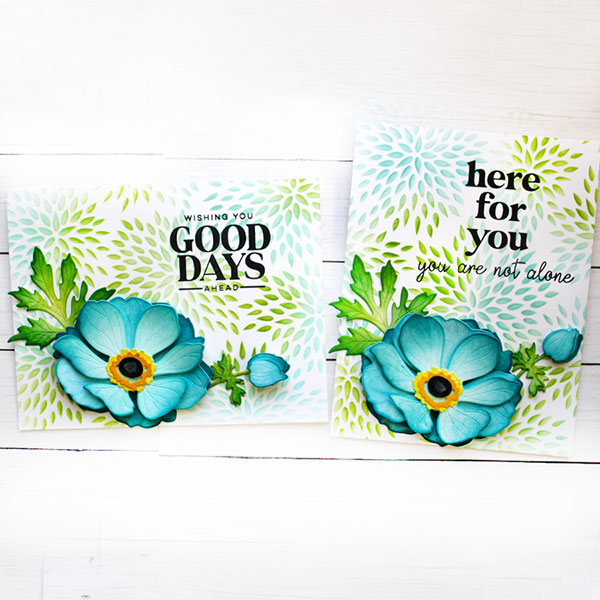
I’m often asked what supplies I use to make my cards and projects, so I’ve put together a list using affiliate links when possible. If you make a purchase with these links I may receive a small commission. These help me to keep up with blog costs and continue bringing you fun projects. Thank you so much for your support!


I hope you enjoyed this project today! Happy Holidays!

Comments { 0 }
SUNSHINE-merry-penguins-close-up-2

Merry Penguins

Hello! I’m so excited to share with you this merry penguins card using my favorite penguins from Miss Ink Stamps.

Watch the video below or in HD on YouTube:

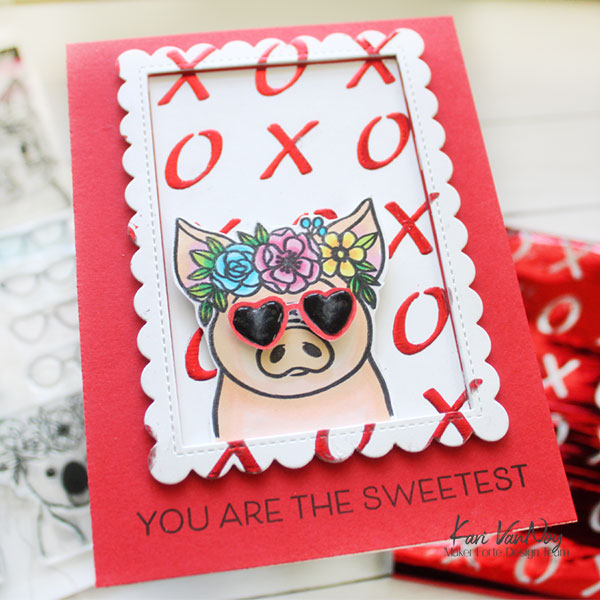
These sweet penguins have fun accessories you can use including: Santa hats, candy canes, fish, and reindeer antlers! It’s fun to mix and match.

I colored them up with Copics, and added some highlights with a white gel pen and stardust stickles.

This is a collaboration with Miss Ink Stamps and Ink on 3…join us over on Instagram for the hop and enter to win by hopping along and leaving comments on each stop!

I’m often asked what supplies I use to make my cards and projects, so I’ve put together a list using affiliate links when possible. If you make a purchase with these links I may receive a small commission. These help me to keep up with blog costs and continue bringing you fun projects. Thank you so much for your support!


I hope you enjoyed this project today! Thanks for stopping by!
Comments { 0 }
SUNSHINE-tags-on-presents

Christmas Mermaids: Tags & Ornaments

Hello! Today I have some mermaid tags to share that double as ornaments! These Christmas Mermaids are so cute and perfect for the holidays.

I have a quick video to share how these are put together and how to make them sturdy for hanging on the tree. Watch the video below or in HD on YouTube:

On the back of the tags, I stamped the year and the names of the recipients. I used the large number stamp from Maker Forte…and began by stamping “021” on all of them. Then I removed the 2 and stamped it in the front to create “2021.”

I cut 3 tags for each ornament: one out of red cardstock, one out of white cardstock, and one out of chipboard to sandwich in the middle. This chipboard makes the whole tag very sturdy and ready for hanging on the tree!

I stamped the snowflake greeting with clear, sticky ink on the red cardstock. Then I heat embossed with white embossing powder.

Once I had colored and cut out all the mermaids, I attached them with foam tape for extra dimension.

I think they look pretty great on some packages!

I wanted to mention, this snowflake sentiment is also cute on it’s own as a tag…if you don’t want to add the mermaids.

And these mermaids also make a pretty sweet little card, too….here is one I stamped in a light ink and did some “no-line coloring.”

Have a mermazing Christmas!

I’m often asked what supplies I use to make my cards and projects, so I’ve put together a list using affiliate links when possible. If you make a purchase with these links I may receive a small commission. These help me to keep up with blog costs and continue bringing you fun projects. Thank you so much for your support!


Hope you enjoyed these projects! Have a mermazing Christmas!

Comments { 1 }
Blog Post

Altenew Craft-A-Flower: Carolina Allspice Release Blog Hop + Giveaway ($200 in total prizes)

Hello! Welcome to the Altenew Craft-A-Flower Carolina Allspice Blog Hop and Giveaway. Today I’m excited to be joining in because the Altenew Craft-A-Flower subscription is one of my favorites!

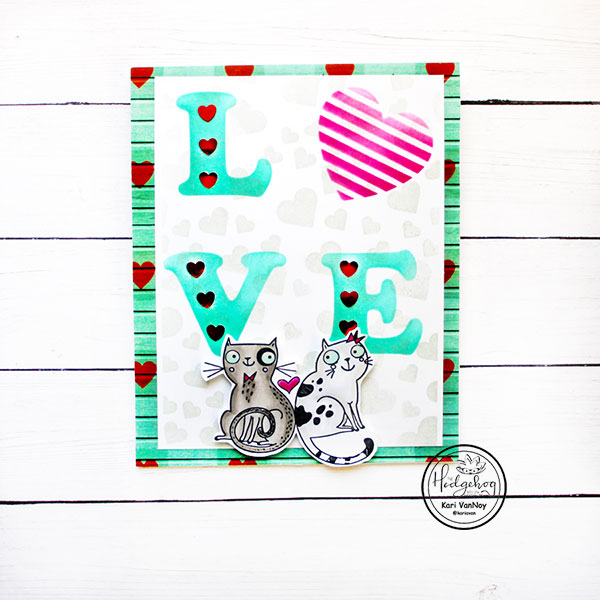
This flower was delightful to put together and I created a simple background to make that flower SHINE!

I have a video to share on how to put this flower together, as well as my card process. Watch it below or in HD on YouTube:

I’m often asked what supplies I use to make my cards and projects, so I’ve put together a list using affiliate links when possible. If you make a purchase with these links I may receive a small commission. These help me to keep up with blog costs and continue bringing you fun projects. Thank you so much for your support!


Giveaway Prizes

$200 in total prizes! To celebrate this release, Altenew is giving away a $50 gift certificate to 2 lucky winners and a $20 gift certificate to 5 winners! Please leave a comment on the Altenew Card Blog and/or each designer’s blog post on the blog hop list below by 12/13/2021 for a chance to win. Altenew will draw 7 random winners from the comments left on each stop of this blog hop and announce the winners on the Altenew Winners Page on 12/15/2021.

Blog Hop Order

The next hop is at the amazing Michelle Short’s Blog!

Don’t forget to leave a comment to be entered to win! I’d love to hear if you have ever seen a Carolina Allspice flower IN REAL LIFE?!? Thanks for stopping by!
Comments { 26 }
_Blog Hop Giveaway

Altenew Build-A-Flower: Queen of the Lilies Release Blog Hop + Giveaway

Hello! Welcome to the Altenew Build A Flower Queen of the Lilies Blog hop. This new Build a Flower stamp set is quite majestic and I enjoyed building them up with inks!

I have 2 cards to share with you today using this stamp set!

Card 1: Soft Watercolor Background

For this first card, I used a soft blue watercolor background to really make those Queen Lilies pop! I stamped up the lily in white by using a soft grey ink for the first layer. For the center of the lily, I used yellow ink; and for the spots I used an orange ink. I LOVE how this lily came out.

Card 2: Pink Lily (No Outline)

These lilies are beautiful in all the colors, and for my next one I wanted a PINK lily that was a little softer…so I didn’t stamp the outline layer.

I also created a soft watercolor background for this card, but this time I used blues, yellows, green, and soft pink. Then I added that bold pink lily on top, together with some of the leaves.

I stamped this one with some beautiful pink inks from Altenew, creating a black stamen with orange pollen. The spots are stamped in a soft grey ink.

Imagine the different colors of lily you could make just changing up your inks!

I love that Altenew makes it easy to create stunning flowers with a layering guide inside the stamp set pamphlet.

This set is also available as a Build A Flower subscription, when you sign up for the subscription you will save 14%.

I’ve created a short video to show you just how easy this set is to get a stunning result! Watch it below or in HD on YouTube:

Giveaway Prizes

$200 in total prizes! To celebrate this release, Altenew is giving away a $50 gift certificate to 2 lucky winners and a $20 gift certificate to 5 winners! Please leave a comment on the Altenew Card Blog and/or each designer’s blog post on the blog hop list below by 12/07/2021 for a chance to win. Altenew will draw 7 random winners from the comments left on each stop of this blog hop and announce the winners on the Altenew Winners Page on 12/09/2021.

Blog Hop Order

Your next stop is the oh-so-talented Jenny Colacicco.

Don’t forget to comment to be entered to win! Let me know which card is your favorite today. Thanks for stopping by!
Comments { 21 }