About KariV

Author Archive | KariV
Kari-V-brown-bats-with-slime-2

Going Batty: Halloween Card Series

Hello! Today I am excited to introduce my Halloween Card Series for 2023. I have a fun set of cards to share with 2 ways to create bats for your cards.

Watch the video below or in HD on YouTube:

These bats are the cutest bat dies, with crazy eyes you can color up any color you want. I used Purple, Green and red eyes for one card, and black eyes for the other card.

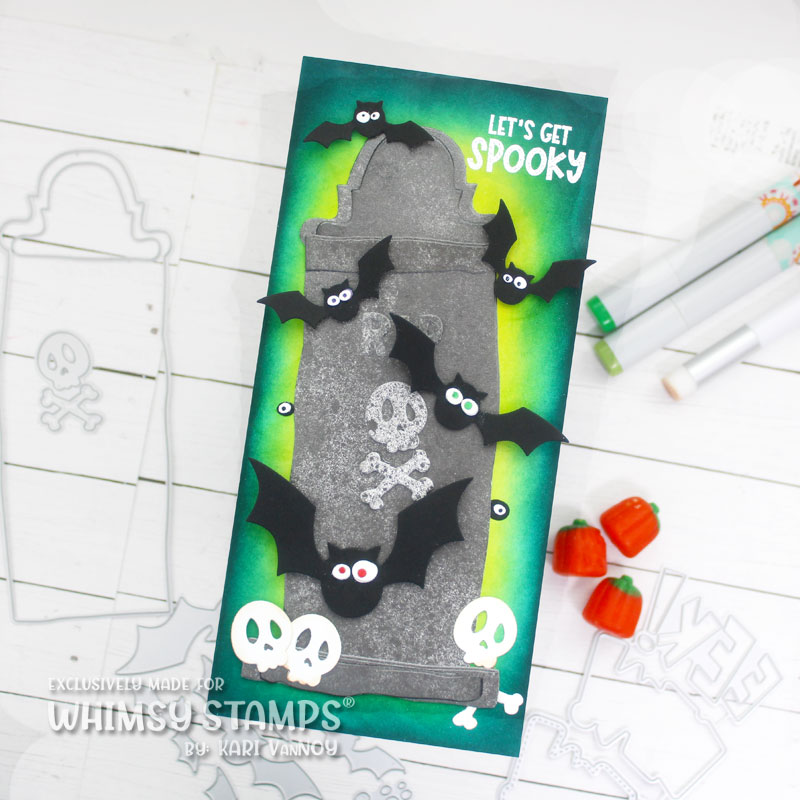
Card 1: Batty Grave
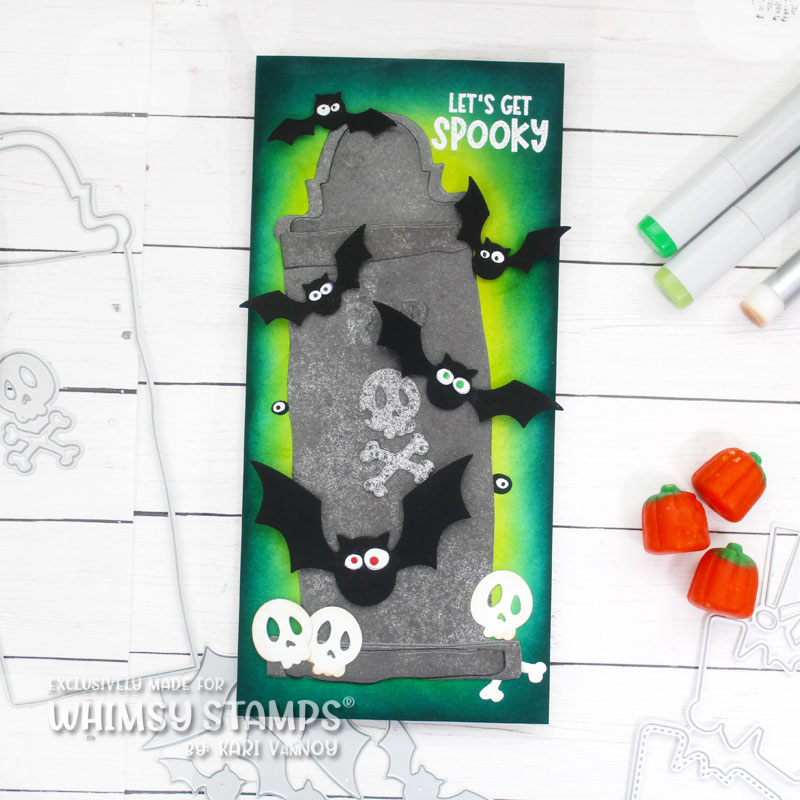
This card was so fun to make: with Mica Spray, Ink, Dies, and ink blending! I share the how-to in the video.
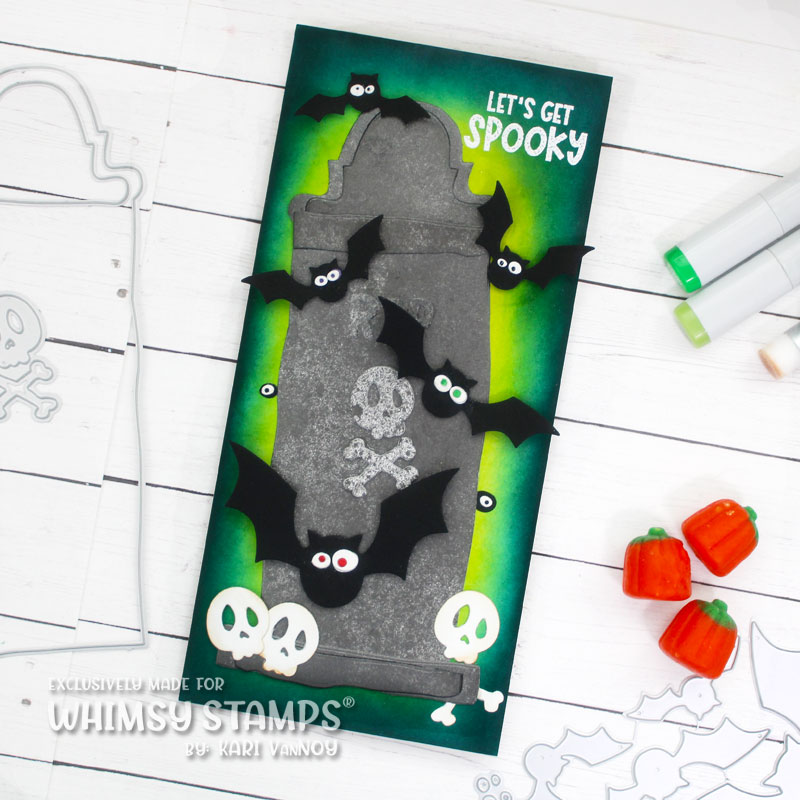
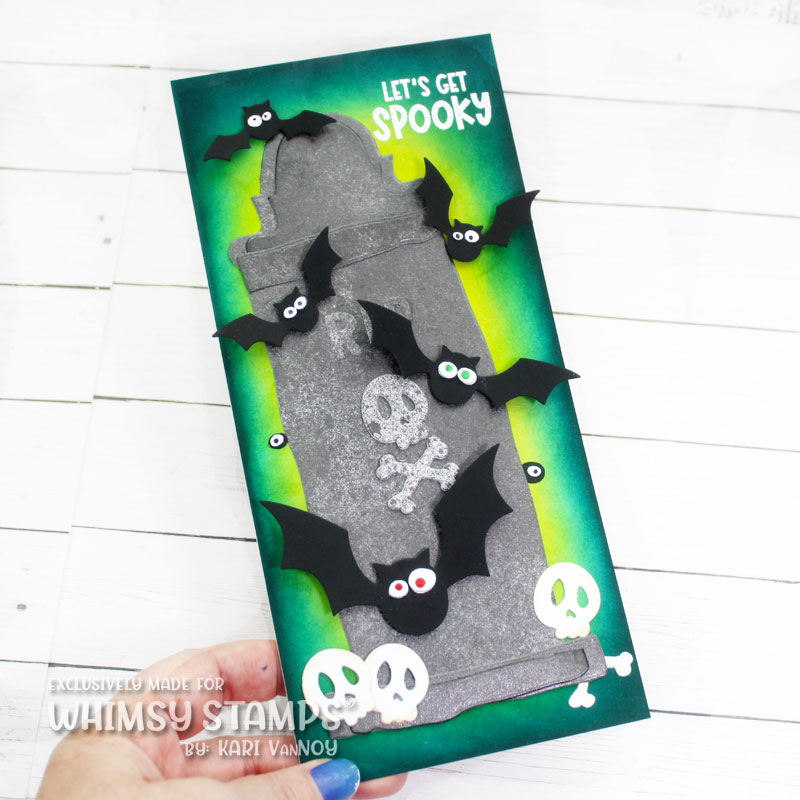
I popped up those bats with foam tape so there’s some great dimension on this card. That green ink really makes it look like a “green glow” and I think it’s so spooky!

2. Slimy Cave

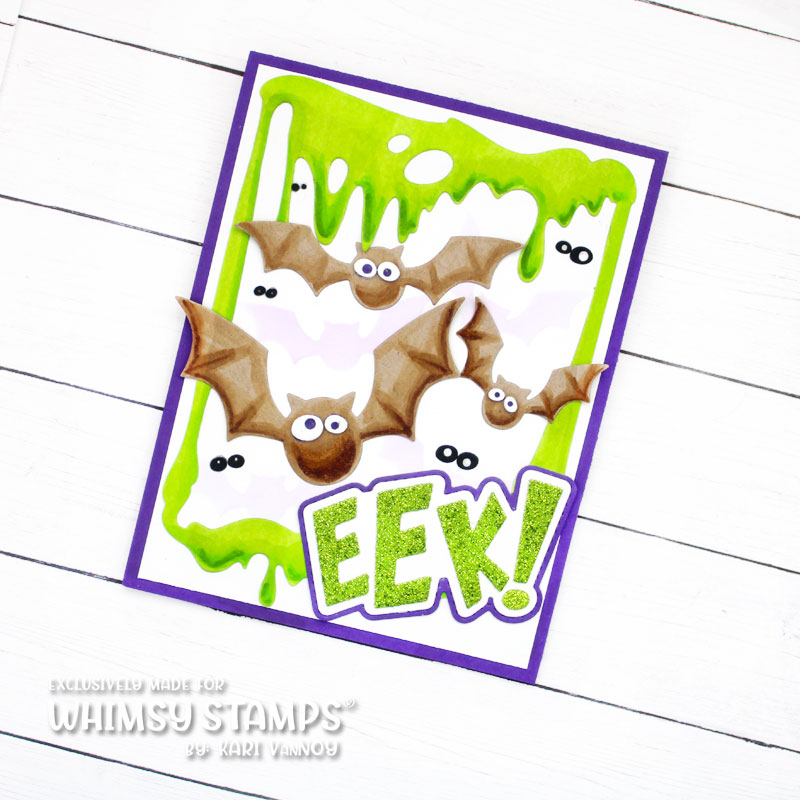
This card uses a little more coloring to add some detail to those bats and the green slime. But don’t worry…it’s really easy and I show you exactly how in my video!
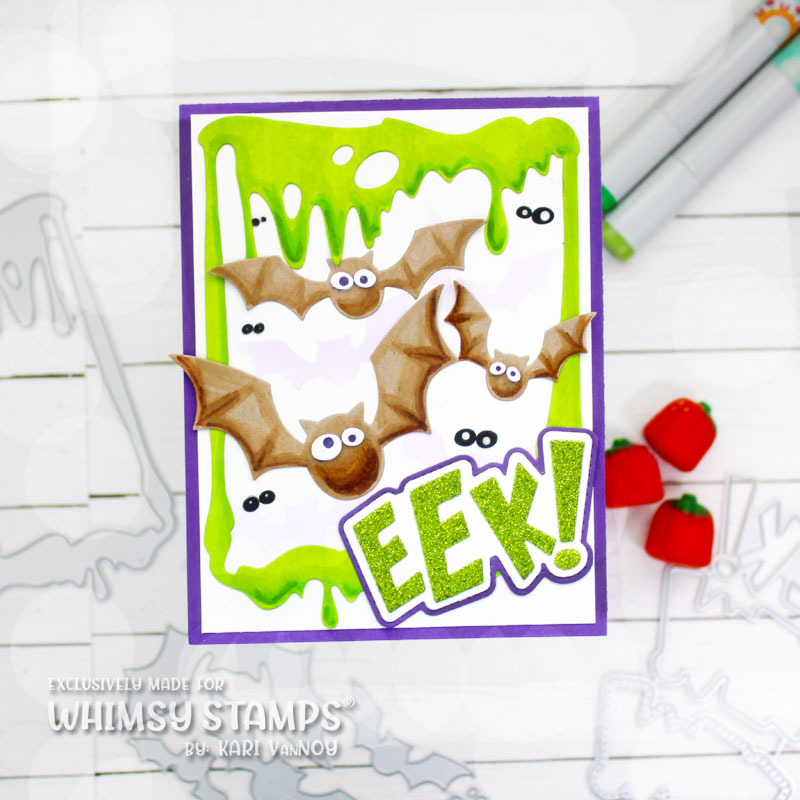
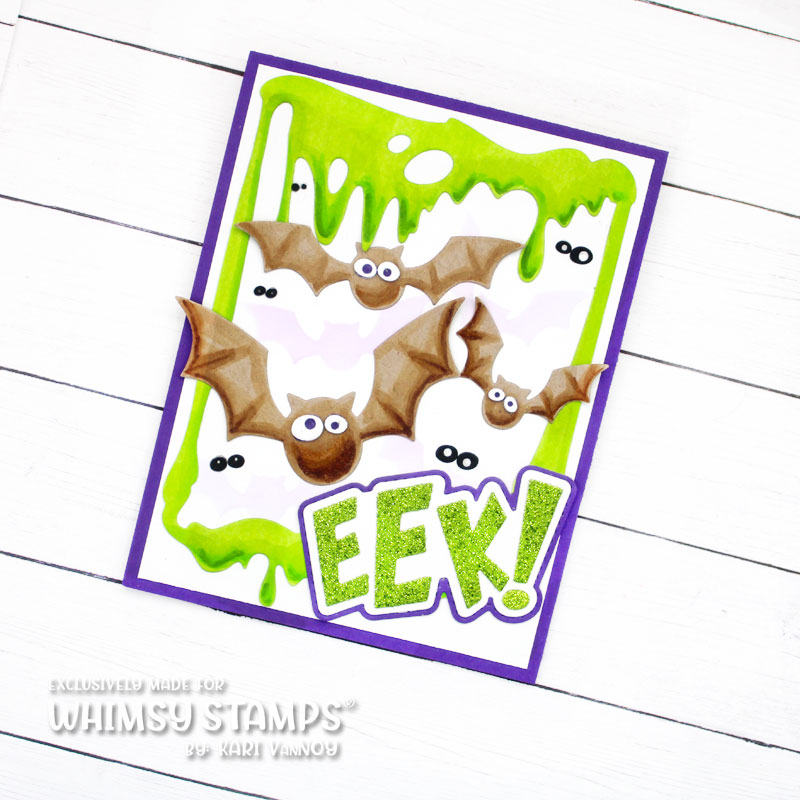
I die cut the “EEK” with green glitter paper and the shadows with cream and purple cardstock. This sentiment really shines!!

Did you notice all the beady little eyes looking at you from the background?!? Oooooh…there’s some more bats, or even something creepier in the background.

I’m often asked what supplies I use to make my cards and projects, so I’ve put together a list using affiliate links when possible. If you make a purchase with these links I may receive a small commission. These help me to keep up with blog costs and continue bringing you fun projects. Thank you so much for your support!



I hope you enjoy my Halloween Card Series! Hurry on back for more cards…I’ll be sharing soon!
Comments { 0 }
Kari-V-Arrgh-Die-set-card-with-supplies-2

A Pirate’s Life

Hello! Today I have some new pirates cards to share with some fantastic new products. It was an absolute joy to work with these (and I was surprised how much I liked them!)

The Pirates have Found the Loot!

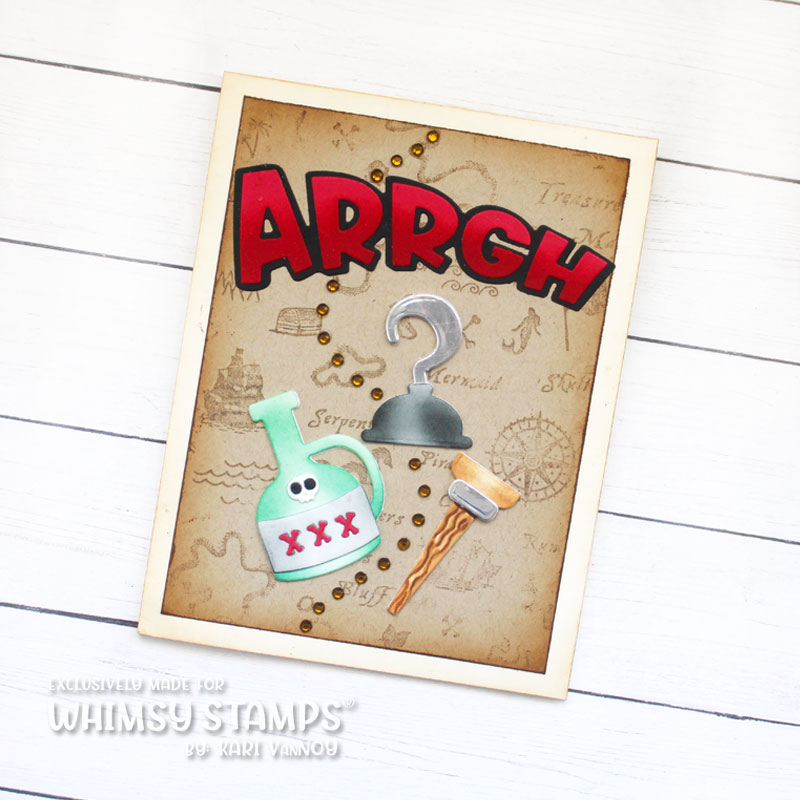
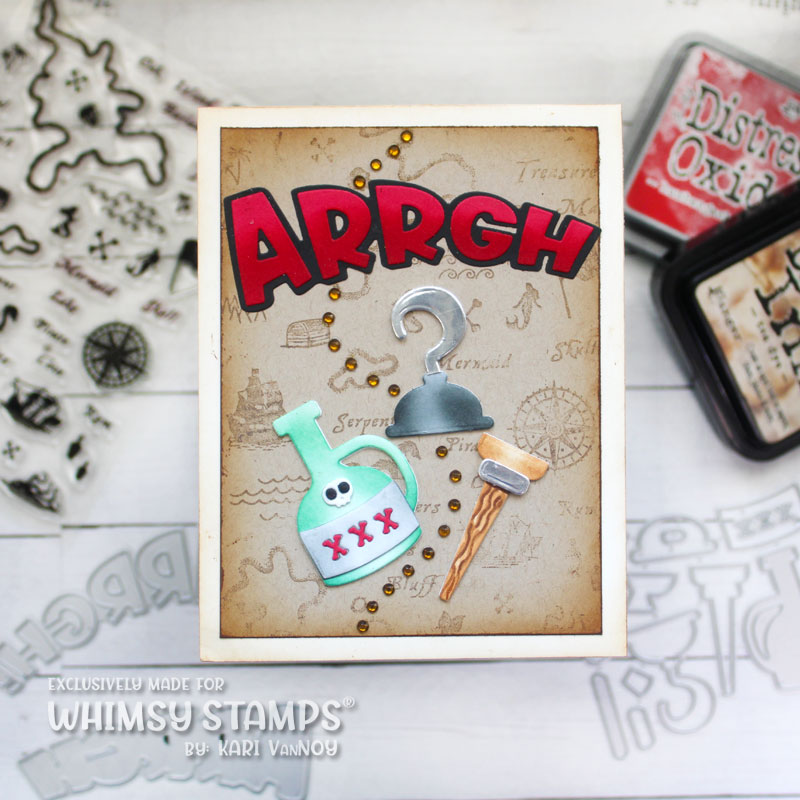
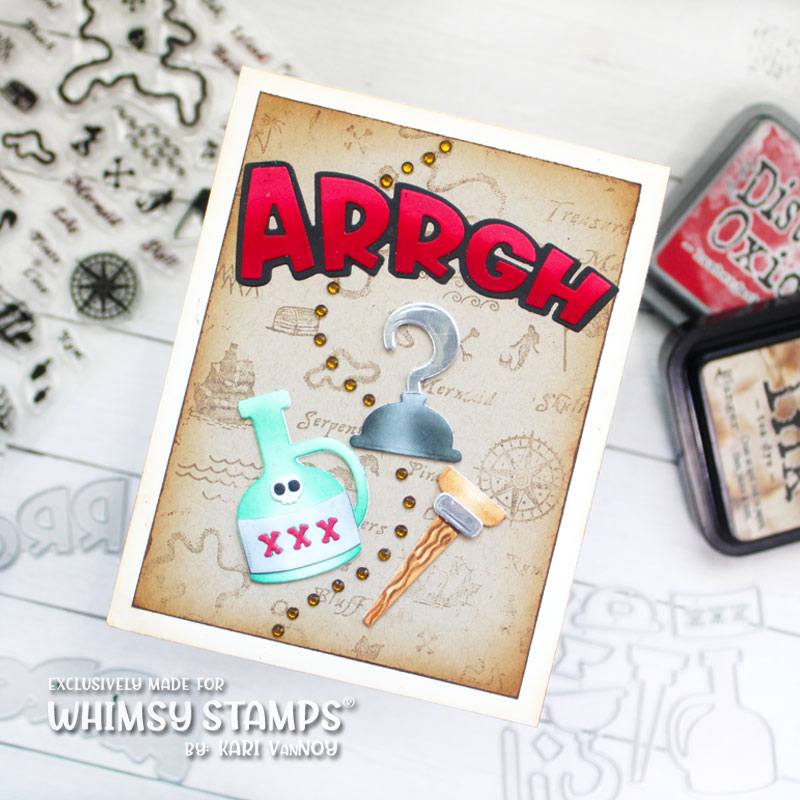
This card was fun…I started with stamping the map in the background with a light brown ink. Then I inked up the edges of the paper as well. I die cut the ARRGH word die set with red and black (for the shadow). The bottom of the red ARRGH was inked with a darker red to get that gradient look.

I had a great time choosing the products to use to identify those pirates, and I ended up cutting out the peg leg, whiskey bottle, and hook. Of course, I had to use some silver metallic paper to really make it pop!

To finish it all off, I added some jewels…and the pirates left a trail! Lol.

A Map to Ye Treasure

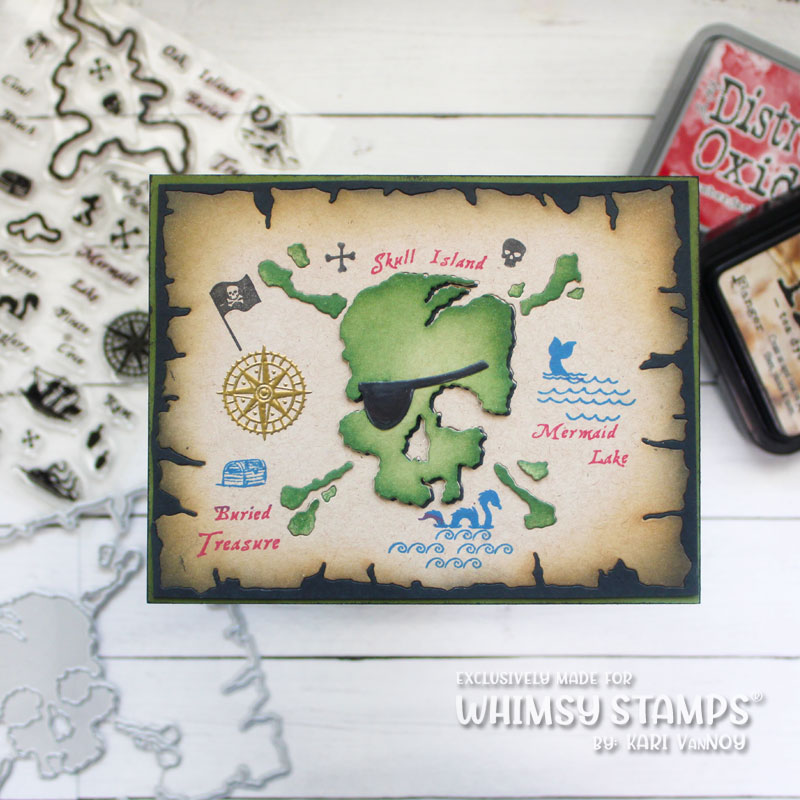
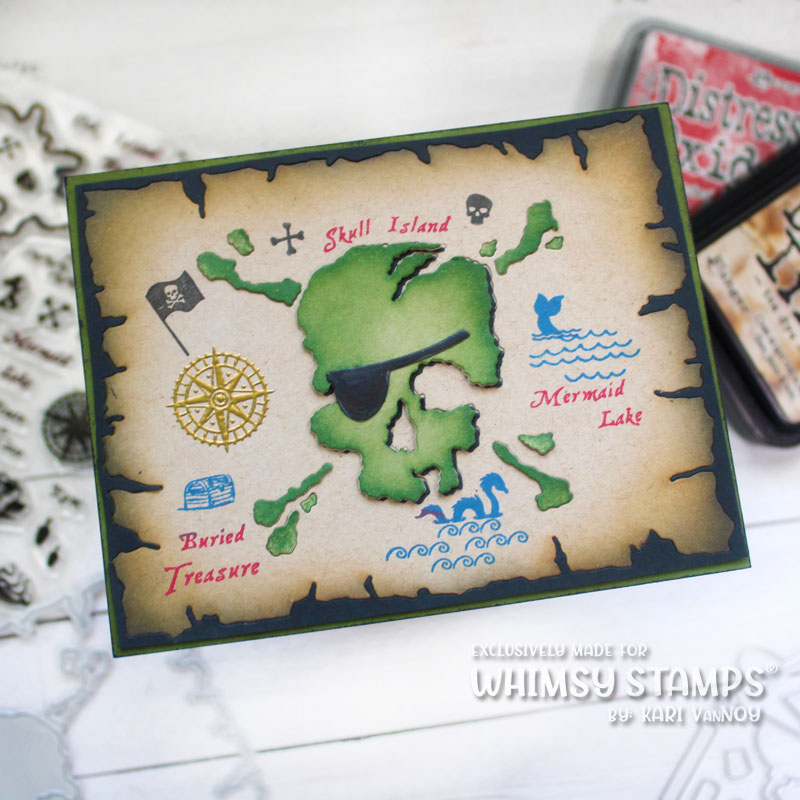
For my second card, I used that AMAZING skull map die!

For some dimension, I paper pieced three more of the skull pieces on top (with a green inked skull at the very top). I thought this made it look more like SKULL ISLAND!

I stamped some of the Treasure map stamps in red, blue and black. I gold heat embossed the compass (always need a touch of gold on a map, arggh!)

If you follow the map closely you will find Mermaid Lake and the Buried Treasure! I added an eye patch on the island just for some extra fun. The eye patch is from the ARRGH accessories die set.

I hope you enjoyed these fun projects today! Check out the supplies below.

I’m often asked what supplies I use to make my cards and projects, so I’ve put together a list using affiliate links when possible. If you make a purchase with these links I may receive a small commission. These help me to keep up with blog costs and continue bringing you fun projects. Thank you so much for your support!


Have a treasure of a day!

Comments { 0 }
SUNSHINE-unicorn-card-5-in-hand

Coloring Unicorn Hair

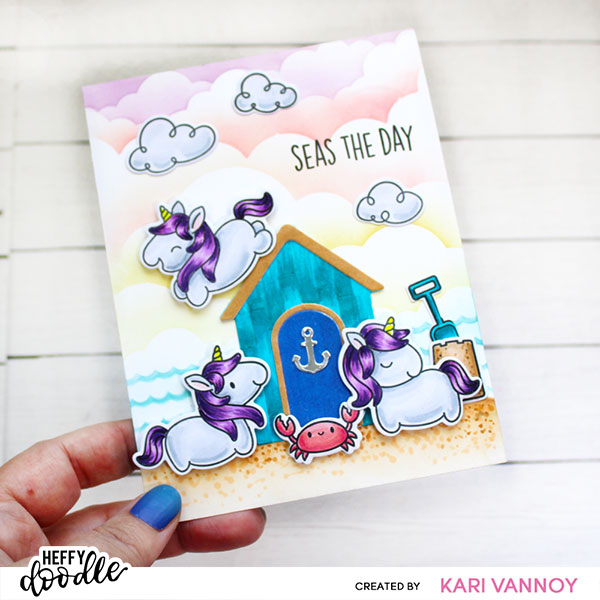
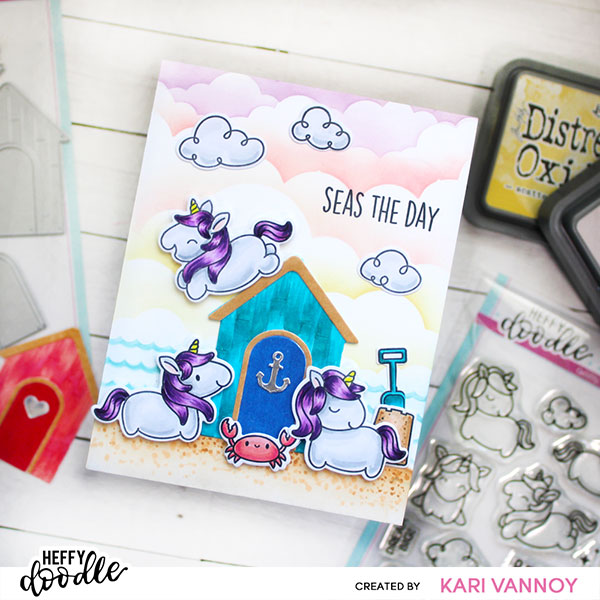
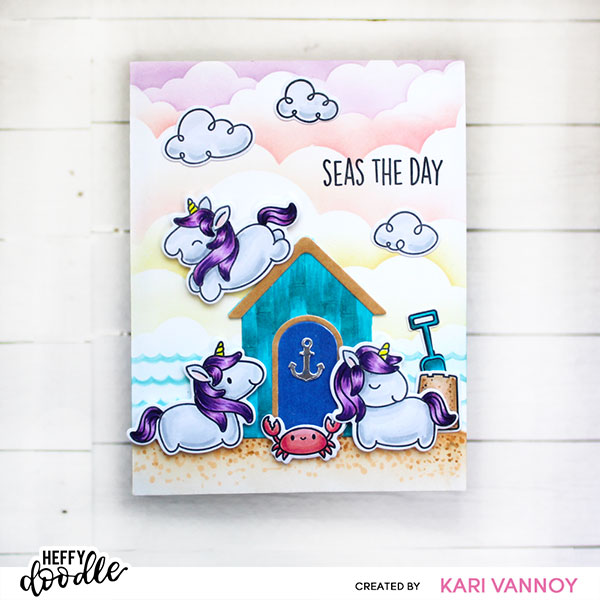
Hello! Today I’m coloring unicorn hair and sharing all my tricks in my latest video. These unicorns deserved a day at the beach…you can see they are having a great time!

Watch my video below or in HD on YouTube to learn: How to color unicorn hair, how to make a beach scene, how to create fluffy clouds using a brilliant stencil design.

Just how happy are these unicorns because they took a beach day!? LOL. I think I need a beach day!

I started by putting together our beach cabin…and made the wood to look a little weathered with my coloring. Then I colored up those unicorn…don’t they look just magical?

For the background I used a variety of stencils. These stencils are a BRILLIANT design and allow you to put your cardstock right inside to get lots of multiple looks! You definitely need to check out my video to see what I am talking about.

I really love how this card came together. I hope you enjoy!

I’m often asked what supplies I use to make my cards and projects, so I’ve put together a list using affiliate links when possible. If you make a purchase with these links I may receive a small commission. These help me to keep up with blog costs and continue bringing you fun projects. Thank you so much for your support!


I’ll be back soon with more cards and videos to share!

Comments { 0 }
SUNSHINE-happy-day-rose-card-3

Easy Watercoloring

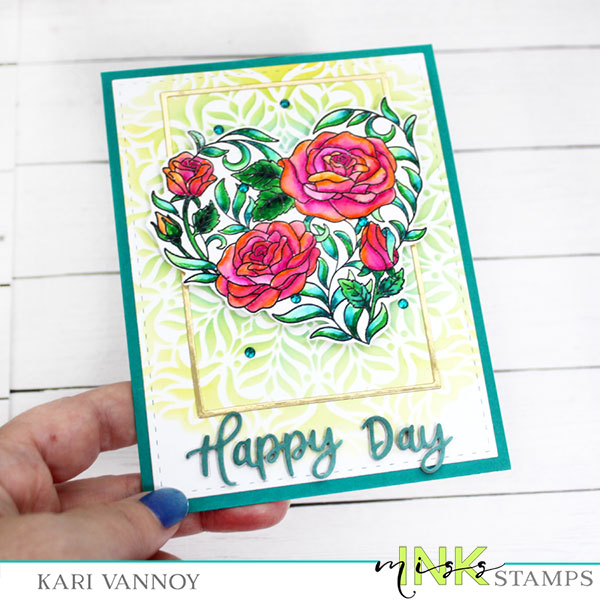
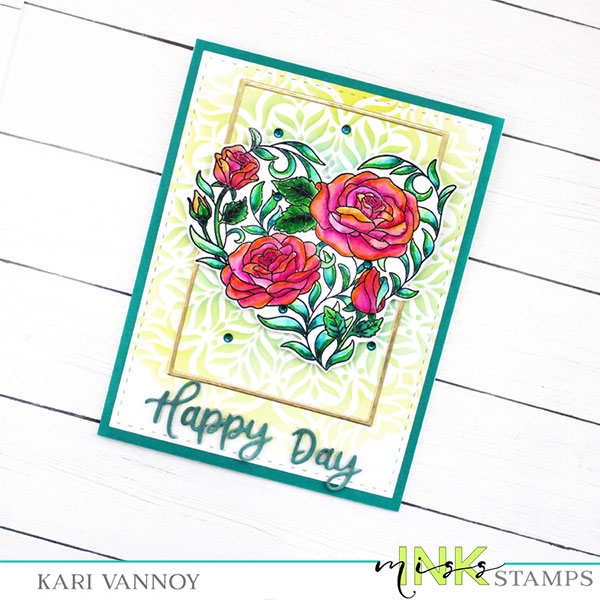
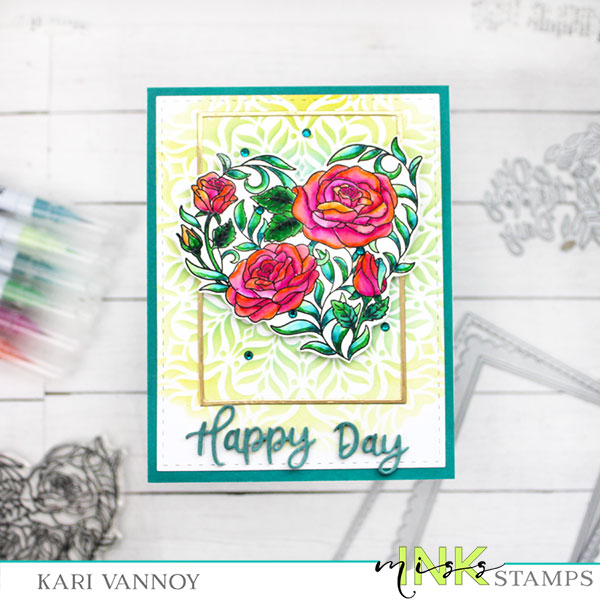
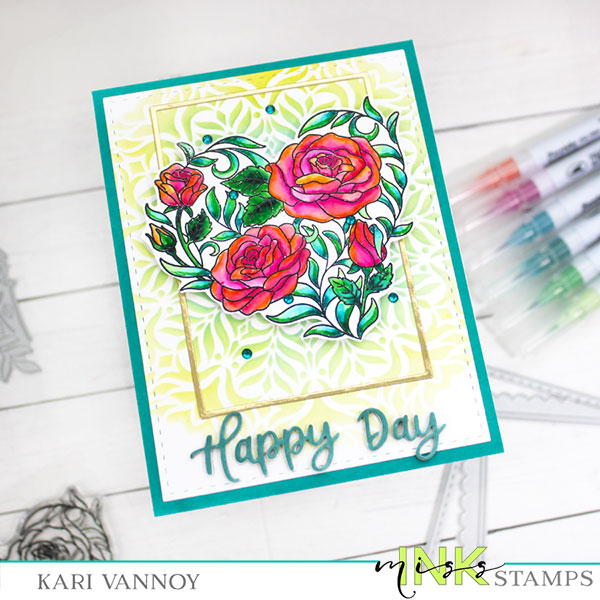
Hello! Today I have a card with Easy Watercoloring. I love to watercolor, and I love it even more when it’s EASY. This technique is so fun to do and you can do this even if you aren’t a professional watercolorist!

Watch the video below or in HD on YouTube:

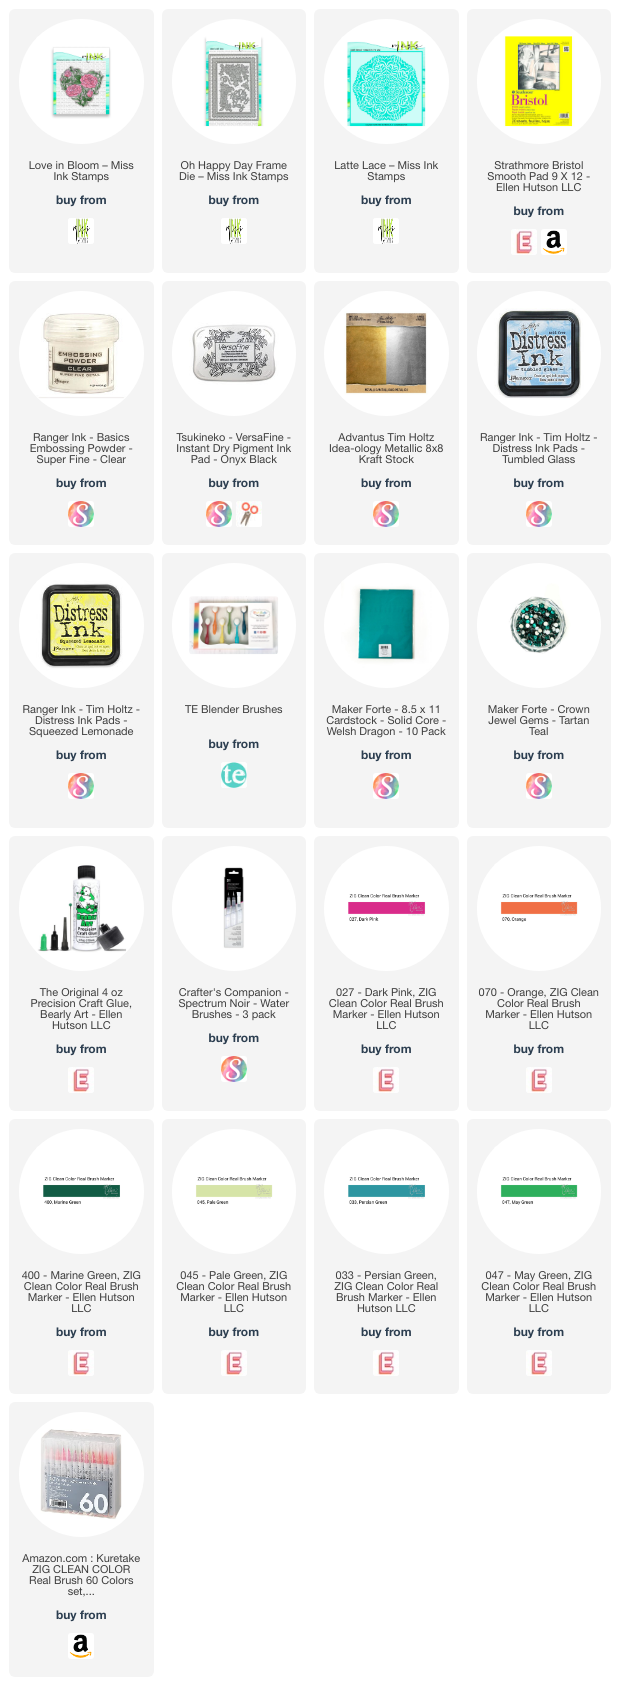
I have some tips for easy watercoloring, today I am using Zig Clean Color Real Brush markers, so these tips will be for having great success using those watercolor markers.

  1. Choose Bristol Smooth cardstock. This cardstock allows the Zig Clean Color Real Brush markers to blend smoothly with a waterbrush!
  2. Heat emboss your image. Here I stamped using black ink (Versafine Onyx Black) and then used some clear embossing powder over the top. This will keep the watercolor inside these embossed areas!
  3. Choose 2 or three colors to blend and use a waterbrush in the lightest color first to blend into the darker color(s). It makes a beautiful blend

I used a gorgeous stencil (Latte Lace) for the background, using only TWO ink colors. I blended the Tumbled Glass and Squeezed Lemonade Distress inks together and they created a beautiful green.

The frames are from the Oh Happy Day die set. There are so many great options in this set! That’s where the sentiment came from also.

Watch the video above to see how this all came together!

I’m often asked what supplies I use to make my cards and projects, so I’ve put together a list using affiliate links when possible. If you make a purchase with these links I may receive a small commission. These help me to keep up with blog costs and continue bringing you fun projects. Thank you so much for your support!


I really love a calm watercoloring session, especially when it’s THIS EASY! I hope you enjoyed this project today. I’ll be back with more cards to share soon!

Comments { 0 }
Kari-V-Yay-card-1

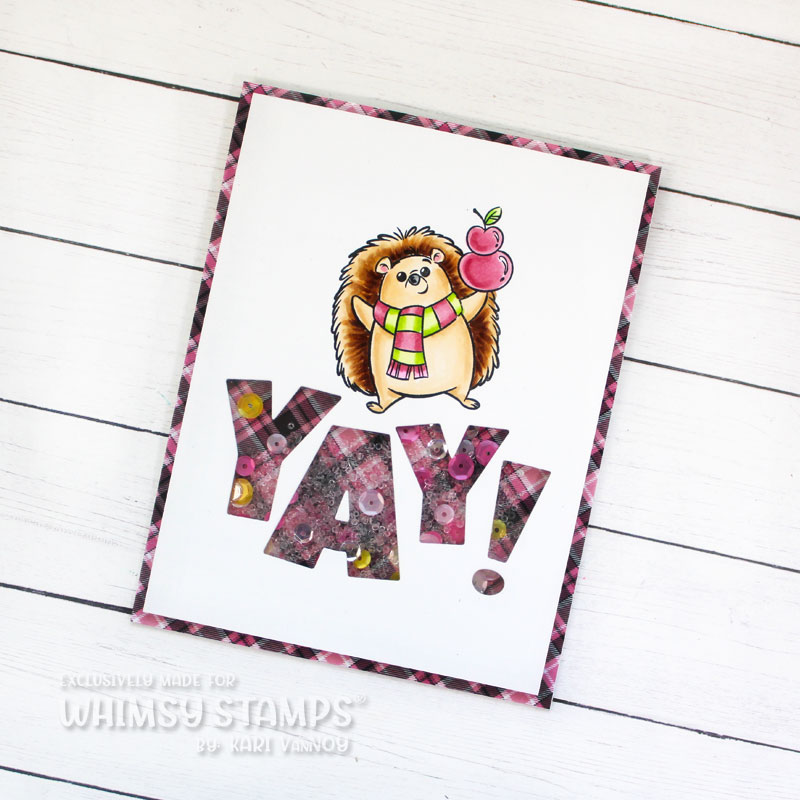
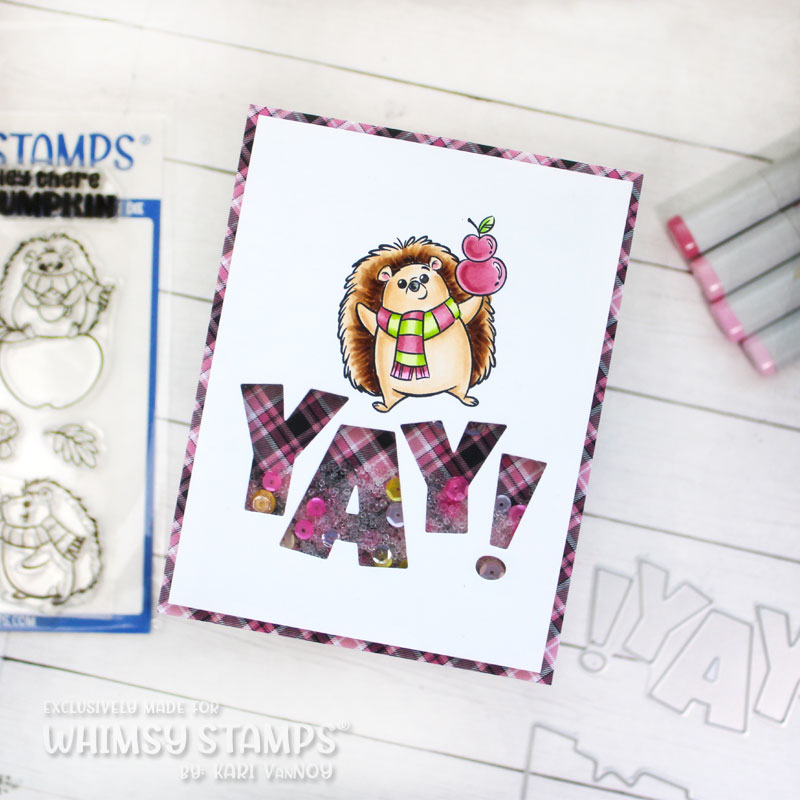
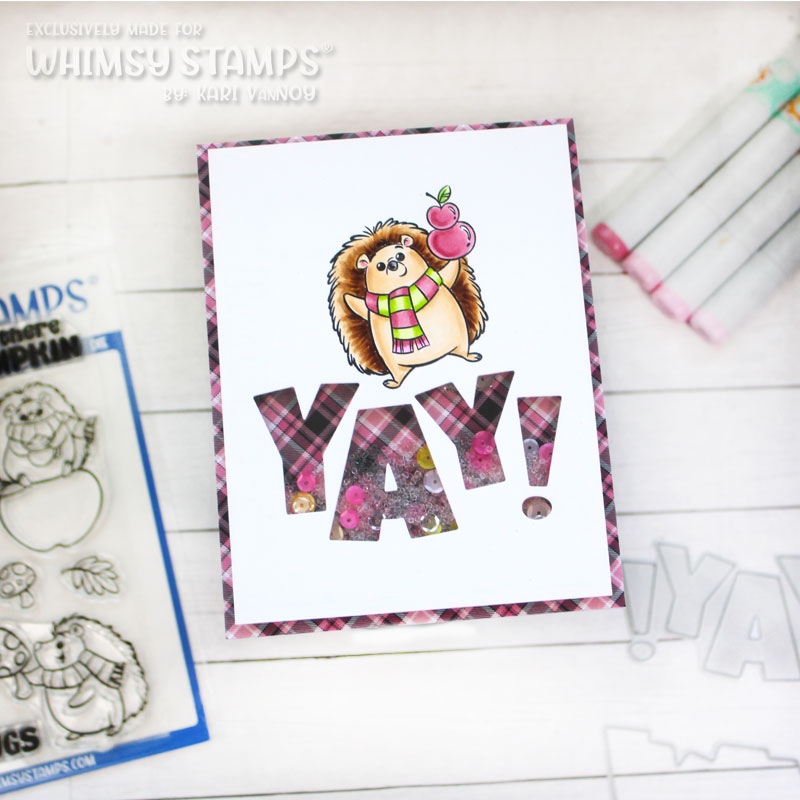
Yay Shaker Card

Hello! Today I have a fun YAY Shaker card to share with the cutest Back-to-School Hedgehog stamp set. I just adore this set and you will see why…check out my video below or in HD on YouTube:

If you know me, you know I love making Hedgehog cards and (dare I say this?) THIS hedgehog might be the cutest one yet!

I mean, look how cute he is!!

I love to make a good shaker card…this new YAY Word die is perfect for a shaker! It feels so happy, like you just want to shake it…so why not add some beads and sequins?

I started out with choosing my PINK PLAID paper from the new 6×6 pack (I will link it below). Then I stamped the Hedgehog image and cut the YAY word die from the same panel. Before putting the shaker together, I colored up that little hedgehog with Copic markers.

I created a shaker using acetate and double-thick foam tape. This makes it SO EASY! You don’t have to double up your foam tape, and that’s a big time saver and a WIN in my book.

Watch the video for my easy technique to make this shaker, and get that pink plaid border lined up all the way around!

Be sure to check out the entire new release over at Whimsy Stamps…the new narwhal stamp set is also so adorable!

I’m often asked what supplies I use to make my cards and projects, so I’ve put together a list using affiliate links when possible. If you make a purchase with these links I may receive a small commission. These help me to keep up with blog costs and continue bringing you fun projects. Thank you so much for your support!


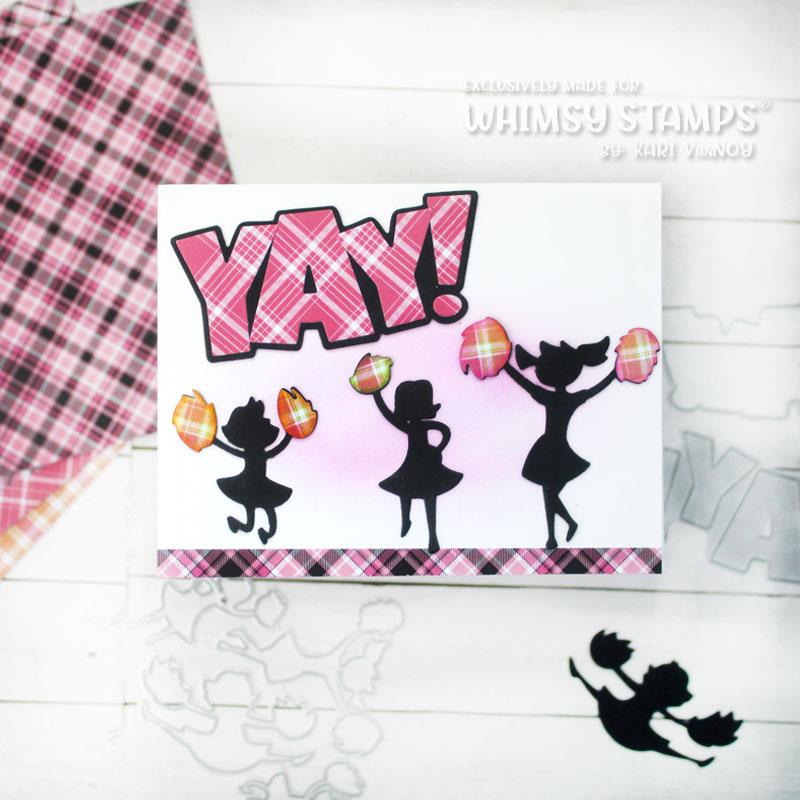
The Cheerleader die set is another one of my favorites! I hope you enjoyed these projects today! I’ll see you real soon with more cards to share.

Comments { 0 }