About KariV

Author Archive | KariV
christmas-baubles-2

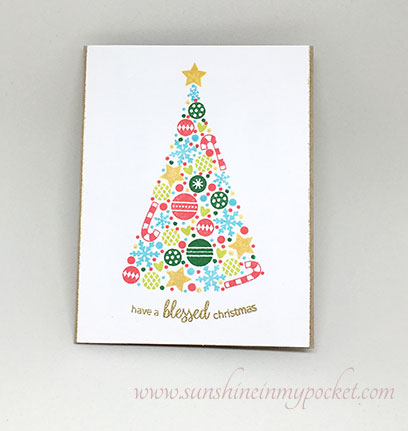
Christmas Tree Baubles

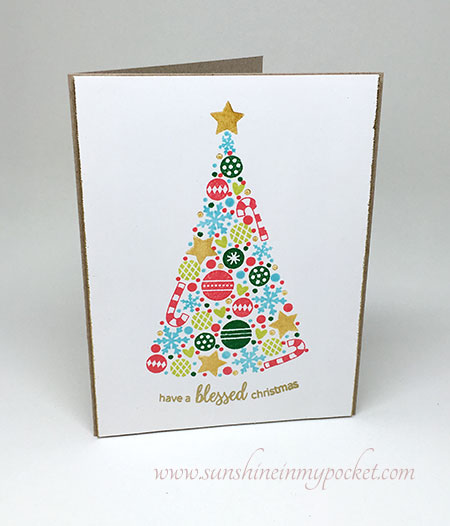
Wow, this technique was so fun but time consuming! In the Holiday Style Online Card Class, May Park had an awesome sample of a triangle tree shape stamped with all kinds of small stamps and I thought I’d give it a try.

Turns out I have a LOT of small stamps that worked so well for this technique.

christmas-baubles-1

I decided to round the bottom of my tree and make the sentiment curved to match. I used my GOLD delicata ink for the very first time (thank you, Wendi!) and I love it! See those stars? They are stamped with the gold ink.

christmas-baubles-2

I used the same gold embossing powder on the sentiment and on the right and left edges of the card. So pretty. My husband loves this one! But I don’t think it’s a candidate for mass production. Lol. 🙂

Have a blessed Christmas!
Comments { 1 }
inked-edges-1

Vintage Christmas

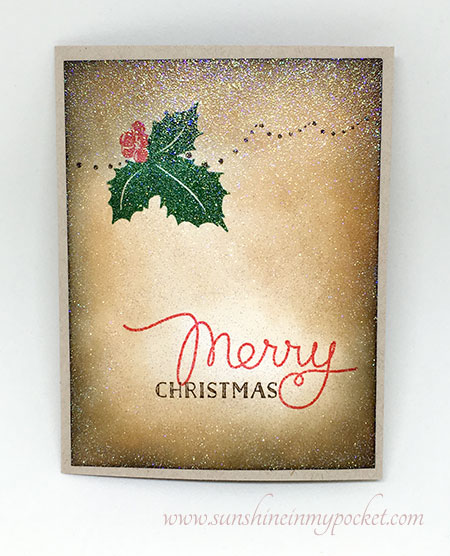
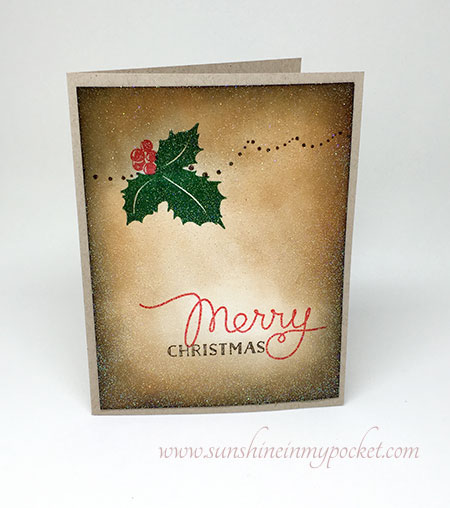
This card was definitely out of my comfort zone. I was nervous to use brown distress ink over my stamping. But vintage fancy was the topic of the day at Online Card Classes Holiday Style!

inked-edges-2
I used Neenah desert storm for the card base (I have a TON of this, but rarely use it) and I think it complements the vintage look.

After I finished all my stamping and inking I slapped some Versamark clear ink over it all and sprinkled Judikins sparkle embossing powder over it! Then I heat-set it and I think it turned out so fancy! I love that the glitter doesn’t come off on your hands when you use heat embossing.

inked-edges-1
Well, Kristina Werner totally inspired me to try this card…something very new for me! What do you think?

Comments { 0 }
o-christmas-tree-2

O Christmas Tree!

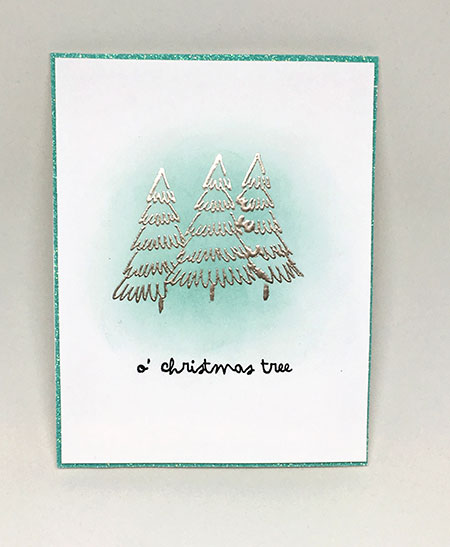
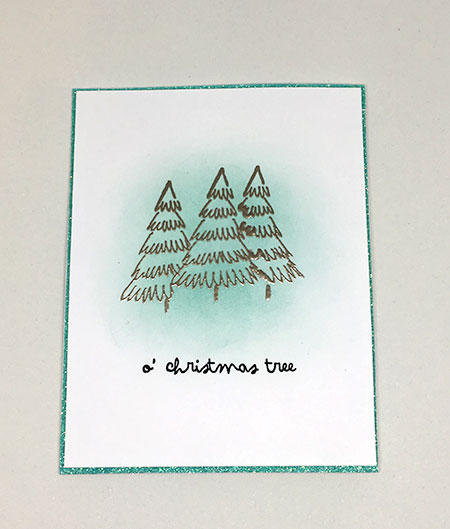
So I tried my hand at a clean and simple christmas tree card. I used the Tim Holtz Scribble Trees and I’m ready to try making more. There are so many cute trees in this set!

o-christmas-tree-1

I used Evergreen Bough Distress ink to ink up the center of the card. This took me TWO tries! I really messed up the first one. This one turned out better. Laura Bassen warned that it takes a light hand and a lot of passes to really build up the color. I embossed the three trees with Ranger embossing powder.

I was going to add this card to a simple white card base, but it looked just too plain for me. So I jazzed it up with some sparkle tape!

o-christmas-tree-2

This card makes me think of picking out a Christmas tree in a tree lot. That’s so fun to do, but we now have an artificial tree and never go to the tree lots anymore. So sad. I think I’ll visit one this year just for fun. Lol.

Comments { 0 }
snowflake-close-up

Snowflakes!

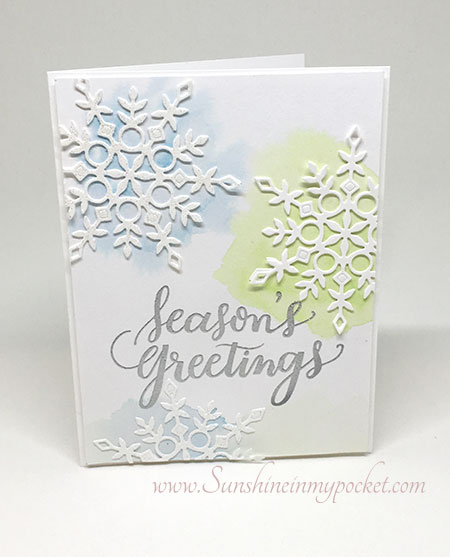
This card is for the Holiday Online Card Class soft and subtle cards.

snowflake-card-1

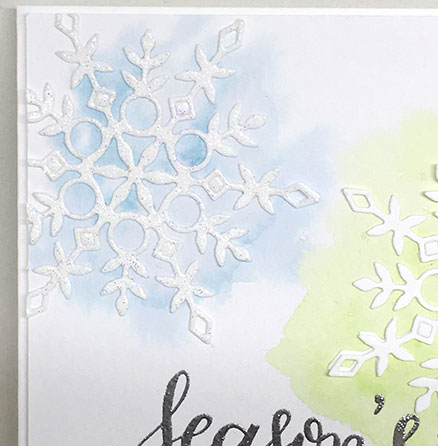
I used distress inks as watercolor (that twisted citron is a new favorite) behind those snowflakes. That snowflake die is from Simon Says Stamp “Eliza” and it’s one of my favorites, too!

snowflake-close-up

I used some glitter embossing powder on the snowflake and it looks so pretty, don’t you think?

That sentiment is from Mama Elephant. Such a pretty font! I hope you enjoy this card.

Comments { 0 }
gnome-3-close-up

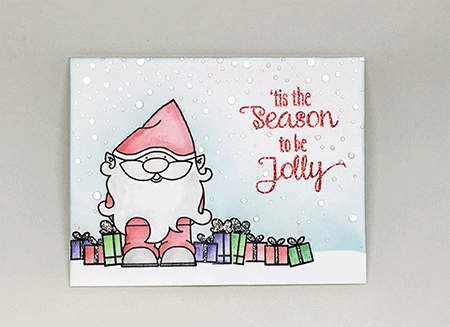
Tis the Season to be Jolly

Well, this card was a bunch of firsts for me. A first with all that masking (thanks to Laura Bassen), and a first using EMBOSSING PASTE!! Wow. I might just be addicted to adding embossing paste. I need to play with this more.

gnome-1

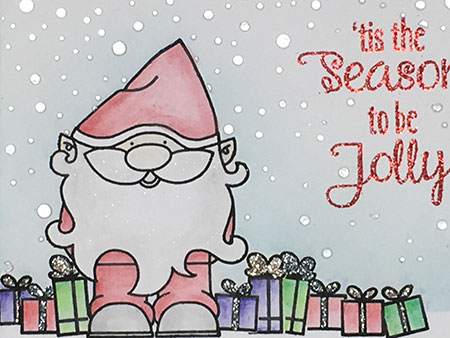
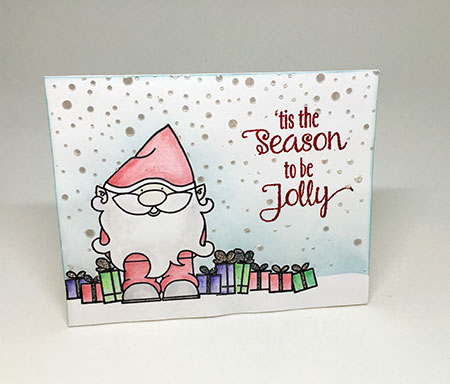
Isn’t this card fun? I used the gnome from Paper Smooches and some gifts from another Paper Smooches stamp set. The gnome and all those presents had to be masked first before I stamped another one. I thought this gnome was a Santa look-alike.

gnome-2

See the snow there…that’s the embossing paste. It’s actually Ferro in the color “Pearl” because I don’t actually own any white embossing paste yet. Isn’t that funny? I have some silver and gold to play with and haven’t used those yet, either. Next time.

gnome-3-close-up

Here you can see the shine from the pearl snow! And I added some stickles glitter to those gifts…in both platinum and gun smoke. I love a glittery bow.
You can also see a bit of Wink of Stella added to his beard.

But you want to know the best part? I took this picture at night in my new light studio box!! Yeow…that looks so bright and light! I think I’m going to have fun with this new present (it’s for Christmas, but I was forced to open it early! Lol.)

This is such a fun card class…see you with another card tomorrow!

Comments { 0 }