About KariV

Author Archive | KariV
all-three-cards-2

Polka Dots Forever!

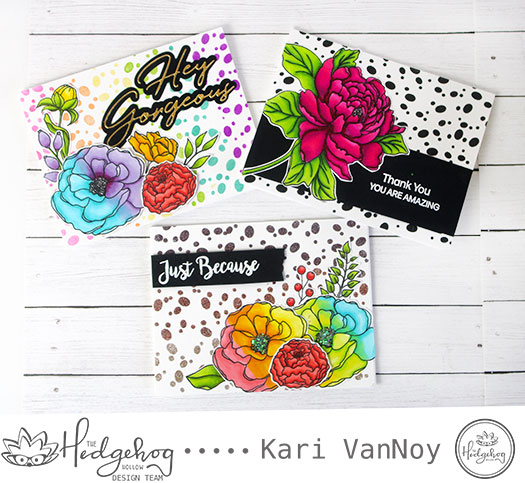
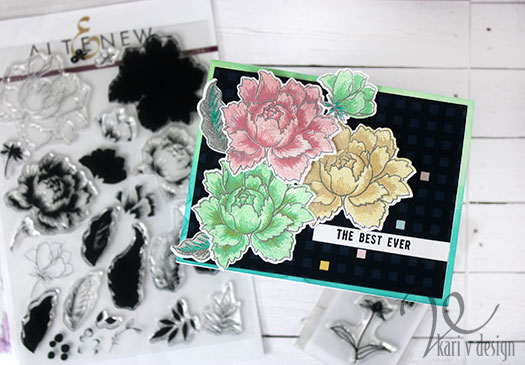
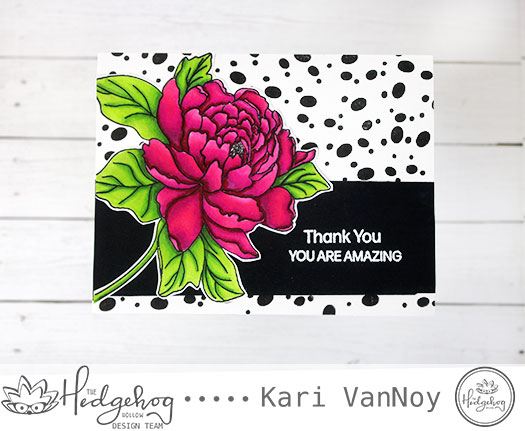
Hi there! Today I have a fun polka dot background created using the smallest stamp hidden amongst some gorgeous floral stamps! This stamp comes from the August 2019 Hedgehog Hollow Kit and I just knew it would make a great background.

Look at those rainbow inks!
The card created with the background

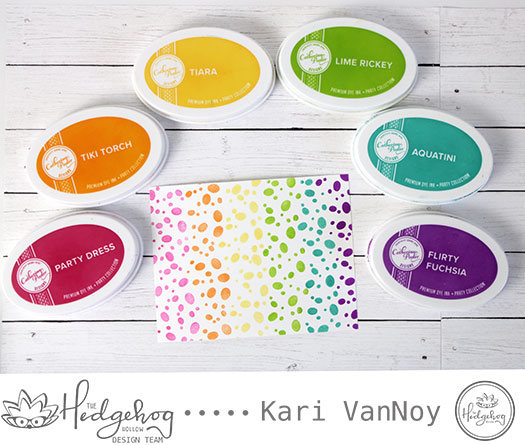
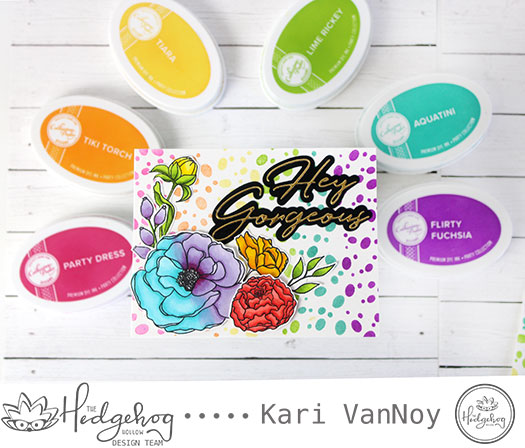
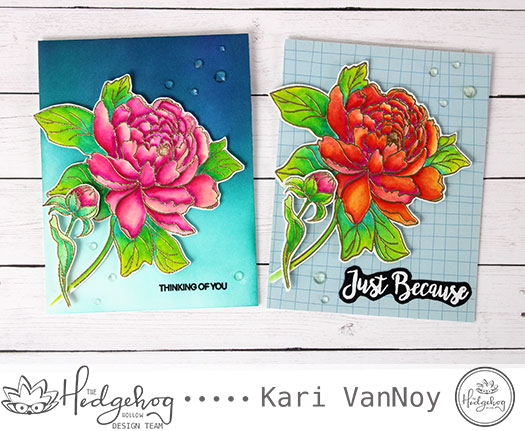
I am using some of my favorite inks today to create this rainbow of polka dots (who doesn’t love a rainbow of polka dots)?! And this card is made even better with a “Hey, Gorgeous” sentiment.

I created a short video to show you how I created a background THREE different ways that are all equally as fun! Watch it below or on YouTube:

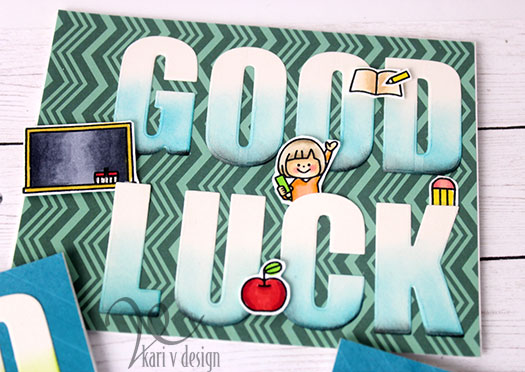
This background is easy to make and really quick, too. Just change the direction of your stamp each time to get some variation.

Black Polka Dots!

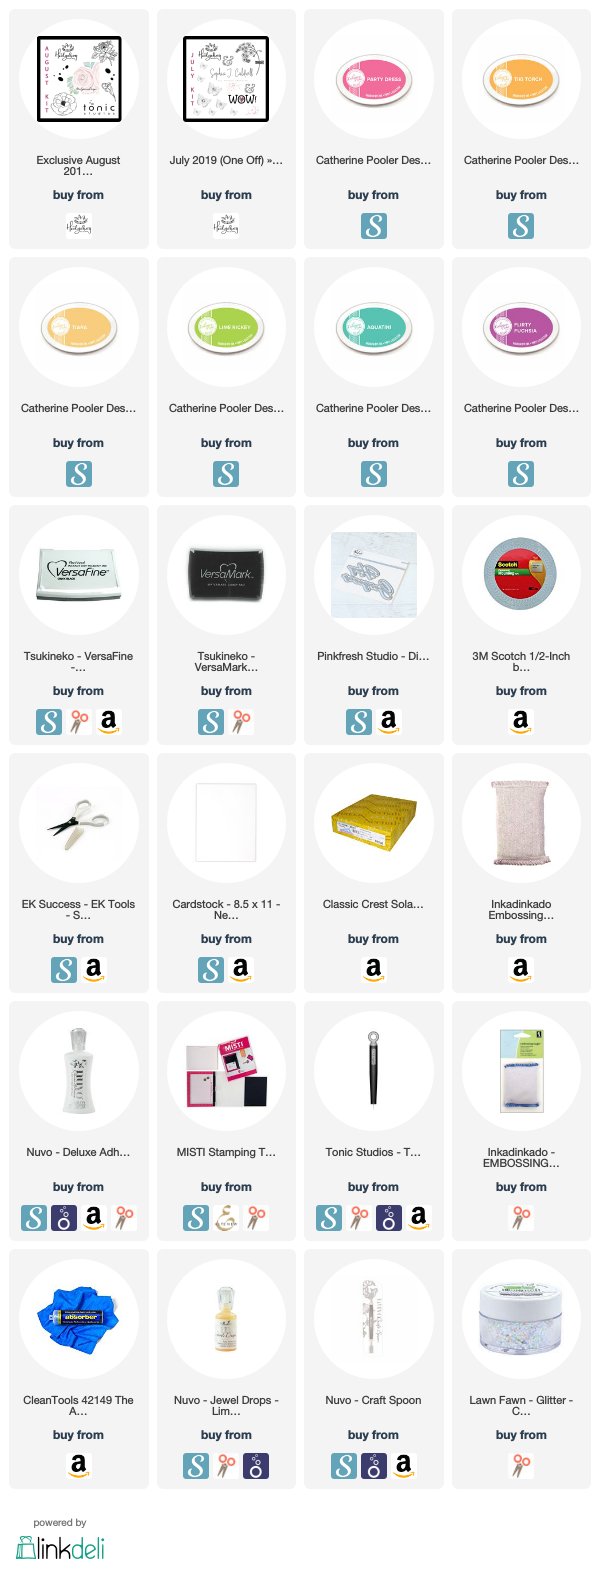
If you look closely at the stamp set in the photo above, you can just pick out the polka dot stamps I am talking about. I put a couple of them on one side of my acrylic block, and another one on the other side; then I alternated between the two sides when I stamped it out.

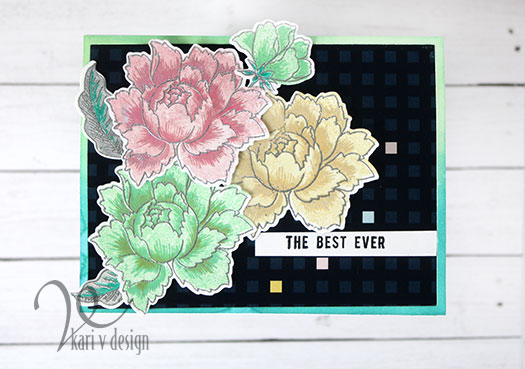
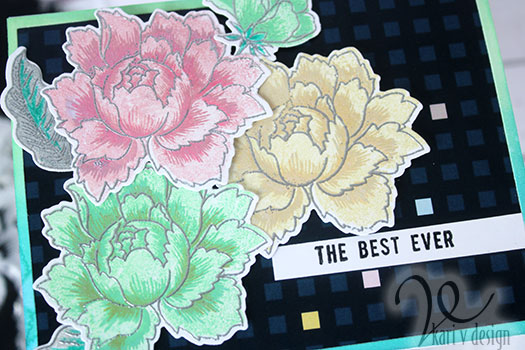
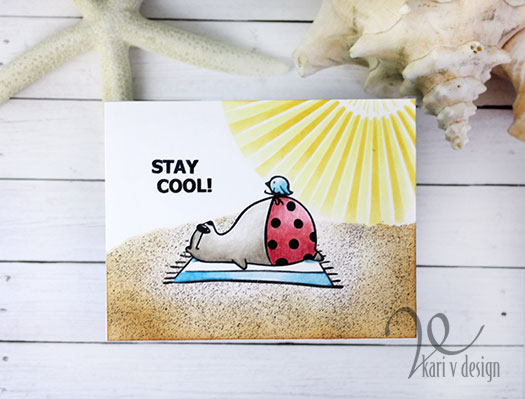
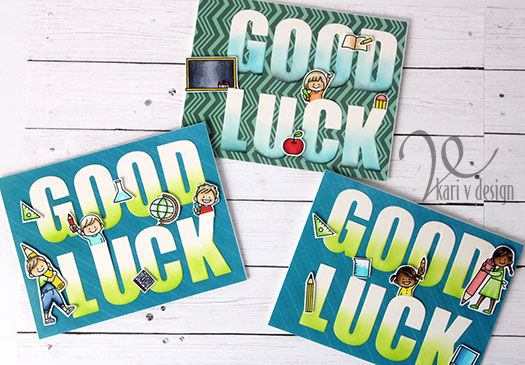
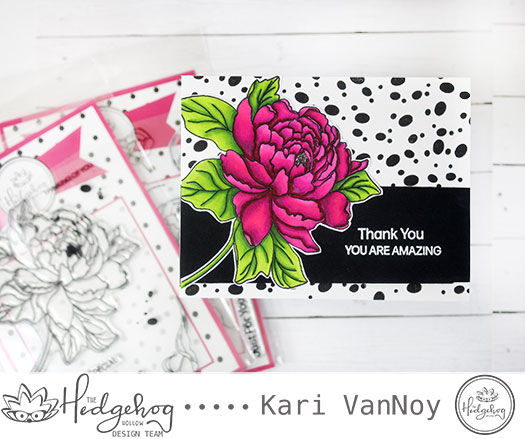
I think this black polka dot card is my favorite one! I also think it would make a great background for a dog card (why do I think that)?!

Thank you. You are amazing.

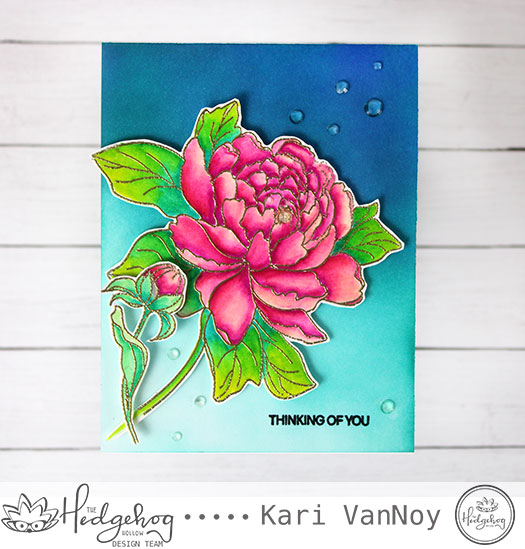
The last polka dotted card is made with the beautiful embossing powders that came in last month’s kit. I alternated between 3 of them to create an ombre look for the background.

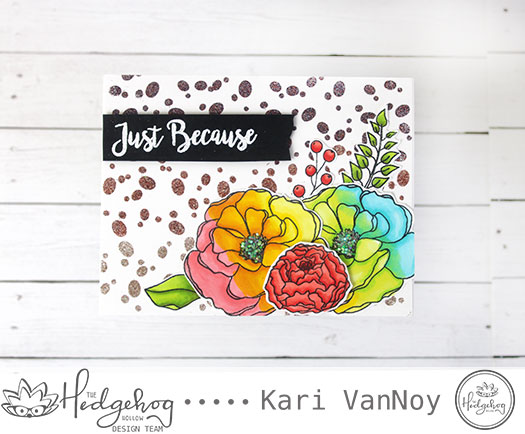
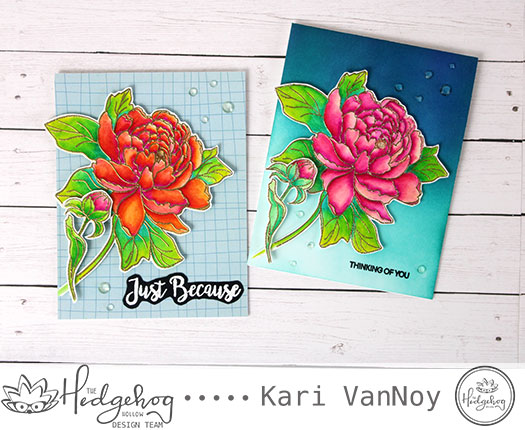
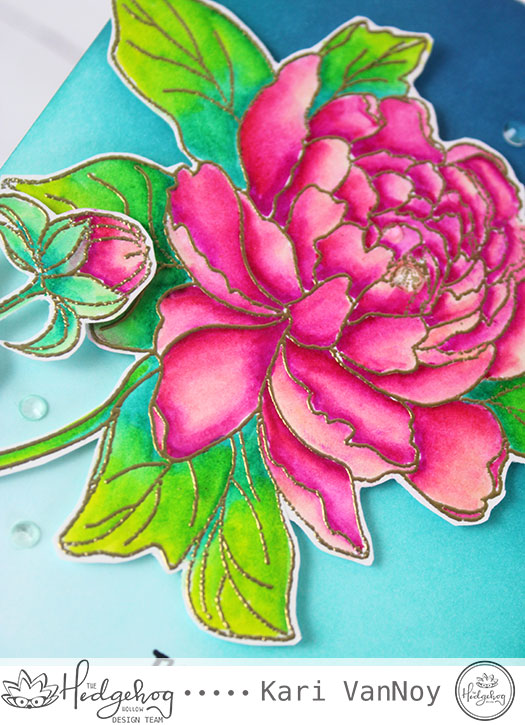
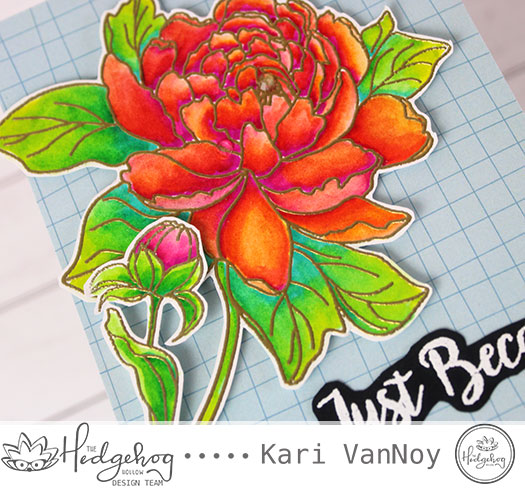
Funny story…I colored these flowers in a rainbow order because I thought it would be fun to use them for the rainbow background (first card). But sometimes my cards take on a mind of their own! So these florals ended up on the heat embossed background. I added some chunky glitter to the centers of these flowers to mimic some shine from the embossing powders. So pretty.

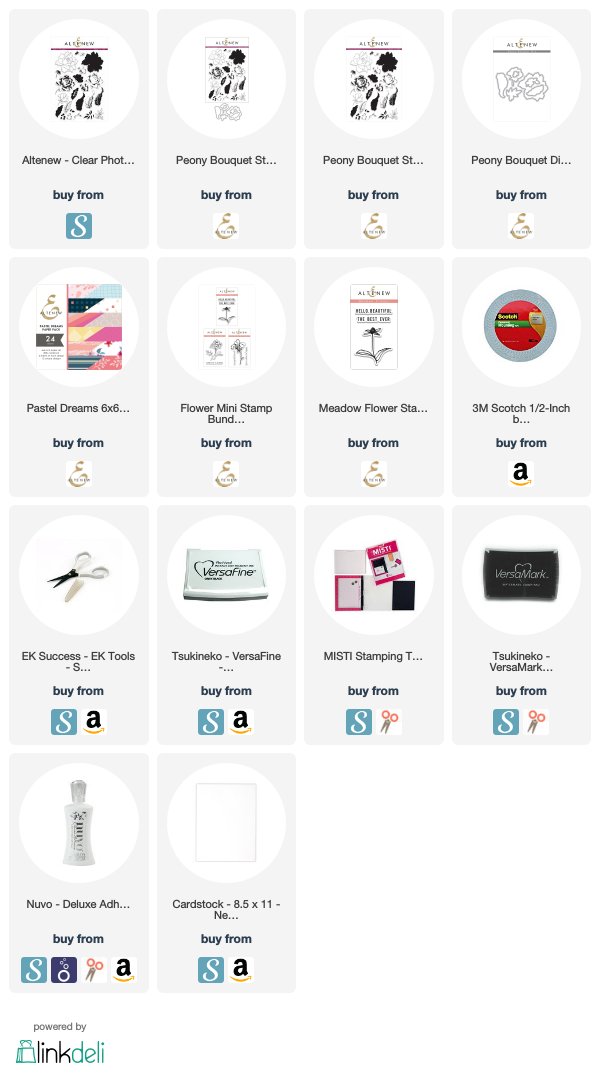
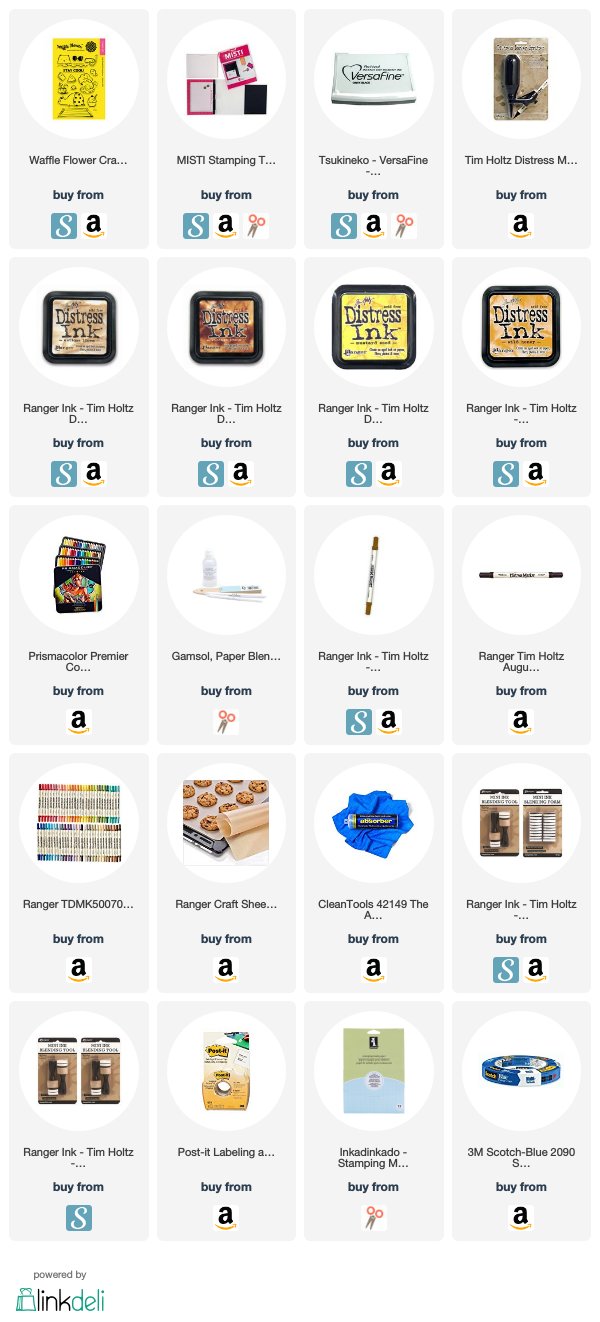
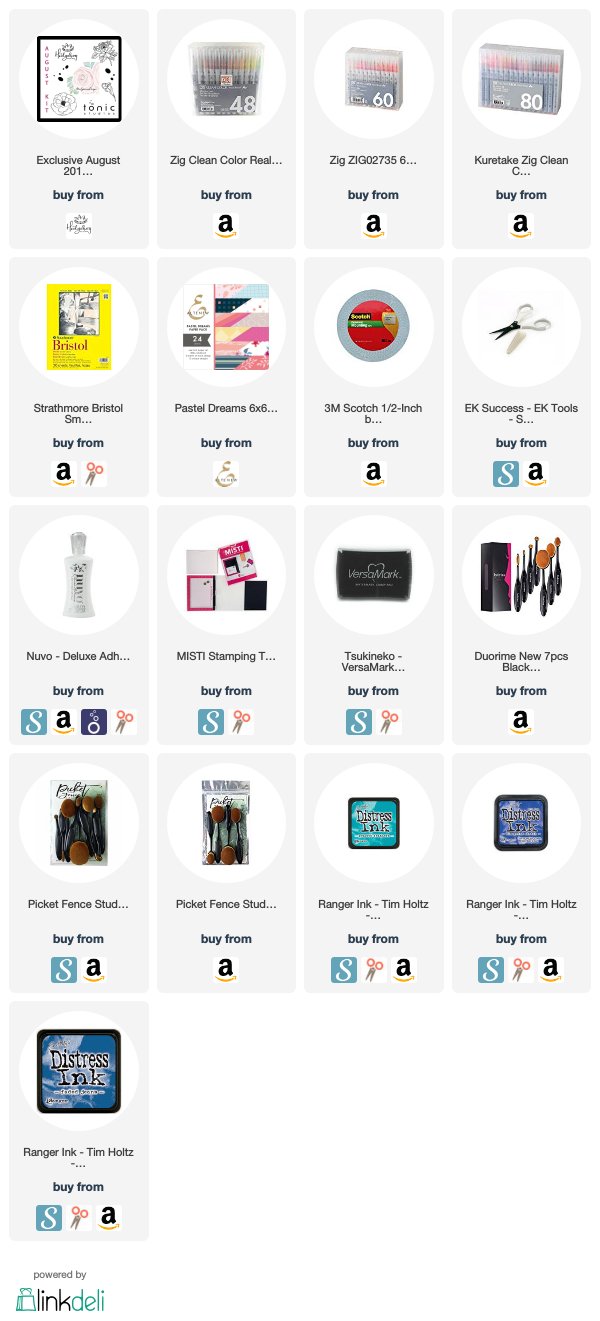
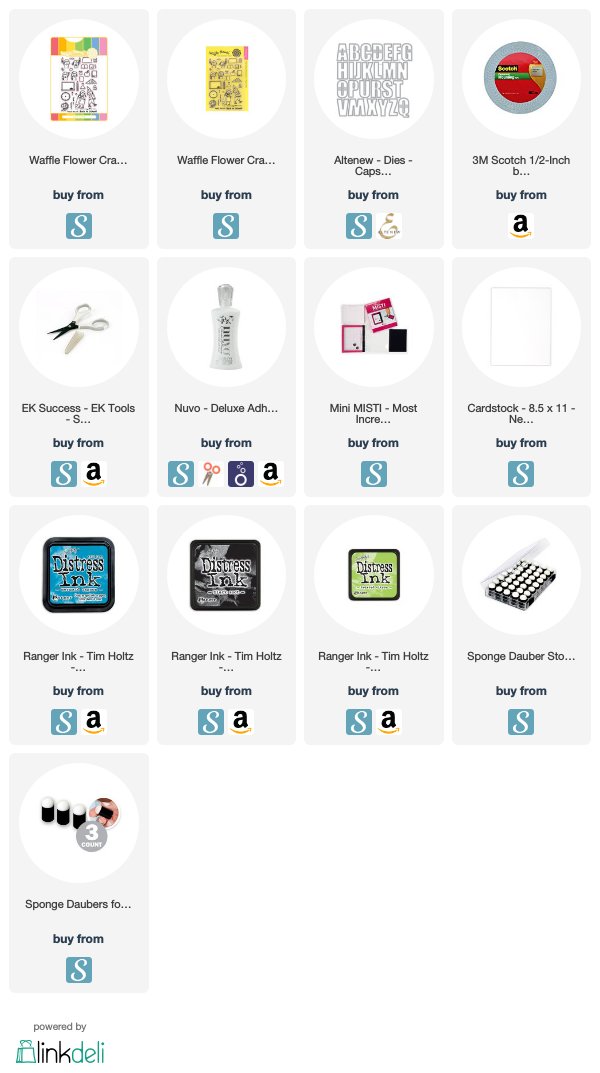
I’m often asked about the supplies I use on the cards I make, so I compiled a list using affiliate links when possible. If you make a purchase using these links, I may receive a small commission (at no additional cost to you). These help me to keep up with blog costs and continue to bring you fun projects. Thank you very much for your support!

I hope you are inspired to create some polka dot backgrounds! (or even create backgrounds using the smallest stamps in your stamp sets).

Which one is your favorite?
Comments { 0 }
ice-cream-at-midnight-with-stamp-sets

Ice Cream at Midnight

Hello! Do you ever name your cards…or give them a title? Today, I have named my card “Ice Cream at Midnight!” I think you’ll see why:

Three flavors of ice cream…

This is an unusual card for me, I rarely use a dark background. But I was inspired by Nicole Picadura in her class at Altenew called All About Layering 2. She suggested using embossing powder as one of the layers. Of course, I was all over that idea! First, I stamped the flowers with a couple colors of Distress Oxide inks (vanilla, strawberry, and mint colors). Then I used SILVER embossing powder for the outline layer of these flowers.

Then, as I was arranging these flowers on my regular white cardstock, the silver embossing powder got kind of lost! So, I broke out my Altenew 6×6 papers and found the perfect dark cardstock to go with these flowers. It even has pastel squares to match.

See the silver embossed outline?

Mint, Vanilla, and Strawberry ice cream at midnight! Lol. I love these colors of flowers…they do look like scoops of ice cream, don’t you think?

I popped some of these florals up with differing levels of foam tape for dimension and added a watercolored frame for more color. I used the sentiment from Meadow Flower (The Best Ever) to complete this card.

I’m often asked what supplies I used on a project, so I have a list below using affiliate links, when possible. If you purchase using these links I may receive a small commission at no additional cost to you. This helps me to keep up with blog costs and continue bringing you fun projects. Thank you so much!

I hope you enjoyed this ice cream at Midnight! See you next time!

The Best Ever
Comments { 1 }
sandy-beach-big-bear-card-2

How to create (real-looking) sand for a beach card [VIDEO]

Hello! Today it was 120 degrees (Farenheit) here in Arizona, and I really wish I was at the beach! So I decided to share a simple beach card I created with a VIDEO. This is a card I created a while ago, but have never shared the video on my channel.

Wishing I was on that beach right now!

Doesn’t Big Bear look so happy on the beach?!

I hope you enjoy!

Look at that sandy beach! This technique is STILL a favorite way to create realistic sand granules for a beach scene. Check it out and let me know if you’ve tried it before?

Looks like real sand granules!

I also share a colored pencil technique to get a smooth blend. This is another favorite technique when I am using colored pencils.

I’m often asked what supplies I’ve used, so I created a list for you here, using affiliate links when possible. When you purchase using these links, I may receive a small commission. This helps me keep up with blog costs and continue to bring you fun projects like this one! Thank you so much for your support!

Stay cool!
Comments { 0 }
both-cards-2

Using Zigs to Blend

Hello! Today I’m excited to bring to you a couple cards using beautiful florals designed by Alex Syberia. These florals are exclusive to the Hedgehog Hollow August box and they are gorgeous! I have had a few requests to show how to blend with Zig Clean Color Real Brush Markers….and so I’m combining the two!

Here’s a look at my cards:

Vibrant Colors from these watercolor markers!

I have a video showing you the process and how to get such vibrant colors (hint: I don’t use water at all! Only the Zigs). Watch the video below or on YouTube:

This August box will sell out fast, so if you love beautiful florals that are so very fun to color, go check out this box soon!

Ink blended background

I gold heat embossed the images first, then colored with the Zigs. For this first card, I ink blended a background using Distress Inks and makeup brushes. I love this look. I used the Zigs on the flowers and fussy cut them out. Then I popped them up using foam tape.

Three colors of green, Three colors of pink

Now I know sometimes the ink blending on the background either takes too long, or maybe you don’t enjoy ink blending. This beautiful flower looks great on a patterned paper background, too!

I’m often asked about the supplies I use to make my cards, so I’ve compiled a list for you here, using affiliate links when possible. When you purchase using these links, I may receive a small commission. These help me to keep up with my blog costs and continue to bring you fun projects. Thank you so very much!

I really hope you love these cards as much as I do. Sometimes a photograph just doesn’t do a card justice, and I think that might be the case with these! I love just how much they POP in real life! Thank you for stopping by.

Comments { 0 }
colin-card-2

Back to School Good Luck

Hello! It’s Back to School week for our kiddos here and I have some quick cards to share. When I put together cards for kids, I try to remember that they are kids and really don’t care how much time or effort that goes into making a card. So that means, something quick but still cute!

Enter some stamp and die elements that are cute AND will fill the entire card.

I stamped every single image from this Waffle Flower set and colored them in quickly with my Copic markers.

Then, I die cut the large alphabet dies to spell “Good Luck” from cream colored 110# cardstock. To add some punch, I added some ink with finger daubers on the lower part of the letters.

Back to School!

I used patterned paper for the card panel to add some extra texture, and adhered the letters on with liquid glue. Then I popped up the images with foam tape.

A fun card and easy to put together. I’m pretty sure my nephews and granddaughters will love them! But I think they will love the “smarties” candies that I’m giving them to go along with the card. Lol.

I’m often asked what supplies I’ve used, so I have a list below using affiliate links, when possible. When you purchase using these links, I may receive a small commission. This helps me to keep up with blog costs and continue to bring you fun projects. Thank you so much!

I hope you enjoyed these back to school cards today! If you have kids/grandkids going back to school, I wish them Good Luck!

Comments { 0 }