About KariV

Author Archive | KariV
YT-4-12-24-Kari-V-Slimline-HBD-Watercolor-Whimsy-Pattern-Paper-Peony-die-Bday-Tag-card-2

Slimline Birthday Card

Hello! Today I have a new video and Slimline Birthday Card to share with you. I’ll be mixing three patterned papers together and I have a secret for how to mix patterns successfully. Watch the video below or in HD on YouTube:
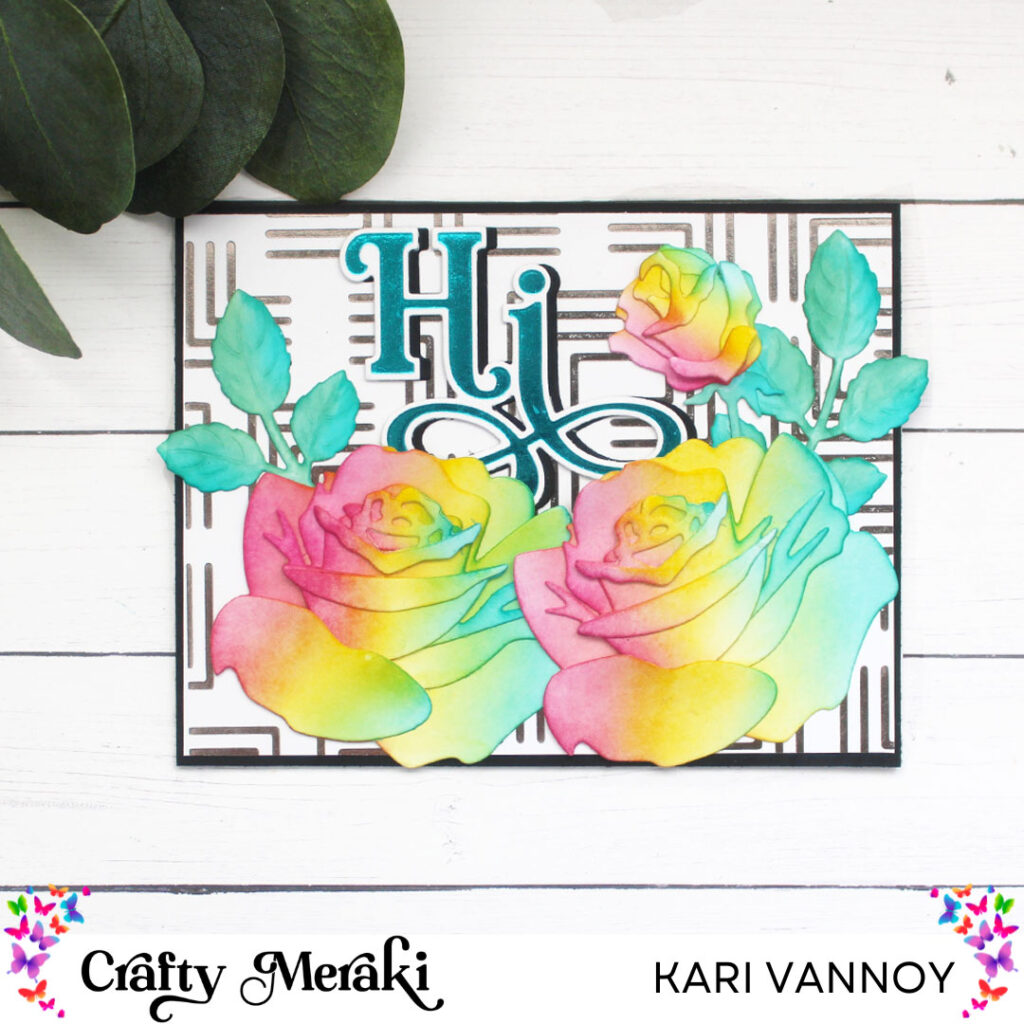
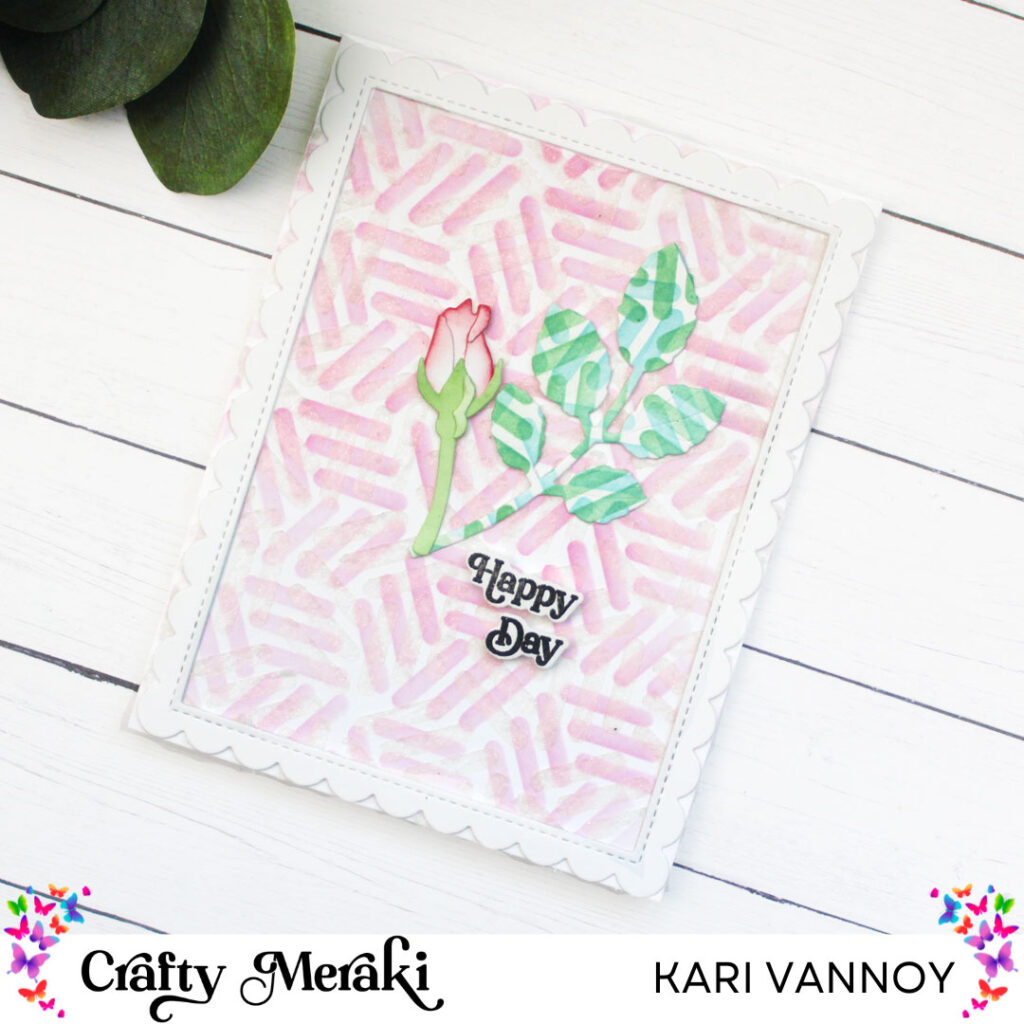
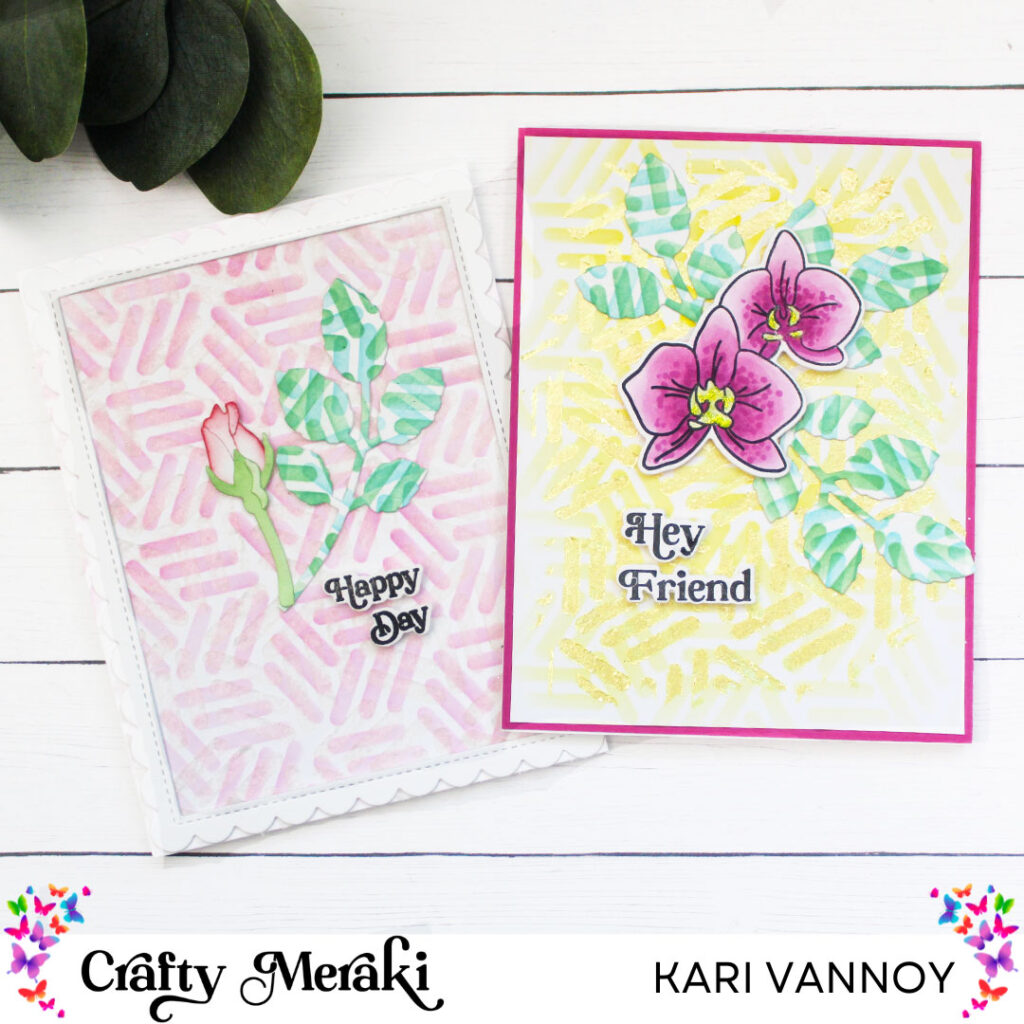
I mixed three patterns here, choosing a large pattern, a medium pattern, and a small pattern (that’s the secret!)

I also used just the buds from the Peony die set, and the leaves from the Madison Meraki Flora Die. I used colors from the patterned paper to create my flowers…and that brings it all together.


The “happy” is cut from a gold cardstock to bring out the gold in the background paper. I love how it picks up the gold highlights.

I’m often asked what supplies I use to make my cards and projects, so I’ve put together a list using affiliate links when possible. If you make a purchase with these links I may receive a small commission. These help me to keep up with blog costs and continue bringing you fun projects. Thank you so much for your support!
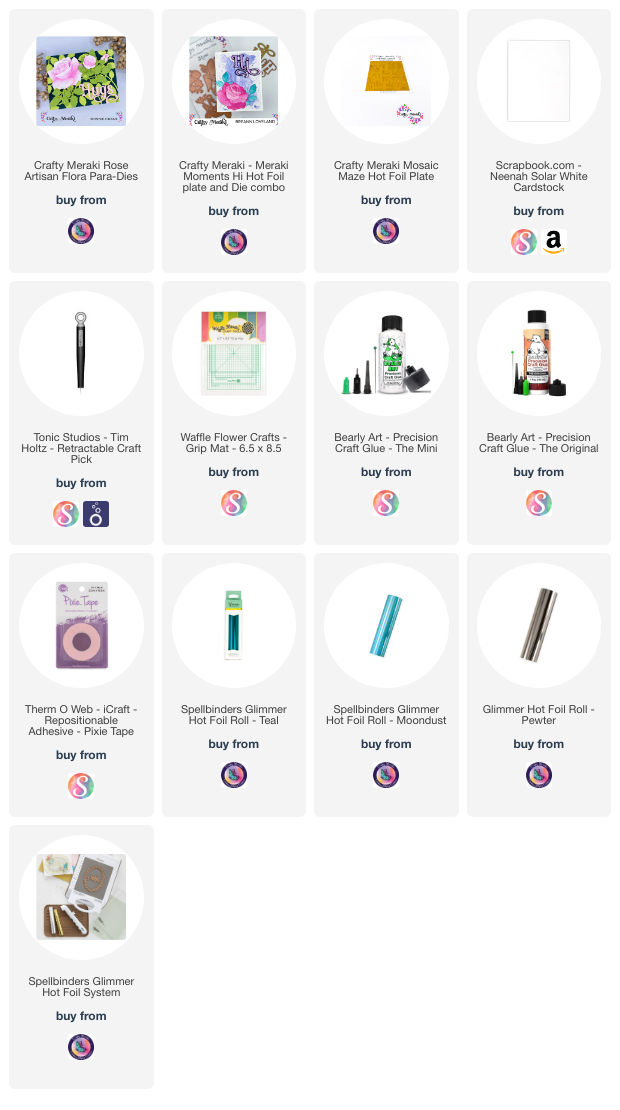


I hope you enjoyed this project today! I’ll be back soon with more cards to share.

Comments { 0 }
YT-3-22-24-rainbow-reverie-patterned-paper-Pixie-Perfect-Kari-V-card-5

Rainbow Reverie Pixie Perfect

Hello! Today I have some new patterned paper to share from Crafty Meraki. I combined the new Rainbow Reverie with the Pixie Perfect stamp set and I thinks it’s a great match! What do you think?

Watch the video below or in HD on YouTube:

I love the variety of papers in the NEW Rainbow Reverie patterned paper. This paper pad is large… measuring 8.5″ x 6.” So when you cut it down to be an A2 size, you have an extra strip of paper! I used that extra strip for the sentiment!

I cut the rainbows & clouds with a circle die to become the focal point of the card. The cute pixie is from the Pixie Perfect stamp set and coordinating dies. I did die cute multiples of this image, so I could build it up to become a nice dimensional element on the card.

I finished it off with some beautiful opal pearls!

I’m often asked what supplies I use to make my cards and projects, so I’ve put together a list using affiliate links when possible. If you make a purchase with these links I may receive a small commission. These help me to keep up with blog costs and continue bringing you fun projects. Thank you so much for your support!


I hope you enjoyed this project today. Sending Pixie Dust to brighten your day!! See you soon with more cards to share.

Comments { 0 }
Kari-V-QCF-Shaker-Leprechaun-card-2

Leprechauns Quick Card Fronts…the quickest card!

Today I have a really fun, and REALLY QUICK video sharing some cute and quick cards. I’m using Quick Card Fronts from Whimsy Stamps and I just adore them!

Watch the video below or in HD on YouTube:

I also share these Quick Card Fronts in the video: (OH YUM!)

Sometimes you just want to make a quick card, right? So I love these for that. You can add as much or as little as you want and it always comes out great!

I’m often asked what supplies I use to make my cards and projects, so I’ve put together a list using affiliate links when possible. If you make a purchase with these links I may receive a small commission. These help me to keep up with blog costs and continue bringing you fun projects. Thank you so much for your support!


I hope you enjoyed these quick cards today! I sure LOVE to make them!

Comments { 0 }
Kari-V-its-your-day-aliens-card-1

It’s Your Day!

Hello, I’m back with a new card and video to share: It’s Your Day! I’m using the cutest alien stamp set from Heffy Doodle!

Watch the video below or in HD on YouTube:

I don’t think you can see it in the photos, but the sentiment is SHINY and it’s with a little embossing trick I share in the video.

Aren’t these little alien critters so cute? I used two different stencils on this card, to re-emphasize the weird. Lol.

I’m often asked what supplies I use to make my cards and projects, so I’ve put together a list using affiliate links when possible. If you make a purchase with these links I may receive a small commission. These help me to keep up with blog costs and continue bringing you fun projects. Thank you so much for your support!


I hope you enjoy this project today! Thanks for stopping by.

Comments { 0 }
all-5-teacup-cards

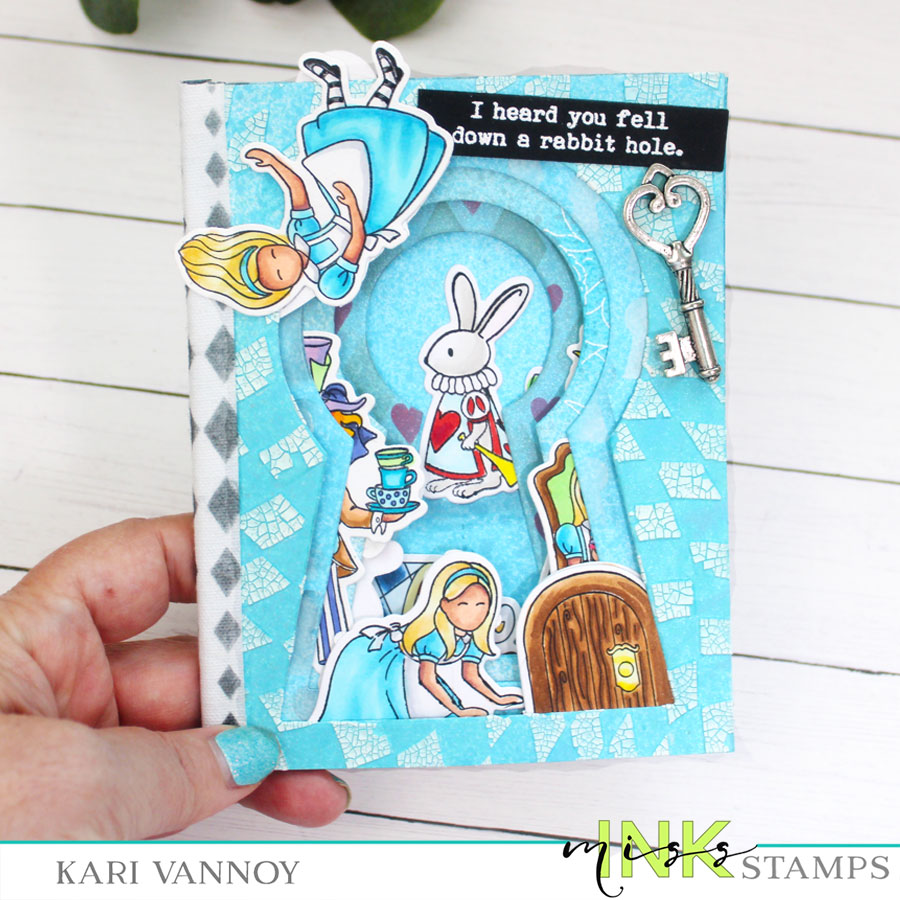
Masking Alice with the Teacups

Hello! Today I’m excited to bring you a new video about Masking Alice with the Teacups. I have some advanced masking techniques for this one (but I think they are actually EASY), so I hope you will take a look!

Watch the video below or in HD on YouTube:

I really love this Alice Collection and I pulled in quite a few sets to make these cards. Everything is interchangeable in this collection…so it all worked seamlessly.

The sentiment on this was created with the alphabet from the EIEIO stamp set. It’s a combination of “Take Care” and “Good Luck”…both of which you need when talking to the Queen of Hearts! Lol.

I also used the Perspective Floor stencil for many of these cards. This is not necessarily an Alice stencil, but it can be used for SO MANY different scenes. It’s definitely a favorite of mine.

I also share in the video how to use any image and mask it to fit in the teacup…it really makes it fun to think of different cards you could make!

I love the Hi Swirl Frame with this Alice and her Flamingo in a Teacup. The background is created with the Alice Background Stencil Pack.

I HAD TO add Dee & Dum to a teacup also, and I was able to fit them in with just a little bit of surgery (sorry about that leg, Dee)! I also love the Dodo bird with a flamingo on his back!

I’m often asked what supplies I use to make my cards and projects, so I’ve put together a list using affiliate links when possible. If you make a purchase with these links I may receive a small commission. These help me to keep up with blog costs and continue bringing you fun projects. Thank you so much for your support!


I hope you enjoyed these cards today! I really had a great time creating with my favorite Alice Collection!

Comments { 0 }