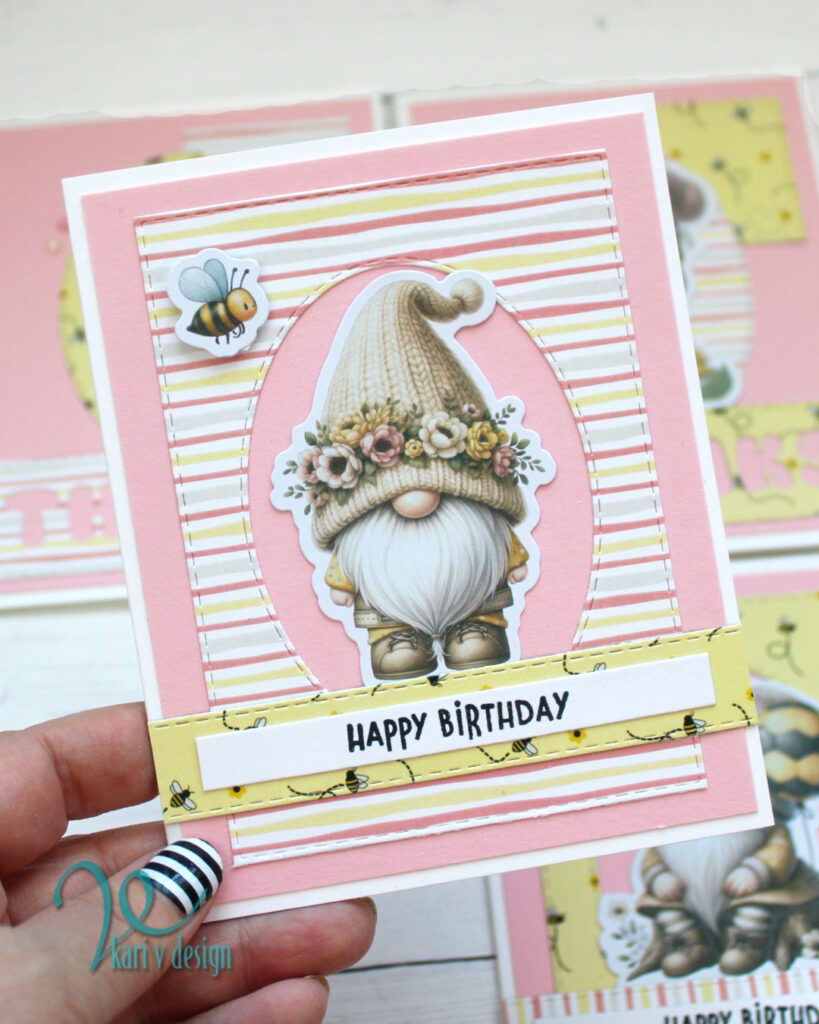
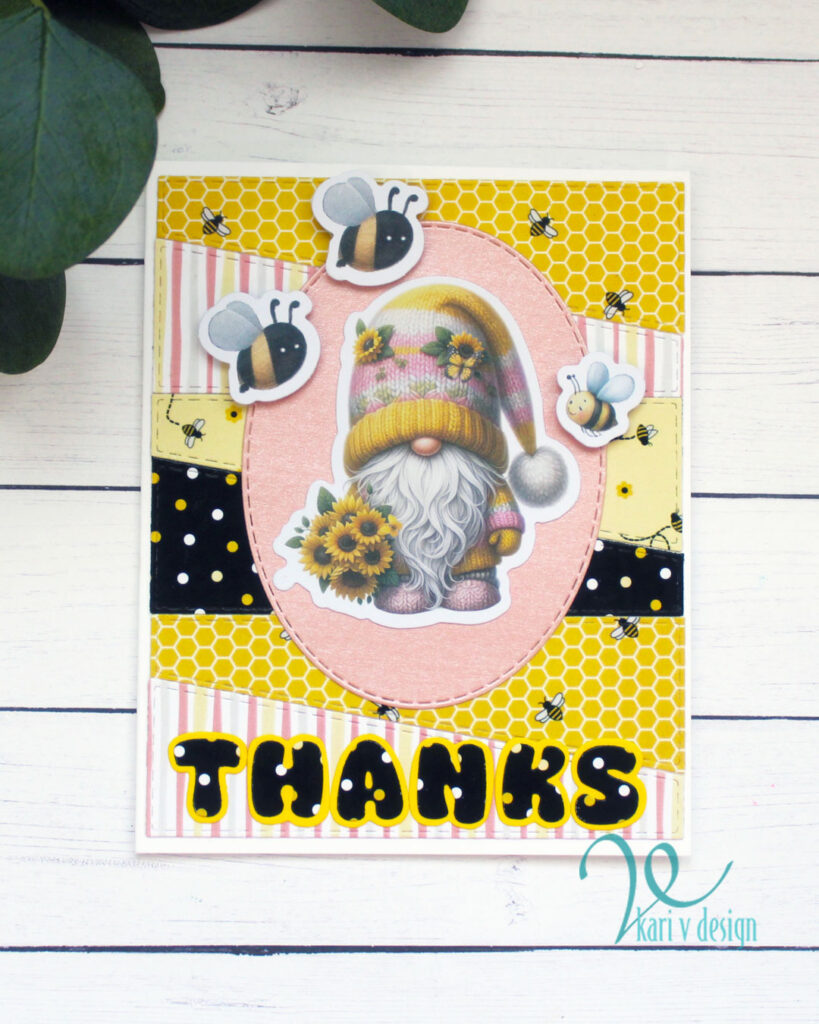
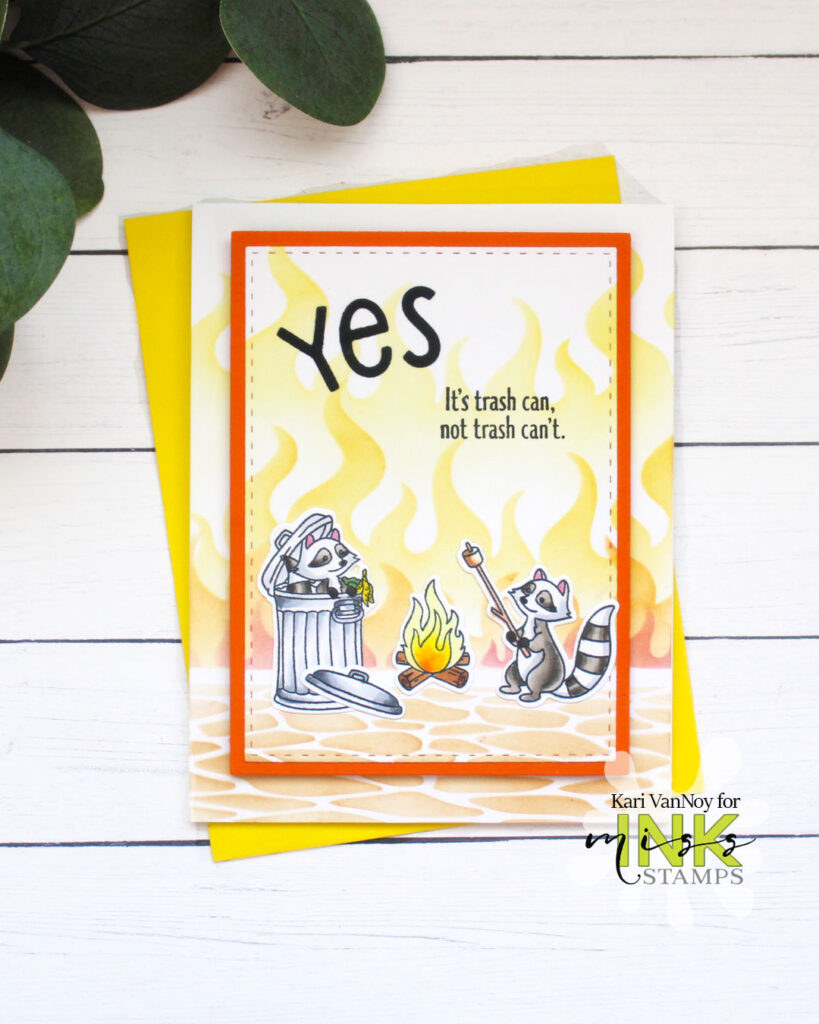
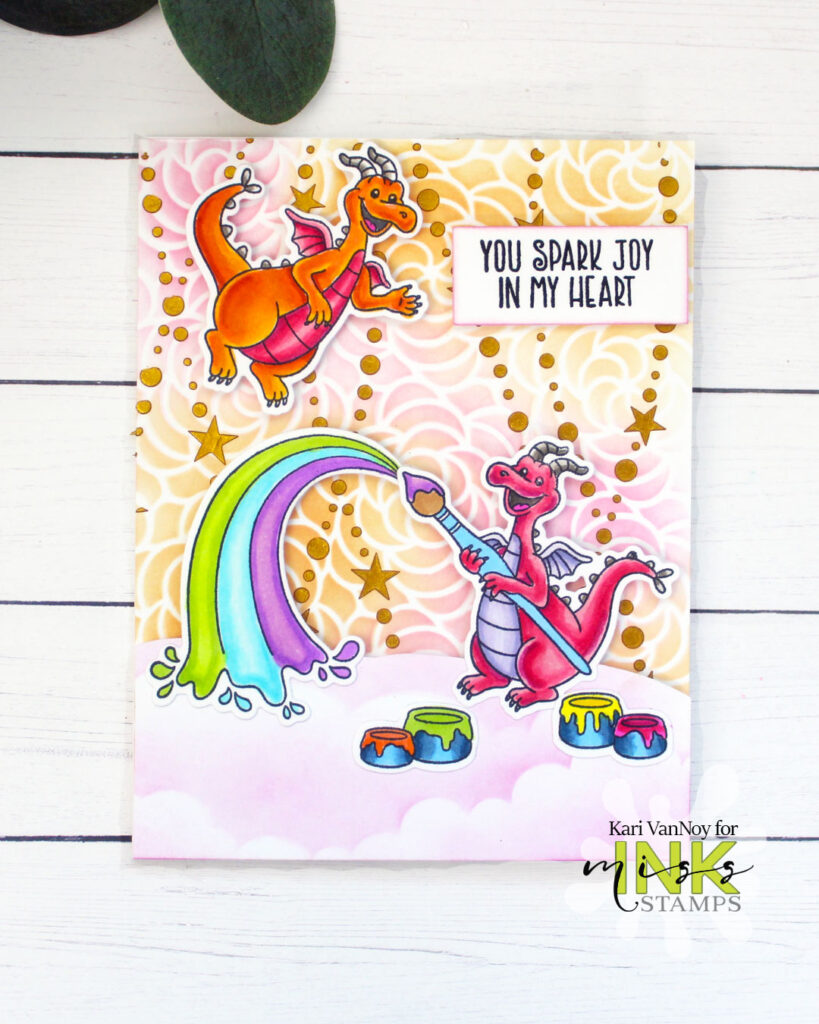
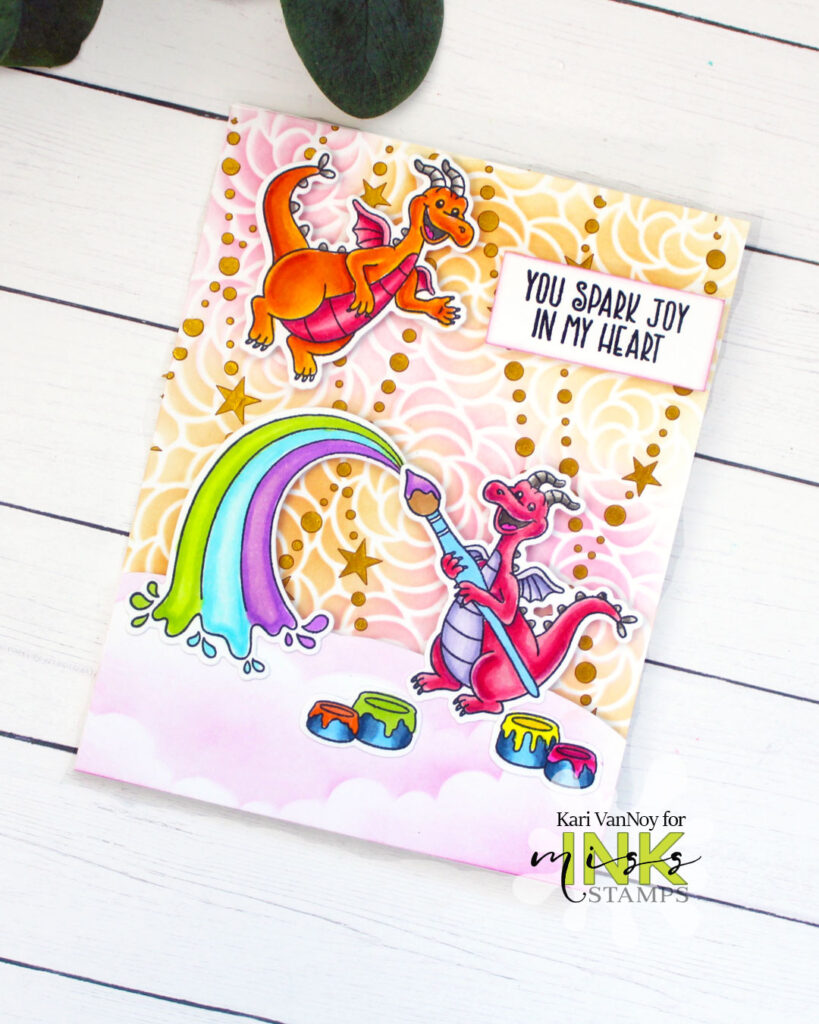
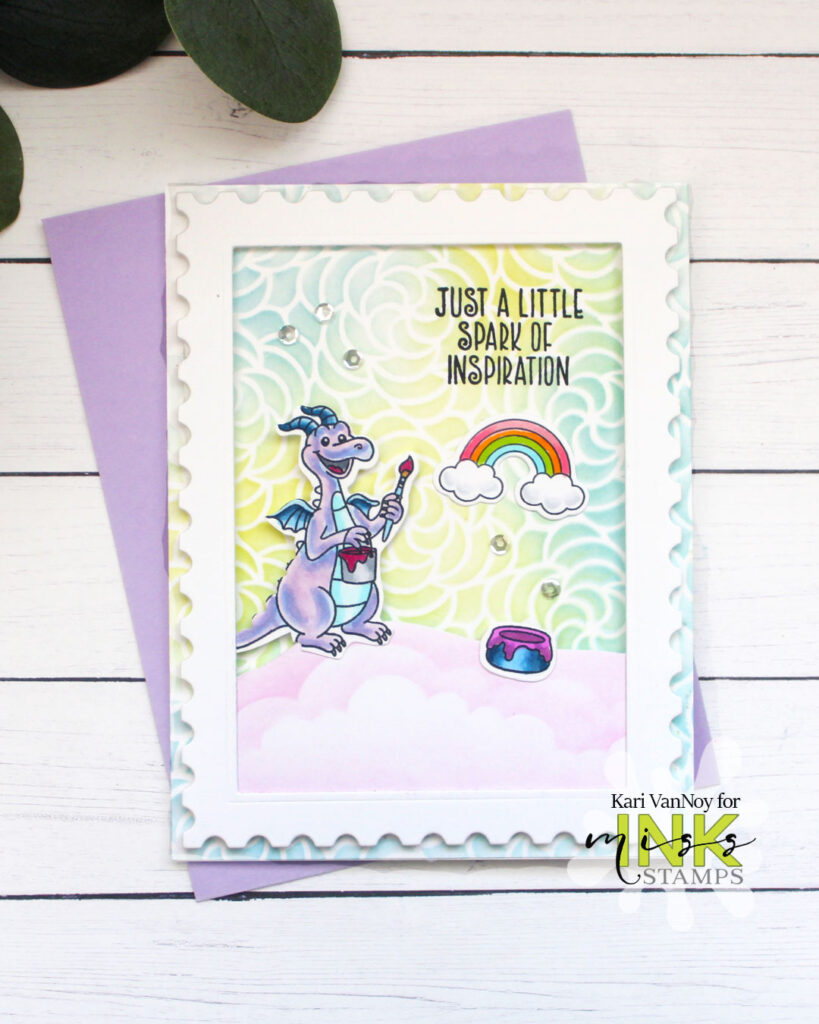
Hello! Today I am a part of a video hop featuring the new July Crafty Crew Kit! I love this kit, it has so many goodies and a camping theme. Today I’m featuring Camping Meadow with some copic coloring.
Watch the video below or in HD on YouTube:
This kit is pretty great, and if you haven’t seen the unboxing video, watch it HERE.
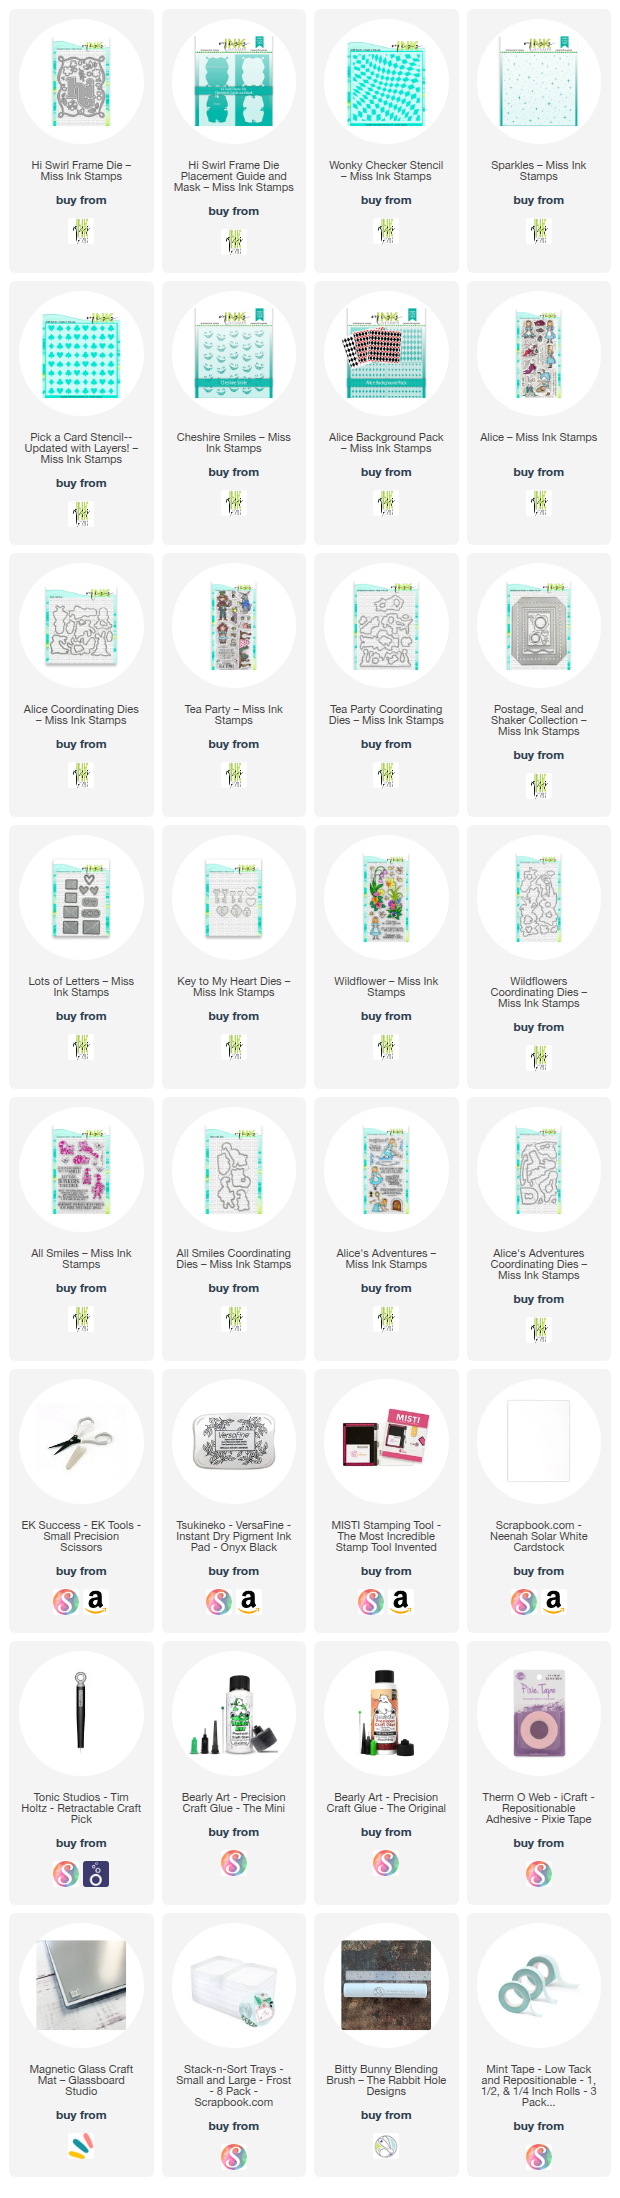
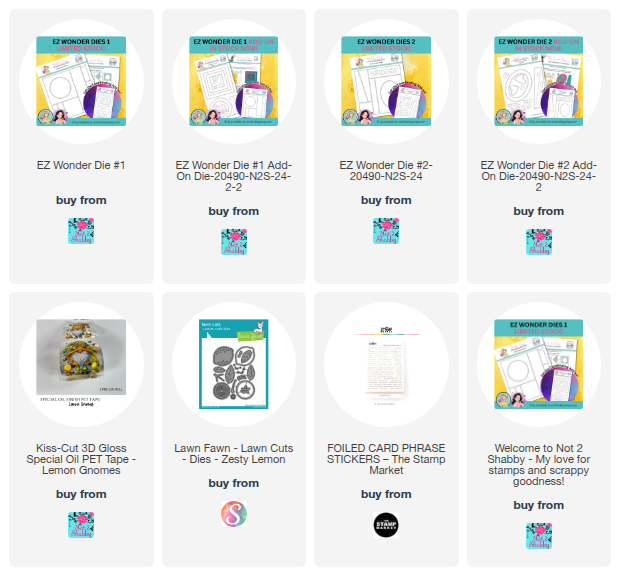
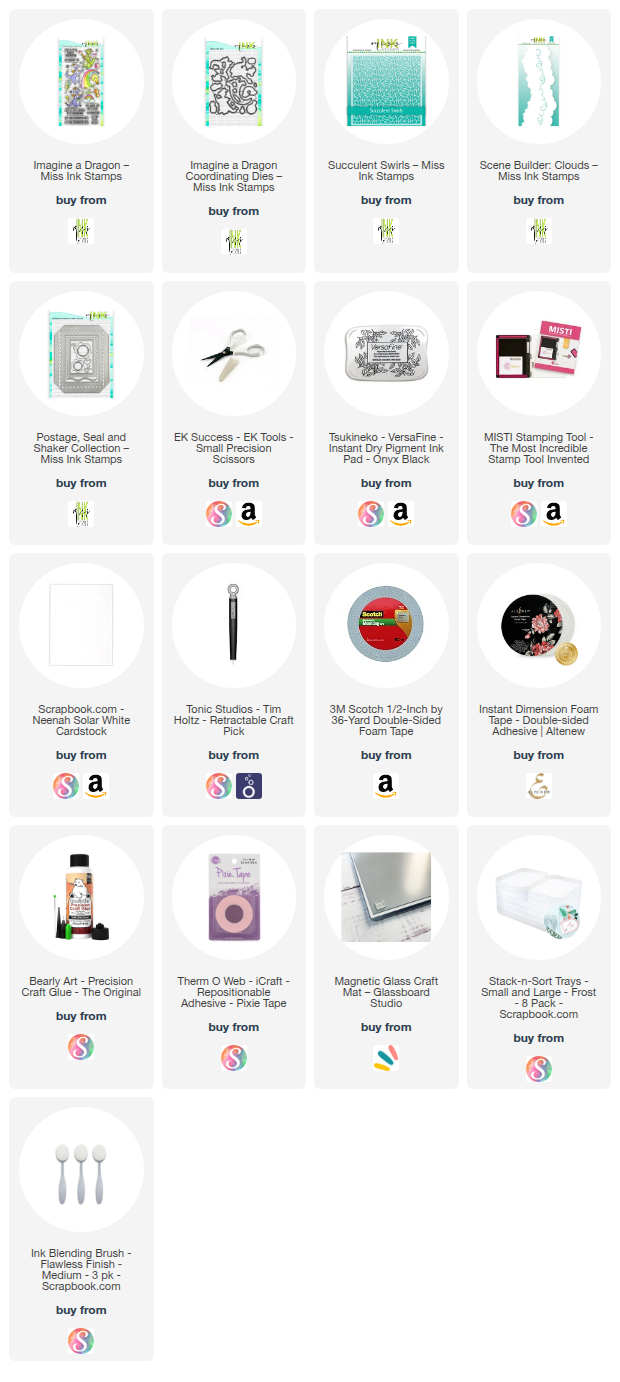
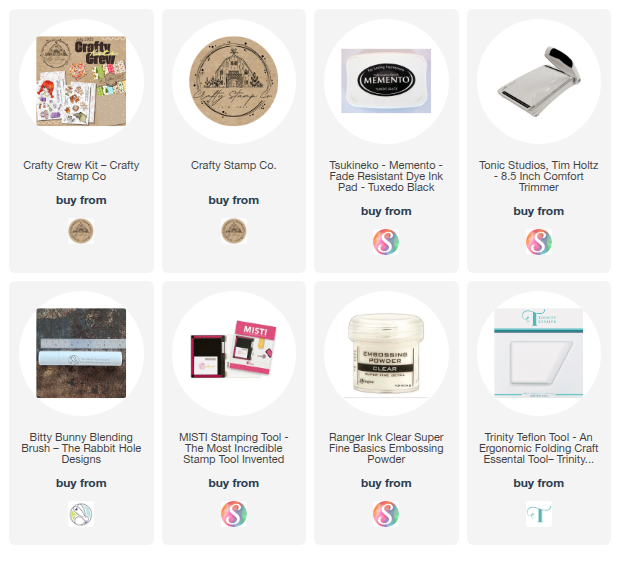
I’m often asked what supplies I use to make my cards and projects, so I’ve put together a list using affiliate links when possible. If you make a purchase with these links I may receive a small commission. These help me to keep up with blog costs and continue bringing you fun projects. Thank you so much for your support!
I’ll be back soon to share more cards and videos! Thanks for stopping by!